Make a Wood Christmas Tree Collar

Published September 5, 2023
Bring a rustic touch to your holiday with a DIY Christmas tree collar. Made of stained wood, it’s a natural alternate to a traditional tree skirt. You will need boards, stain, a continuous hinge, small door hinges and wood screws. Read on for easy instructions on making this attractive holiday must-have.
Difficulty:
Intermediate
Duration:
2-4 hours
Table of Contents
Cut & Sand Your Wood
Cut Continuous Hinge to Size
Stain Boards
Attach Boards
Cut & Sand Your Wood

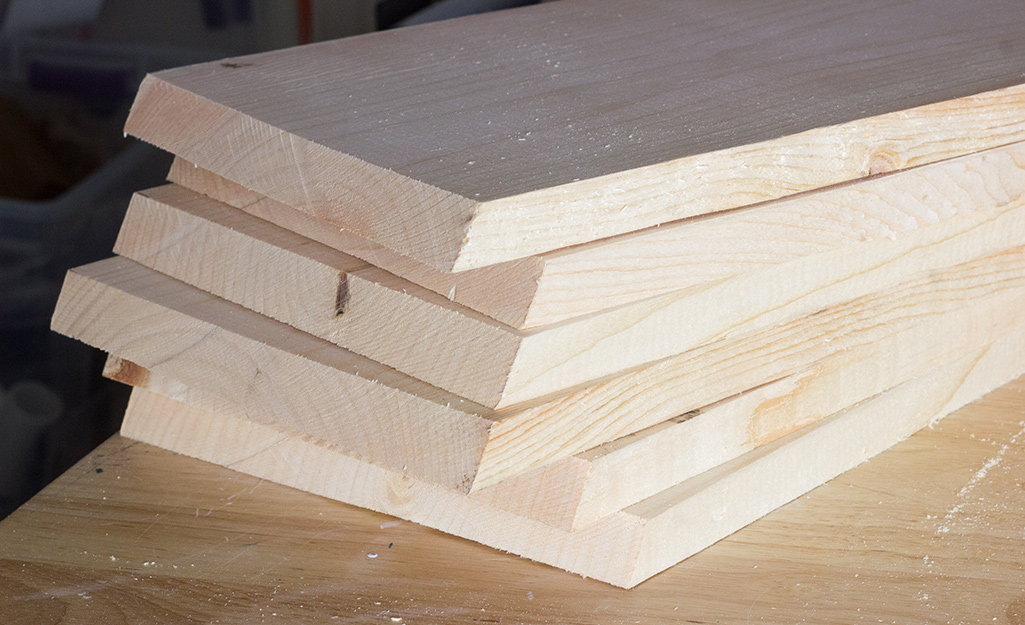
Cut 1-inch x 10-foot boards into 6 pieces. Each piece will be 16 inches long (short end to short end). Bevel the ends of each piece 30 degrees. Lightly machine or hand sand the boards.
Cut Continuous Hinge to Size

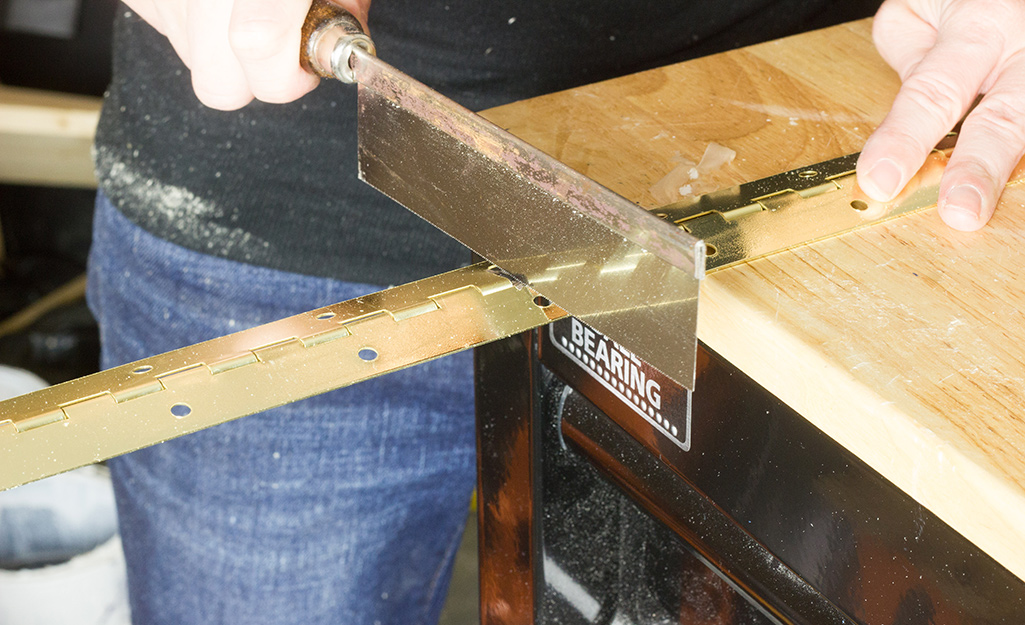
Using a metal cutting saw, trim a continuous hinge to 9 1/2 inches long. You can cut the hinge with a pull saw or angle grinder with a cutting wheel. Once cut, the edge will be sharp. Use caution and sand the sharp edge with sandpaper or a sanding block.
Stain Boards

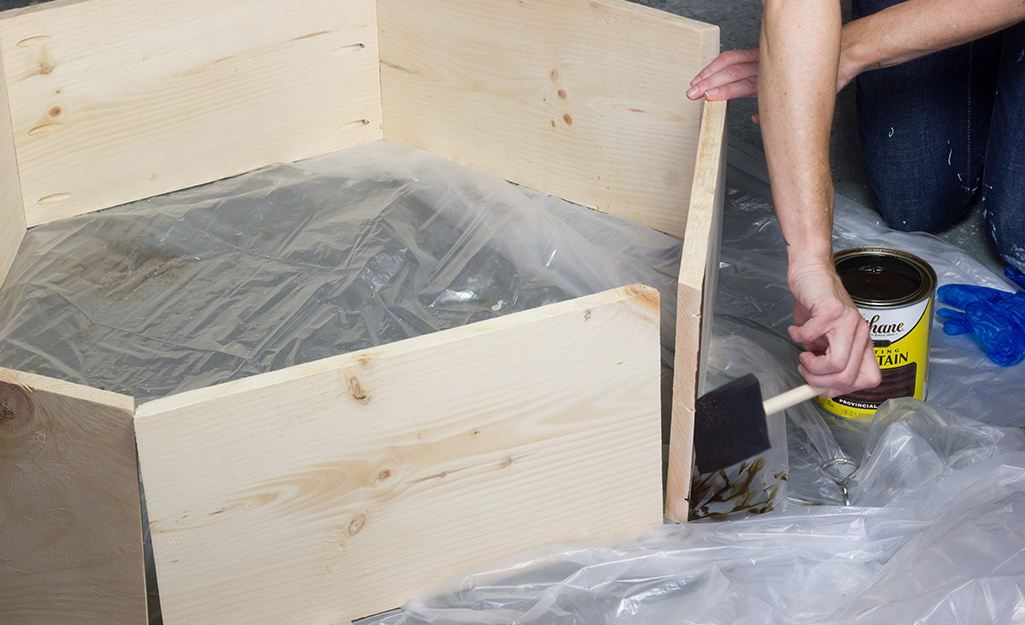
Stain your boards. Choose a color that keeps the wood a light, natural tone. Apply a polyurethane to protect the finish. Let dry completely before moving to the next step.
Attach Boards

- Attach three of the boards using two of the small door hinges. This will create half of a hexagon.
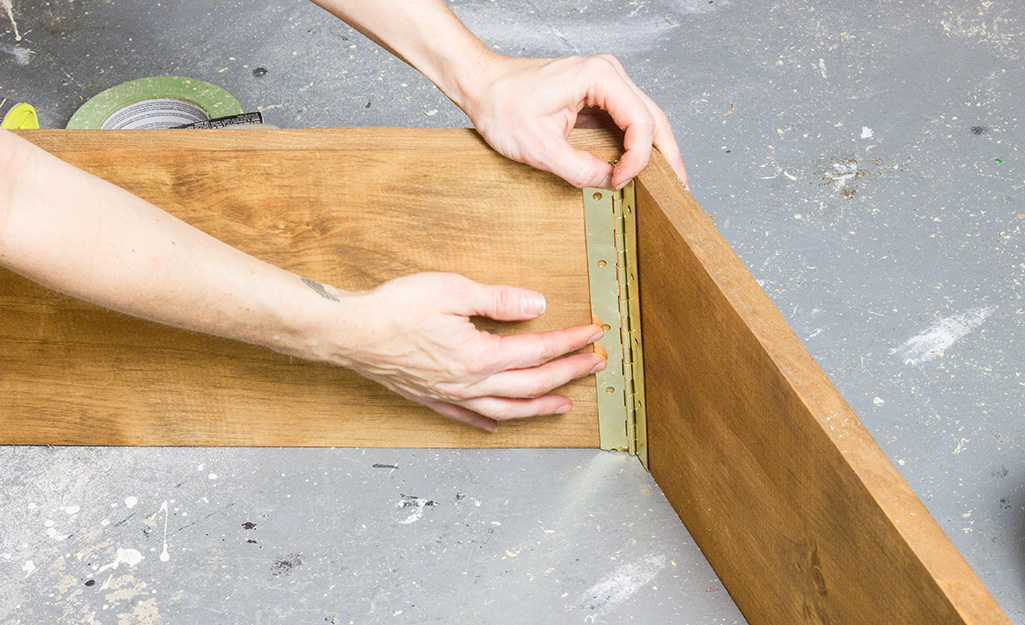
- Repeat this so you have two separate hexagon halves. Attach one end of your hexagon halves using the continuous hinge you cut in Step 2.
- Attach the other end of your hexagon half with a hook and eye.
Making a wood Christmas tree collar is something you can do yourself. All you need is time, wood and a few tools. Get the tools or materials you need. The Home Depot delivers online orders when and where you need them.


