How to Lay Out Recessed Lighting
Last updated July 9, 2025
Choosing the right recessed lighting layout requires planning. The perfect recessed light spacing will deliver a well-lit room that is both practical and comfortable. If you plan a recessed can lighting layout well, you’ll also achieve the perfect ambiance for your room. Use this guide to learn the basics of how to lay out recessed lighting.
Difficulty:
Beginner
Duration:
2-4 hours
Table of Contents
Plan Your Lighting
Select Recessed Lighting Sizes and Styles
Sketch a Room Plan
Calculate Recessed Light Spacing
Recessed Lighting Tips
Plan Your Lighting

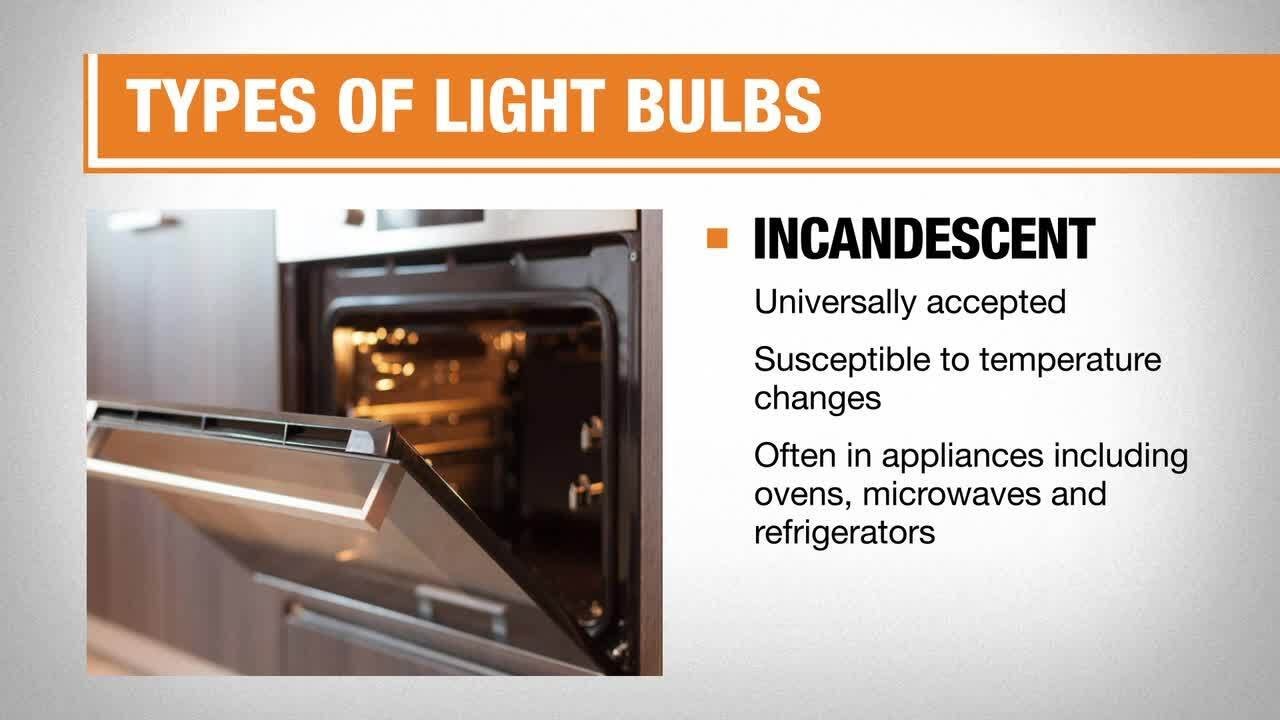
Recessed lighting provides a modern look to most any space. Installed in ceilings, these lights are commonly called pot or can lights. The type of can lighting layout you choose can create a modern or cozy look in your room. When planning the spacing of your recessed lights, the first step is to think about the function your lighting will serve.
There are four main purposes for lighting:
- General lighting creates a bright, even light pattern that illuminates the overall room or area.
- Accent and task lighting are bright, focused lights that highlight a single, small area.
- Wall wash is a type of lighting that emphasizes a wide vertical surface, such as a wall, a fireplace or large wall art.
- Specialty lighting has specific trims and is typically used for showers, steam rooms or other wet locations.
Next, choose your recessed lighting housing. Base your selection on the location and trim type of installation you’re doing.
- Use new construction IC-rated (Insulation Contact) housing if you’re installing around insulation to prevent causing a fire hazard. You should also use new construction housing if your ceiling is accessible.
- If the ceiling is not accessible, you must use remodel housing. For example, if you have a drop ceiling, use remodel housing. When using remodel or non-IC housing, make sure any insulation is at least 3 inches away from all sides of the housing.
Select Recessed Lighting Sizes and Styles

Recessed lighting trim styles and sizes vary. Here’s what you need to know to plan a can lighting layout for the effect you want.
Recessed lighting housing is available in three sizes:
- 6-inch: The most common size, 6-inch recessed lighting housing can be used for all applications.
- 5-inch: This size housing fits more tightly around the bulb. It can also be used for all lighting applications.
- 3-inch/4-inch: The smallest sizes of housing, they are used mainly for small areas.
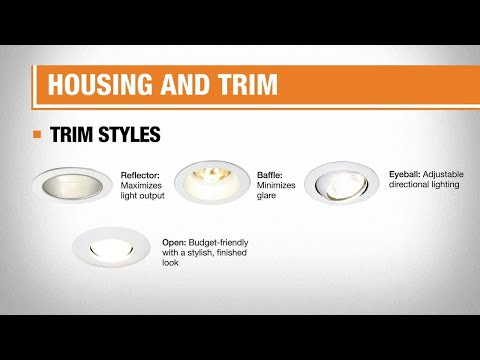
Different reflector styles maximize light output.
- Baffle reflectors are the most popular styles and minimize glare.
- Eyeball styles provide adjustable directional lighting.
- Open styles offer a budget-friendly option with an appealing finished look.
- Lens styles diffuse the light and shield the lamp. This style is used for closets, porches and shower lights.
Sketch a Room Plan

A good, recessed lighting plan starts with a rough sketch.
- Measure your room.
- Sketch these general dimensions of the space on grid paper.
- Mark the placement of items such as workspaces, counters, shelves and furniture.
- If you want to light a wall hanging or other artwork, add it to the sketch.
- Mark the room's focal point on your recessed lighting layout plan. Your focal point might be a kitchen workspace or a painting on the wall.
- Build your can lighting layout outward from your focal point.
Tip: If you don’t have a specific focal point, simply start your lighting plan from the center of the room.
Calculate Recessed Light Spacing

Creating the correct recessed light spacing in a room takes careful measuring and some simple math.
- For accent lighting, a good rule of thumb is to place the recessed lighting fixtures 4 to 6 feet apart.
- For even lighting throughout the room, divide the height of the ceiling by two. This will tell you how far apart each light in your recessed lighting layout should be. For example, the recessed light spacing for a room with an 8-foot ceiling would be 4 feet, or 48 inches, between each light.
Recessed Lighting Tips

As you plan your recessed lighting, remember that ideal light placement can differ from room to room. For example, proper placement of recessed lighting in a bath may require a more creative layout.
- Counter areas should be downlit to provide light and create minimal shadows.
- Aim the recessed lights toward the edges of counters, so the light pools ahead of where a person would normally stand.
- Leave about 14 to 18 inches of space between the light cannisters and the cabinets to avoid lost light.
Tip: Using a recessed lighting kit can make the entire process easier. All the materials you need for multiple light installations are grouped together in one box.
Knowing how to lay out recessed lighting is the first step in upgrading the lights in your home. Think about what purpose your new lights will serve. Make a quick drawing of the room where the lights will go. Then make some measurements in the room to figure out the best lighting placement. Once you have a solid plan in place, you can choose the type of recessed lights that will work best.
Need help identifying a tool or recessed lighting? Find what you need for your project in your local store. Use The Home Depot app to locate products and check inventory. We'll take you to the exact aisle and bay.