The Best Ice Cream Makers for Homemade Frozen Treats

Last updated September 7, 2023
There’s a reason ice cream is such a crowd pleaser. This treat is perfect on a hot day and takes a holiday pie to the next level. Being able to serve ice cream at home is a real win. That’s why you need to understand what makes the best ice cream makers. This guide will show you how to make homemade ice cream without breaking a sweat.
Difficulty:
Beginner
Duration:
Under 2 hours
Table of Contents
How to Make Ice Cream
Ice and Salt Ice Cream Makers
Electric and Specialty Ice Cream Makers
Features to Consider
Tips for Making the Best Ice Cream
How to Make Ice Cream
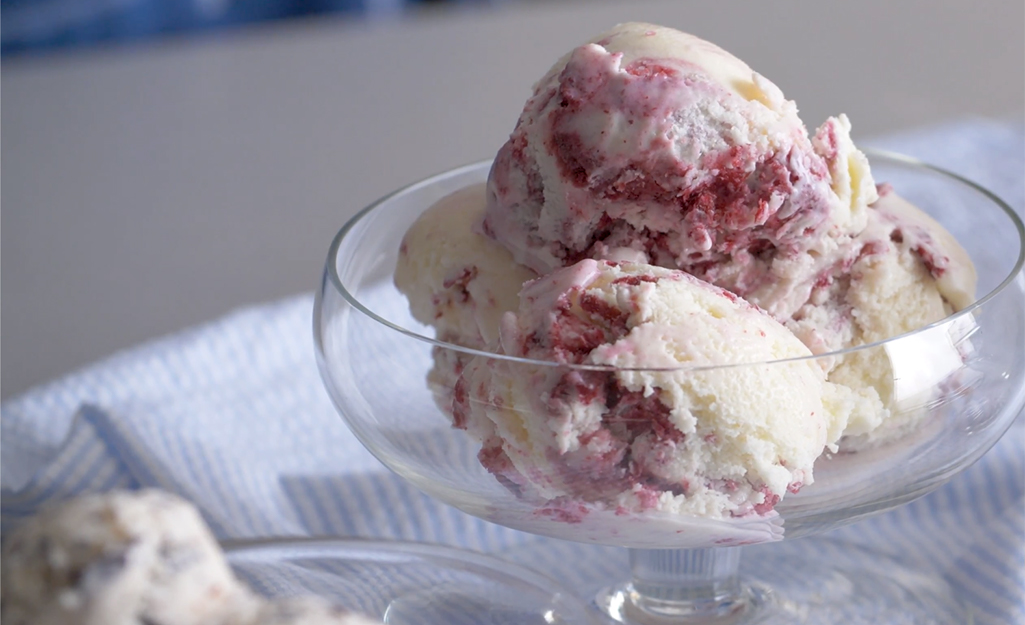
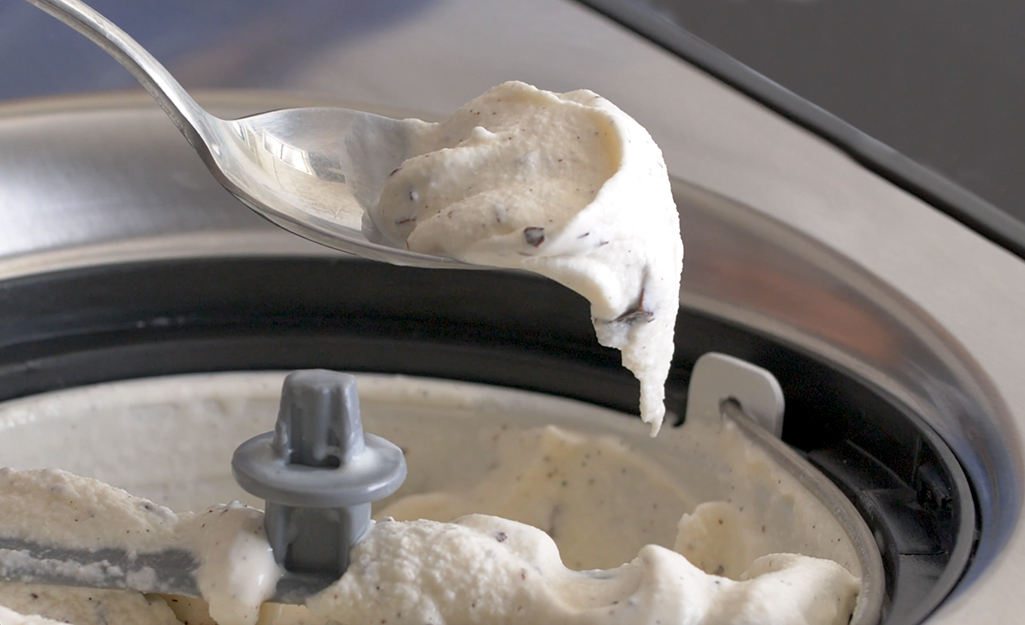
The best ice cream makers work by creating a cold environment in which cream, sugar and any mix-ins can be adequately mixed into an enticing texture. The cream is continuously mixed by a paddle or thanks to a spinning canister. This stirring motion incorporates air to create a smooth texture and keeps crystallized patches from developing.
Mixing to get a solid ice cream texture typically takes about twenty to thirty minutes, depending on the size of the ice cream maker. While you can enjoy the ice cream right away, most people prefer a slightly firmer texture. You can achieve this by storing the machine’s canister in the freezer for an hour or two after the mixing process is completed.
Ice and Salt Ice Cream Makers
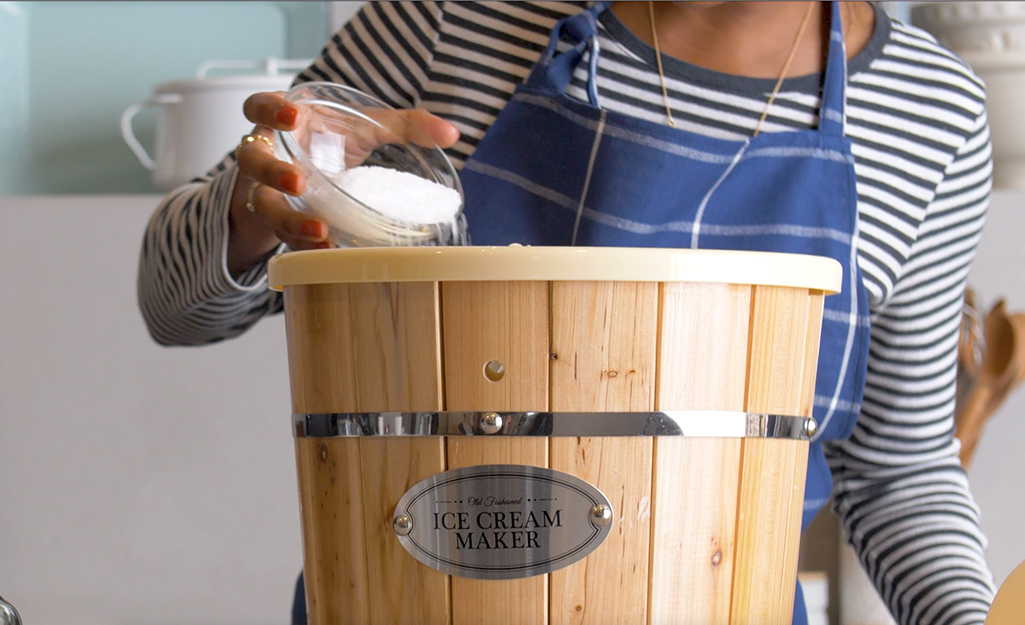
The ice and salt method has existed for decades. The process is simple. Combine ice cream ingredients in a container and surround it with a mixture of ice and rock salt. Then all you have to do is stir the ingredients, often with a paddle and hand-crank, and a solid texture will form. Salt lowers freezing temperatures, making the exterior of the bowl colder and allowing the bowl’s contents to drop below water’s freezing point (32°F). This is necessary when attempting to harden dairy, since it has a lower freezing point than water. Cranking can be done by hand or with an electric mechanism.
- A hand crank certainly gives an old-timey feel and is fun. Be aware, it will definitely leave you with an achy arm, as the process takes about twenty to thirty minutes. A hand crank also allows you to control the speed at which you crank the ice cream, which affects the ice cream’s consistency.
- Electric cranks require you keep an eye on them while they are at work. You need to keep a watchful eye to make sure ice and salt don’t melt and spill out of the machine. Because of this, they’re best for the home cook who is looking for an entertaining project that holds their attention.
Both hand crank and electric ice and salt ice cream machines require you remove the canister from the machine’s body and chill in the freezer for at least eight hours (a full night is recommended). This means you should do a bit of planning before using one of these. The day before your intended use, store the canister in the freezer to ensure it is fully chilled.
Tip: Select an ice and salt ice cream maker if you’re craving a nostalgic experience, have kids who want some hands-on fun, or are looking for a budget-friendly option.
Electric and Specialty Ice Cream Makers
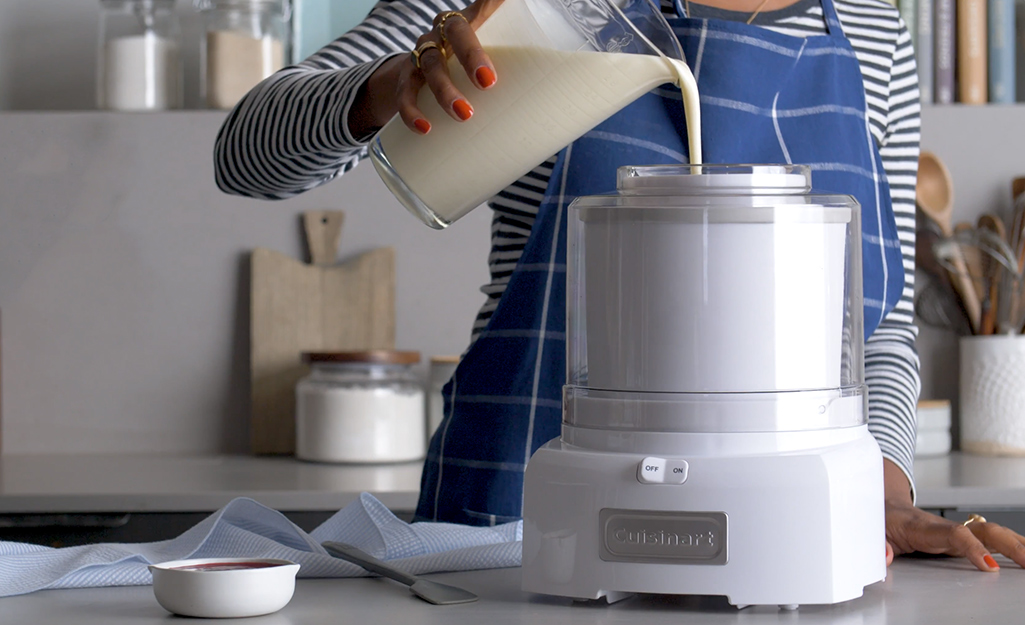
- Electric frozen bowl ice cream makers require you freeze the canister in advance. Once the bowl is ready, all you’ll have to do is add the ingredients and turn on the machine. You will still have to plan in advance and exhibit patience, but you won’t have to purchase mounds of salt. You’ll also nix the mess that comes with the use of an ice and salt ice cream maker, and you will have an overall easier go when making your frozen treat.
- Gel canisters use gel as the coolant for their canisters. For even and effective cooling, a gel canister’s walls are filled with a substance that needs to be frozen 24-hours prior to use. While this feature does require longer cooling than a standard canister, once it’s ready, you can confirm it is fully cooled by giving it a shake to assess if the gel liquid is solid and ready for use.
- Choose an electric frozen bowl ice cream machine if you don’t want to break the bank on a top-of-the-line machine, but would also like a bit more convenience than is offered by an ice and salt ice cream maker.
- Compressor ice cream makers use compressors that cool the inside of the machine. The best ice cream makers use compressors that cool fast and only take a mere five to ten minutes to chill.
- Compressor ice cream machines can also offer advanced functions like the “stay cool” function, which keeps ice cream a firm texture and allows you to put off eating until you’re ready.
- Opt for a compressor ice cream maker if you want your ice cream ready quickly or want the convenience of leaving the machine unsupervised. They’re also best for home cooks who want to be able to make multiple batches back-to-back and are willing to invest a bit more to get the best ice cream texture money can buy.
Gone are the days of one size fits all hand-churning machines. Over the years, as ice cream makers have become more widely used, manufacturers have developed features that tailor their models to specific wants and needs. Some people don’t care for traditional hard ice cream textures. Others’ top priority is speed and individual portioning. You can find the following specialty ice cream makers:
- Soft-serve ice cream makers generally use a gel canister and compressor to create soft serve ice cream, rather than the typical firm texture. You can buy these as standalone machines or as attachments to many commonplace stand mixers. If you are a lover of soft serve, frozen yogurt or sorbet, this option may be for you. They also typically work more quickly than classic ice cream makers.
- Ball ice cream makers use the mechanics of an ice and salt ice cream maker to give you a sphere of ice cream. They are plastic globes that hinge open. In one end you put ice cream ingredients and in the other you insert ice and rock salt. Then you roll the ball around, achieving what a crank does in a large ice cream machine.
Features to Consider
Beyond the many convenience and quality optimizations, you should also consider a few characteristics that tie to personal lifestyle:
- Like most small kitchen appliances, ice cream makers take up a considerable amount of countertop space – both on the shelf and within the freezer. This means you should give careful thought to your required capacity. Capacity can vary from .75 to four quarts, so if you are only looking to make small portions, choose a smaller machine. It will take up less space and process more efficiently. If you like making ice cream for a crowd, select a larger machine.
- Most often, compressor units are heavier and take up more space.
- The best ice cream machines will also come with easy to read and helpful displays for manipulating timing, texture and portion settings.
- Large ice cream makers will be more work to clean. A compressor machine should feature a canister that is easy to clean, either through removal or a generous opening. If you are concerned about messes in general, a salt and ice machine won’t be for you.
- This factor will contribute to a machine’s ability to transmit cold temperatures, making for better ice cream. It will also contribute to durability, a factor that should be top of mind due to the toll the repeated freezing and thawing will take on the machine.
- Electric machines are typically the ones that will make the most noise, and the larger a machine gets, the louder it will most likely be.
Tips for Making the Best Ice Cream
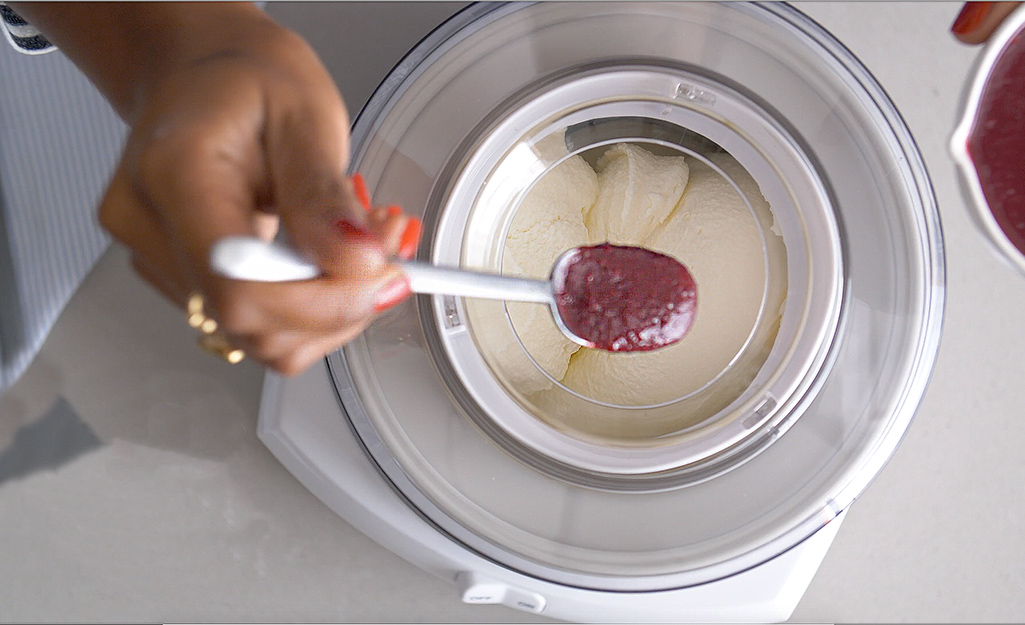
- Make sure all of your ingredients are as cold as possible before you start. Not only should your canister be fully frozen, but the dairy and mix-ins you’re using should be stored in the refrigerator prior to use.
- Ice cream’s sweetness develops as it is being frozen. This means that if you are sampling through the preparation process, you should know that the final outcome will be sweeter. Don’t overdo it on the sugar addition.
- Another thing to consider is that increases in sugar (and fat elements) will yield a softer ice cream.
- Follow the instructions on your machine. Though the mechanics of an ice cream maker are pretty straightforward and universal, there will be little quirks from machine to machine that can give you different results if you deviate from the portions and timing advised by the manufacturer.
- If using a model with an electric paddle, set the paddle to spinning and then add your ingredients. This will help keep things from sticking.
- If you find you want to be able to make ice cream regularly or without much advance planning, store your canister in your freezer. This will require about four to eight inches of space, but will mean you’ll be ready to jump to action when the fancy strikes.
- Timing is extremely important when it comes to homemade ice cream. Giving the churned ice cream a few hours in the freezer once completed will help solidify things, making for a creamy texture. While homemade ice cream can last in the freezer for a month, it will be best if you enjoy it within a day or two.


