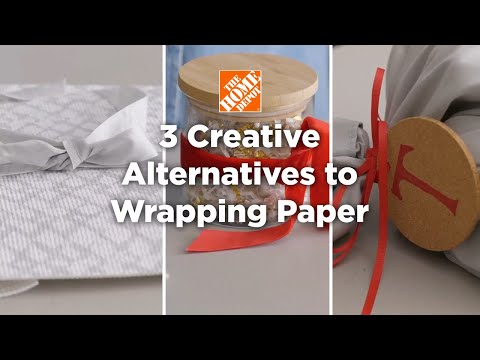
3 Creative Ways to Wrap Gifts without Paper
Last updated September 7, 2023
Sending presents to those you love isn’t just about the gift itself. You can also design incredible packaging they’ll appreciate just as much using everyday items, and a little bit of creativity. This year, put a DIY spin on your gift wrapping with one of these creative DIY gift wrapping ideas. This guide will show you three step-by-step tutorials for adding extra-special touches to your holiday presents as well as how to safely package and ship presents to loved ones.
Table of Contents
Use a Padded Pouch
Measure and Cut Liner
Fold and Glue
Add Sticky Fasteners
Insert Gift and Wrap with Bow
Ship to Loved One
Use a Padded Pouch

When gifting small, flat items and paper goods, you don’t always need a box. Create the perfectly sized package with an item you may already have on hand: a roll of padded shelf liner. The soft, protective qualities of shelf liner and the ease of cutting it to any size make it ideal for crafting gift pouches. Plus, this kitchen cabinet staple comes in a variety of patterns and colors to bring your personality to packages you give.
These are perfect for giving drawings, certificates, small books, printed photos, gift cards and more. Instead of the plain envelope these normally go into, these sentimental gifts will look great in custom, pretty pouches.
Gather your materials:
- Non-slip shelf liner
- Measuring tape
- Pen
- Scissors
- Hot glue gun
- Sticky back fasteners
- Velvet or cotton ribbon (width determined by pouch size)
Measure and Cut Liner

First determine the size of your pouch: For gifts that have the same dimensions as a piece of paper or smaller, cut a 21-inch by 13-inch rectangle out of the shelf liner. For gift cards and other small-scale, flat items, cut a 10-inch by 5-inch rectangle.
Alternatively, you can also create custom sizes tailored to your gift. Measure the length of the item and double it. Add 3 inches to that doubled measurement. Measure the width of the item and add 2 inches. This is the size of the shelf liner needed for your pouch.
Fold and Glue

- Working on the backside of your piece of liner, place the material horizontally on a flat surface in front of you.
- Fold the left end 2 inches in from the right end, almost folding the length of the liner in half. Crease the folded edge.
- Starting at the creased end in 2- to 3-inch sections, use a hot glue gun and pressure to adhere the two sides of the pouch together.
Add Sticky Fasteners

- Apply sticky back fasteners to the top opening of the pouch and the mirroring positions of the 2-inch flap.
- Once the gift is securely inside, fasten the pouch flap closed. The side with the flap is the back of the package.
Insert Gift and Wrap with Bow

Use ribbon to tie a standard bow.
Tip: Using velvet or cotton ribbon allows the bow to bounce back into shape after being potentially squashed during transport.
Ship to Loved One

Now, it's time to mail your package.
- To give more protection to the gift, consider placing the pouch between two pieces of cardboard to keep it flat.
- Tape the cardboard edges together and place in a padded mailing envelope and ship to your loved one.
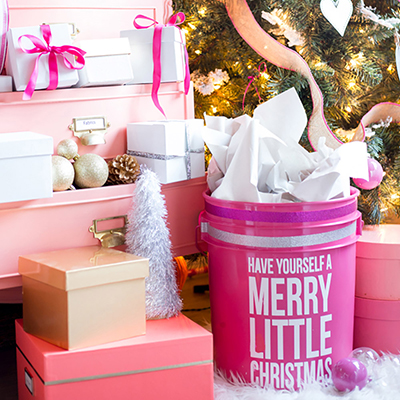
Get Creative with a Glass Canister

Edible gifts are commonly given in glass canisters and canning jars, but so many other things can also be packaged this way. Jewelry, electronic accessories, gift cards and much more can fit inside modern glass canisters.
It's also a fun idea to hide the gift with shredded paper filler inside and adhere a big bow to the outside. The best thing about this way to “wrap” is that, after opening, the canister gets to be repurposed elsewhere in the recipient’s home.
Gather your materials:
- Lidded glass canister
- Colored shredded paper filler
- 1-inch wired velvet ribbon
- Scissors
- Hot glue gun
Fill with Shredded Paper

- Begin by filling a glass canister one-third full with shredded paper.
- Nestle the gift in the center of the paper.
Add More Paper and Lid

- Fill the canister with additional shredded paper to cover.
- Place the lid securely on the canister.
Add Bow and Wrap in Bubble Paper

- Tie a bow around the cylindrical center of the gift. Wired velvet ribbon bounces back after being squished so that gifts look their best when they arrive in the mail (though any 1-inch ribbon will do).
- Once the bow is added, wrap the entire canister in bubble wrap to protect it during transit.
Pack with Protection

- Because this container is glass, it’s important to package it correctly so that it isn’t damaged in transit.
- Choose a box that is 6 inches taller and 6 inches wider than the item being sent.
- Once you've placed the items in a box, be sure to surround them with packing peanuts, paper or air pillows. For example, the containers shown here are about 4 inches, so they can be sent in a 10-inch by 10-inch box filled with overpacking materials such as eco packing peanuts, and air pillows.
Make Your Own Gift Sack

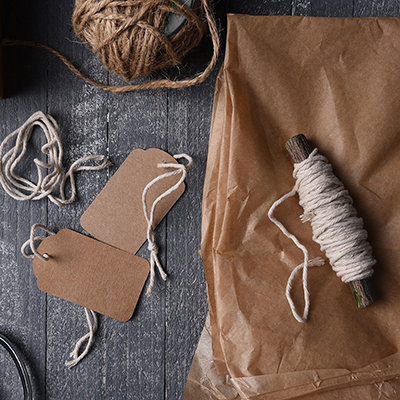
Some gifts need a structured container, but for those that don’t, delivering a gift in a mini sack can make the holiday season feel even more special. Stuffed animals, throw blankets, decorative pillows, bathrobes and other soft goods are great presents to wrap this way. Create your own version of Santa's gift sack using a new standard queen pillowcase beautifully tied with a handmade accent tag.
Gather your materials:
- Pencil
- Alphabet stencil
- Cork coasters
- Paint marker
- Hole punch
- Pillowcase (any color of your choice)
- 1/4-inch cotton ribbon
- Scissors
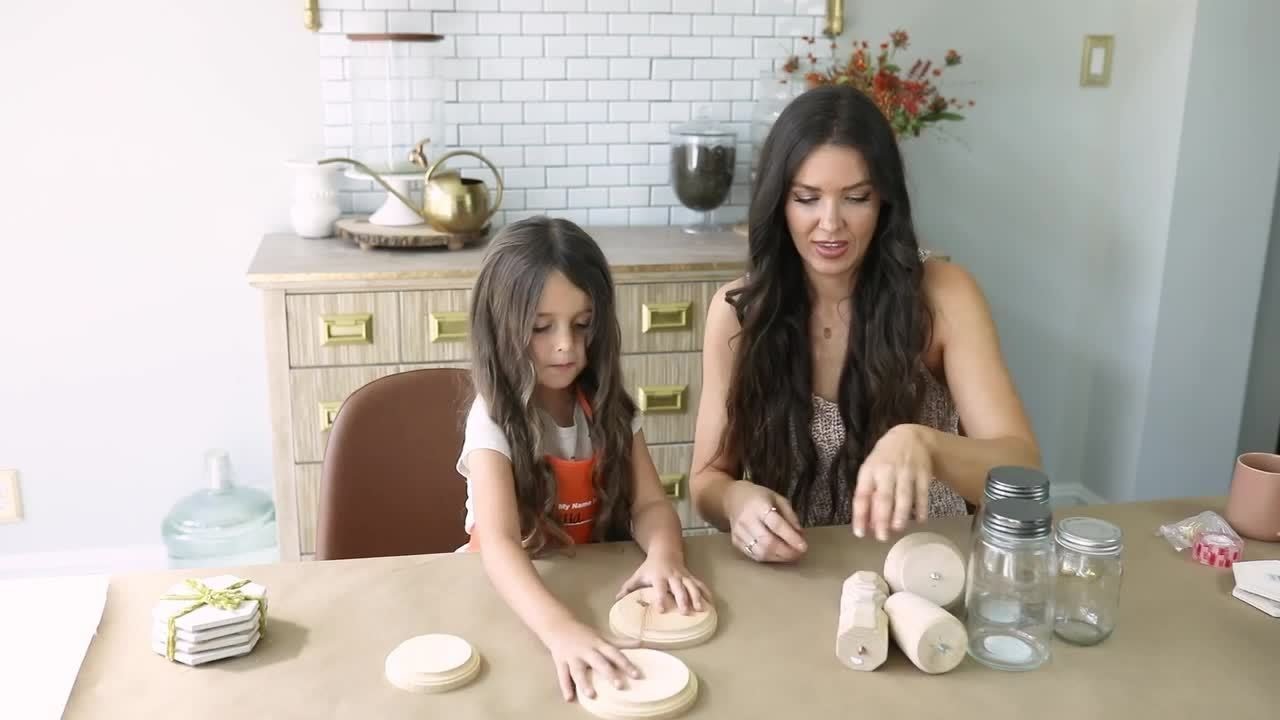
Create Your Coaster

Using your pencil to outline the first initial of the recipient’s name onto a cork coaster with a stencil.
Color in Letter

- Now, fill in the letter with a paint marker. Let dry.
- Make this truly custom by writing the giftee’s name on the back of the coaster with the paint marker or a permanent marker.
Make a Hole in the Coasters

- Stack your custom coaster on top of another coaster for leverage.
- Now, using a single hole punch, create a hole at the top of the coaster. This will help you string the coaster tag.
Pack Gift in Pillowcase

It's time to add your gift to your custom gift bag.
- Place a gift inside of the pillowcase. Evenly bunch the opening together in your hand and wrap the ribbon around tightly three times.
- Tie the ribbon in a bow to secure.
Tip: If the pillowcase has creases from the store, put it on a wrinkle release setting in the dryer or use a clothing steamer to smooth out the folds.
Add Tag

- With an additional piece of ribbon, attach the cork tag underneath the bow with a concealed knot.
- Because most of the gifts given in a sack like this won’t be fragile in nature, this can be mailed in a box that perfectly fits the sack and sent with or without additional padding.
Address, Ship and Be Merry!

Taking time to creatively wrap gifts and ship to loved ones is a great way to make the recipient's holiday even more special.
Tip: Always be sure to talk to your shipping provider to make sure you are sending your presents as securely as possible.
From shredded paper to a shelf liner and pillowcases, these three creative ways can help you put an extra touch of holiday cheer on all your gifts this year. The Home Depot is your DIY headquarters. Looking for a product to complete your project? We have options to deliver online orders when and where you need them.