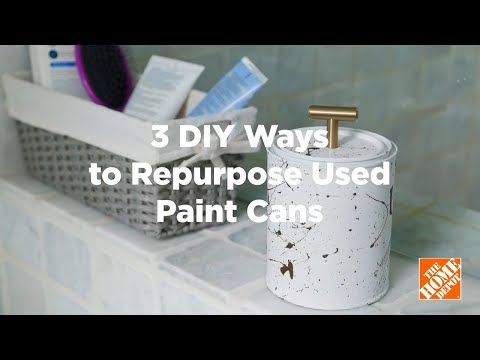
3 Ways to Repurpose a Paint Can
Last updated September 7, 2023
If you’ve recently undertaken a big painting project, don’t throw away all those empty paint cans. Once you remove the labels and give them a scrub, they can easily be transformed into decor, storage and more. This guide will show you 3 ways to repurpose a paint can.
Table of Contents
Create an Ice Bucket
Design a Decorative Planter
Make a Storage Canister
Create an Ice Bucket

Dress up your indoor bar cart or outdoor entertaining area with this DIY project. A leftover gallon-size paint can with a handle makes a perfect ice bucket for chilling a beverage. Just be sure to use the ice inside the bucket only to chill bottles, not to fill drinking glasses.
Here's what you'll need:
- Gallon-size paint can with handle
- Dish soap
- Cooking oil (like olive oil or coconut oil)
- Scouring sponge
- Paint remover (optional)
- Tarp or builder’s paper
- Sandpaper
- Spray paint
- Peel-and-stick wallpaper
- Pencil
Here's how to create the ice bucket:
- Thoroughly clean the paint can by washing it with dish soap and water. If necessary, let it soak in a soapy solution for 30 minutes or so to loosen any stuck-on paint.
- Next, remove the label on the can by coating it with oil. Any oil, like olive, avocado, coconut, etc., will work. Leave it to soak in hot water overnight. Then, in the morning, scrub it with soap, water and a scouring sponge. You can also use a paint remover to quickly remove both the paint and the label. Let it fully dry before painting.
- Then get your workspace ready. Lay down a tarp or builder’s paper over the area you’ll be working on. Make sure you'll be working in a well-ventilated area.
- Give the handle a quick sanding to roughen the surface.
- Spray paint the handle and rim of the can, working in thin, even coats. Let each coat dry about
20 to 60 minutes before adding more, if needed. Don't forget to shake the can of spray paint before you use it each time. - Once the paint is completely dry, about 1 to 2 hours, roll the peel-and-stick wallpaper over the can to see how much you’ll need. This process is similar to the way you'd put wrapping paper around a gift to measure how much you should use before cutting it.
- Make marks on the peel-and-stick wallpaper with a pencil. Cut two pieces of paper, one for each half, to cover the can. Then, cut small notches for the paint can handle on each end of the paper.
- Apply the peel-and-stick wallpaper. Start with the side with the notch for the handle. Carefully peel off the backing as you go. Any air bubbles can be poked with a pin and flattened out.
Design a Decorative Planter

Chic planters made from sisal, a stiff, natural fiber you’ve probably seen woven into baskets and rugs. Sisal-wrapped home accessories are an on-trend decorative accent. You can easily make your own with a used paint can. All you need is hot glue, a little bit of patience and some paint.
Here's what you'll need:
- Gallon-size paint can without handle
- Pliers (optional)
- Wire cutter (optional)
- Dish soap
- Cooking oil (like olive oil or coconut oil)
- Paint remover (optional)
- Scouring sponge
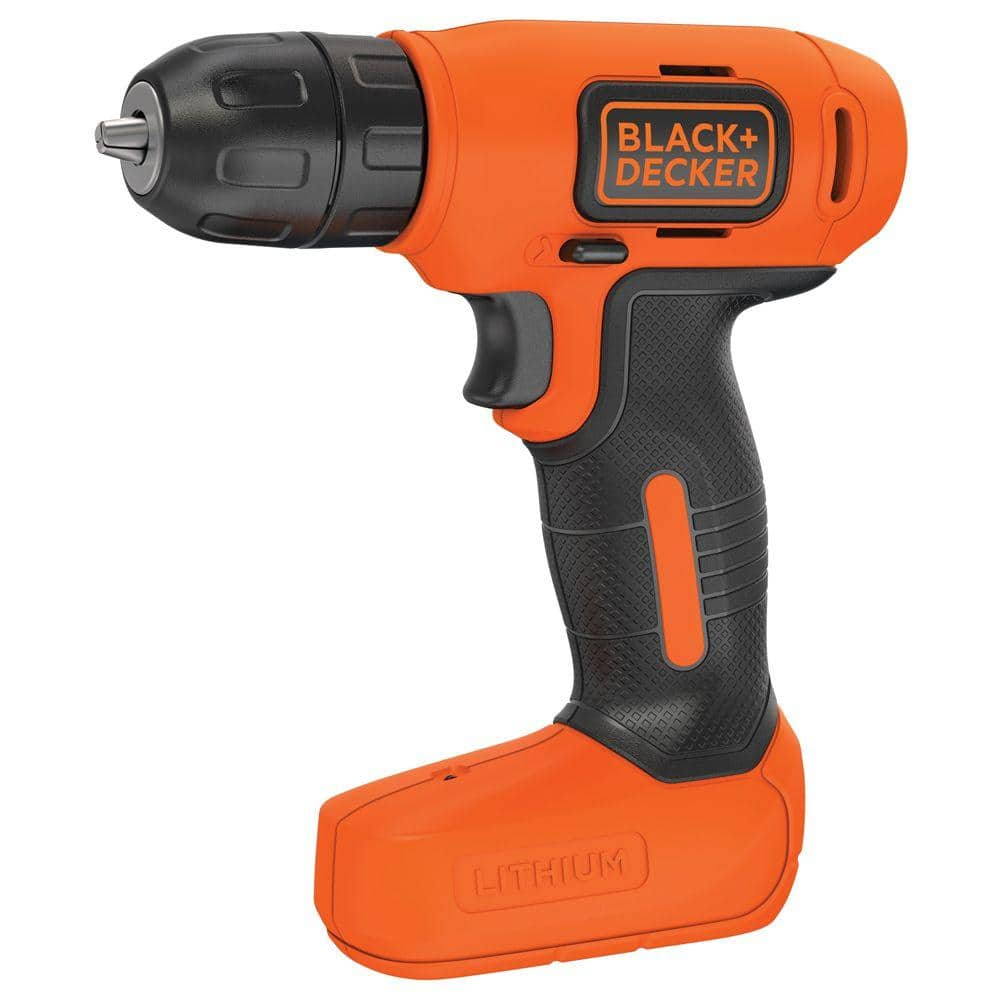
- Drill and drill bits
- Sisal rope
- Hot glue gun
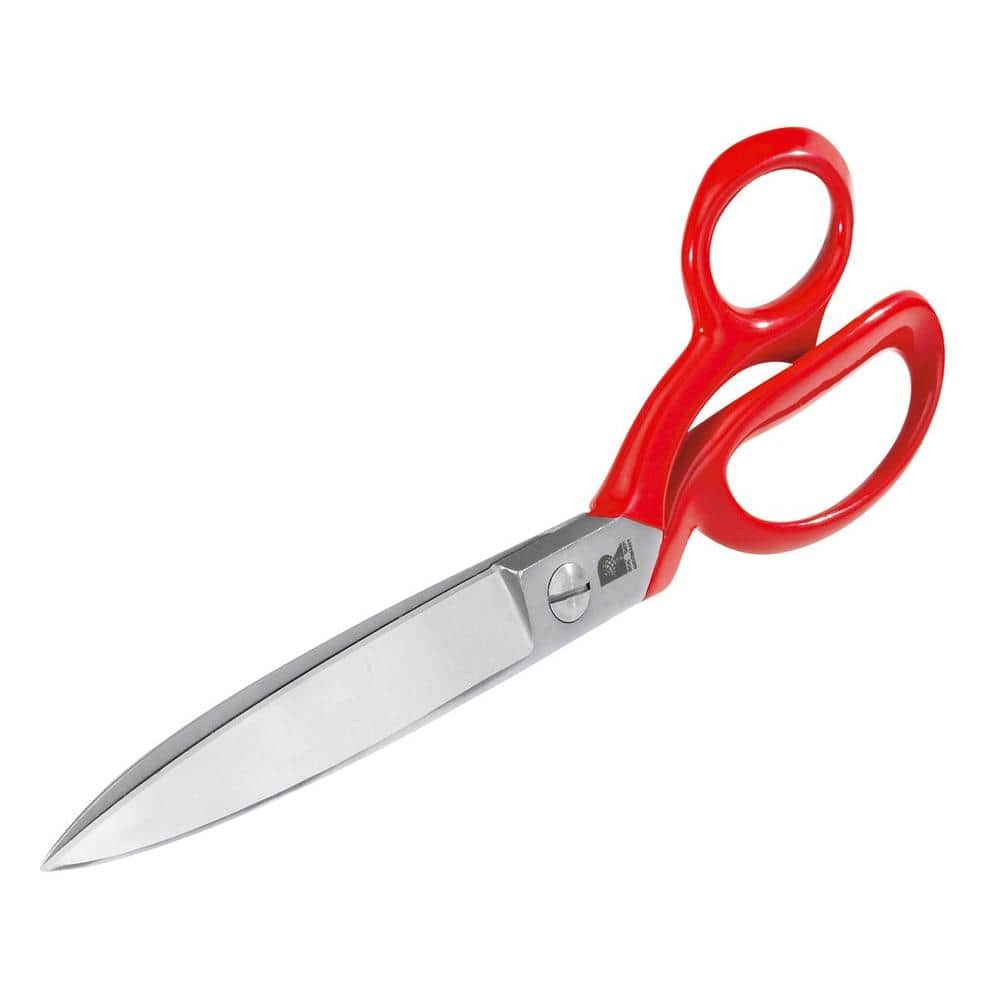
- Scissors
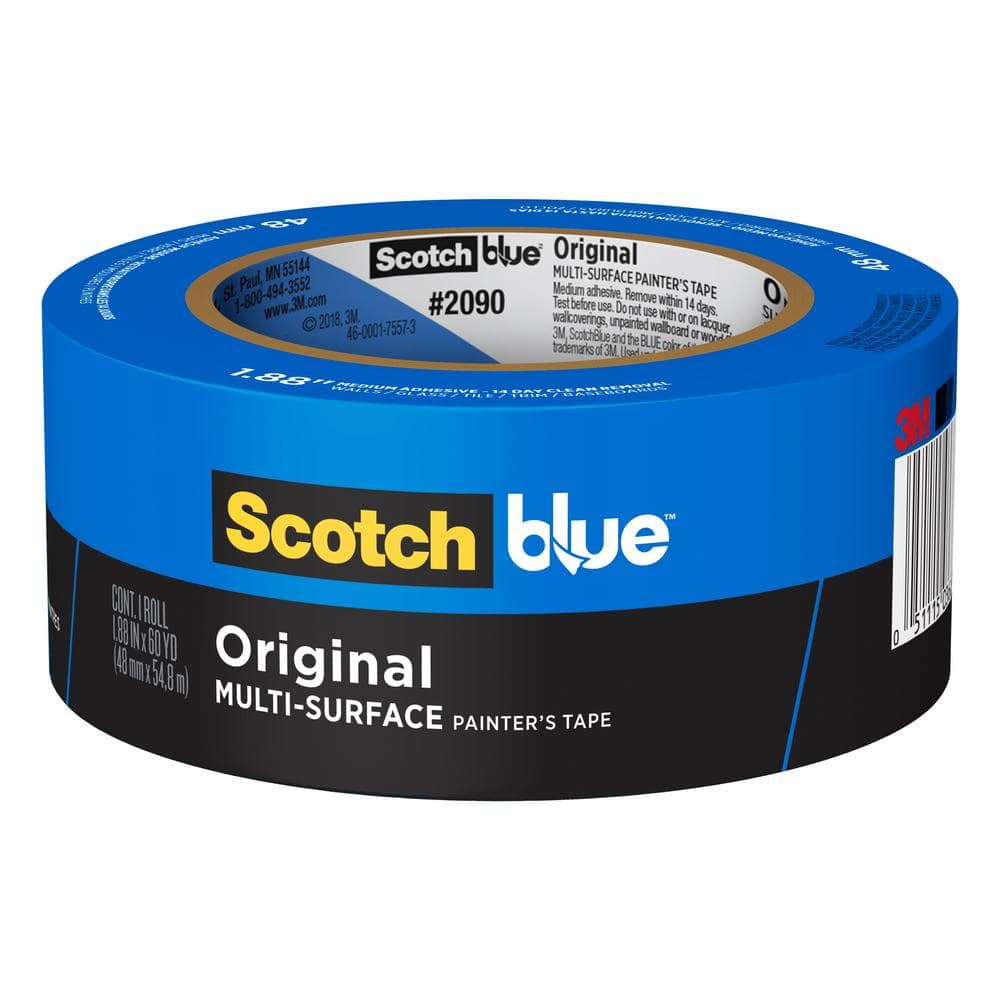
- Painter’s tape
- Paint brush
- Black paint
Here's how to create the planter:
- This project is ideal for a paint can without handles. However, you can remove any existing handles from a paint can using pliers and a wire cutter.
- Thoroughly clean the paint can by washing it with dish soap and water. If necessary, let it soak in a soapy solution for 30 minutes or so to loosen any stuck-on paint.
- Next, remove the label on the can. Generously coat with oil like olive, avocado or coconut oil. Leave it to soak in hot water overnight. Then, in the morning, scrub it with soap, water and a scouring sponge. You can also use paint remover to quickly remove both the paint and the label.
Let the can dry fully before painting. - Drill several holes in the bottom of the can for drainage. Extra water near plant's roots will cause them to rot.
- Create optional handles for the planter: Twist together two 7-inch pieces of sisal rope and secure them together by adding hot glue 1 inch from each end. Fray the remaining inch on both ends with your fingers. This will make it easier to glue flush to the can.
- Starting with the bottom of the can, apply small dots of hot glue and wrap the sisal rope around the can, securing with more hot glue as you go. We used one continuous piece of rope to avoid having to match up individual pieces.
- When you reach about 4-inches from the top, glue your handles on using the frayed ends, making sure to keep them as flat as possible, as you’ll be wrapping more rope around the ends to hide them.
- Continue to wrap and glue the rope around the can. Cover the ends of the handles and continue above the handles until the can is completely covered.
- Remove any stray bits of hot glue or rope with a pair of scissors.
- Tape off the section you want to paint (we painted ours on a diagonal). Dab paint on with a paint brush until the section is completely covered.
- Remove the tape while the paint is still wet for the cleanest line. Let the paint fully dry before using the planter.
Make a Storage Canister

For handy storage, create a DIY-version of ceramic containers that house everything from cotton balls to paper clips. It’s super simple to achieve this look with an empty paint can. Bring this affordable style to any bathroom, kitchen or desk.
Here's what you'll need:
- Quart-size paint can with a lid (and no handles)
- Dish soap
- Cooking oil (like olive oil or coconut oil)
- Paint remover (optional)
- Scouring sponge
- Drill and drill bits
- Tarp or builder’s paper
- Sandpaper
- Reusable cloth
- Rubber gloves
- Chalked spray paint
- Paint brush
- Dark beige all-purpose paint
- Cabinet knob
Here's how to create this storage canister:
- Thoroughly clean the paint can by washing it with dish soap and water. If necessary, let it soak in a soapy solution for 30 minutes or so to loosen any stuck-on paint.
- Next, remove the label on the can and generously coat it with an oil, like olive, avocado, coconut, etc. Leave it to soak in hot water overnight. Then, in the morning, scrub it with soap, water and a scouring sponge. You can also use paint remover to quickly remove both the paint and the label. Let it fully dry before painting.
- Drill a hole in the center of the paint can lid to allow the cabinet knob to be attached. In this case, the size of the machine screw attached to the knob is #8-32 x 1-inch (information you can find in the online description or on the package), so we drilled the hole using a #29 bit.
- Lay a tarp or builder’s paper down over the area you’ll be working on. Give the paint can a quick sanding to roughen the surface. After sanding down the surface, wipe it with a damp cloth and let it dry. When you're spray painting, you always want to begin with a non-shiny surface. Roughing up the paint can with sandpaper makes it far more receptive to the paint and ensures it won’t later chip off.
- Put on rubber gloves to protect your hands. Spray paint the can and lid with a chalked white spray paint. This type of paint leaves an ultra-matte finish and sticks exceedingly well to almost all surfaces. Work in thin, even coats.
- Let each coat dry between 20 to 60 minutes before adding more if needed. Shake the can of spray paint before you use it each time.
- Dab a paint brush into the all-purpose liquid paint (we used a dark beige color for a natural pottery look), coating it with a good amount of paint.
- Gently shake and flick the paint off onto the can, until it’s splattered and splotched to your liking.
- Once the can and lid are completely dry (up to 3 hours), screw the cabinet knob onto the lid with the included hardware.
Used paint cans don't need to just take up room in your garage or shed. With a little imagination and the right tools, you can repurpose a paint can to create decorative pieces and useful storage for any room in your home.
Looking for the supplies you'll need to complete this DIY project? The Home Depot delivers online orders when and where you need them.