Container Gardening from Start to Finish

Last updated March 12, 2025
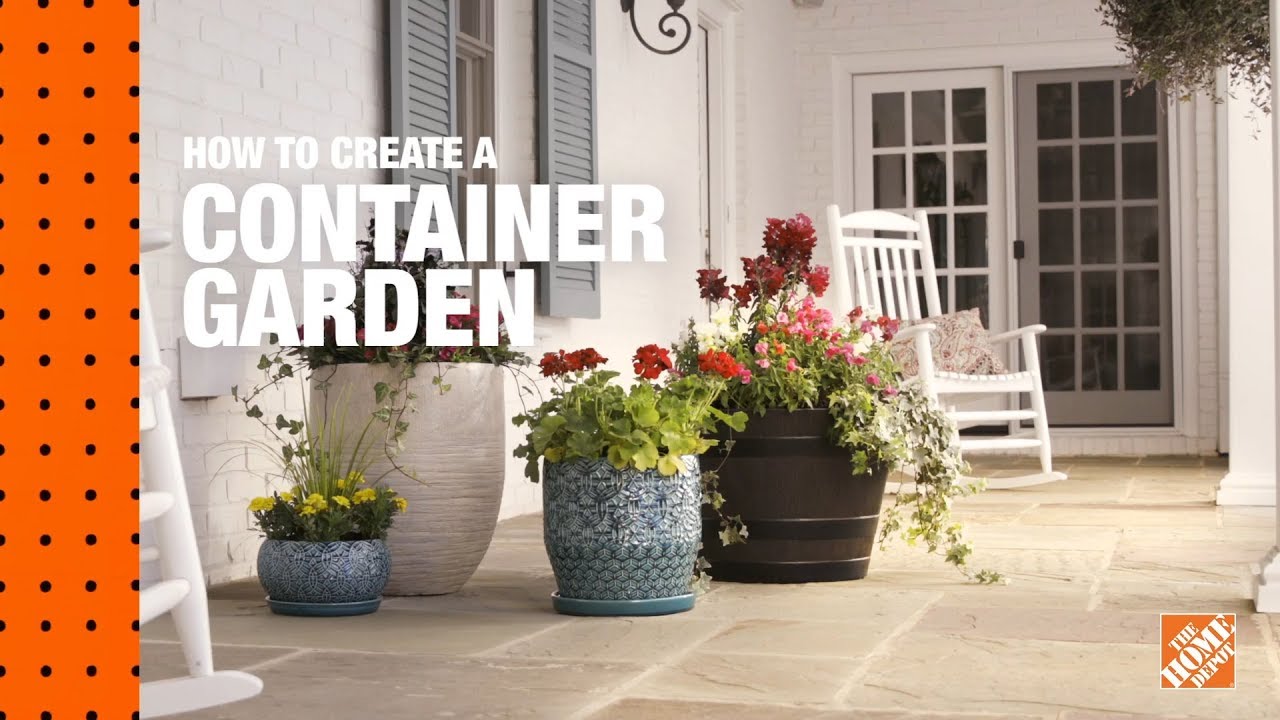
Container gardening is the answer to many gardening problems. Do you have a green thumb, but are limited to a balcony or patio? Fill your small space with containers of everything from dwarf shrubs to perennials.
Are you a homeowner who wants to grow edibles, but you’re reluctant to add a vegetable garden bed to the landscape? Try growing tomatoes in containers until you settle on a permanent spot. Are you crunched for time, but still want seasonal color? Fill your porch and patio with colorful pots of show-stopping annuals each season.
Low maintenance means your time is important and you don’t have a lot of extra minutes in your day to spend watering, pruning and cajoling plants to bloom and fruit. Make smart choices from the get-go and your containers will reward you with abundant foliage, fruit and flowers.
Table of Contents
Begin with the Right Size Container
Fill Container with the Right Soil
Choose the Right Planter and Plants
Regularly Fertilize Containers
Watering Techniques for Your Container Garden
Self-Watering Containers and Drip Irrigation
Begin with the Right Size Container

Because a smaller volume of soil will dry out faster than a larger quantity, Walliser recommends using bigger containers that hold a greater quantity of soil. There are many affordable options for larger containers. Look for plastic, acrylic, foam and resin containers at prices to fit any budget.
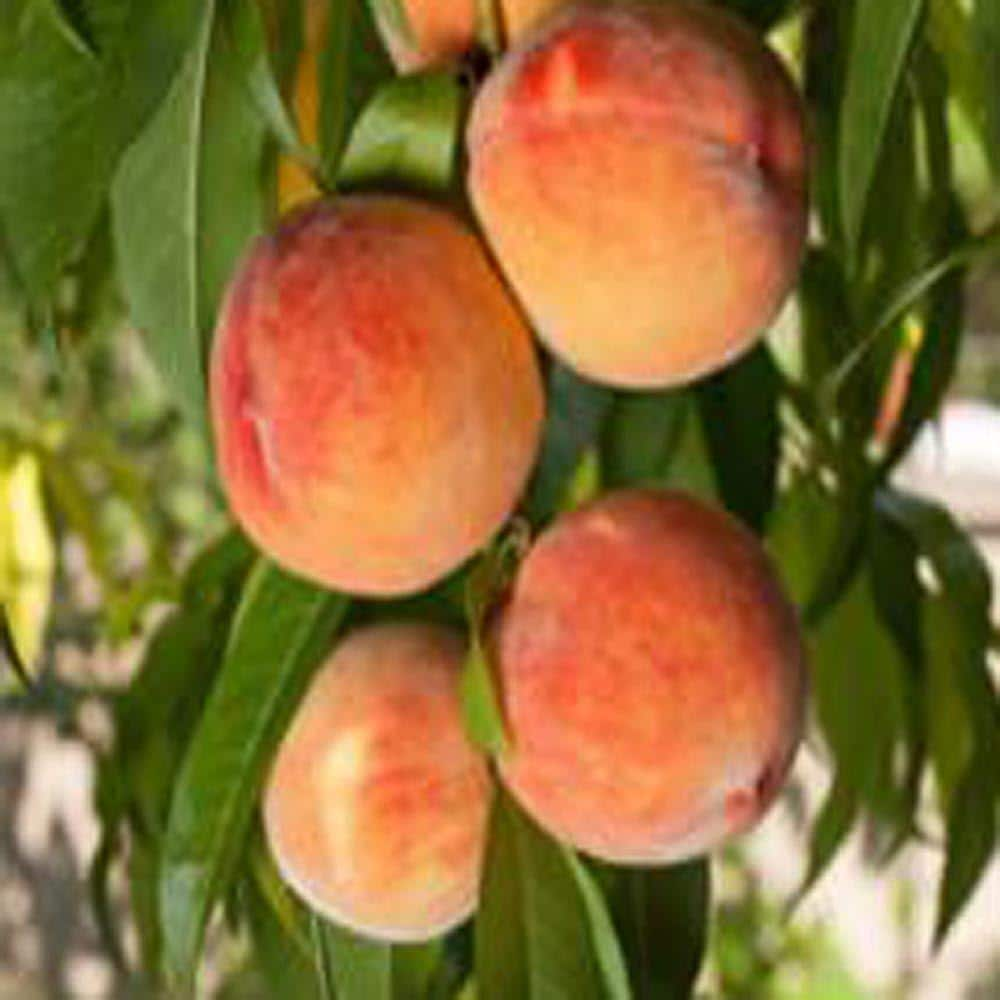
Another consideration is that the size of the container should directly relate to the type of plant. Annual flowers, greens such as lettuce and kale and herbs need one to two gallons of soil per plant, at minimum. Large fruits and vegetables like peppers, eggplants and dwarf blueberries require eight to 10-gallon planters. For success with full-size tomatoes, you’ll need 10 to 15 gallons of soil per plant. Follow this soil capacity guide when planning your container garden.
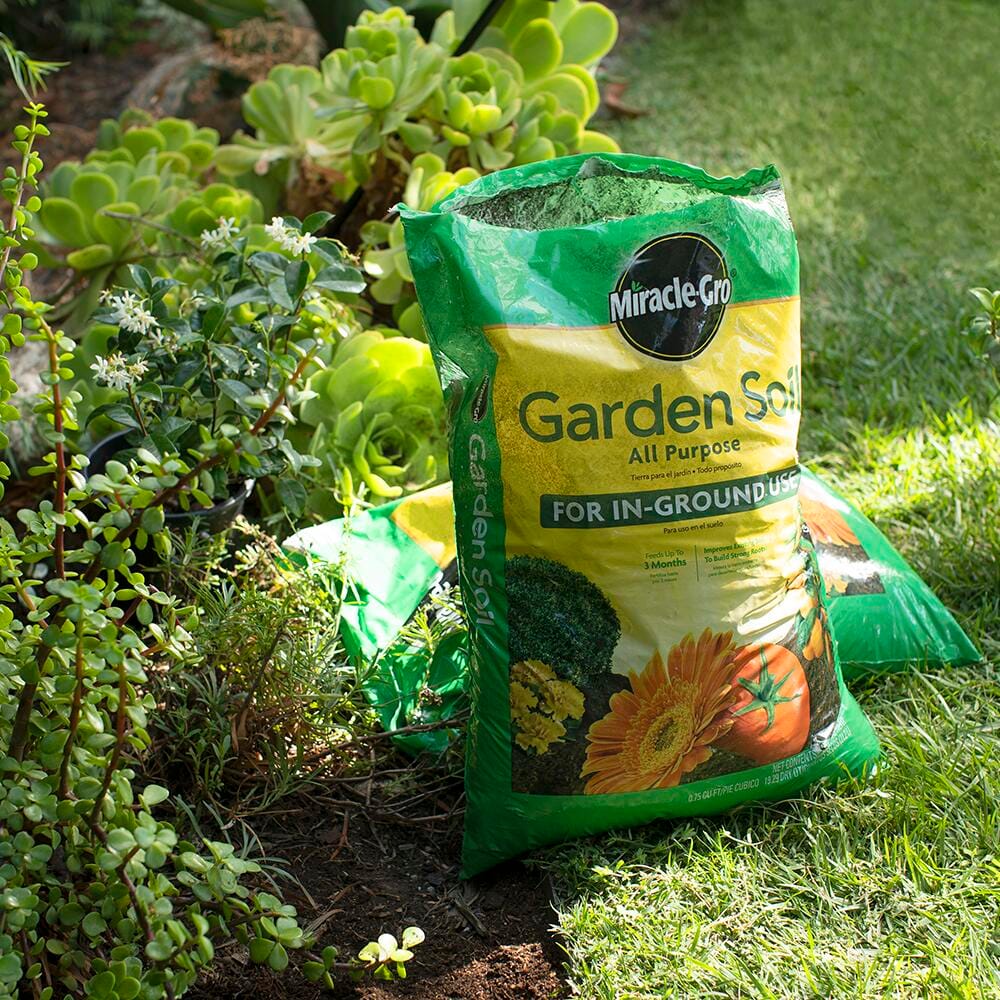
Fill Container with the Right Soil

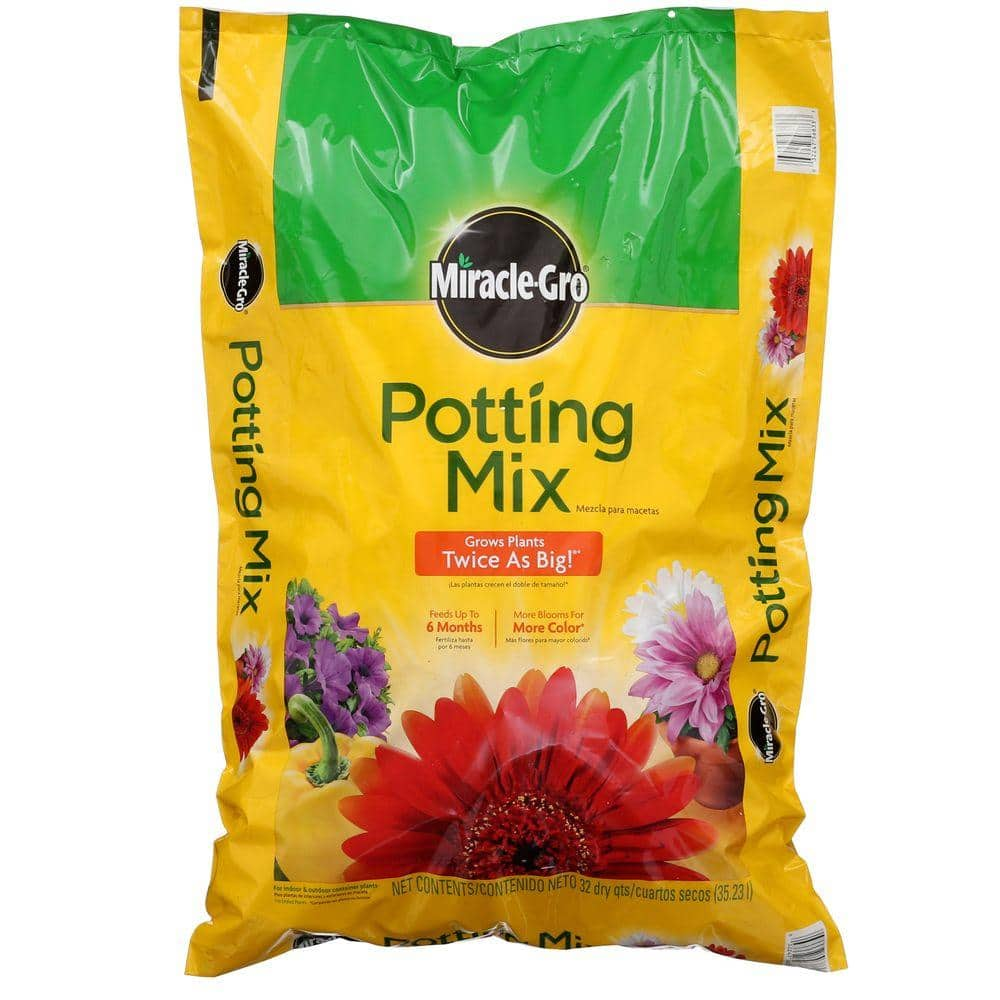
Good quality organic potting mix will give your plants the best start. You want a potting soil that is well-draining, but also holds water for plants to get nourishment. You can purchase potting soil, or you can mix your own by following Walliser’s recipe of equal parts organic potting soil and compost, either purchased or from your compost pile. You may need to mix in sand, compost, mulch or perlite. Ask your garden center expert for best results.
Fill your container almost to the top. Dig a hole in the soil to the same depth as the pot the plant is currently growing in. Slope the sides so the hole is wider at the top than at the bottom. The hole should be twice the width of the pot the plant is being transplanted out of.
Gently loosen the plant from its old pot. Place the plant in the new hole. Fill in the hole half way with soil. Water the roots until the water fills the hole. This will loosen the roots and remove air pockets in the soil. Allow the water to drain. Finish filling in the hole with soil. Gently pat down the soil to secure the stem.
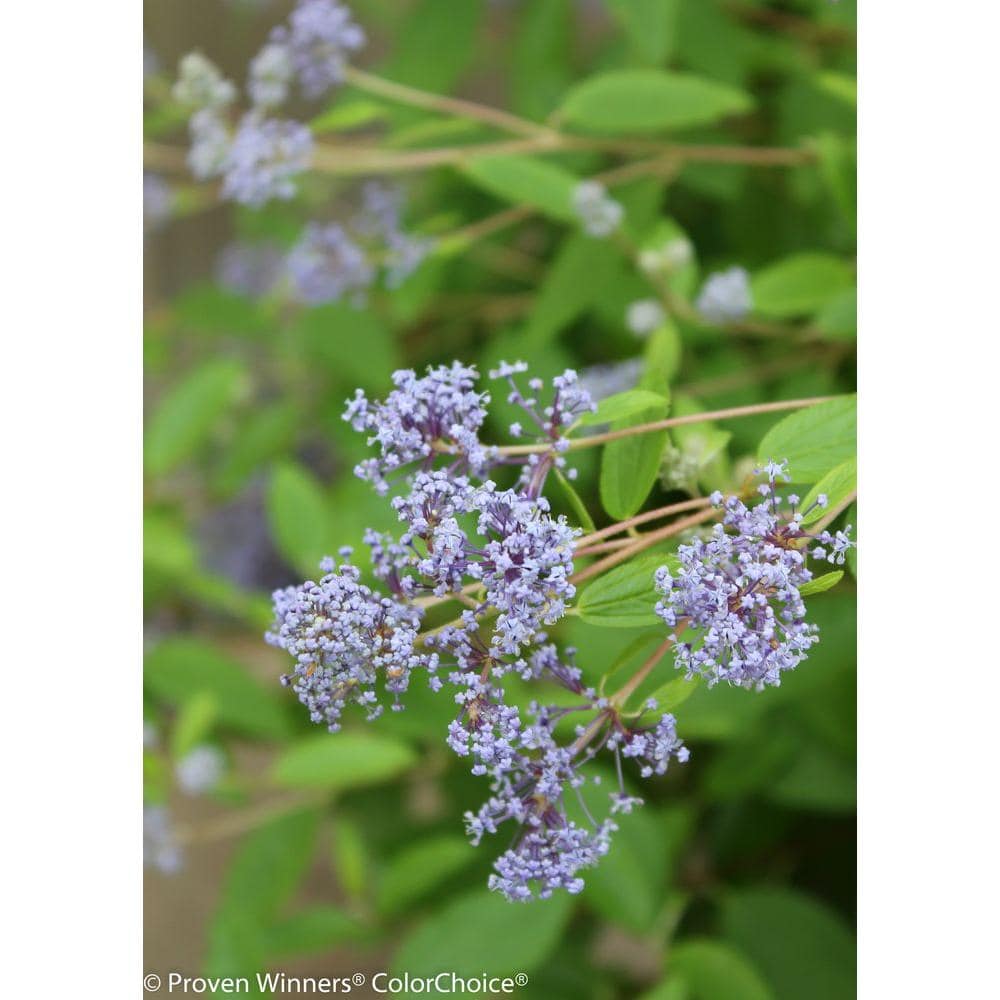
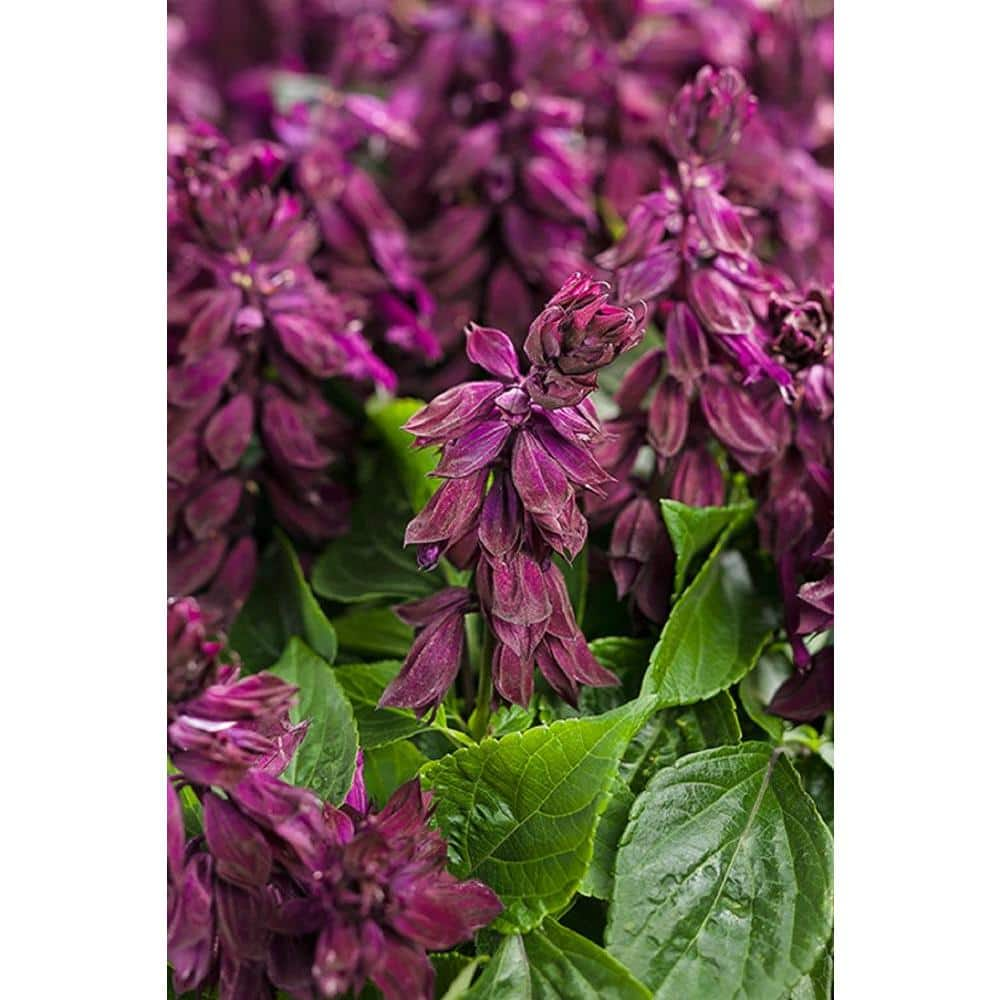
Choose the Right Planter and Plants

Some plants are better suited to containers than others. For example, if you plant the wrong kind of tomato, you’ll spend your summer staking, trellising and pruning a very rowdy, rambling tomato.
Look for Bonnie Plants tomato varieties like Husky Cherry Red, Better Bush and Bush Goliath that will put their energies into producing fruit in a bush shape. Read plant tags and take care to choose the plants that will thrive with the least amount of effort on your part.
Small fruit trees and shrubs are perfect for containers. Look for compact berry varieties for fresh fruit on your patio.
When you grow plants in containers, also consider:
- Mixing and matching the heights and textures of your plants creates a great look.
- Using plants that bloom at different times keeps your garden looking fresh throughout the growing season.
- Different plants take a different amount of time and effort to maintain.
With these points in mind, try drought-tolerant plants like succulents and grasses for a low-maintenance, full-sun container garden. Use tried and true container flowers like geraniums and irises for texture, color and greenery. Choose sweet potato vines, alyssum and coleus that spill over the container. This lets you display more plants in the same space.
The same tips apply to vegetables, fruits and herbs. Try planting some different items in the same pot. This is called companion planting. For example, plant tomatoes and basil together. Basil repels aphids, whiteflies and tomato hookworm. Or, plant beans, squash and corn together, which are known as the three sisters. The leaves of the squash shade the soil, the corn stalks give the beans somewhere to climb and the beans add nitrogen to the dirt, which helps the corn grow.
Small fruit trees and shrubs are also perfect for containers. Look for compact berry varieties for fresh fruit on your patio.
Tip: Read plant tags and choose the plants that will thrive with the least effort.
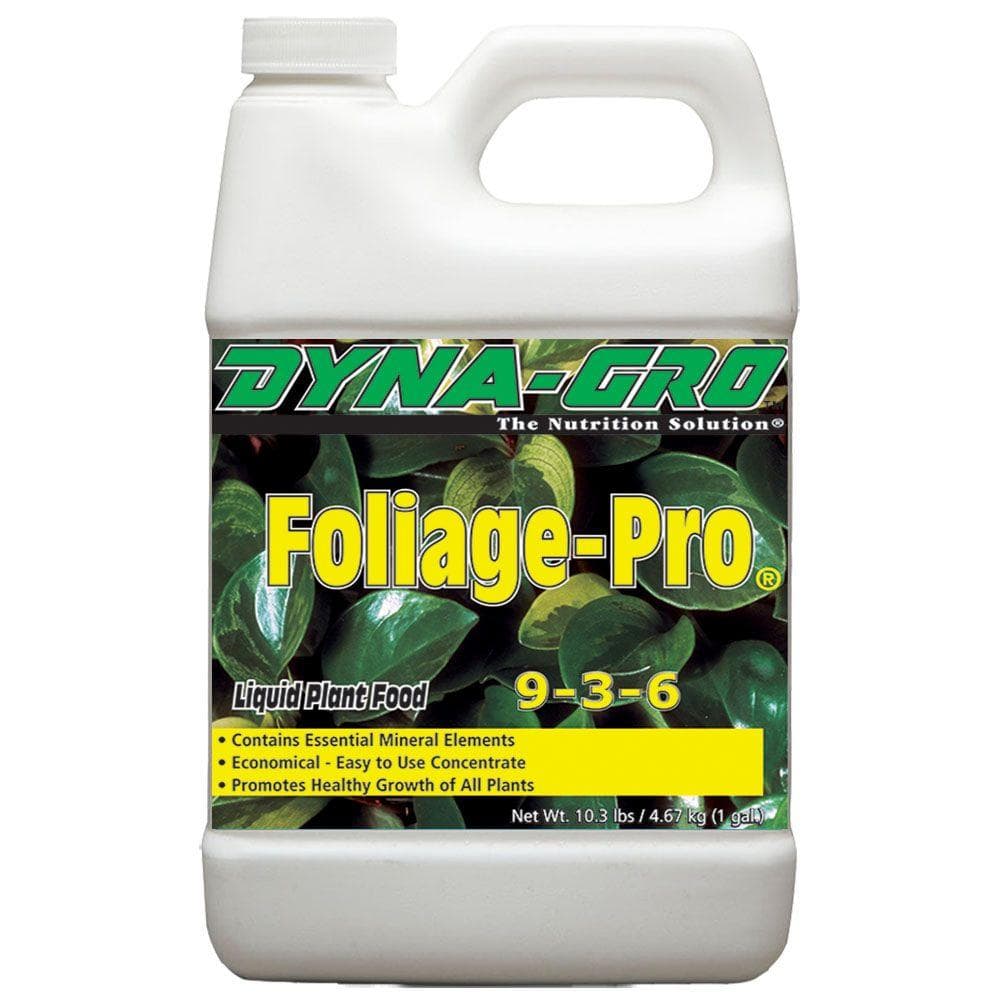
Regularly Fertilize Containers

Give your container plants a boost when you mix a small amount of granular fertilizer in the pot at planting, about two tablespoons per five-gallon container. Beginning in mid-summer, use a liquid organic fertilizer every two to three weeks when you water.
Watering Techniques for Your Container Garden

Most plants prefer deep, slow watering. Resist the urge to dump water on the surface and walk away. Water will find the easiest way to get to the ground. If you water a plant that has dried out and pulled away from the sides, water will pour out the bottom. This means the soil has not absorbed the water.
Avoid watering during the hot hours of the day. Most plants prefer watering in the early morning or late at night.
Try not to get water on the leaves, especially if you're growing zucchini, cucumbers or other squash. Water on the leaves leads to white powdery mildew.
A simple way to tell if your plant needs water is to stick your finger in the soil. If it is dry up to two inches deep, add water. If the soil is moist within the first two to three inches, you don't need to water. A soil meter can also help.
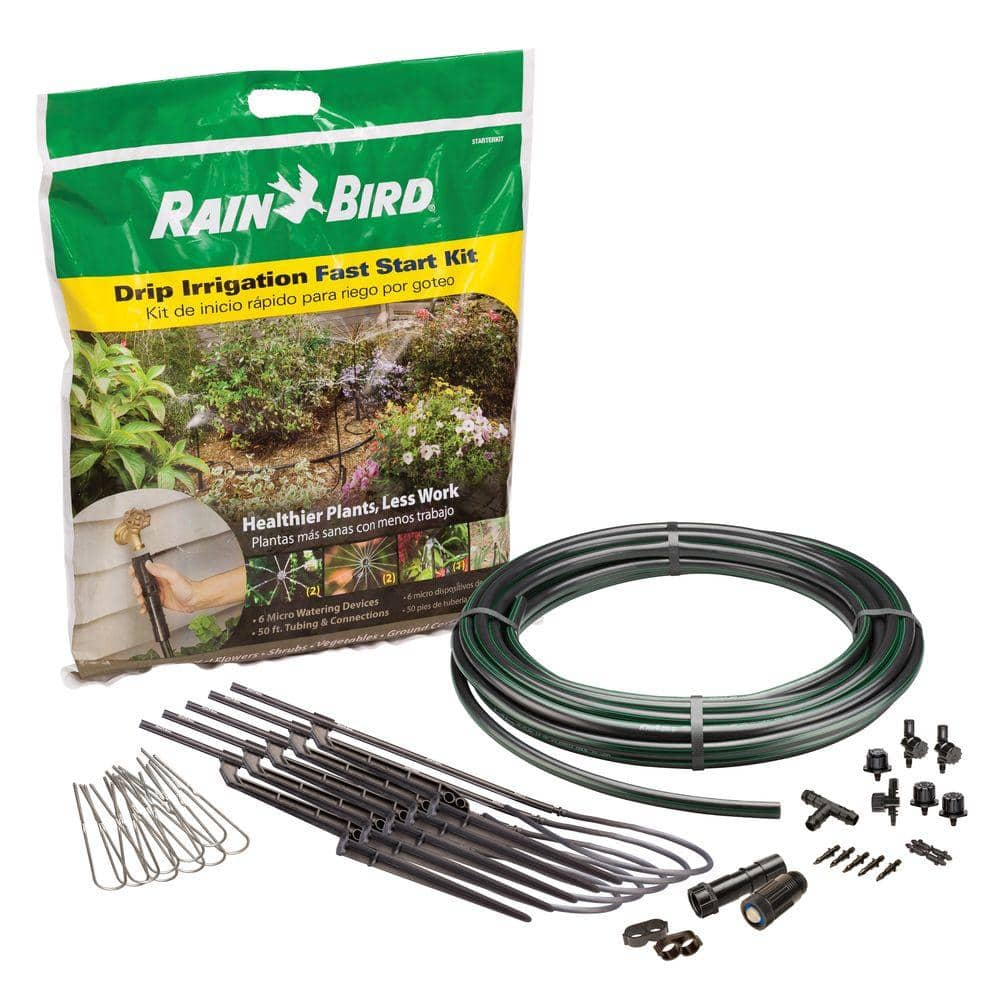
Self-Watering Containers and Drip Irrigation

We’ve talked about the right size container, but also consider a kind of planter that will save you time and water, and could save your plants, too.
Self-watering containers are designed with a water reservoir within the double walls. Fill the container through a hole in the rim and the plants’ roots will draw the water through a wicking system. Results will vary depending on the size of the container, temperature and plants, but you’ll have peace of mind knowing that you can have two to six weeks between waterings. An indicator button displays the water level so you’ll know when the container needs topping off.
In addition to self-watering containers, drip irrigation will save you time and water. Install a simple drip watering system to deliver a small amount of water directly to a plant’s roots.
Patio plant watering kits come with almost everything you need, are easy to set up and are simple to use. It’ll be the smartest thing you do for your plants this summer.
Upkeep and End of Season Maintenance

Keep your plants looking their best by removing dead leaves and flowers regularly. Bushes and fruit trees benefit from pruning in the early spring or fall, depending on the plant.
For annuals, remove the plants at the end of the growing season. Top-dress the soil by spreading mulch or compost on top to prepare it for next year’s plantings.
Pull perennials under cover to protect them from strong winds. Top-dress them with mulch and compost to nourish the roots. This also protects the plants from the cold.
It is a fun experience to harvest your homegrown food or pick fresh-cut flowers that you grew yourself. Follow the steps in this guide to fill your small space with containers and grow everything from dwarf shrubs to vegetables and perennials.
Whether you need the right planters, seeds or potting soil, The Home Depot delivers online orders when and where you need them.