Easter Crafts for Kids
Last updated September 7, 2023
Get creative this season with simple and fun Easter craft ideas for kids. From dyed eggs to homemade garland, this guide shows you how simple items can become adorable decor that your kids will be proud to show off. Using your favorite craft items and a bit of creativity, these Easter projects are fun for the whole family.
Table of Contents
Glass Jar Bunny
Bunny in the Flower Pot
Dye Eggs with Shaving Cream
Washi Tape Eggs
Spring Characters Garland
Paint Your Own Basket
Glass Jar Bunny
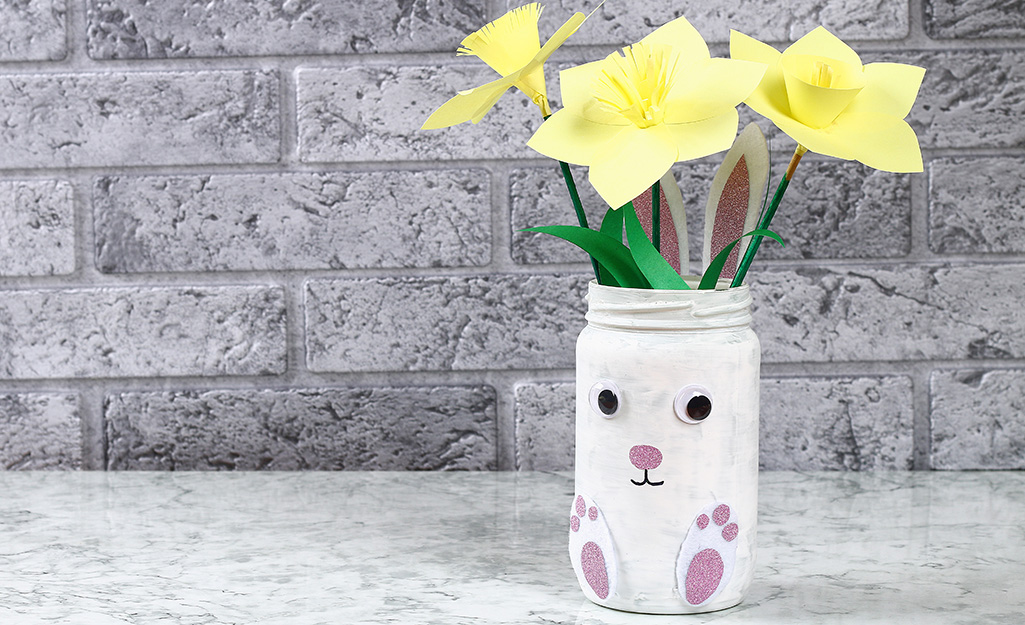
Perfect for flower vases, Easter table decor or filled with special treats, this bunny jar is easy to make.
You'll need:
- Glass jar
- Acrylic or chalk paint (white and pink)
- Paint brush
- Glue gun
- White felt
- Scissors
- Googly eyes
- Black permanent marker
To make:
- Paint the jars with white paint and let dry completely.
- Using your hot glue gun, attach the eyes to the jar.
- Next, using your pink paint, add the bunny nose to the jar. Then, with your permanent marker, make the bunny mouth.
- To make the ears and feet, trace the shape on the white felt and then cut out with scissors. Then, with your pink paint, finish the bunny ears and feet.
- Attach the ears and feet to the jar and allow to dry.
Bunny in the Flower Pot
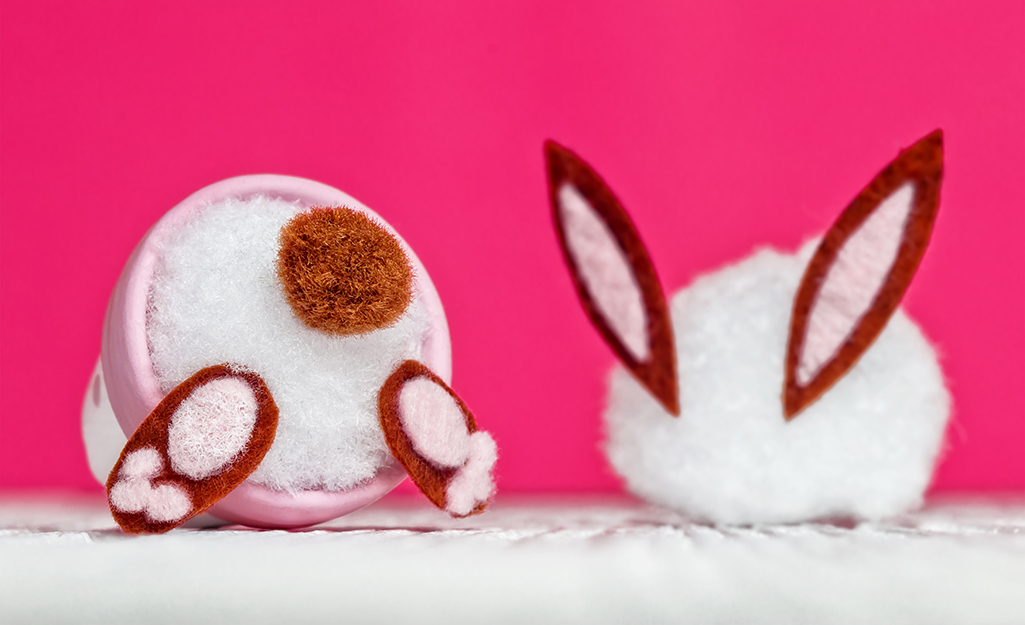
Let kids get creative with colors to create a festive flower pot. Budget-friendly and adorable, this curious easter project can be done using paint, a clay pot and just a few other items.
You'll need:
- Terra cotta or clay pot
- Hot glue gun
- Small and large pom poms
- Felt
- Scissors
- Craft paint
To make:
- Start by cutting out two small oval shapes in the felt to make the feet. Then, snip three pieces of your larger pom pom to make bunny toes.
- Next, using your glue gun, glue the feet and toes together.
- Apply hot glue to the inside edge of the flower pot and set the large pom pom inside.
- Now, glue your small pom pom on the end of the large pom pom to create the tail.
- Lastly, glue the felt feet on each side of the large pom pom, making sure to attach to the flower pot as well.
Tip: You can leave your clay pot its normal terra cotta color, or opt to let kids paint the pot. If painting, allow a half-day for paint to dry.
Dye Eggs with Shaving Cream
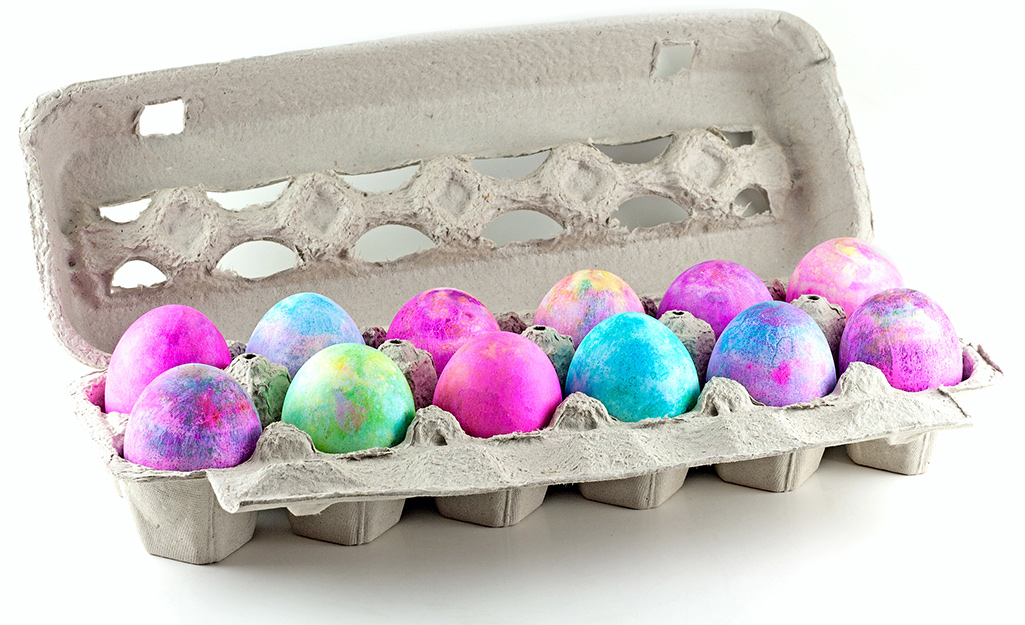
Fun for the entire family, this project adds a little artistic flair to traditional egg dyeing and take less than an hour.
You'll need:
- Large bowl
- Small bowl filled with water
- Shaving cream
- Eggs
- Paper towel or paper plate
- Small pan
- Shallow baking pan
- Food coloring
- Bamboo skewers or toothpicks
- Rubber gloves
- White vinegar
- Water
To make:
- Soak cooled, hardboiled eggs into a large bowl filled with vinegar for 15 to 20 minutes.
- While the eggs soak, fill your shallow baking pan with a thick layer of shaving cream.
- Now, add drops of food coloring of your choice across the top of the shaving cream and swirl the coloring around using your bamboo skewer or toothpick.
- Remember to put on your gloves to protect your hands from the dye. Then, take the eggs out of the vinegar dish one at a time and begin rolling them in the shaving cream. Be sure to completely coat the egg in the shaving cream.
- Once you've rolled the egg, place it on a paper towel to dry (usually 15 to 20 minutes).
Washi Tape Eggs
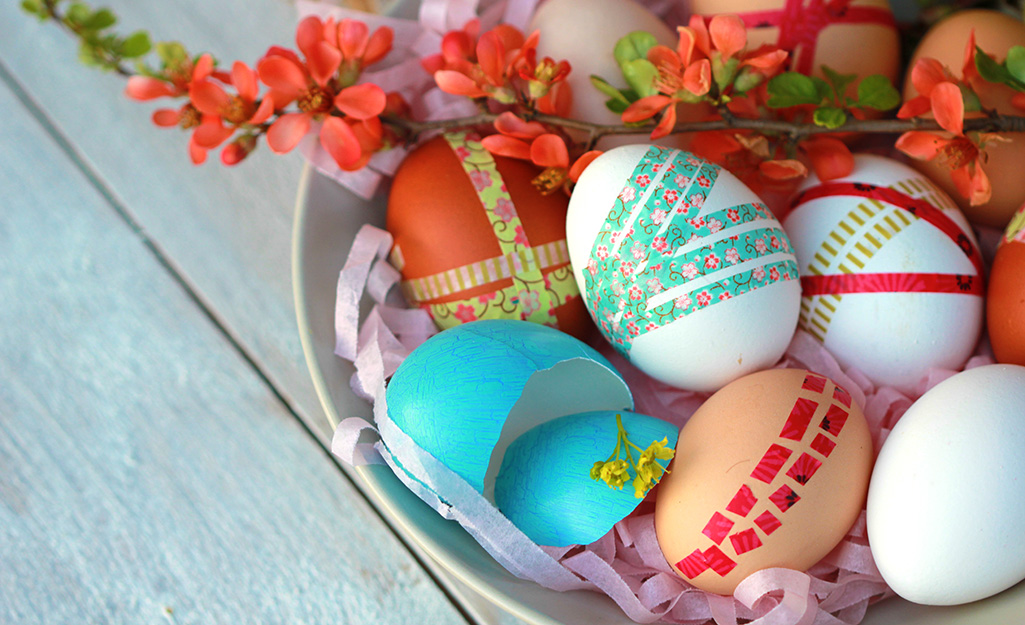
Whether you try this with all white eggs or dyed eggs, cover the whole egg or just create a fun pattern, this craft allows kids to be as creative as they want to be with little mess. Washi tape is available in a variety of patterns and colors, making it easy to experiment with a variety of festive looks.
You'll need:
- Eggs
- Washi tape
- Scissors
To make:
- Begin by pulling out about 6 inches of Washi tape and using scissors to cut it into thin strips (however many you need for your creation).
- Place the strips in the pattern you choose. Repeat as necessary.
- You can also create an all-over washi tape look by cutting small squares and applying them all around the egg. Or get adventurous and opt for confetti or polka dot designs.
Tip: Each egg typically takes about 5 to 8 minutes to decorate.
Spring Characters Garland
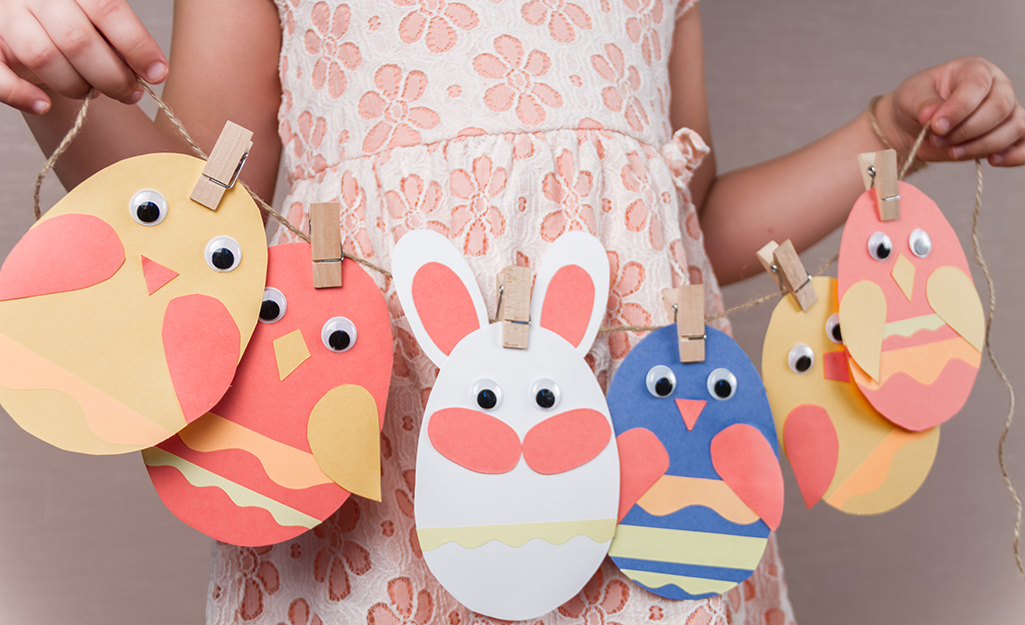
Perfect for hanging up in kids' rooms or near the Easter dinner table, this is one of the easiest DIY Easter crafts to bring seasonal cheer to any space.
You'll need:
- Twine
- Clothespins
- Googly eyes
- Glue
- Construction paper
- Scissors
- Pencil
To make:
- Measure the wall where you will hang the garland to determine how long you shold cut the twine and how many characters you want to create.
- Next, begin tracing six or more medium-sized ovals to create your spring characters' bodies. Get creative with their decor, using construction paper to form their arms, wings and design.
- Use your scissors to cut out the shapes and begin gluing the characters' bodies together.
- Now, attach the googly eyes with your glue. Allow the characters to dry.
- While they are drying, cut your twine and gather your clothes pins.
- Once dry, attach the bunnies, chicks and other characters to the twine using your clothespins and hang.
Paint Your Own Basket
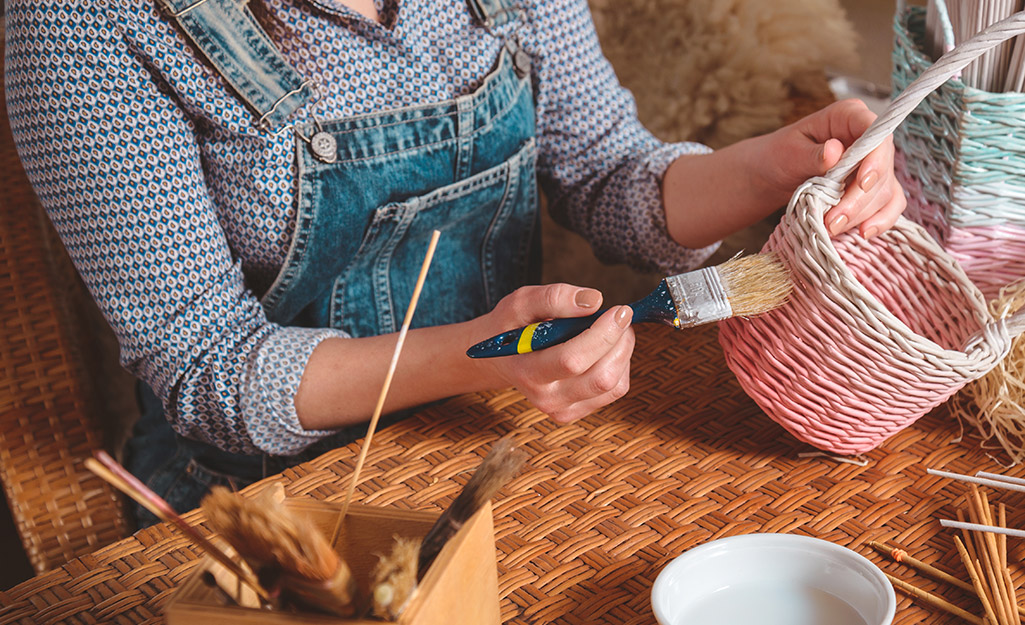
What's more fun that getting an Easter basket filled with goodies? Painting it just the way you like it so it's perfect on Easter morning. Using a traditional wicker basket, kids can use their imagination to design a basket that's all their own.
You'll need:
- Wicker or wooden basket
- Acrylic or craft paint
- Paint brush
- Craft paper or tablecloth (to protect the table)
To make:
- Relatively easy to do, there is no right or wrong way to do this. Be sure to protect the table or area you are using to paint by putting down craft paper or a plastic tablecloth.
- Gather your baskets, paint and tools and start painting.
- For an ombré effect, start with a darker, thicker layer on the bottom and then go increasing lighter as you reach the top.
Afforable and fun to do, easy Easter crafts can be fun for kids of any age. Not only will you enjoy passing the time with your kids as they craft, but these clever projects can double as spring decor. Enjoy free delivery on over one million online items.


