Garden Path Ideas

Last updated September 7, 2023
Like a frame around an art piece, a garden path can outline your landscape. Outdoor walkways impact the style of your garden, define spaces and create borders. Your garden pathway can be elegant, informal or simplistic. The vibe all depends on the materials you use.
No matter what design you choose, your walkway should stand the test of time. Read this guide to discover garden path ideas for your landscape.
Table of Contents
Paver Path
Soft Mulch Garden Path
Brick Walkway
Landscaping Rocks
Concrete Walkway
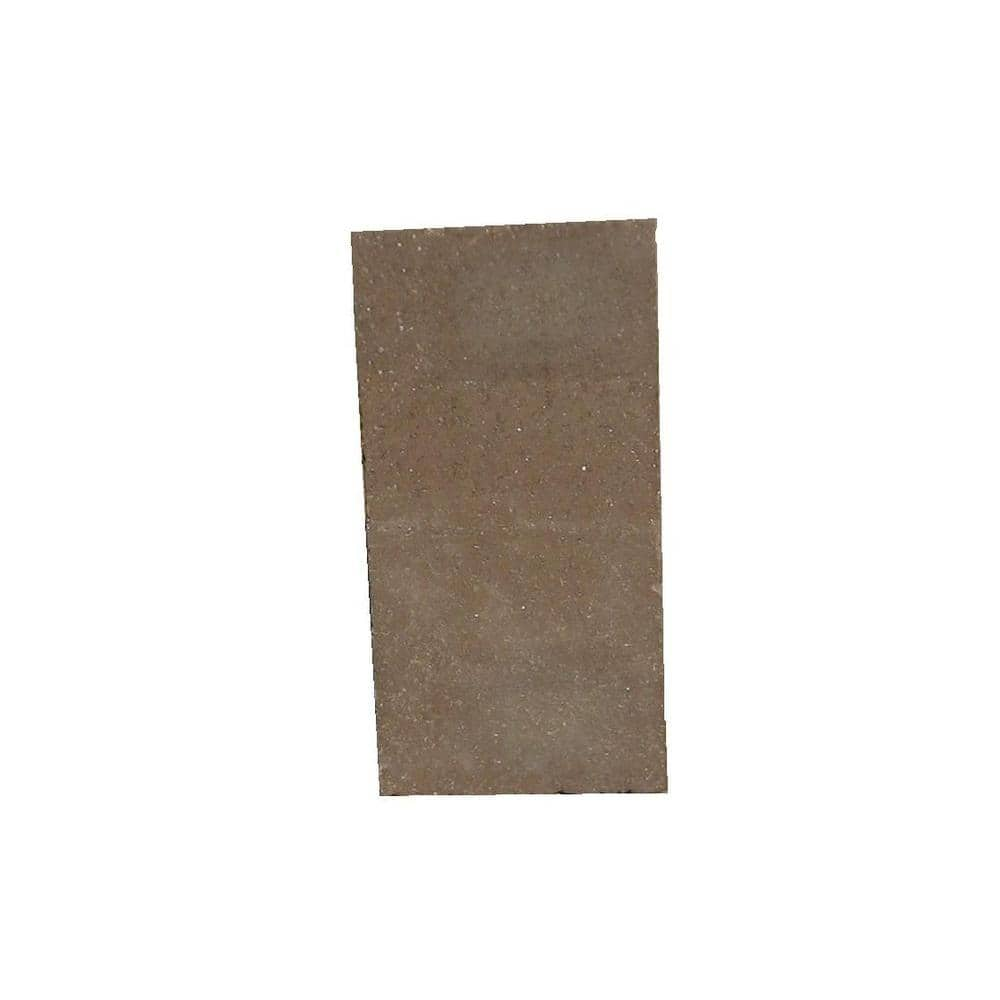
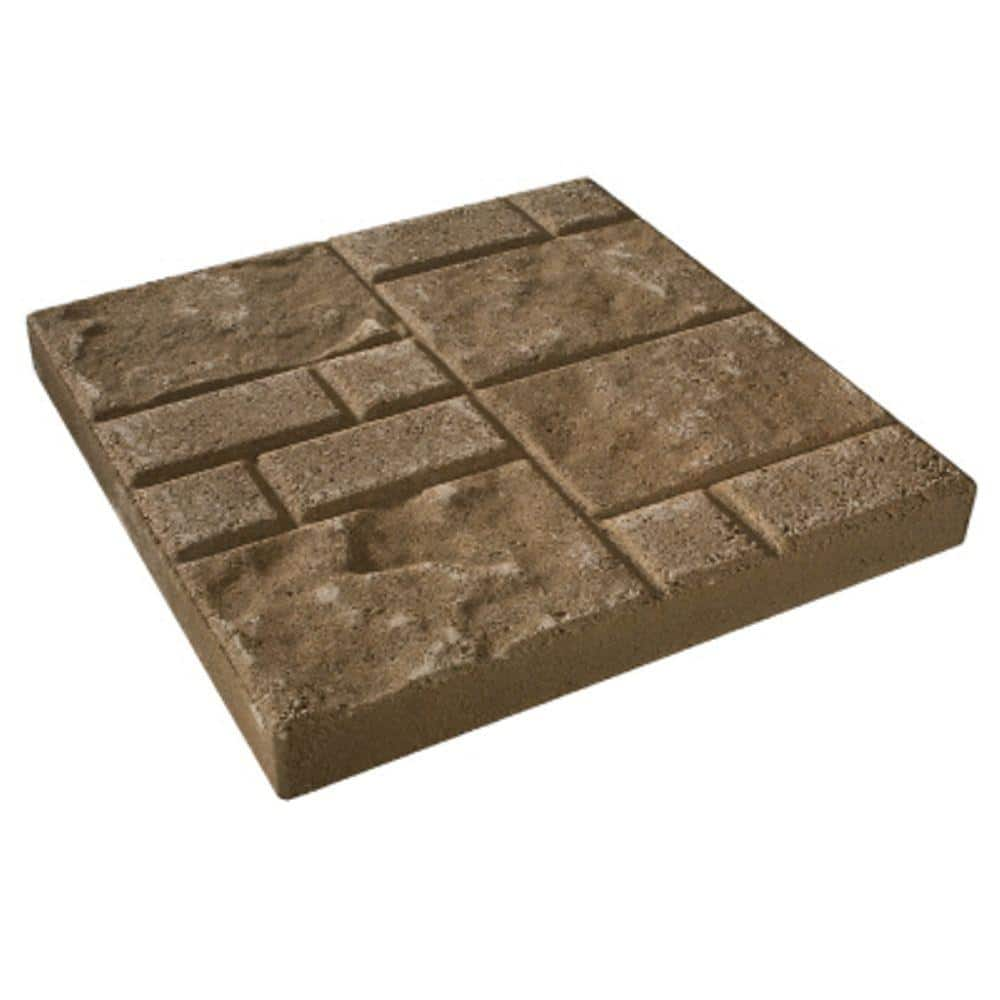
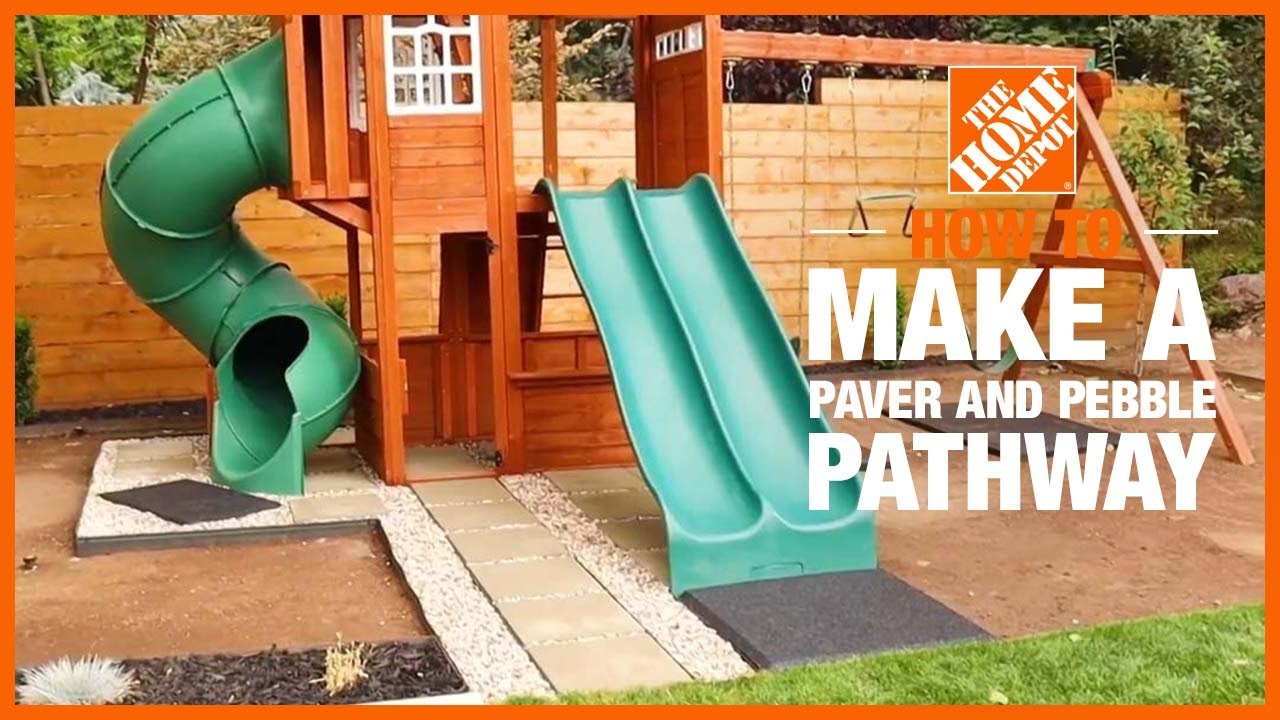
Paver Path

You don’t need a weekend to create this paver path. You can install this walkway in six easy steps in less than a day.
A paver path is an easy way to spruce up any outdoor space. It makes it more functional and comfortable at the same time. When it comes to your design, there are a range of ways to build a paver pathway. Popular styles include pea gravel as a base with stone pavers mixed in. Brick pavers are a striking addition. Other styles use decomposed granite or special interlocking pavers. There's a variety of stepping stones you can utilize.
Pavers are simple to work with, even for a new DIY-er. Save your grass from foot traffic by completing this DIY project. To create this walkway, you'll need to:
- Measure and prep the area
- Apply leveling sand
- Measure and layout the stones
- Sand the stones
- Fill in spaces
To DIY, start by finding the square footage of your space. To do this, simply multiply the length by the width. For example, let's say your space is 20 feet long and 3 feet wide. You'd multiply 20 feet long by 3 feet wide, giving a total area of 60 square feet. To cover that space, you'll need a total of twenty-eight 12x12 inch paver stones. You'd install the pavers in pairs of two. Leave a 6-inch gap between each pair. Between the pavers and the edge of the walkway, add a gap of 3 or 6 inches. Alternate the distance for a staggered effect.
To prepare the area before laying the pavers, you need to do a few things. Clear away any grass with a shovel or tiller. Stakes and string help to mark out the course. Fill the area with paver base with 4 inches of depth. 40 bags of paver base are required to cover 60 square feet. You'll need a tamper to level out and settle the base. If it's a larger walkway, consider a powered tamper to help. Once paver base is added, you can apply leveling sand.
There are different types of leveling sand. Many use polymeric sand to create a tighter fit. Unsure of the right type for your project? Ask a Home Depot associate for advice.
With leveling sand laid down, you can add your paver stones. Sketching the pattern is always a good idea for DIY. Start laying out your stones with measuring tape. Double-check your distances as you move along. Apply a layer of leveling sand with a 1-inch depth. For 60 square feet, you'd need twelve bags of sand. Once the layer is added, tamp it down to secure it.
With your pavers in place, you're close to being done. Take any remaining sand and spread it across the pavers evenly. A little goes a long way. Use a push broom to sweep it between the pavers.
Lastly, it's time to fill the spaces. You get to choose the material. Pea pebbles are popular. They create an interesting contrast depending on your chosen paver color. They help make outdoor decor shine. If you want a more blended look, go for mulch. This is popular for homeowners with plant beds and vegetation.
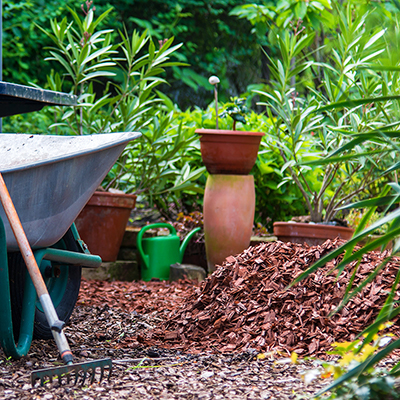
Soft Mulch Garden Path

In an afternoon, you can create a soft mulch garden path. It comes complete with a weed barrier, too. It’s so easy and adds a focal point to your landscape.
There are many types of mulch you can use. The most popular are:
- Fall leaves
- Wood chips
- Straw or hay
We suggest using the type that's most readily available to you. If you can get mulch from your own property, even better. You may be wondering why mulch is better than grass.
Grass can overgrow into your garden beds, requires mowing and takes up water. Mulching your path saves you time and benefits your garden. Wood chips, for example, are great at supporting beneficial fungi. Fungi will break mulch down into soil, spread water, and add nutrients to your garden.
To create a mulch path, sheet mulch the ground to get rid of the existing grass. Lay the mulch on thick because it will compress. You'll need to top up your garden path with mulch every few years.
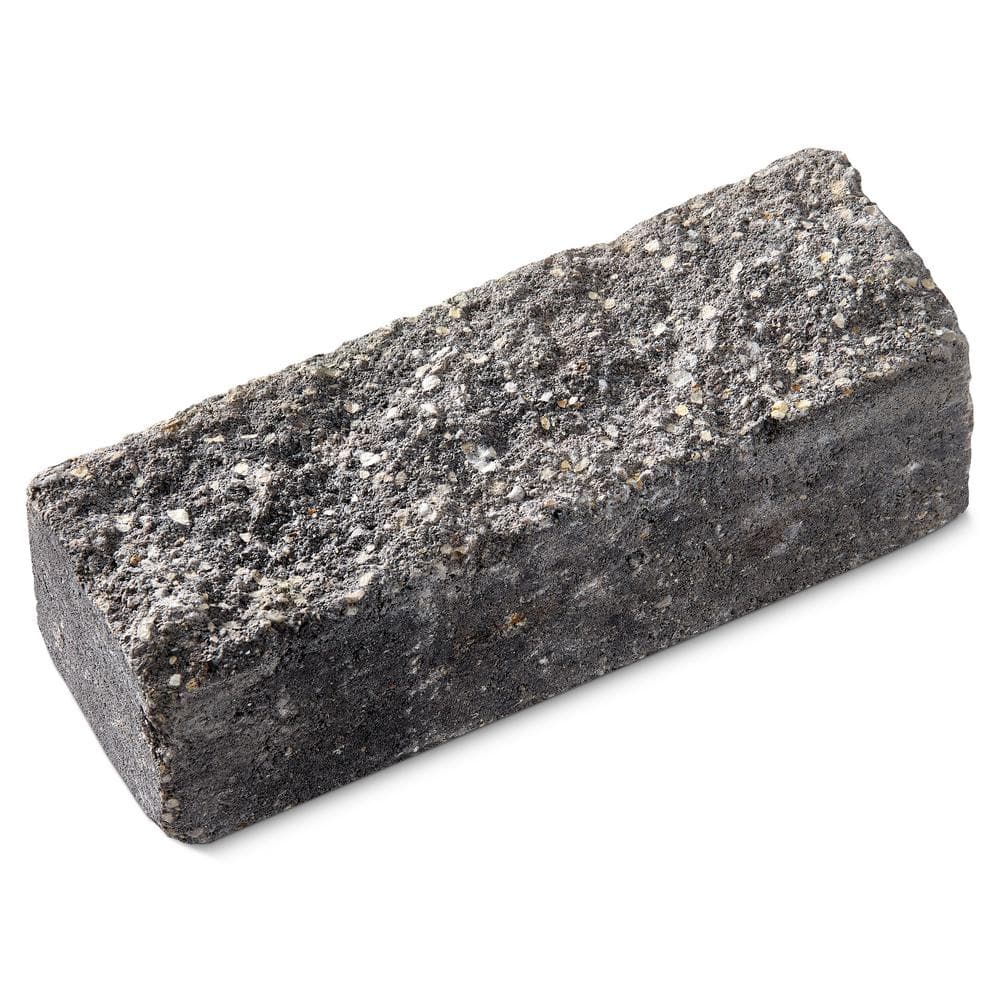
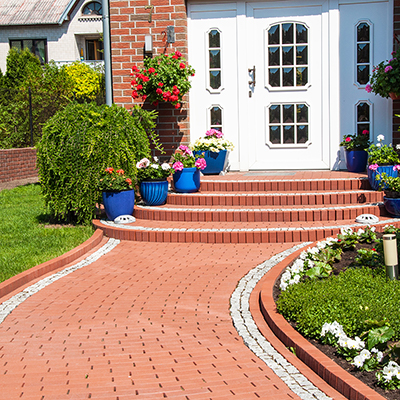
Brick Walkway

Looking for a more advanced option? Lay down a brick walkway. You’ll need a weekend to complete, but you’ll love the results. You'll need to:
- Measure and prep the area
- Dig a trench
- Spread gravel
- Spread sand
- Lay your bricks
- Fill in the gaps and edges
You'll need to measure the length and width of your desired path. This helps you determine how many bricks, bags of gravel and sand you'll need. Your path should have a 2-inch depth of gravel and 1-inch depth of sand. You'll need to check local laws and regulations before you dig your trench. This is to ensure you don't hit a utility line.
For a herringbone pattern with 4-inch bricks, a good path size is 14-inches wide. Every two bricks adds 2 and a half inches to the length. Your trench should be 4 to 5 inches deep. The width of the trench should be your desired length plus 2 inches. For a 14-inch wide path, your trench would be 16 inches. A flat-headed shovel helps you square off the sides of your trench. Keep and set aside your top layer of grass you dig up.
Spread a 1 to 2 inch deep layer of gravel along the trench. Use a tamper to press down on the gravel. Spread a 1 to 2 inch deep layer of sand. Tamp it down, just like the gravel. Lay your bricks in the herringbone pattern. Add sand to the tops of the bricks to level them. Tap bricks into the sand to keep them secure. Fill any gaps with more sand. Use a broom to easily weep them into the gaps.
To keep your path looking natural, fill the edges around the path with dirt and grass. Use the reserved grass from digging the trench for this. Water the grass to help it re-establish to its new spot.
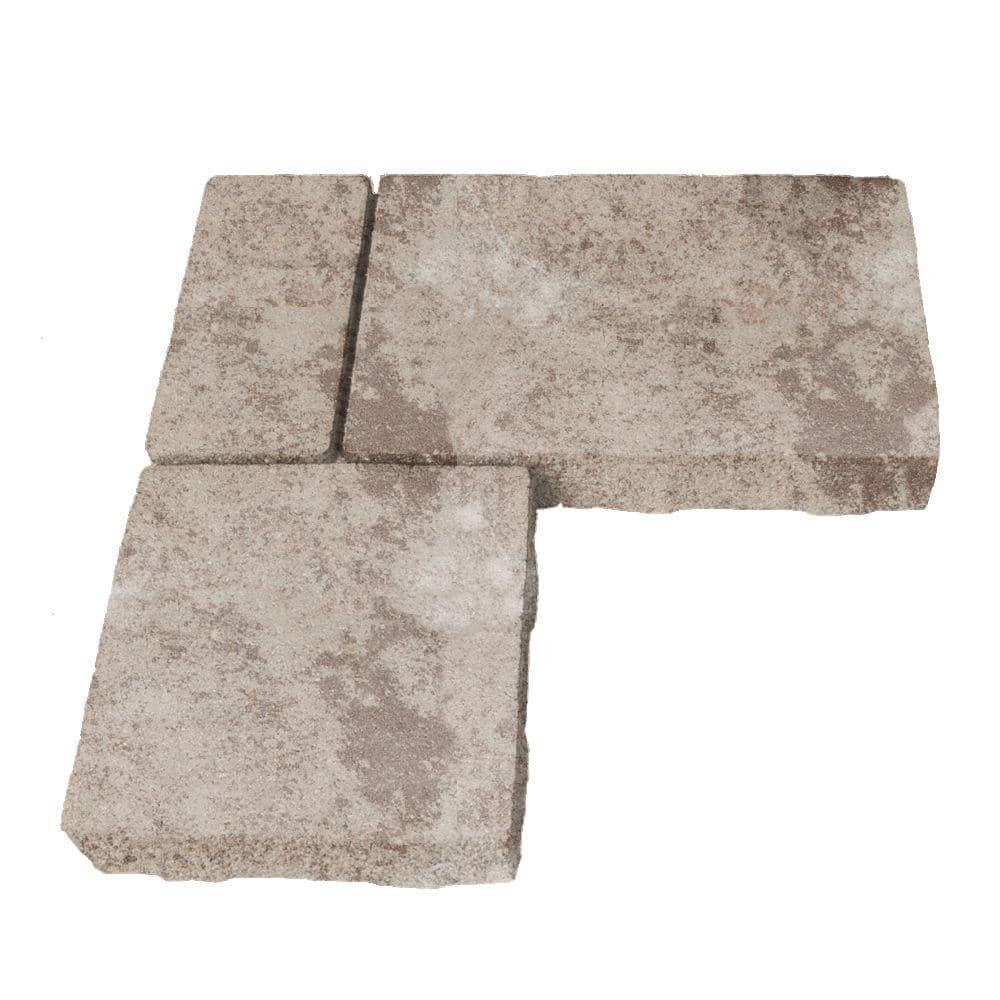
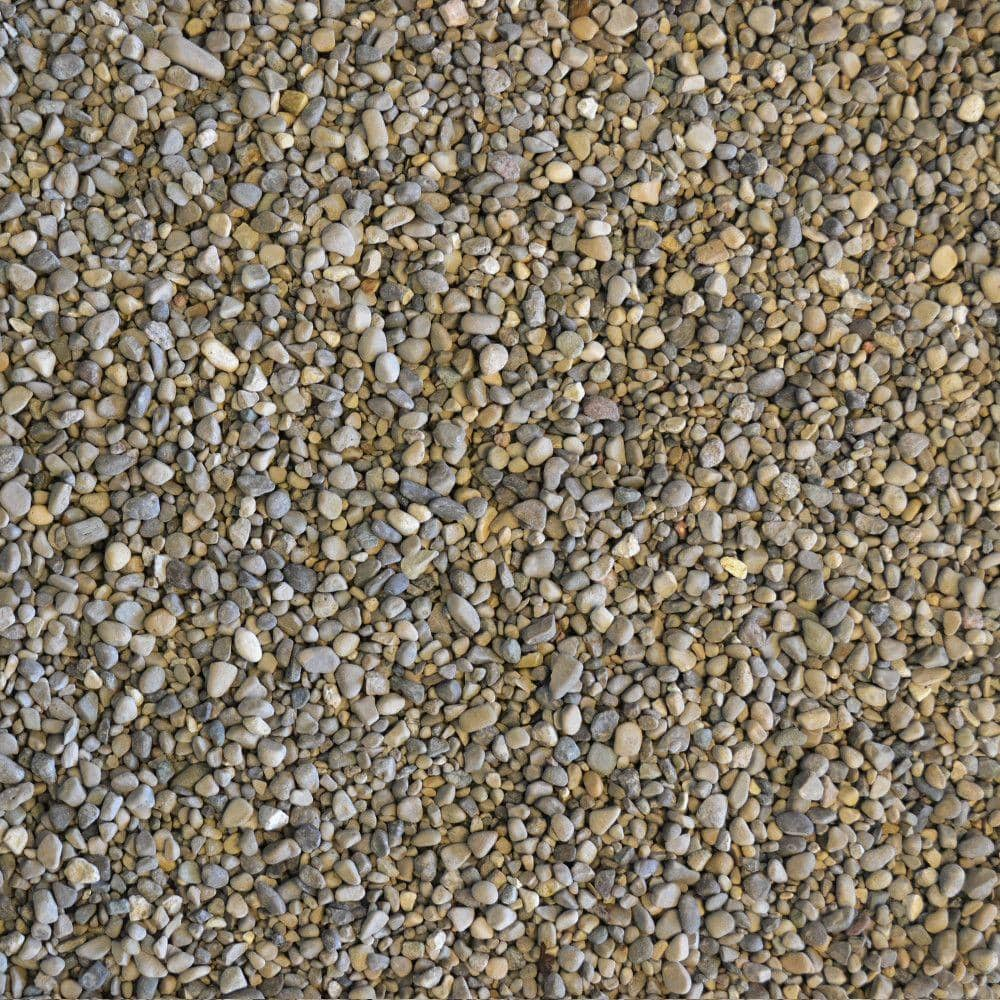
Landscaping Rocks

From smooth pebbles to rugged gravel, there's lots of landscaping rocks. You can also use lava rocks, brick chips, river rock or marble. They create an affordable, casual walkway that will last years. To keep weeds from popping up, first install landscape fabric. To keep rocks in place, add a border or edging.
A long walkway might require bulk landscape rocks. Large quantities are sold by the pallet or by the cubic yard. The suggested depth of coverage varies according to the individual stone size:
- If the stone size is 1/2-inch or less, the suggested depth is 2-inches.
- Stones that are 3/4-inch to 1-inch should have a depth of about 3-inches.
- Stones that are 1-inch or larger should have a depth of 4-inches.
Consider this when measuring for and purchasing landscaping rocks. You'll probably need:
- 160 sq. ft. at 2-inch depth
- 108 sq. ft at 3-inch depth
- 80 sq. ft. at 4-inch depth
- 54 sq. ft. at 6-inch depth
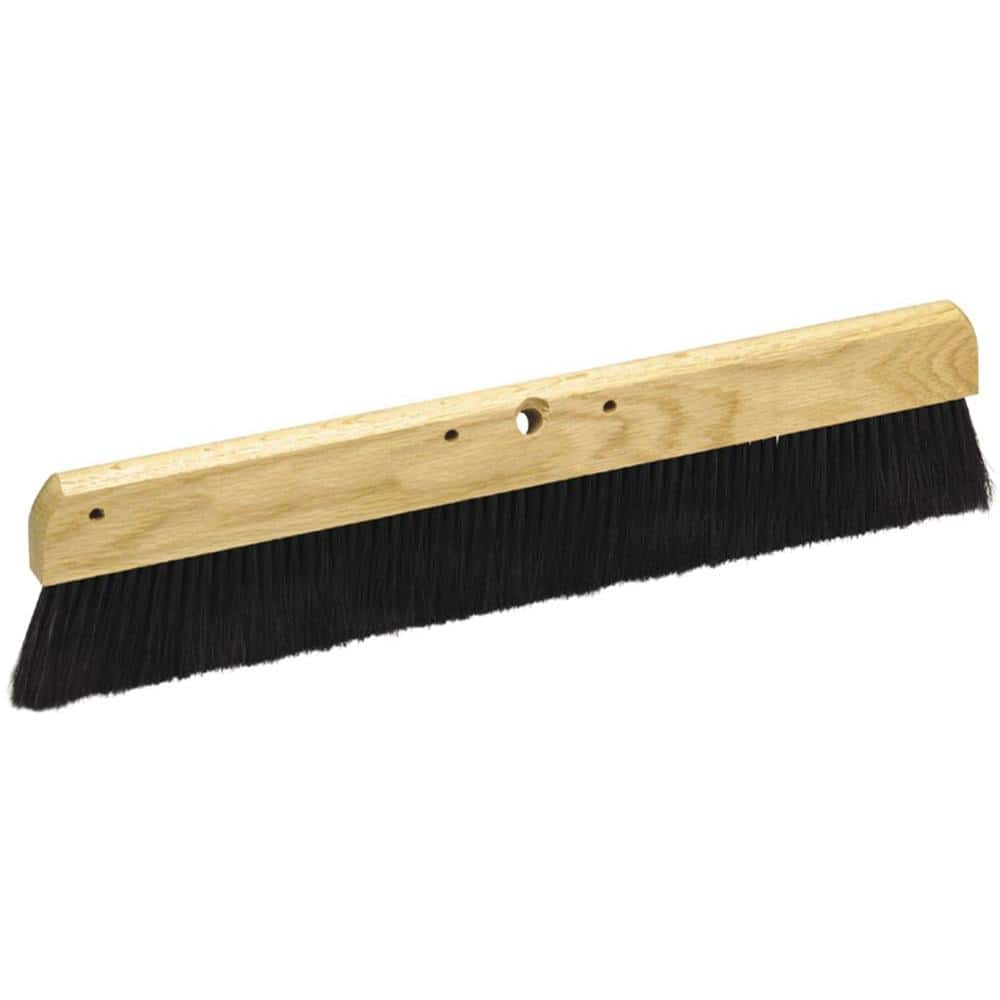
Concrete Walkway

Create a custom path using the least expensive material, concrete. It can be smooth and curved. Or intricate and stamped. Whatever style you choose, concrete walkways are sophisticated. Concrete also withstands years of heavy use.
Build strong forms to start. Use 1 to 1 and half inch thick boards. If you're using 2×4 or 2x6 boards, place your stakes no more than 3 feet apart. If you want your forms extending below ground, pack soil against them. If you want to add curves, use hardboard because it's flexible. Before you pour any concrete, cut down the stakes to be level.
To ensure your concrete is crack-free, the base needs to be stable. Compact your soil and add a gravel base for the best results. Pack the concrete, float it, add control joints and smooth with a broom.
There are multiple ways to create a beautiful garden path for your home. No matter what DIY path you choose, The Home Depot has supplies for you. Ready to get started on your garden path project? The Home Depot delivers online orders when and where you need them.