How to Grow Peppers

Last updated September 7, 2023
Easier to grow than tomatoes, peppers are a perfect edible for the beginner gardener.
Plus, you'll find that peppers are as ornamental as they are tasty. Watch as these jewel-colored veggies grow and turn from green to vibrant shades of red, yellow and orange.
Table of Contents
Pepper Varieties
Tips for Planting Peppers
Hot Peppers
How to Preserve Peppers
Recipe with Peppers
Pepper Varieties

There are hundreds of varieties of peppers to grow in your home garden. When you want an array of flavors ranging from sweet to spicy, consider choosing many peppers from this list to plant in your garden.
Within each variety, peppers come in a wide assortment of color tones. Their hues make them a visual treat for any meal.
Pepper varieties include bell peppers, thin-walled banana peppers, Cubanelles – snacking peppers that are sweet and meant to be eaten raw – and chiles like jalapenos and poblanos.
- Bell peppers: When it comes to cooking, bell peppers are an absolute staple. They come in green, red, orange and yellow varieties and are delicious both raw and cooked.
- Chile peppers: When you want to deliver a pop of flavor to a recipe without making it unbearably hot, reach for chile peppers.
- Ghost peppers: Challenge your heat tolerance by reaching for ghost peppers, regarded as one of the hottest peppers on Earth.
- Banana peppers: Common on charcuterie boards, sandwiches and salads, banana peppers are a tasty and tangy choice that will satisfy many tastebuds.
- Serrano peppers: Ideal for making a flavor-packed pico de gallo or salsa, the small and thin Serrano pepper delivers incredible heat to your favorite dips and toppings.
- Jalapeño peppers: Salads, pizzas and salsa would not be complete without a hot jalapeño pepper. This pepper is a must-have for anyone that loves a little spice in their meal.
- Cubanelle peppers: When you want to deliver some sweet flavors and a rainbow of colors to a plate, Cubanelle peppers are a great choice. They are smaller than more popular bell peppers but come in the same rainbow of colors.
- Italian sweet peppers: Make pasta sauce and more with incredible depth of flavor by chopping up some sweet Italian peppers and adding them to the recipe.
- Golden cayenne peppers: Deliver warmth and heat to your recipe with this golden pepper. They're smaller in size, milder than a traditional cayenne and ideal for Southwestern recipes.
- Poblano-ancho hot peppers: If you love cooking Mexican dishes at home, the poblano-ancho pepper is a must-have item in your garden. This pepper delivers a mildly hot flavor that will pack the perfect hint of heat you crave.
In the garden, peppers are utility players, content to grow in raised beds, containers and garden beds.
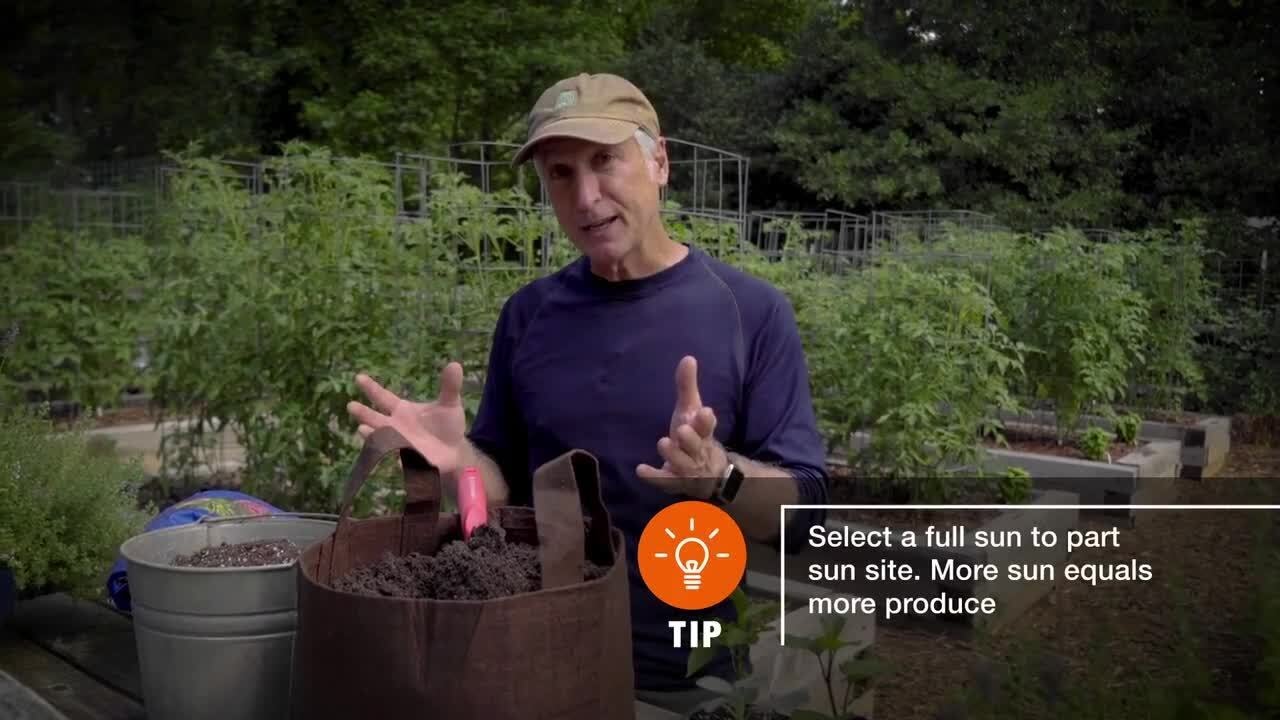
More importantly, all that color and flavor comes from sunshine, so choose a location with a minimum of six to eight hours of sunlight a day.
Optimal growing temperatures are between 70 and 85 degrees Fahrenheit for bell peppers, even higher for chiles. Consult plant tags for more specific information.
Bell peppers may drop flowers in the hottest days of July but will rally as nights grow cooler later in the summer.
In northern zones with shorter summers, get a quick fix by selecting thin-walled and smaller peppers, such as banana peppers, that will mature faster. Bell peppers will come later in the season.
Tips for Planting Peppers

- Set seedlings out after the last spring frost in a bed that has not grown peppers in recent years.
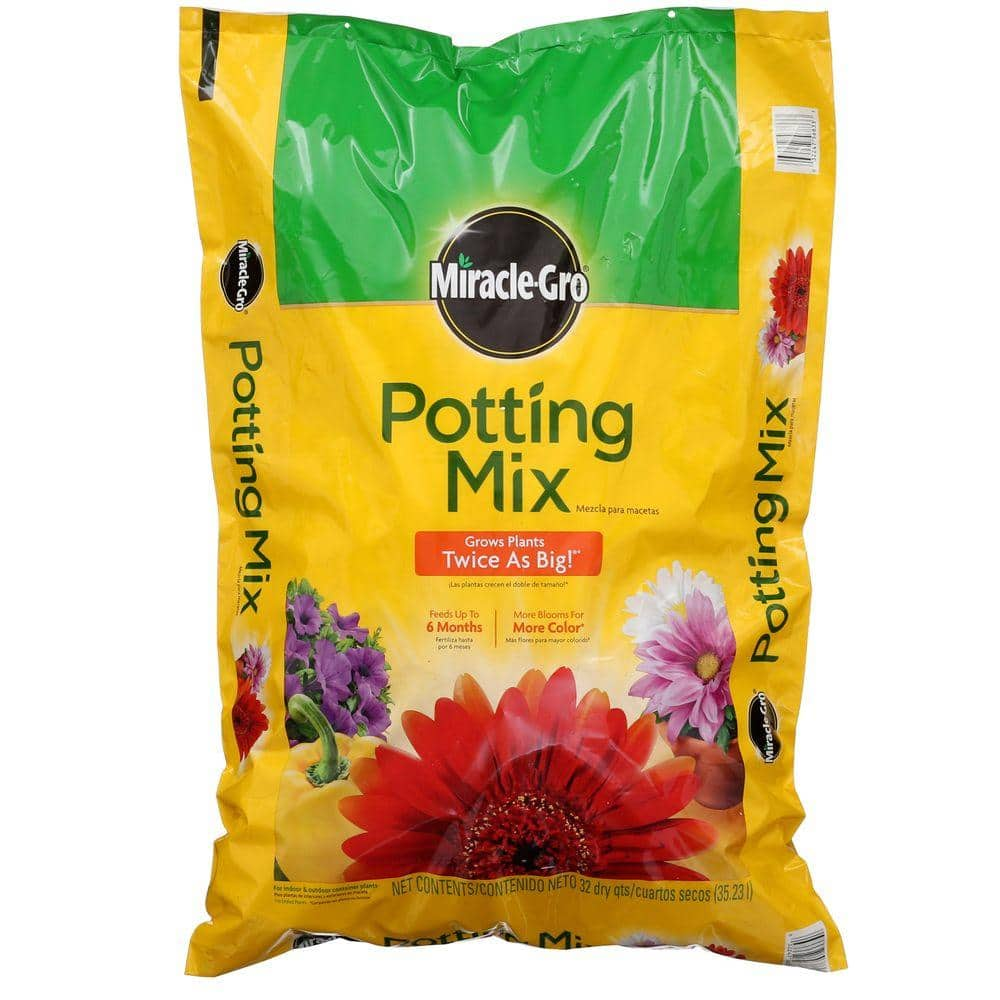
- Plant 18 to 24 inches apart in a container or bed with well-drained soil. Nourish with compost when planting. Water when first planted, and offer up an inch or two of water each week.
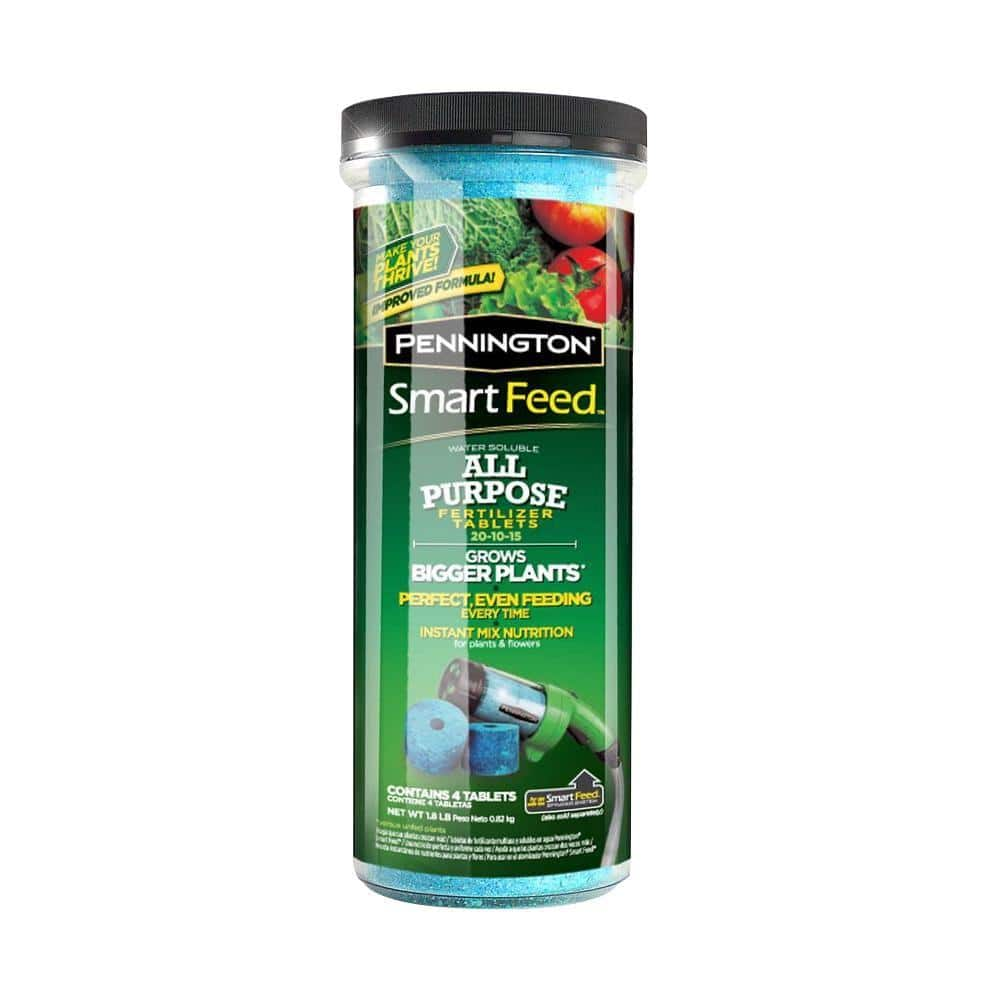
- Use a well-balanced organic plant food every couple of weeks, beginning six weeks after planting and again after flowering.
- Mulch to keep down weeds and to cool the soil.
- Stake or cage the peppers for support once fruit appears.
- Picking fruit encourages more production. Use nippers, scissors or a knife to make a clean cut. Store fresh-picked peppers in the refrigerator.
- Go ahead and plant sweet and hot peppers close to each other; it’s a gardening myth that they will all grow hot. Because peppers are self-pollinating, you would need to save seeds and grow a crop the next year for any cross-pollinating heat variations to appear.
Hot Peppers

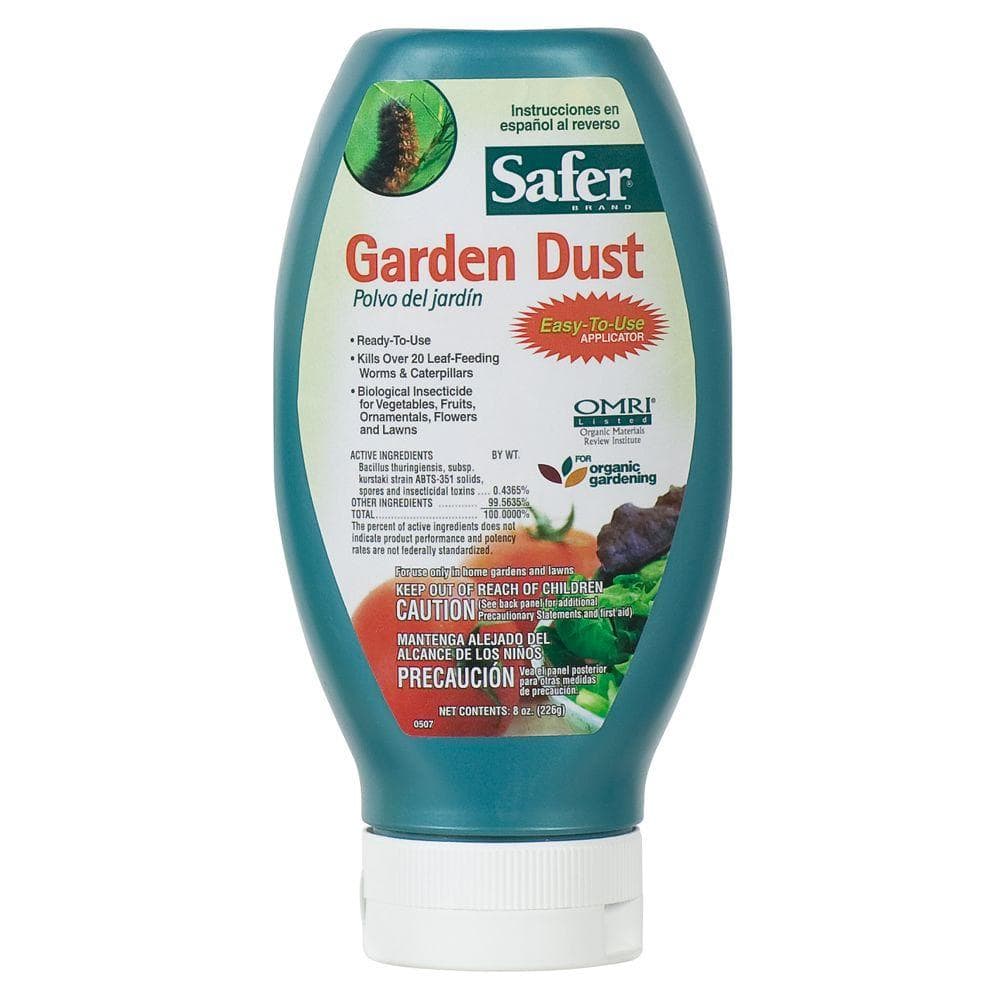
Peppers are seldom plagued by pests. Aphids are the main concern. Knock them off with a spray of water or with insecticidal soap, being careful to get the underside of the leaves.
Peppers put on a show as they change from green to yellow to red and all the shades in between. Generally, the redder the pepper, the hotter it is.
It’s okay to pick them green, especially if you want them to keep longer in the refrigerator.
They will have more flavor if allowed to mature to orange or red. You will have less fruit, however, because ripening fruit slows down fruit production.
Hot peppers like chiles belong in your garden, too. If you’re a wannabe chilehead, then you’ll need to know about the Scoville scale, the measure of a hot pepper’s heat.
Scoville starts at 100 for mild poblanos and goes up to 100,000 to 300,000 (extra hot) for habaneros.
Check plant tags for Scoville measures.
How to Preserve Peppers

Harvest fruit as soon as it shows stripes or patches of its mature colors and let it finish ripening indoors where pests can’t find it.
Here's how to preserve your bumper crop of peppers:
- Freeze: The simplest way to preserve peppers is to freeze raw strips in freezer bags. Wash peppers, pat dry and cut into pieces. Place the pieces on a cookie sheet and freeze for an hour or so, then move the frozen pieces to a zip-close freezer bag. Each time you add more peppers, jiggle the bag to keep the pieces from sticking together.
- Dehydrate: Cut ripe peppers into cubes, rings or strips and dry in a dehydrator. This is the best way to store jalapenos and other hot peppers.
- Cook: Grill or smoke large pieces of pepper until they are soft. Freeze for long-term use. Thaw and chop for a tasty treat on pizza, fajitas or any hot or cold sandwich. This is one of the most delicious ways to preserve peppers.
- Pickle: Combine a colorful mixture of chopped sweet and hot peppers in a clean quart jar and cover with a brine of 3 cups vinegar, 1 cup water and 1 tablespoon each of salt and sugar. Refrigerate immediately for homemade pickled peppers. Because they are never heated, refrigerated pickled peppers retain their crisp texture for up to three months.
- Boil: Blanch trimmed peppers in steam or boiling water before freezing to help preserve color and texture for stuffed peppers. Or, make a big batch of your favorite stuffed pepper recipe, and wrap the cooled, stuffed veggies individually before freezing them.
Recipe with Peppers

Peppers are incredibly versatile in the kitchen. Take freshly harvested or preserved peppers
and use them to top a delicious grilled pizza in this recipe from Weber.
Barbecue Chicken Pizza Recipe
Ingredients:
- 1/2 cup ketchup
- 2 tablespoons packed light brown sugar
- 1 canned chipotle chile pepper in adobo sauce, seeded and minced
- 1 tablespoon adobo sauce from the can
- 2 teaspoons prepared chili powder
- 3/4 teaspoon garlic powder
- 2 tablespoons extra-virgin olive oil
- 1 large red onion, thinly sliced
- 1 small red bell pepper, thinly sliced
- 1 small green bell pepper, thinly sliced
- 1/2 teaspoon ground cumin
- 1/2 teaspoon kosher salt
- 2 balls (each about 1 pound) pre-made pizza dough
- All-purpose flour
- 2 cups cooked, shredded chicken
- 2 cups grated pepper jack cheese (8 ounces)
Special Equipment:
- Weber Gourmet BBQ System Cooking Grate
- Weber Gourmet BBQ System Pizza Stone
- Pizza peel (optional)
Instructions:
Combine the sauce ingredients.
Prepare the grill for direct cooking over medium heat (400 degrees Fahrenheit) and preheat a Weber Gourmet BBQ System Pizza Stone.
In a large nonstick skillet over medium-high heat on the stove, warm the oil. Add the onion and cook until lightly browned and softened, 8 to 9 minutes, stirring occasionally. Stir in the bell peppers and cumin and cook until the peppers are crisp tender, about 3 minutes more.
Remove from the heat and season with the salt.
Cover one ball of pizza dough with a kitchen towel. On a lightly floured surface, roll the other ball into a 12-inch diameter circle. Generously dust a pizza peel (or rimless baking sheet) with flour, and then transfer the dough to the peel.
Spread the dough with half of the sauce, leaving a 3/4-inch border around the edge. Top with half of the onion and bell pepper mixture, half of the chicken and half of the cheese.
Carefully slide the pizza onto the pizza stone, close the lid and cook over direct medium-high heat until the crust is browned on the bottom and the cheese is melted, 9 to 11 minutes, rotating the pizza once. Transfer to a cutting board and let stand for 3 to 5 minutes before cutting into wedges. Make another pizza with the remaining dough ball, toppings and cheese.
Whether you need the right planters, seeds or potting soil, The Home Depot delivers online orders when and where you need them.