How to Grow Sprouted Seeds and Microgreens

Last updated September 7, 2023
Looking for a perfect indoor gardening project for winter? Try growing crisp sprouts or super-nutritious microgreens from seeds.
This guide will teach you how to grow sprouts and microgreens, how to recognize the difference between the two and offers tips on how to get started.
Table of Contents
Seeds vs. Microgreens
Popular Microgreen Varieties & Seed Sprouting Options
How to Sprout Seeds
How to Harvest Microgreens
Seeds vs. Microgreens

What is seed sprouting? No soil is needed to grow crisp sprouts, which you eat whole. Beans, peas and alfalfa are top seeds for sprouting. Sprouting is the natural process where seeds or spores germinate and put out shoots.
What are microgreens? Simply put, it's any vegetable plant harvested when it’s young. The best time to harvest is when they’ve developed their first set of true leaves. This happens about 10 days to two weeks after planting. Then, clip off just above soil level.
Microgreen seeds sprout in a thin layer of soil and you only eat the fresh tops. The method works great with a long list of garden seeds. Examples include broccoli, cabbage, and sunflowers. Or, try herbs like cilantro and dill.
Use only labelled organic and untreated seeds. For both microgreens and sprouting, you want quality. Do not use seeds treated with fungicides and pesticides.
Microgreens may be small, but they pack a nutritious and tasty punch. Microgreens contain 5x more vitamins than if grown to mature vegetables.
Tip: Stay away from toxic options. Don't eat sprouted tomatoes, peppers, eggplants or closely related crops raw. They can be toxic.
Popular Microgreen Varieties & Seed Sprouting Options

Here are the most popular varieties to grow as microgreens:
- Radishes: One of the quickest growing microgreens. They can be harvested within 10 to 12 days of sowing. Try Sango or Red Arrow. Or, Japanese Daikon and Triton are popular varieties. They offer bright leaf and stem colors.
- Peas: Delicate, sweet, pea-flavored shoots add nutrients to salads, sandwiches, soups and more. Soak seeds in clean, cool water for 8 to 10 hours before planting. Harvest within 10 to 12 days. A cooking tip is to let the pea microgreens grow a little longer. When they are tall, harvest them as “pea shoots” and flash cook in a stir-fry.
- Swiss chard: Like a beet with less of a bite. Grown in a rainbow of colors, the best variety is by far Rainbow. Grow only in soil. Swiss chard doesn’t like to grow hydroponically. Harvest within 12 to 14 days.
- Mustard: These microgreens taste as strong as their adult counterparts. Choose green varieties. Or, create a colorful plate with varieties such as Osaka Purple. Red Giant is a fun option, too. Harvest within 14 to 16 days.
- Beet greens: A crisp bite with spinach-like flavor. Bull’s Blood and Detroit Dark Red are popular varieties. Soak seeds in clean, cool water for 8 to 10 hours before planting. Harvest within 18 days.
More edible seeds great for sprouts or microgreens:
- Arugula
- Beans
- Broccoli
- Cabbage
- Carrot
- Celery
- Cilantro
- Collards
- Cress
- Dill
- Fennel
- Garlic chives
- Kale
- Leek
- Lettuce
- Onion
- Parsley
- Spinach
- Sunflower
- Turnips
- Watercress
How to Sprout Seeds

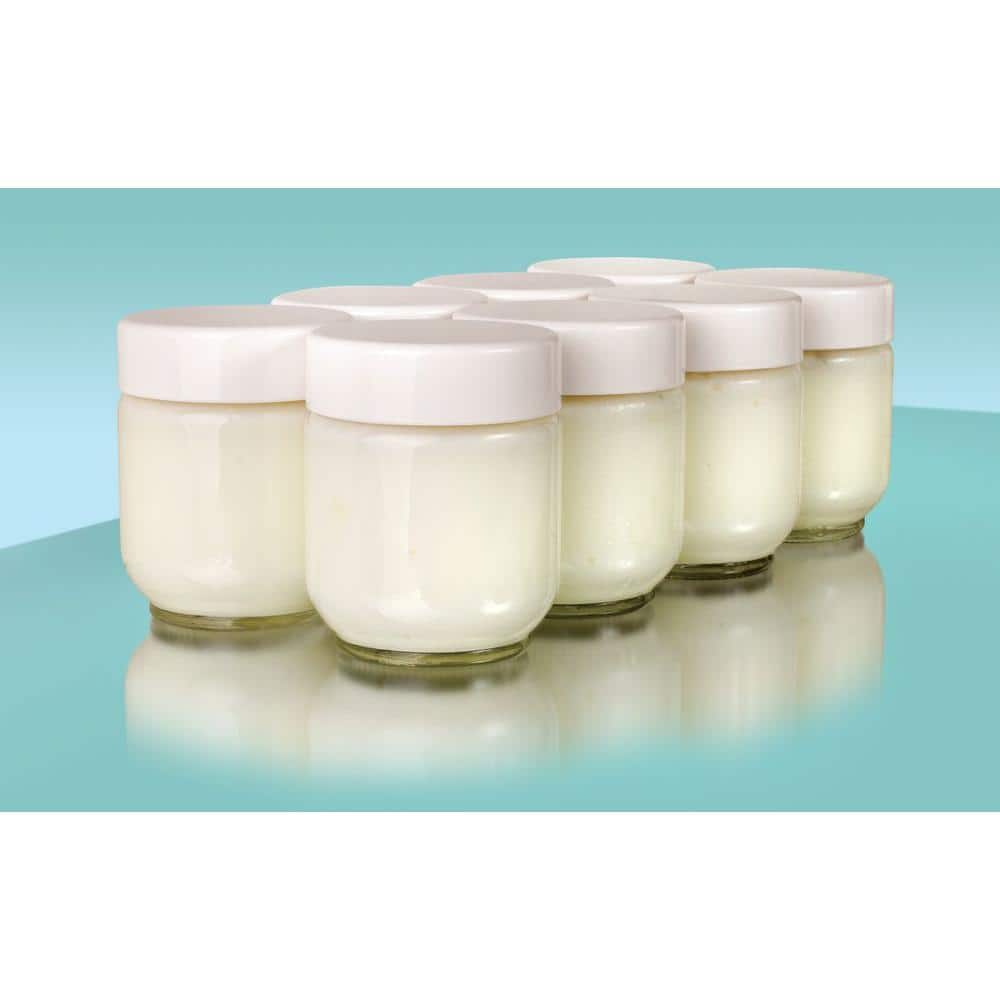
- Rinse seeds well in several changes of clean water. Discard any debris that floats to the top. Place seeds for sprouting in a clean glass jar. Beans, peas, onions and radishes work well.
- Cover seeds with lukewarm water and let sit overnight.
- Pour out water and rinse seeds until water runs clear. Drain.
- Place seeds back in jar.
- Replace the lid with a clean, breathable cloth. Place it over the mouth of the jar. Secure it with a rubber band or screw-on jar ring.
- Set the jar on its side.
- Continue to rinse and drain sprouts three to four times a day.
- Crisp sprouts should be ready to eat in about four days.
Safety Note: Always cook raw sprouts before consuming.
How to Harvest Microgreens

- Select your tray. Use seed-starting trays or plastic takeout dishes, pie plates or salad boxes.
- Punch a few drainage holes in the bottom. Set on a cookie sheet, plastic tray or container to prevent spillage.
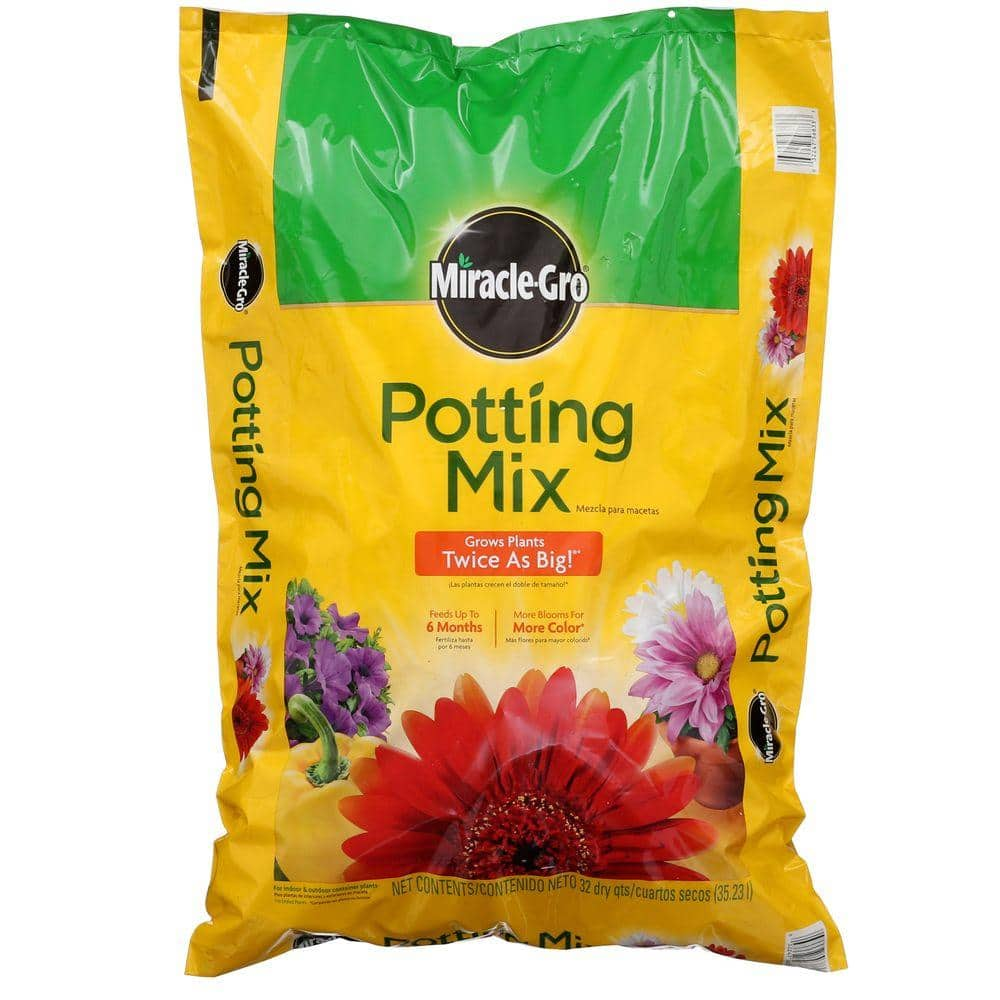
- Add an inch of potting soil and sprinkle with seeds. Lightly cover seeds with potting soil, press gently and water lightly. Don’t drown your freshly set seeds.
- Place in a sunny windowsill or under grow lights, and keep moist.
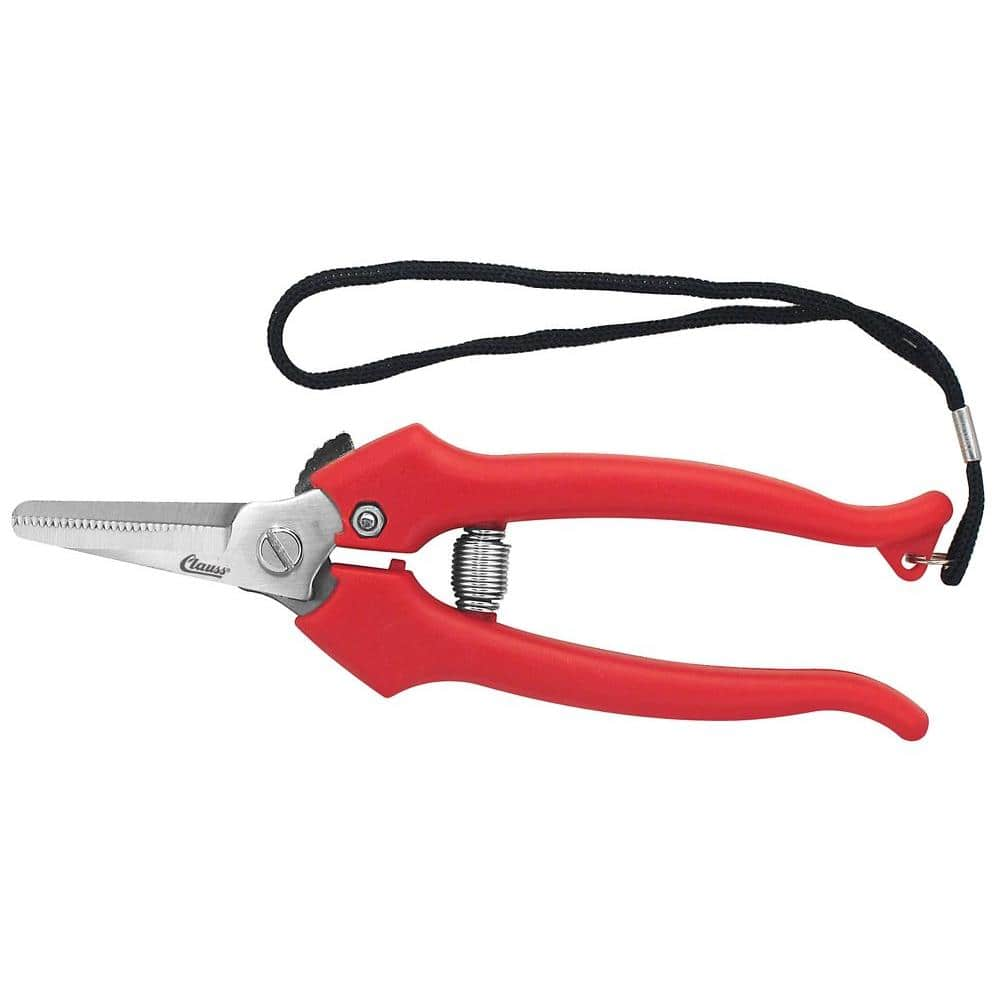
- Harvest microgreens by cutting the tops with scissors when they at least 2 inches. Rinse sprout tops in a strainer. Eat right away. Or, store in a plastic bag in the refrigerator for up to 5 days.
- Microgreens can be harvested for up to three weeks.
Now that you know the difference between microgreens vs sprouts, it's time to get started. Looking for seeds, soil and containers? Need a tool to start seed sprouting or microgreens harvesting? The Home Depot delivers online orders when and where you need them.