How to Maintain Garden Tools

Last updated September 7, 2023
Get the most life out of your garden tools when you take time to properly clean and store them. Read on for tips on cleaning, sharpening and maintaining garden tools, plus how to make simple repairs.
Garden tools pick up dirt just through everyday use. Just like with other tools, routine care will keep them in working condition, so they will last longer. Garden tools like pruning and digging tools will get dirty, but also sap and cellulose will cause a sticky mess. Plant fertilizers can be corrosive to metal. These combined can shorten the life of your garden tools.
Table of Contents
How to Clean Garden Tools
How to Sharpen Cutting Tools for the Garden
How to Maintain Digging Tools
Tips for Outdoor Power Tools
How to Store Tools
How to Clean Garden Tools

Routine cleaning is as simple as wiping dirt away or rinsing with water and drying before storing. Use an all-surface cleaner to wipe away sticky residues before storing tools.
Tips for cleaning gardening tools:
- To treat stubborn sticky sap on pruning tools, try a spray of penetrating oil to dissolve it and wipe with a shop cloth. If that doesn’t work, try an abrasive cleaning solution like a kitchen scouring powder with hot water. Clean, wipe down and store in a dry space like a tool shed or garage.
- Fill a planter with sand (plug the drain hole first), mix in a few drops of mechanical oil and store clean, dry tools like trowels, weeders and soil scoops. The oiled sand keeps tools clean and dry.
How to Prevent and Remove Rust:
Rust is just corrosion on iron. It can be wiped or scrubbed away in early stages. Keeping your tools clean will prevent rust from forming.
When garden tools rust, use these techniques to bring them back.
For small bits of rust, start by cleaning with a scouring pad. This will clean the tool and take off a thin layer of rust. For stubborn rust, try using a wire brush or sandpaper. Be careful of sharp edges when working with sandpaper.
Try chemical rust removers or a mild acid like vinegar to remove rust. Follow manufacturers’ instructions when using rust removers. If using vinegar, keep in mind that vinegar isn’t dangerous before use, but it does become toxic once it’s dissolved rust and metal.
Begin with a plastic bucket that’s large enough to hold the rusty tool. Add vinegar and submerge the tool. Check the tool every hour. When the rust is removed, pull it from the vinegar, wipe it down and store in a dry place.
Tip: Using vinegar to remove rust will darken the metal surface. If you want to end up with a bright, shiny tool – avoid this method or sand away the gray layer.
You can also use a power grinder or sander to remove rust on gardening tools. This method is for experienced DIY-ers. Follow safety precautions by wearing safety glasses and hearing protection. Powerful abrasives produce sparks. For this reason, clear the work area of flammable materials and fuel.
Sometimes, rust corrodes metal to the point where the tools are no longer useful. If the tools are covered in rusty flakes or pits, it’s time to replace the tool.
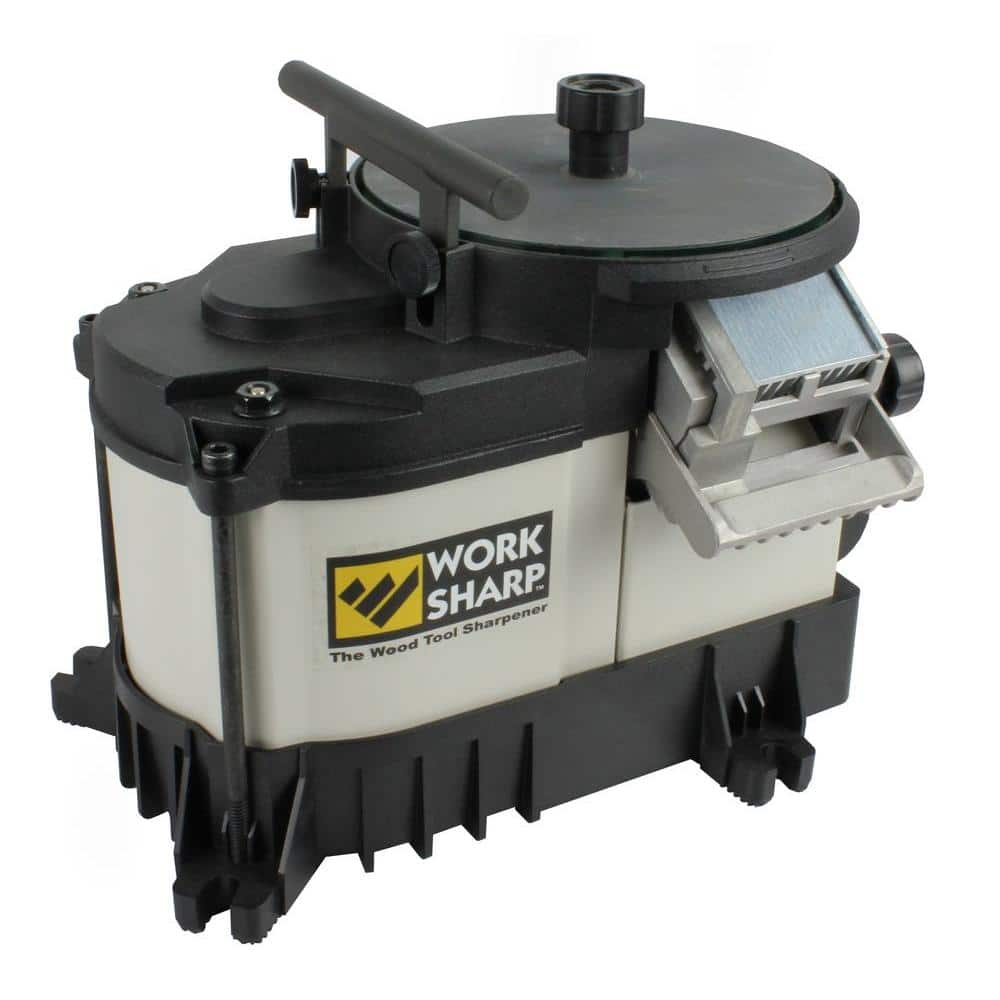
How to Sharpen Cutting Tools for the Garden

Learn how to sharpen your gardening tools. Sharpening is simple, and just like with knives in the kitchen, sharp cutting tools are safer and more efficient than dull tools.
To sharpen hand tools like pruners, loppers, hedge shears and floral snips, use a diamond coated blade sharpener. With the sharpener, make long straight strokes on the bevel edge of the blade, moving from the pivot toward the tip. Work down the edge of the blade three to five times, then flip the blade over and run the file over the flat side to remove any burrs.
Steps to keep your garden hand tools sharp:
- Start with a clean tool. Remove residue and rust.
- Use a flat file and draw it across the blade at the same angle as the blade.
- Use the file to smooth nicks and burrs.
- Wipe the tool again and store.
Use a power grinder to sharpen blades on larger garden tools like hatchets, axes and mattocks. Follow manufacturer’s instructions and always use safety equipment like eye protection.
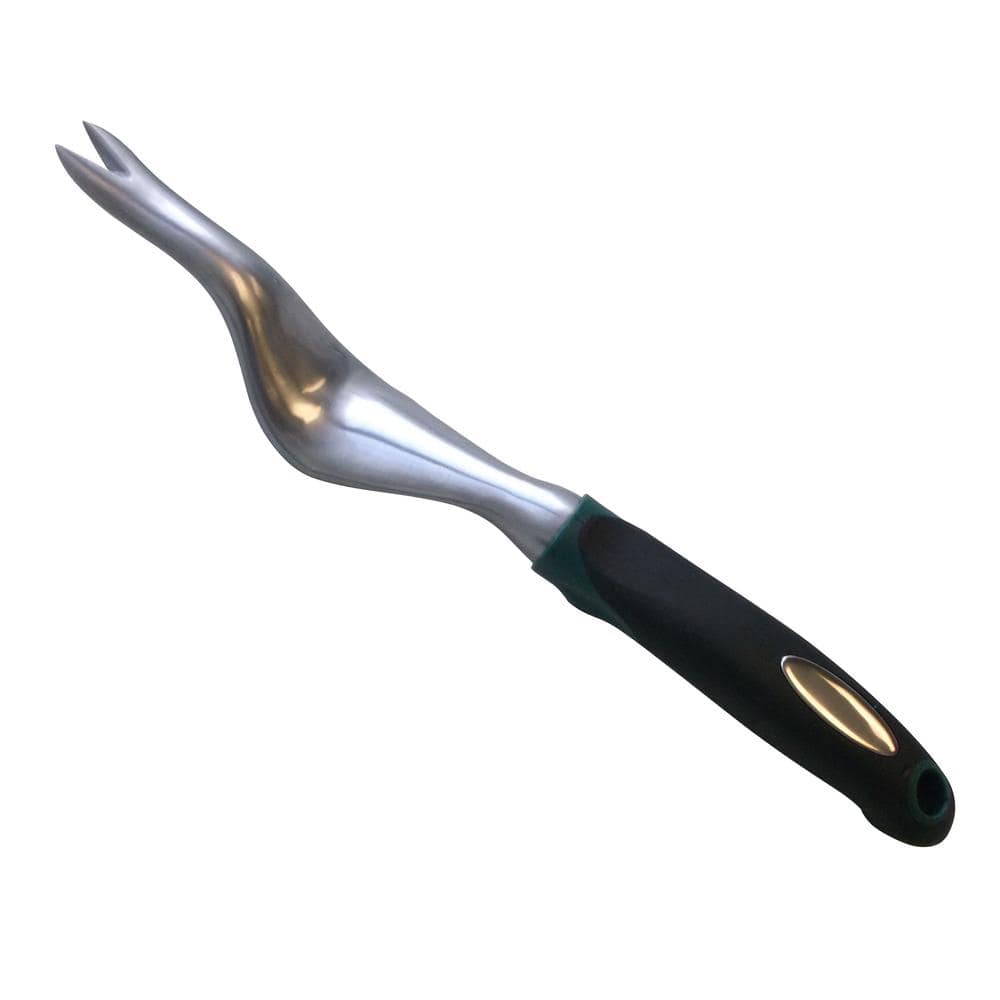
How to Maintain Digging Tools

Digging and cultivating tools will benefit from the same cleaning and sharpening treatments. These tools often have wooden handles, as well. With proper care, wooden handles can last for many years.
Trees need water to survive, but water is the enemy of wooden tool handles. Water doesn’t harm the wood, but it allows wood rot to set in. Wooden tools can get wet, but prolonged exposure to moisture will cause rot.
Cleaning tools after use and storing in a dry location are the first steps to protection. Wooden tool handles shouldn’t be left on bare ground, where moisture will find its way into the wood.
Protect wooden handles with oil. While metal parts are better with a light film of machine oil, boiled linseed oil (found in the paint department) is better for wood. Follow all safety precautions printed on the container. Apply the oil to the exposed ends of the handle. Paint it on and reapply as many times as the wood will soak it up. The remainder of the handle can be wiped with the oil. Rags with boiled linseed oil on them should be left lying flat to dry, don’t put them away wet, folded or crumpled as they can spontaneously combust.
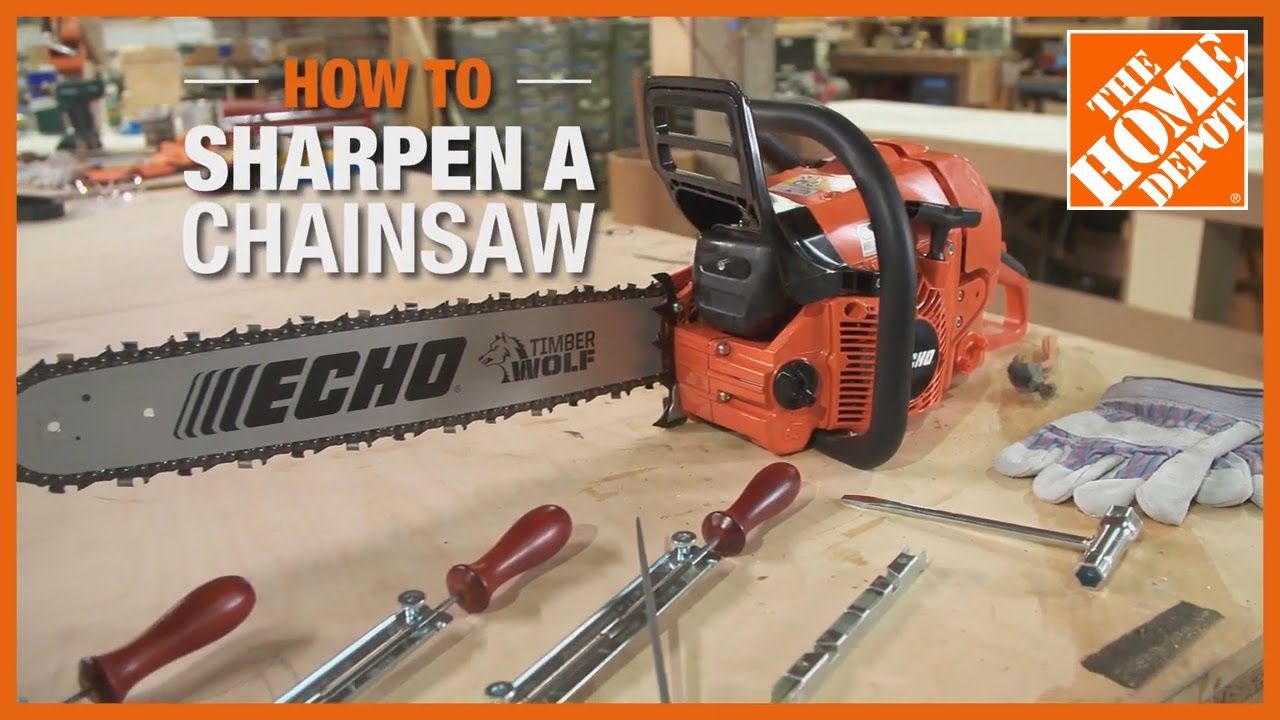
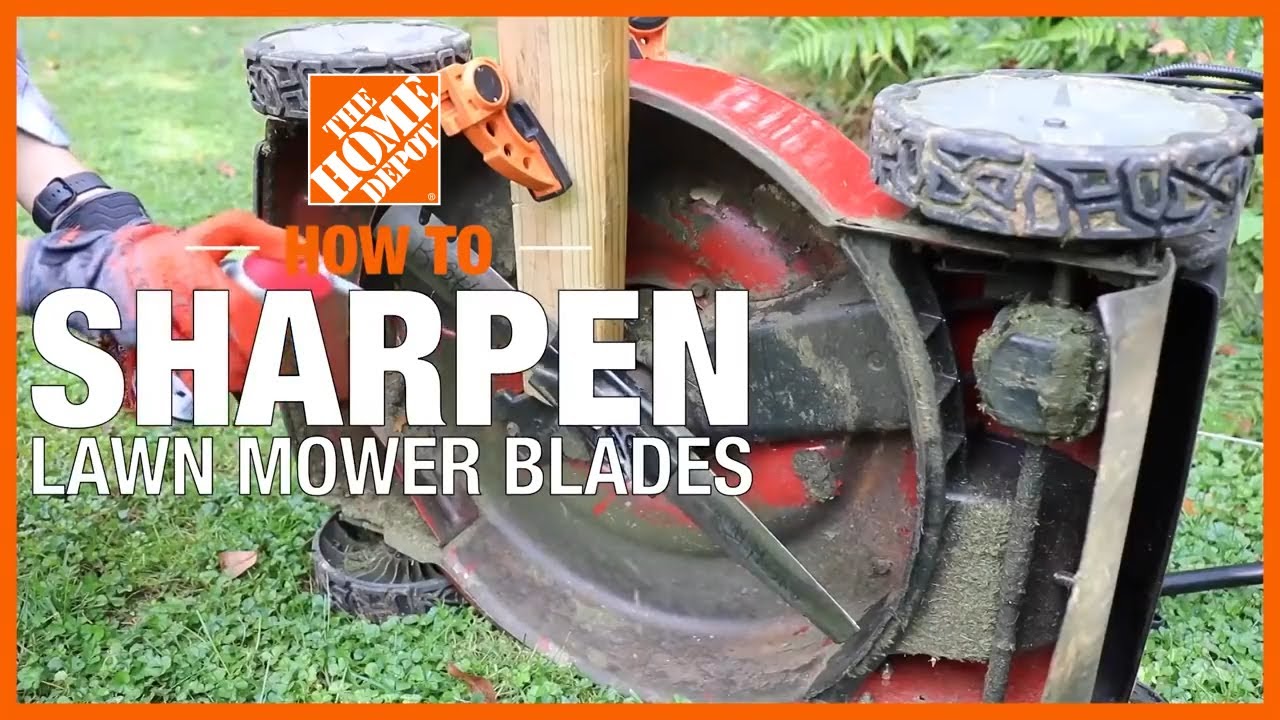
Tips for Outdoor Power Tools

Outdoor power tools like chainsaws, string trimmers, hedge trimmers and leaf blowers are time-savers, allowing you to power through tasks that would take much longer with just hand tools. But when power tools are not stored properly and need repairs, those time-savers become time-wasters.
The majority of repairs to gasoline-powered outdoor power tools are brought about by fuel that has gone bad. The very best practice to maintain the life of your outdoor power tools is to drain the engine
of gasoline when you're through with the job.
Ask yourself, "When will I use this next?" And if the answer is more than a month away, go ahead and drain the gasoline.
Be smart about the amount of fuel you need. Unless you have a riding lawnmower, there is no need to keep a 5-gallon gas can around. As a rule of thumb, expect a can of gasoline to remain fresh for between one and three months.
In fall and winter, put away power equipment in good condition so that when the weather warms up in spring, you’ll be able to handle tasks quickly and not wait for expensive and time-consuming repairs.
How to Store Tools

There are plenty of options for storing garden tools. The best place is going to be where they are easy to access and can stay dry.
This can be a closed cabinet outside, a shelf and pegboard in a garage, or a tool shed. Wherever you store your garden tools, be sure to clean them regularly. Keep a soft cloth nearby to wipe down tools when you're finished with them, and a file for sharpening blades.
A bucket filled with sand is also an excellent way to store digging tools. Read more about garden tool storage.
If you need tools, the Home Depot delivers online orders when and where you need them. Or if you'd rather rent tools for this project, we have most everything from paver saws to lawn edgers.