When you start seeds indoors for flowers and vegetables, you’ll find that growing from seed is easy and affordable. The benefits extend beyond your garden borders.
“People think that seed starting is hard, but it’s really not,” says Julie Thompson-Adolf, author of "Starting & Saving Seeds: Grow the Perfect Vegetables, Fruits, Herbs and Flowers for Your Garden.” If you tried unsuccessfully in the past to grow crops from seeds, this author encourages you to try again.
“People may have had a bad first experience, but once you learn the right way to do it, you learn that it’s really easy,” she says.
Starting a garden with seeds gives you a greater range of plants to grow, many of them heirloom varieties that exist because of seed saving. You also have control of the crop from seed to harvest, an important consideration in organic gardening. When you start your edible garden with seeds, you'll always know where your food comes from.
How to Begin Gardening With Seeds

At about 2 dollars per package of seeds, starting plants yourself adds a little more green to your wallet. There are start-up costs for grow lights, soil and trays, but once you make the investment, you’ll be able to use the equipment for many years. You may even enjoy the process so much you turn it into a business, like selling vegetables and cut flowers at a farmer’s market.
Here are some tips for starting with seeds:
The best first step is to make a list of what you love: Flowers like zinnias and coreopsis, and your favorite vegetables like tomatoes and peppers.
If you are a new gardener, edit yourself. Pick a handful of favorites and learn the process in your first year, adding more favorites in subsequent years.
When planning your garden, think about how much time you have to spend on this project. If you travel, tender greens like spinach and lettuce aren’t the best choice, because they need frequent harvesting. On the other hand, they’re inexpensive and easy to grow, so if you’re around the house, plant and enjoy fresh salad every day.
Know your location. Will the plants live in full sun (six to eight hours of light) or partial shade (three to six hours of light)? Most vegetables thrive in full sun, although tender greens like lettuce prefer partial shade.
Some seeds need extra help before planting. For example, nasturtium seeds need a nick in the tough seed coating and an overnight soak. Beet seeds need to be packed in the soil. Knowing these tricks puts you on the path to garden success.
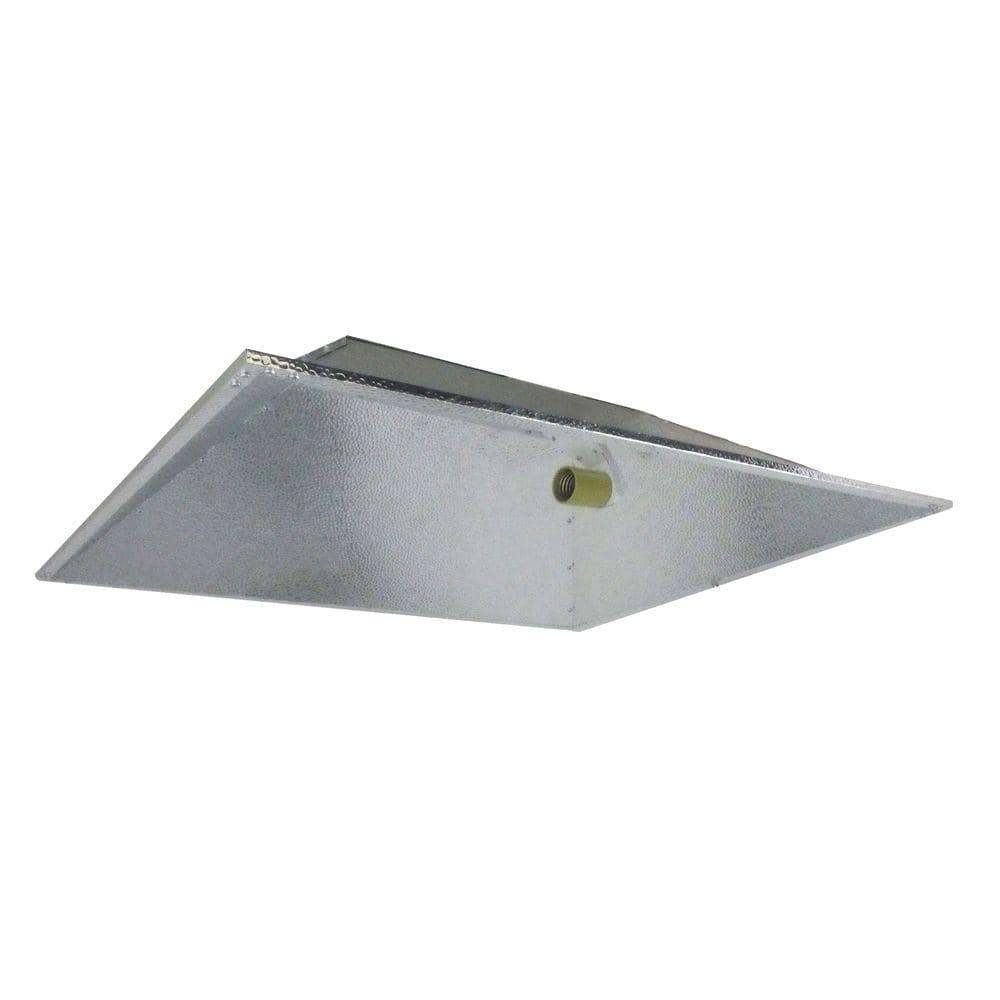
You'll need a good light source for growing seeds indoors. If the light is too far away, the seedlings stretch out and are weak. Having a good light source two to three inches above, raised gradually, leads to strong, hardy stems.
Tip: You may be concerned about GMO (genetically modified) seeds. All seeds sold at The Home Depot are non-GMO.
Timing is Everything

The most important key to seed starting is timing. If you start too early, the seedlings will be leggy and weak when it’s time to plant. Seeds started too late will miss out on the best conditions for flowering and fruiting and make for a disappointing harvest.
For warm-weather crops like tomatoes, read the seed packet and check the “days to germinate,” then add that to the “days to maturity.” Working with your area’s last frost date, use this sum and count backward to get the ideal date to start seeds. Here's the frost date calendar.
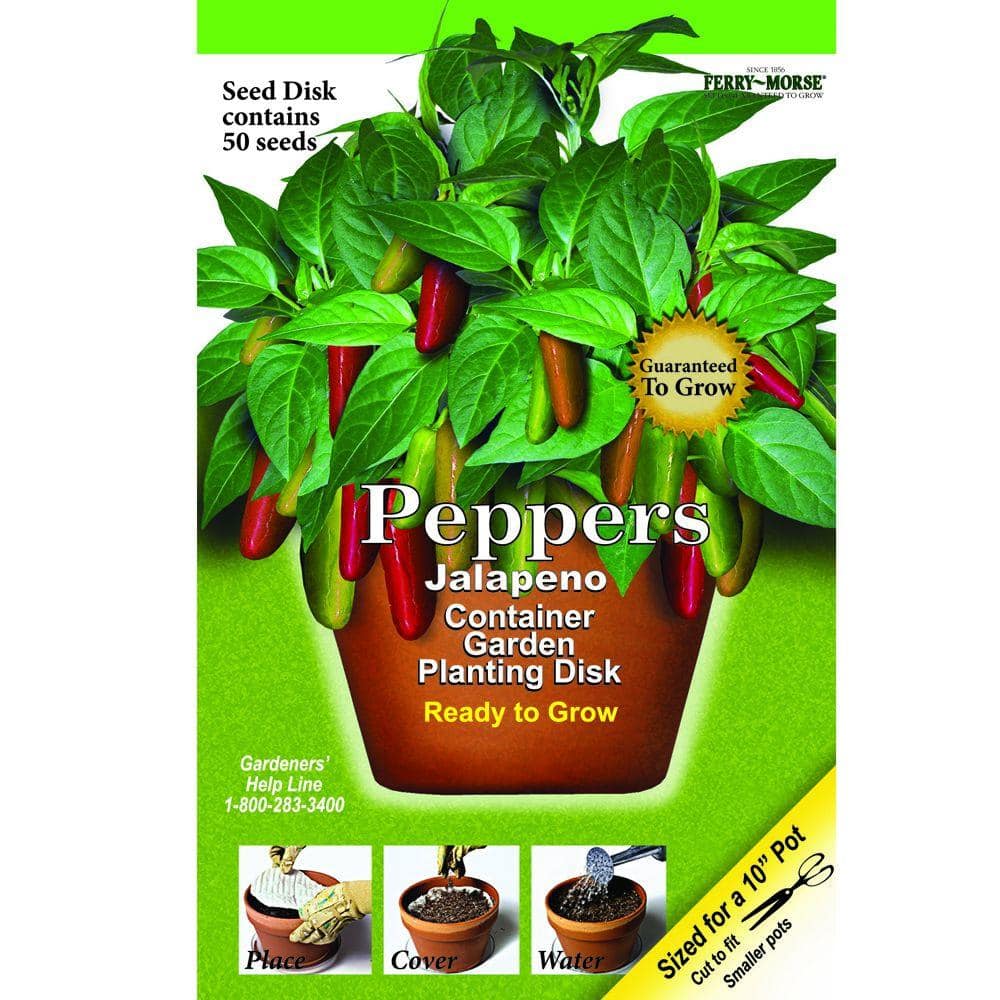
Seed starting is not just for folks with a 1/4 acre plot or more; seeds can be successfully started and grown for container planting.
Here are tips for planting seeds in containers:
- Look for hybrid varieties bred for containers. Keywords for best small-space varieties are “patio” and “compact.”
- You don’t need gravel in the pot, just adequate drainage holes. Adding gravel to the pot can lead to root rot.
- Edibles make fine ornamentals when grown in containers. Examples are “patio” varieties of peppers and eggplants that look beautiful while growing.
How to Start Seeds Indoors

Steps for starting seeds indoors:
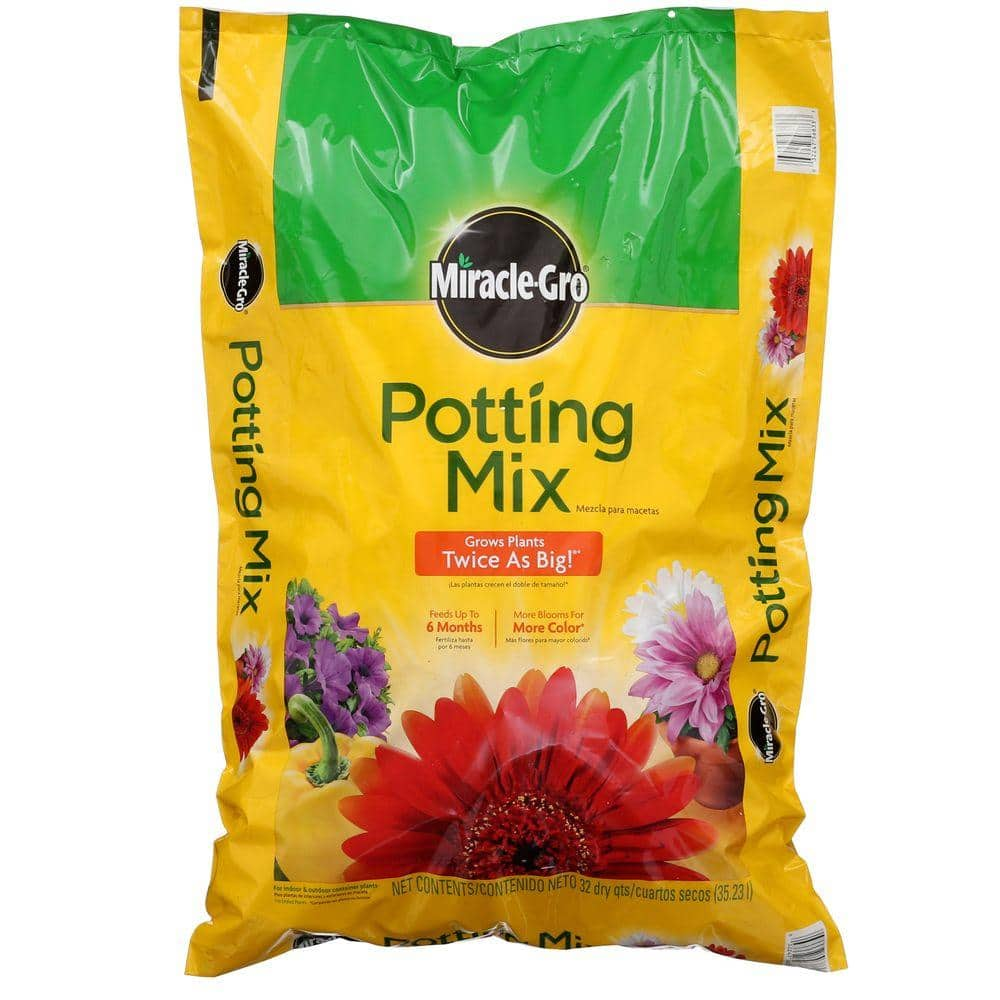
- Pour soilless mix into a bucket and dampen with warm water.
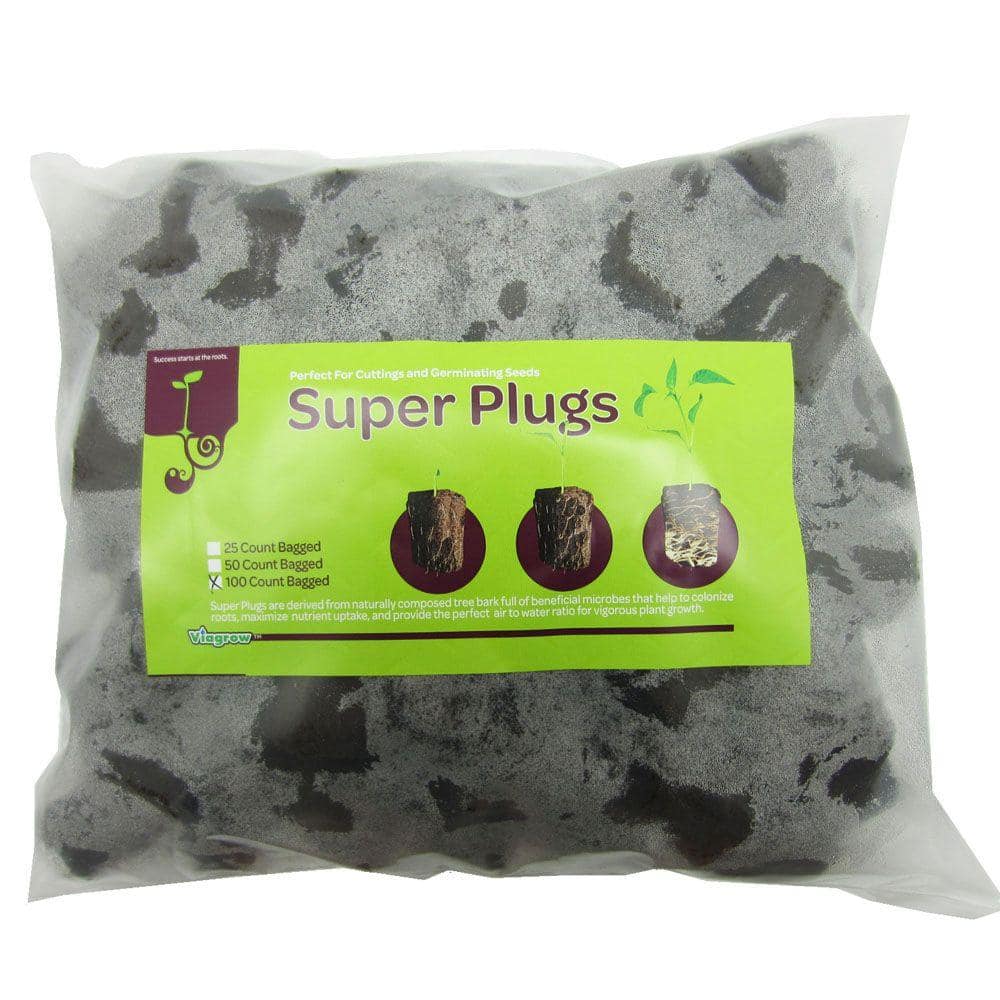
- Place pots in trays and fill with mix. Tamp down to eliminate air pockets and top off with the mix so it’s within 1/4 inch of the rim.
- Plant seeds to the proper depth; the tip of an eraser can help press small seeds into soil. Count on three seeds per pot; larger seeds can be planted two per pot.
- Label containers and trays with the variety of seed and the date of planting.
- Cover tray with a humidity dome or a plastic bag.
- Warm temperatures help seeds germinate. For a small tray, the top of a refrigerator or radiator can keep seedlings warm. Otherwise, special heating mats will provide a consistent temperature.
- When seedlings emerge from the soil, slightly vent the bag or dome. When the second set of leaves emerge — known as true leaves — remove the cover and nourish the seedlings by adding an all-purpose, water-soluble fertilizer to the watering tray once a week.
- After germination, seedlings need light. A sunny window will work, but grow lights will offer a consistent source.
Transplant into the Garden

After a few weeks, some plants like tomatoes may require transplanting into larger pots before being moved to the garden. All young plants will need to be “hardened off” or acclimated to the outdoors.
Lastly, consider record-keeping through journaling, either high-tech or low-tech. Making note of plant varieties that thrive or fail, dates of last frost and any other variables that lead to gardening success can be documented to build your gardening knowledge.
Direct Sowing Seeds in the Garden

Seeds can be directly sown in the garden when the soil temperature is warm enough, usually about 65 degrees Fahrenheit, although that varies by plant. Refer to the seed packet for complete information.
Seeds to start indoors:
- Basil
- Broccoli
- Brussels sprouts
- Cabbage
- Cauliflower
- Chard
- Cucumbers
- Eggplants
- Kale
- Lettuce and other salad greens
- Melons
- Nasturtiums
- Parsley
- Peppers
- Squash
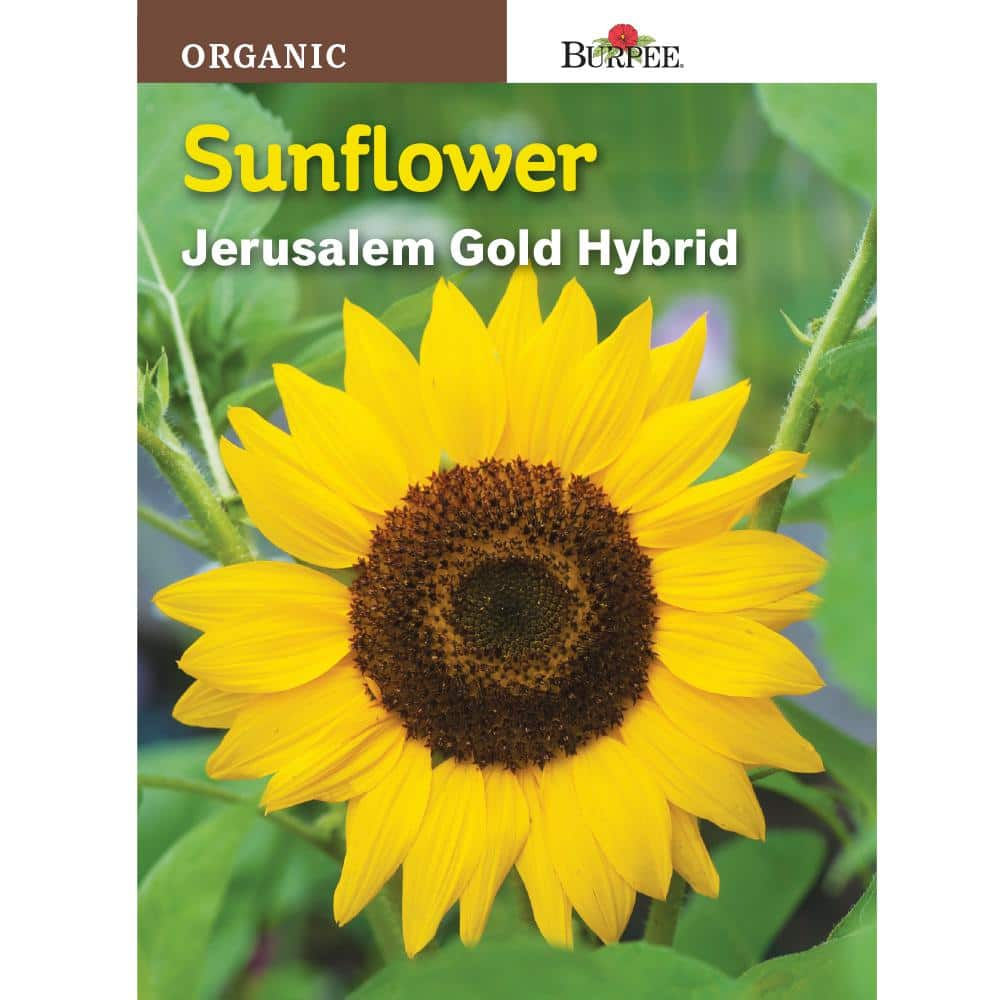
- Sunflowers
- Tomatoes
- Zinnias
Direct sow these seeds:
- Arugula
- Beans
- Beets
- Carrots
- Cilantro
- Corn
- Dill
- Parsnips
- Peas
- Radishes
- Spring onions
- Turnips
At the end of the season, save seeds from open pollinated or heirloom plants. Hybrids have many great features, but they won’t grow back true from seed. The easiest seeds to save are beans. Just leave a few to dry on the vine after harvest. In October, pop open the pods, and store and save the dry beans for the next year. Learn more about saving seeds.
Build a Seed Starting Station

A seed starting station is essential to give your seedlings the best start indoors, and it’s simple to build your own. This project is a basic, sturdy frame that can suspend grow lights that you can adjust to varying lengths.
This station was created by Thompson-Adolf using about $20 worth of PVC pipe and fittings. When complete, set it up on a table in an area with good airflow and temperature controls. You’ll need convenient access to water and electrical outlets, too.
Julie uses 4-foot long shop lights with two fluorescent bulbs in her seed starting station.
To complete the station, you will need:
- Grow lights
- Chain
- Power strip
- Timer
Materials:
- (2) 10-foot length, 1-inch PVC pipe
- (4) 1-inch PVC end caps
- (4) 1-inch PVC tees
- (4) 1-inch PVC elbows
- Zip ties
Tools:
- Hack saw or PVC cutter
Directions:
Cut one 10-foot PVC pipe into the following lengths using a hack saw or PVC cutter: (4) 5-inch lengths, (2) 24-inch lengths, (1) 52-inch length.
Cut the second 10-foot PVC pipe into the following lengths: (2) 7 1/2-inch lengths, (2) 24-inch lengths, (1) 52-inch length. You’ll have a little bit left over.
Place one end-cap on a 5-inch section of PVC pipe. Insert the other end into a PVC tee. Repeat three times.
Insert one 7 1/2-inch PVC pipe into other ends of the tee, joining the 5-inch sections. Repeat.
Insert one 24-inch length into a PVC tee top. Repeat three times.
Attach an elbow to each end of the 52-inch pipe, with the bend facing downward.
Join the two 24-inch length pipes into the open ends of the elbows. Repeat. The frame should stand alone without support. You may need to straighten the pipes or connectors slightly.
Add zip ties a few inches from each end of the 52-inch pipe to attach chains for the lights.
Hang the lights 1 inch above the plants. Adjust the chain to raise the lights as plants grow.
Plug the lights into a power strip and plug the power strip into a timer.
Set the timer so the plants receive 12 to 14 hours of light per day.
Disassemble pipes and connectors for storage.
No matter the season, gardeners can get a jump on the next growing season by starting seeds indoors. A careful gardener can extend production by starting seeds in winter and planting seedlings after the danger of frost has passed. Learn more about seed starting in this video.
The classic candidates for indoor starting are tomatoes, peppers, eggplant, cucumbers, melons and both winter and summer squash. For the best results, begin with packaged seeds grown for the current season.
Whether you need the right planters, seeds or potting soil, The Home Depot delivers online orders when and where you need them.
