Pumpkin Painting Ideas for the Whole Family
Last updated September 7, 2023
Pumpkin decorating is hardly limited to the traditional Jack-o'-lantern. In fact, you can achieve the same seasonal effect with Halloween pumpkin painting.
Pumpkin painting uses just a fraction of the elbow grease required for carving. Whether you want your Halloween pumpkin painting to be playful and quirky or streamlined and sophisticated, we’ll show you how to bring your artistic vision to life.
This guide will offer pumpkin painting ideas, design inspiration and instructions so every member of the family can create their own unique pumpkin.
Table of Contents
Gather Your Materials
Paint a Base Coat
Create a Cute, Quirky Face
Create a Patterned Pumpkin
Pop a Polka Dot Print
Get the Message
Gather Your Materials

Regardless of the design you choose, here are the basic supplies you'll need for a session of Halloween pumpkin painting:
- Pumpkins
- Foam paint brushes
- Acrylic paints
- Painter’s tape
- Paint pens
- Drop cloth
- Regular paint brushes
- Paper plate, or something similar, to use as a palette
Before you start, wipe down your pumpkins with paper towels to remove dirt and debris.
Paint a Base Coat

Before starting on any of the pumpkin painting ideas, you can opt to paint the pumpkin with a base color of your choosing. This gives you a slightly smoother canvas on which to place your design. It is also a way to inject even more color into the project.
- Using acrylic paint, coat the top half of the pumpkin first.
- Wait about 45 minutes for the paint to dry before handling the pumpkin and painting its bottom half.
- Wait at least another 45 minutes before moving onto the rest of the project.
Create a Cute, Quirky Face

One of the simpler ideas to tackle, this cute creation takes just a few minutes. It's an ideal pumpkin painting idea for kids because it doesn’t require a steady hand or artistic skill. Even a little wobble of the paint pen can create a more interesting face.
- Start by laying the drop cloth down, then place the pumpkin and decorating supplies on top of it.
- Choose what kind of face you want your pumpkin to flaunt. We’re fans of a playful winky face or one with friendly Halloween vibes, but it’s up to you – this is a chance to let your creativity shine. (Feel free to practice drawing your face on scratch paper beforehand.)
- Using the paint pens, draw the face onto the pumpkin. Be careful to avoid smudging as you go.
- Allow at least 30 minutes for the paint to dry and at least 24 hours for it to cure, at which point you can put it on display outside.
Create a Patterned Pumpkin

Sophisticated pumpkin painting ideas are perfect for those who love a minimalist pattern. This brings a bit of art to the front porch in the form of a patterned pumpkin.
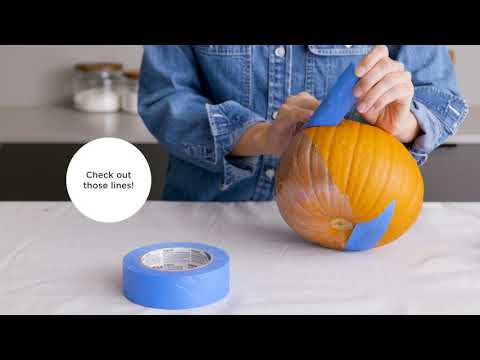
- Apply the painter’s tape to the pumpkin in your desired pattern. You can use the tape in straight lines to create geometric patterns (maybe a chevron print, a triangle motif or something of your own creation). For curves, overlap smaller pieces of tape at incremental angles until you create a curving design. Alternatively, use scissors or a utility knife to carefully cut a curve out of the tape and then press it in place on the pumpkin surface.
- Decide on your color scheme, selecting which acrylic paint you’ll use for each taped-off section. Portion out each color onto the paper plate.
- Using foam paint brushes, blot the acrylic paint onto the taped-off areas of the pumpkin in a light dabbing motion. Use the paint sparingly in order to attain a crafty, sponge-painted texture (the more paint you apply to the brush, the less texture there will be). Rinse and dry the brushes when switching between shades of paint.
- Allow about 45 minutes for the paint to dry, then carefully peel away the painter’s tape to reveal your pattern. Keep your pumpkin indoors for at least 24 hours, so that the paint can cure, before displaying it outside.
Pop a Polka Dot Print

What's cuter than a painted pumpkin? One that's painted in a polka dot print. This is another pumpkin painting idea for kids that is quick, easy and fun. However, it is also an easy idea to dress up your pumpkin with an upscale color scheme or some artistic flair.
- Using the paint pens, draw polka dots all over the pumpkin – use multiple colors and different-size polka dots for a print effect.
- For more sharply defined dots, use round foam brushes in various sizes. Load the brushes with more or less paint to vary the texture and opacity of the polka dots.
- Be careful to avoid smudging as you go.
- Allow at least 30 minutes for the paint to dry and at least 24 hours for it to cure, at which point you can put it on display outside.
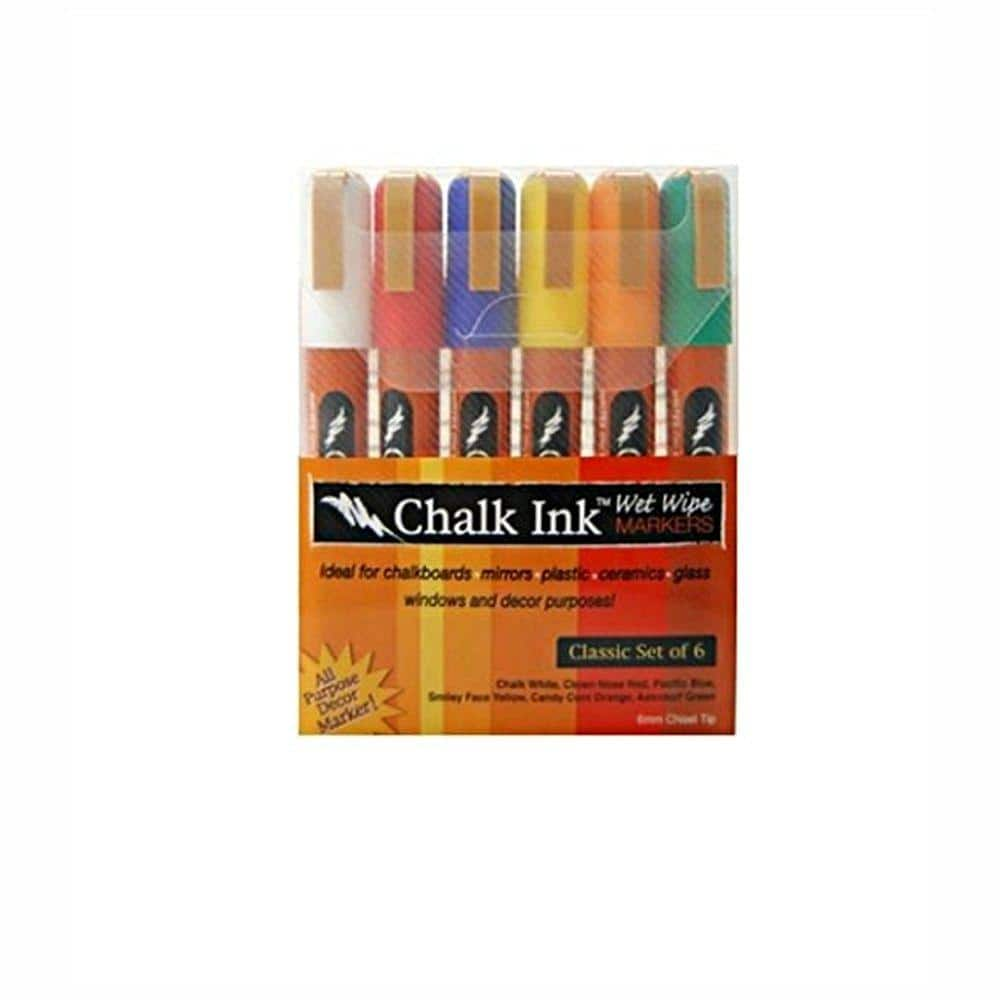
Get the Message

Using words is a common way to create a fun mood and liven up your decor. Use the same technique on your painted pumpkins and embrace the harvest season.
- Use chalkboard paint on the pumpkin surface to write your own welcome messages for trick or treaters. Change out the messaging for the harvest season.
- For a festive message, paint on a word or two using a stencil.
- Use mini-pumpkins and paint one letter on each one. Trail them across a windowsill or line them up as a table runner and spell out your holiday message.
- On your largest pumpkins, paint silly holiday-related puns, jokes or even riddles.
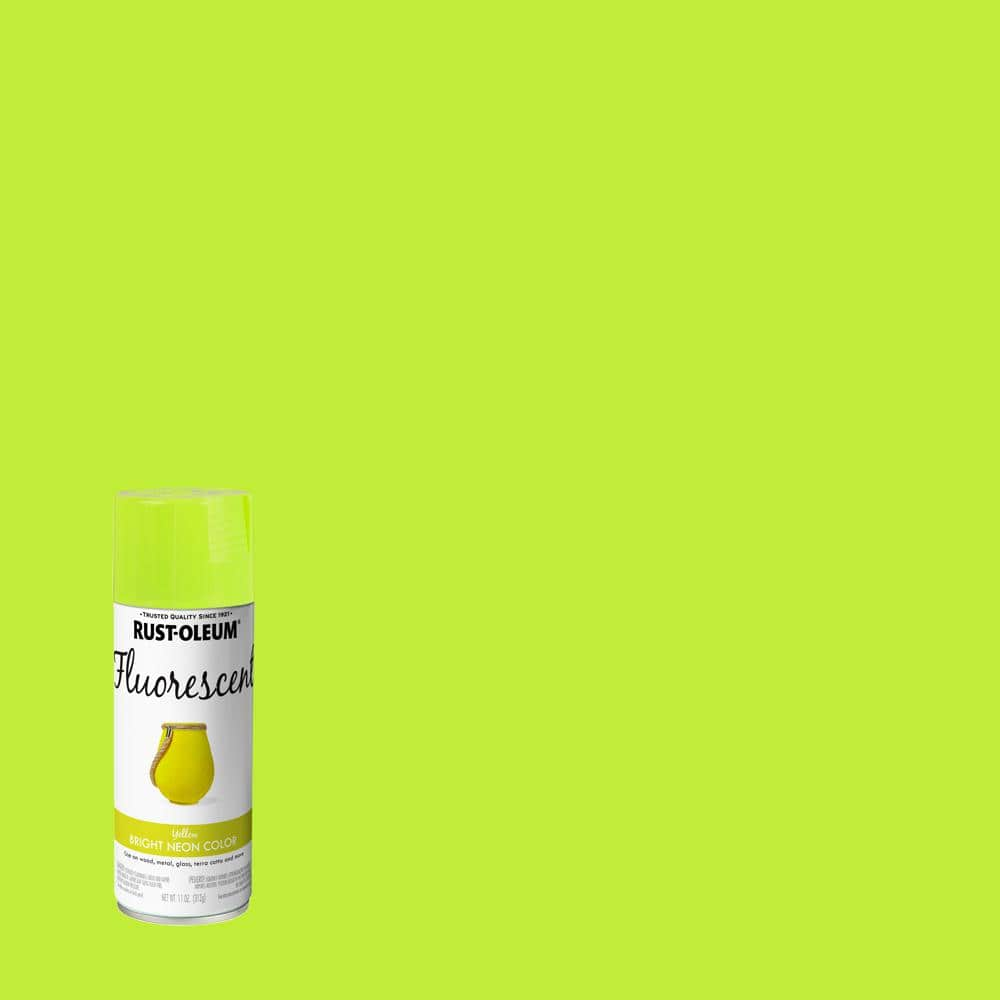
Spray Paints for a Spritz of Glitz

Among the trickier pumpkin painting ideas is using metallic paints. While craft paint in metallics are available in tubes, you will probably have more success using a spray paint version on your pumpkin project if you intend to cover the surface. Spray paint will help you to get a smoother texture and more even coverage.
- Use shiny gold, white or black spray paint as a base to make stand-out centerpieces.
- Spray on metallics such as shimmering green, silver or bronze to make your pumpkins sparkle.
- Use stencils or painter’s tape and create gleaming highlights on your painted pumpkins.
More Pumpkin Painting Ideas for Kids

When letting kids express their creativity, more is more. Since you already have the drop cloths out, it’s a great time to bring out all the craft supplies and let the kids go crazy with their personal pumpkins.
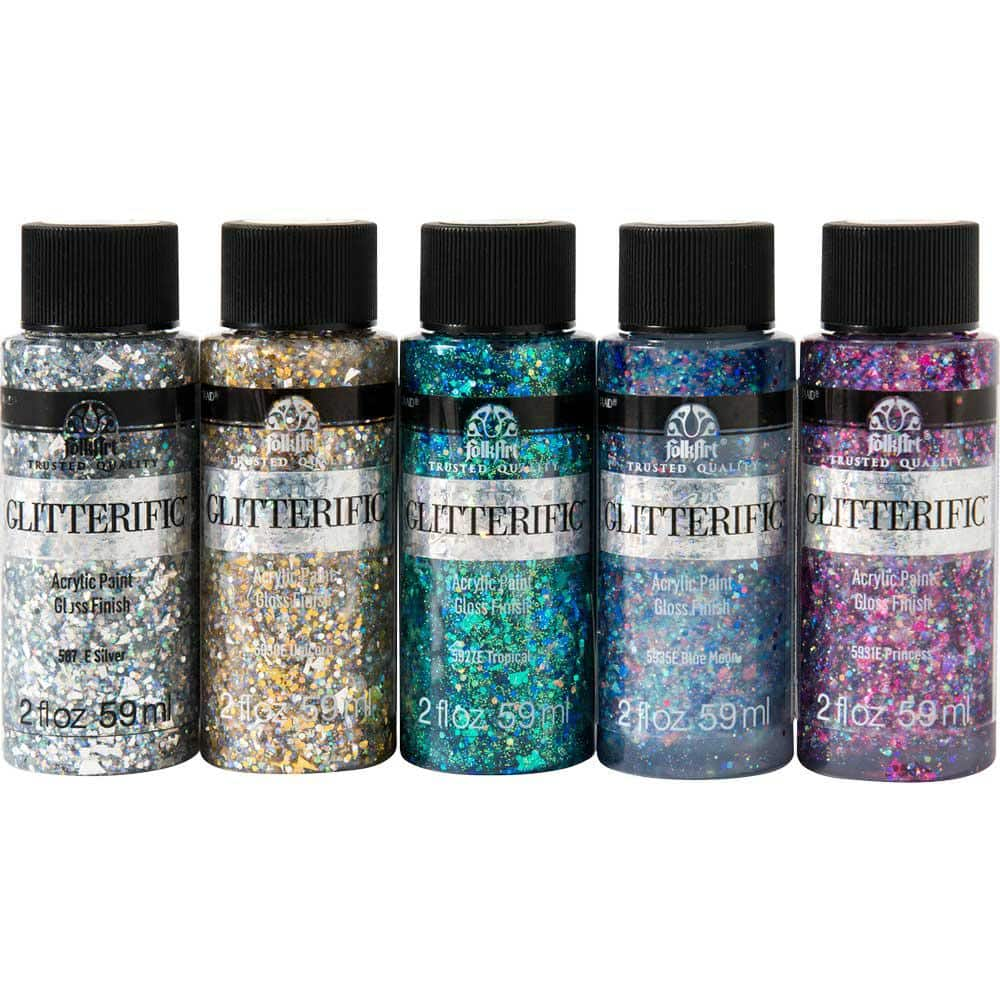
- Place some spots of spray glue on the pumpkin surface and shake out some glitter.
- Break out your kids’ sticker collections and let them decorate as much of the pumpkin as they like.
- Use ribbons or fabric, gluing swoops of style to the pumpkin. (Depending on the age of your child, you may have to handle the hot glue gun.)
- Poke in colorful or metallic push-pins to create raised designs.
- Give a nod to trick-or-treating and glue on wrapped candies. Spray the final design with shellac to keep the treat from attracting bugs.
- Use white silly string and create faux cobwebs over the pumpkins when they are ready to put in place.
Display Your Family of Pumpkins

Once your creations have dried, you can find any number of ways to display them in your harvest and Halloween decor.
- Set your pumpkins up on the porch to greet neighbors with a smile.
- Place small or medium pumpkins in your windows to look out at the neighborhood.
- Coordinate your painted pumpkins with your home decor colors and use them in various interior rooms. Place them on shelves or mantels or use them as table decor.
- Medium and large pumpkins can be used in yard displays to boost your holiday curb appeal.
- Line your walkway with your pumpkin collection.
- If you have a large mailbox, set a small pumpkin on top. Secure with double stick tape to help hold it in place.
Decorating pumpkins is a Halloween tradition that's fun for all ages and skillsets. Use these pumpkin painting ideas to dress up your outdoor or indoor space and welcome the season. The Home Depot is your DIY headquarters.
Looking for a product to complete your project? We have options to deliver online orders when and where you need them.