Solve Common Seed-Starting Problems

Published March 25, 2024
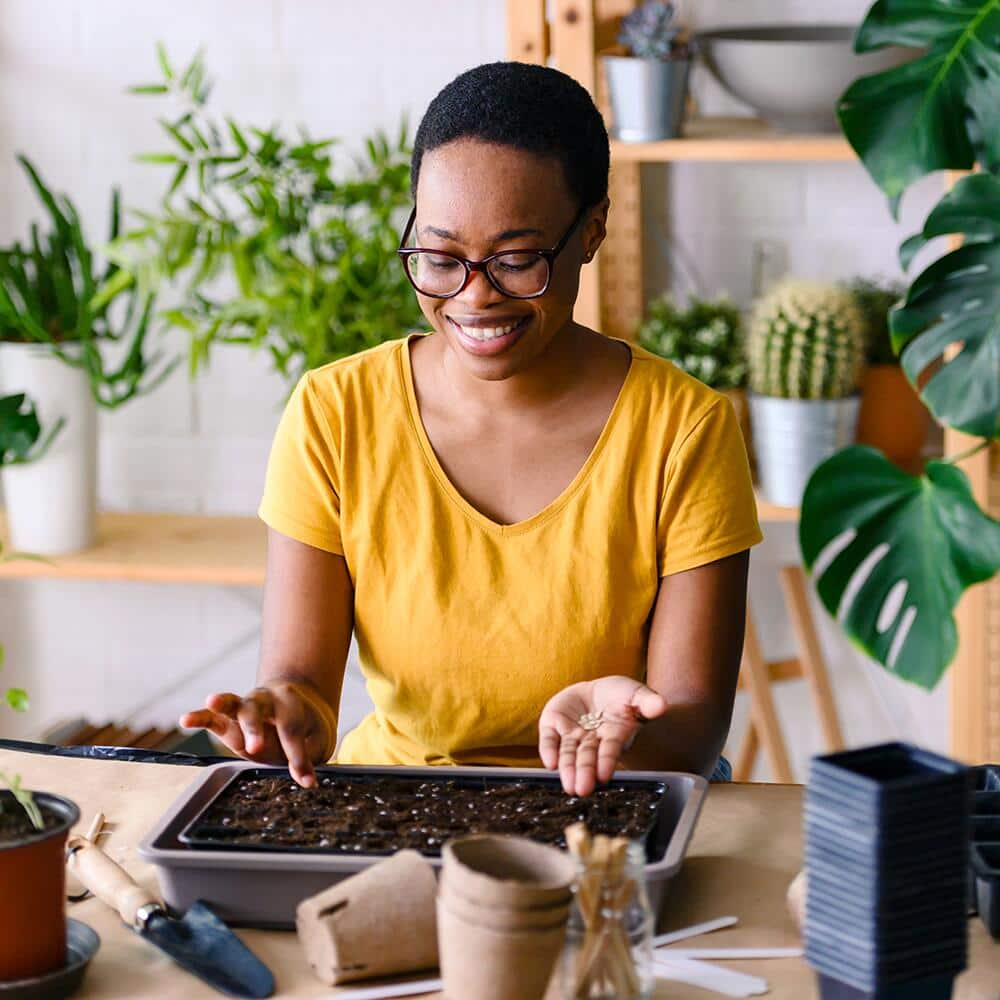
Seed-starting indoors can be rewarding and fun. It doesn’t take much time and it’s fairly simple. Once you collect the seed-starting supplies, it's easy to get started. But what happens when you encounter problems along the way?
We gathered insights from seed expert Robin Ruether with W. Atlee Burpee Seed Co. This guide helps solve common seed-starting problems you may encounter. Read on for expert advice on starting seeds.
Table of Contents
Seeds Didn't Germinate
Seedlings are Spindly or Leggy
Seedling Leaves Don’t Look Green
Seedling Grew but Stem Tipped Over and Plant Died
Seedlings Have Mold on Soil
Outdoor Seedlings Flop Over or Burn Up
Seeds Didn't Germinate

There could be a lot of reasons for why seeds don’t germinate. Whether it's flowers, vegetables or herbs, these are some common solutions:
- Plant at the right depth. Don't plant seeds too deep in the soil. You’ll want to read the seed packet to get the correct depth.
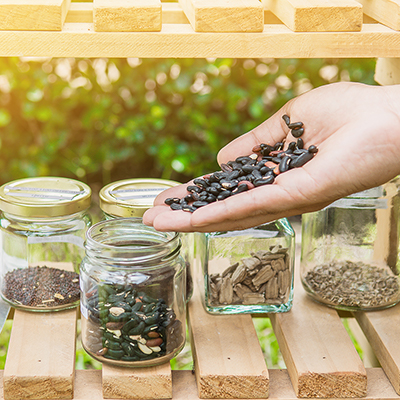
- Use fresh seeds or test old ones first. Some seeds can be long-lived, but it’s anyone’s guess if old seeds will germinate. Seeds sold in the Garden Center and online are germination-tested. They are considered fresh for that year only. However, some people don’t plant the full packet of seeds. They'll save the packets for the following year and beyond. While this sometimes works, consider over-planting or sharing with a friend instead. If you want to try to use old seeds, try a germination test first. Put a sample of seeds in a folded wet paper towel in a plastic bag. Keep in a warm place and monitor it over the course of a week or two. If a high proportion of the seed cracks open, plant the rest of the packet. Sow more than one seed per pot to ensure you’ll have something growing. As a guide, use fresh seeds for better rates of success.
- Store your seeds securely. How you store seeds affects the germination. For example, maybe you stored the seed packets outside in the shed. In summer, it gets hot and damp. Your seeds may not germinate. Best practice is to store seeds in a cool, dry place for the best viability.
- Pot seeds with proper soil. When seed-starting, you can’t just go into your yard and dig up dirt. When you start seeds, you need a good foundation. Use a fresh seed-starting mix or a soilless media that drains well. Ensure your mix doesn’t carry any fungus and disease.
- Balance watering. If your seeds get too much or too little water, it affects how they grow. When you start seeds, you want the soil to be moist. In the Garden Center, look for seed-starting kits with a self-watering mat. Just fill the tray with water. It keeps the potting soil moist, but not saturated. The soil wicks up as much water as it needs. Even if you don’t have self-watering kits, it’s good to keep your pots in a tray. Use a watering can or other vessel to add water from the bottom. That’s so you don’t disturb the delicate seedlings. Just be mindful not to overwater this way.
- Consider temperature. Why your seeds may not germinate could be related to soil temperature. Seeds need warm, even temperatures. Many enjoy about 70 to 75 degrees Fahrenheit. To help your seeds germinate, you can use heat mats that will keep them warm. Some like to start seeds on top of the refrigerator. But any warm spot will do if you check it frequently.
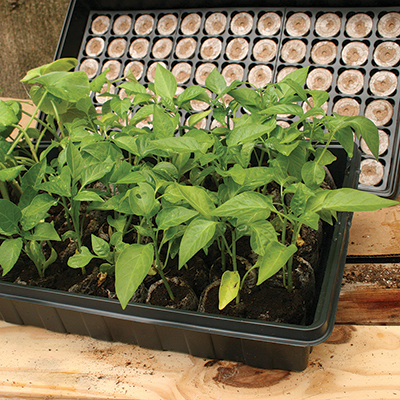
Seedlings are Spindly or Leggy

So, your seeds have sprouted. If you're using a greenhouse cover from your seed kit, remove it. You may notice one of several problems. Your seedlings may not grow thick stems and will instead be spindly or leggy. Here are some suggestions on solving this:
- Add light. Inadequate light is the most likely cause of leggy seedlings. Try using a grow light. You can set the grow light on a timer. This ensures the seedlings get 16 hours of light a day. You can turn it off and give it a rest at night. Place the light close to the plants, just 3 to 4 inches above them. Adjust the light as the seedlings grow taller. If you don’t have a grow light, place the seedlings in a south-facing window. Turn them every few days. Remember that sunlight is weaker in winter. It can be cold by the glass as well. Grow lights ensure plants get the light they need, regardless of the conditions outside.
- Thin your seedlings. This is a hard step for many gardeners to do. But, if you thin your seedlings, they won’t need to fight for water or nutrients. To thin seedlings, use micro snip pruners. Cut the stems at ground level of all but one plant per cell. Or, if you want more plants, wait until they have one to two sets of leaves. Gently uproot them, tease them apart and transplant them into their own container. For plants like chives, it’s okay for many plants to grow together in a cell.
- Turn on a fan. A lack of air flow can contribute to floppy seedlings. Wind helps make stems strong. By turning on a fan (set to low setting), you can mimic natural breezes.
Tip: For fun, try talking and playing music to your growing seedlings. Studies show that music vibrations helps plants grow.
Seedling Leaves Don’t Look Green

As your seedlings grow, you may notice some leaves aren’t a healthy green color. Tomatoes are prone to this problem. The solution for this is plant fertilizer:
- Choose a balanced fertilizer and follow the label for instructions.
- When seedlings are small, try a light dose of fertilizer once a week. As seedlings get bigger, increase the dosage.
- Use a natural, organic fertilizer for edibles. Synthetic fertilizers can burn delicate seedlings.
Seedling Grew but Stem Tipped Over and Plant Died

There is a disease called "damping off" that attacks growing seedlings. It causes stems to rot and tip over. Damping off is caused by using the wrong kind of soil or when the conditions are too wet. Damping off can also be caused by using old, uncleaned trays that have the fungus or mold on them.
Here's how to solve damping off:
- Overwatering and cool temperatures contribute to the disease. If this happens, remove affected seedlings and throw them out. For those not affected, let the potting soil dry slightly in between watering. Put a fan on to create good air circulation. This helps prevent fungus from spreading. Use sterile potting soil and trays.
- Keep your soil at the correct temperatures and ensure seedlings are getting sufficient light.
Seedlings Have Mold on Soil

If you see mold or algae growing on top of the soil, it is a solvable problem. Here are some tips:
- Start by removing the mold and letting the soil dry out between watering.
- Put a fan near your seedlings for air circulation. The mold will not kill the seedlings. But, the excess water and poor air circulation causing the mold can.
Outdoor Seedlings Flop Over or Burn Up

Check your weather forecast before putting your seedlings outside. Your seedlings could be set back by cold temperatures. Or perhaps, they flop over because the stems are not ready for windy breezes. Practice some of these tips to solve flopping or burning:
- Try acclimating seedlings to outdoor temps over the course of a week. Place them outside a few hours at a time. Gradually build up the time to overnights. This process is called hardening off.
- Set seedlings in shady areas with not much wind.
- Place them in a cold frame or portable greenhouse. This protects them from wind and cold temperatures. After acclimation, seedlings are ready for their final planting place.
Looking for a the right seeds, soil or tools to complete your garden project? The Home Depot delivers online orders when and where you need them.