Tips for Composting

Last updated September 7, 2023
Have you ever wanted to compost but need a few ideas to get you going? Here are some quick and easy ways to start composting so you can turn your vegetable, fruit and garden scraps into healthy soil for your plants as well as start an eco-friendly habit. By learning how to compost correctly, you can also reduce your need for pesticides while adding nutrients back into the soil.
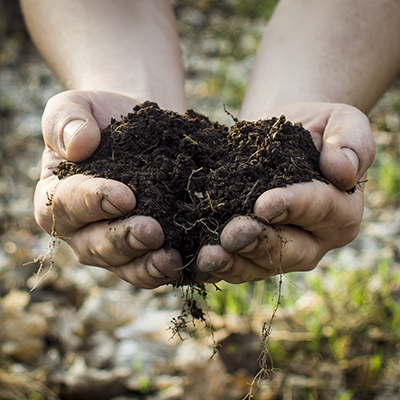
Composting is an environmentally friendly way to recycle household and food scrap waste and
condition your soil. The nutrient-rich compost that results can help you improve your organic gardening method by reducing the need for hazardous pesticides and chemical fertilizers. Interested in leveling up your compost game and going greener in the garden? You’ve come to the right place. Read on for all the dirty details and hot tips you need to start composting like a pro.
Table of Contents
Start with the Right Composter
Bring on the Worms
Try Compost Starter
Make "Compost Lasagna"
Keep a Compost Pail Handy in the Kitchen
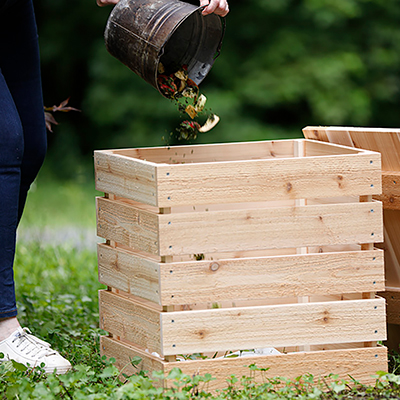
Start with the Right Composter

First things first — choose the right composter for your lifestyle and the type of waste you’ll be composting. There are the three main types of composters, each with its own purpose and maintenance needs.
- Continuous composters: Looking for a low-maintenance backyard compost bin? Consider continuous composting. Continuous composting bins are stationary outdoor containers that are great for tossing everything from kitchen scraps to yard waste. They’re called “continuous” because new scraps and organic matter can be added all the time — just toss them in the compost pile, wait for the material to break down, then open the bottom of the bin, and voila—finished compost. Continuous composting takes anywhere from four weeks to twelve months to create ready-to-use compost.
- Batch composters: Batch composting is great for people who need finished compost ASAP for lawn and gardening use. A batch compost bin, also called a compost tumbler, is essentially a large barrel that you fill with grass clippings and food scrap waste. It’s called a compost tumbler because your tumble the batch daily with a handy handle that spins the barrel. After four to eight weeks, you’ll have a big batch of nutrient-rich compost. While one batch is decomposing, you can stockpile scraps for the next batch in a countertop compost bin or a compost heap out back. Or get two batch composters so you can have two batches going at the same time but at different stages in the process.
- Indoor composters: If your main goal is to compost vegetable scraps, or if you live in an apartment building with no space for a compost pile, indoor composting might be just the thing for you. Indoor composting is done on a smaller scale by using either aerobic composting, which uses microbes from garden soil to decompose kitchen waste, or vermicomposting, which uses worms. Place your indoor compost bin in the pantry, under the sink, or in your basement, then add your kitchen scraps to it daily or weekly. Once a week, turn the contents of your composting bin with a compost fork. It’ll take two to four months for your kitchen waste to turn into ready-to-use compost.
Bring on the Worms

Worms — yes, worms! — are squiggly superheroes when it comes to composting organic material. Here’s how it works: worms eat nutrient-rich food scraps, which then become nutrient-rich compost after passing through the worm’s body. Worm compost has higher levels of the nutrients plants love, like phosphorus and nitrogen, than regular compost. Worm composting also significantly speeds up the time it takes for organic waste to become usable compost—worms can convert most kitchen scraps and yard waste into compost in about two weeks.
But don’t go digging up earthworms from the back yard just yet. For successful worm composting, only redworms will do. Eisenia foetida, also known as red wiggler or brandling worm, and Lumbricus rubellus, or the manure worm, live their lives happily chewing through the scraps in your worm bin. Plan on getting about one pound of worms per three pounds of compost.
To take care of your little compost pile buddies, keep the temperature in the worm bin between 55 and 77 degrees Fahrenheit. Bitterly cold winters and hot summers are too harsh for composting worms, so consider keeping your worm bin under the sink or in the basement—at least during periods of extreme temperature. To feed the compost worms, chop your vegetable scraps and other kitchen waste into small pieces.
Tip: Feed the worms one to two times per week rather than daily to avoid a backlog of undigested food scraps.
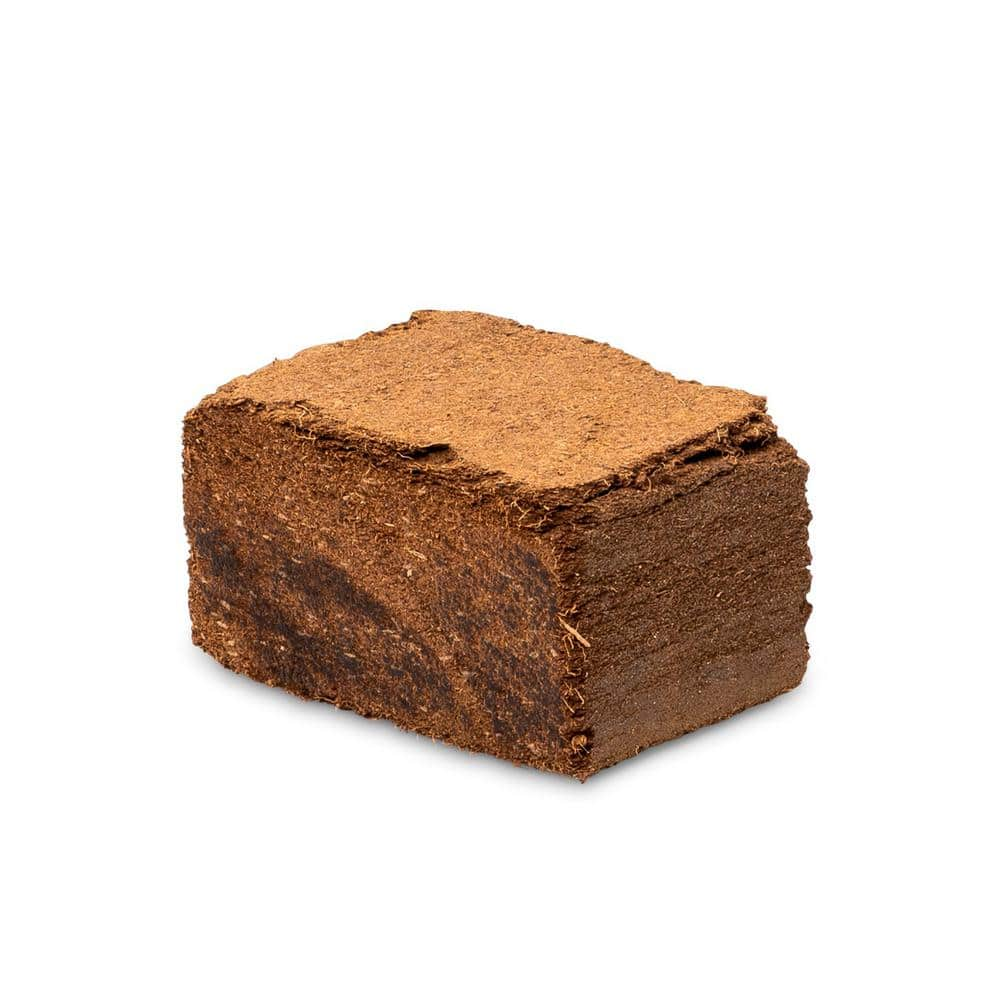
Try Compost Starter

Compost starter, also known as compost accelerator or compost activator, is an additive for compost bins to speed up the composting process. Different compost starters have different ingredients, often including nitrogen and thermophilic organisms like certain bacteria and fungi to jumpstart decomposition. Thermophilic microorganisms are microbes that love heat, and keeping the temperature of the interior of your compost pile between 105 to 140 degrees Fahrenheit will help keep things decomposing at a faster pace so you can harvest your compost sooner. A compost thermometer will help you monitor the internal temperature.
To supercharge your composting process, add a layer of compost activator to your bin, and mix it in with your food scraps and yard debris. Leaves, grass clippings, chicken manure, and soy or alfalfa meal make excellent, nitrogen-rich activators, but the best compost starter you can use is, well, compost. If you’ve got some ripe compost from a previous batch, mix some into your new pile. Don’t have any finished compost? No worries! Buy a bag of it to get you started.
Make "Compost Lasagna"

Lasagna compost is a method of layering your organic materials for maximum decomposing efficiency with minimum effort while deterring pests and keeping your compost heap manageable. The lasagna compost method is a fantastic choice for any type of composting bin, because it’s pretty simple. Here’s how it works:
- Bottom layer: Put down an initial layer of stalky organic materials, like twigs and branches. Stalky materials allow oxygen to penetrate the middle layers of your compost lasagna, which eliminates the risk of odors as your compost decomposes.
- Brown layers: On top of the stalky material, alternate “brown” layers and “green” layers. Brown layers are things like straw, wood chips, dried leaves—even torn up newspaper and brown paper bags work like a charm for brown layers. The brown layers are rich in carbon, which is the main food source for all the thermophilic microorganisms working overtime to decompose your scraps. Brown layers also help balance the moisture in compost bins, since they’re much drier than the wet food scraps in the green layers.
- Green layers: Pile green layers on top of the brown layers. The green layers are made up of nitrogen-rich green materials, like fruit and vegetable scraps, coffee grounds, grass clippings, weeds, and manure. Nitrogen is another important food source for the organisms decomposing your compost.
Alternate the brown and green layers on top of your initial layer, always beginning and ending with a brown layer so that the food scraps are never exposed. Here are a few tips for mastering the lasagna compost method:
- Make your green layers no more than 2 inches thick.
- Make your brown layers two to three times thicker than your green layers.
- To keep your green material fully covered so pests and critters don’t find their way to your compost pile, shape the brown layers like a saucer, so that their edges are higher than the green material you layer on top of it
- There’s no need to turn your compost with the lasagna method, but if you want to speed up the decomposition process, go ahead and turn your compost lasagna weekly.
Tip: You can throw whole tea bags, napkins, and other biodegradable items in your compost pile. If it doesn’t completely degrade, you can just pull it out later.
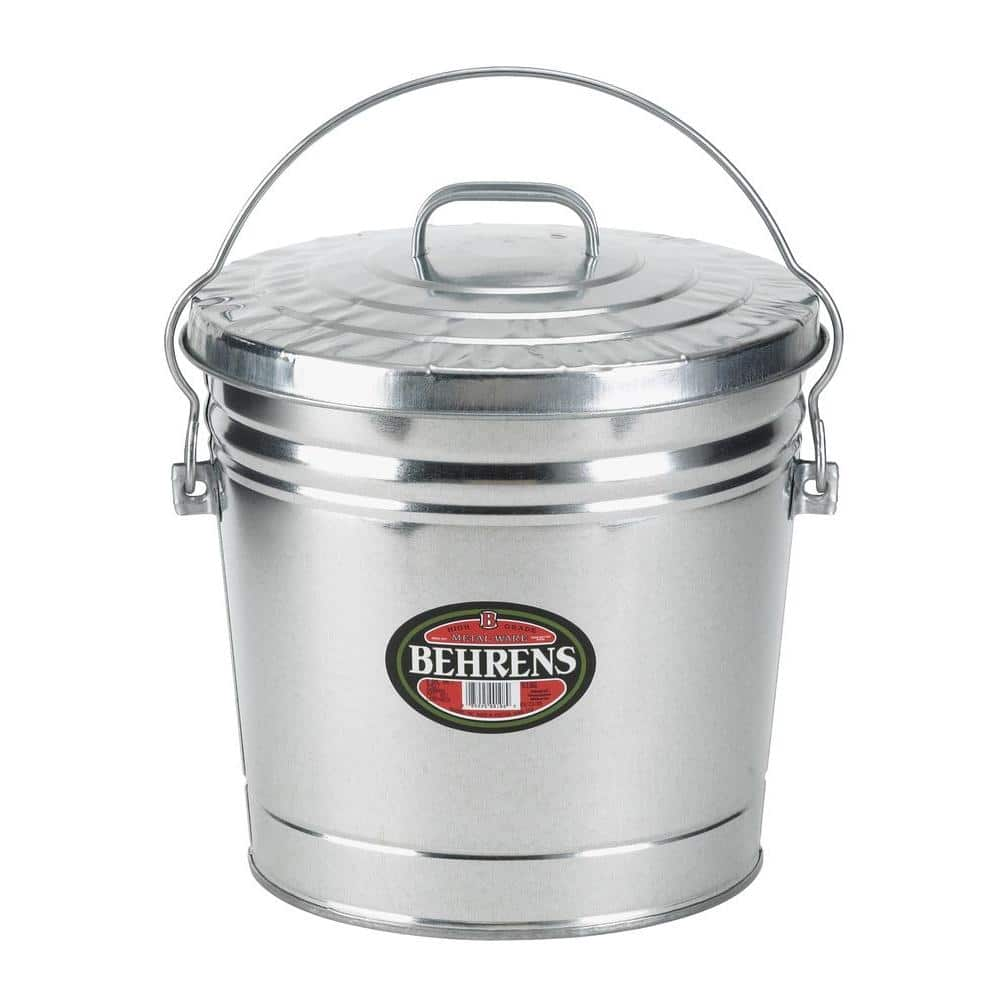
Keep a Compost Pail Handy in the Kitchen

If you’re composting kitchen scraps, you’ll need a countertop compost bin or compost pail. When you’re prepping for dinner, you can quickly scoop potato and onion skins, carrot peels, strawberry caps, egg shells and more right into the pail. A compost pail stores your food scraps for a few days so you’re not running out to your composter every time you make a meal. The best compost pails are made of a durable material that’s easy to wash out and doesn’t hold onto odors—think ceramic or stainless steel. Plastic pails last a long time, but after a while, they tend to take on odors from your kitchen waste. To keep your compost pail fresh, line it with newspaper before filling it with scraps — the newspaper helps keep the pail clean while you load in kitchen waste, and you can dump it on the compost pile along with the scraps.
Following these tips for composting can help you make the most of your leftover scraps while enriching your garden's soil. Composting helps reduce food scraps and yard waste in the landfill, and it results in a rich, nutrient-dense compost to help your garden grow strong. It isn’t difficult to do, especially armed with these tips for composting, and it’s a lot of fun watching your food scraps and yard debris turn into fertile compost for your flower or vegetable garden.
The Home Depot has everything you need for composting indoors or out, including ready-made compost bins or all of the tools and materials you need to build your own. Stop in to your nearest Home Depot, or shop online when you're ready to start composting. The Home Depot delivers online orders when and where you need them. Or, enjoy the best of both worlds—shop online, and pick up your order at your convenience from our In-Store Lockers.