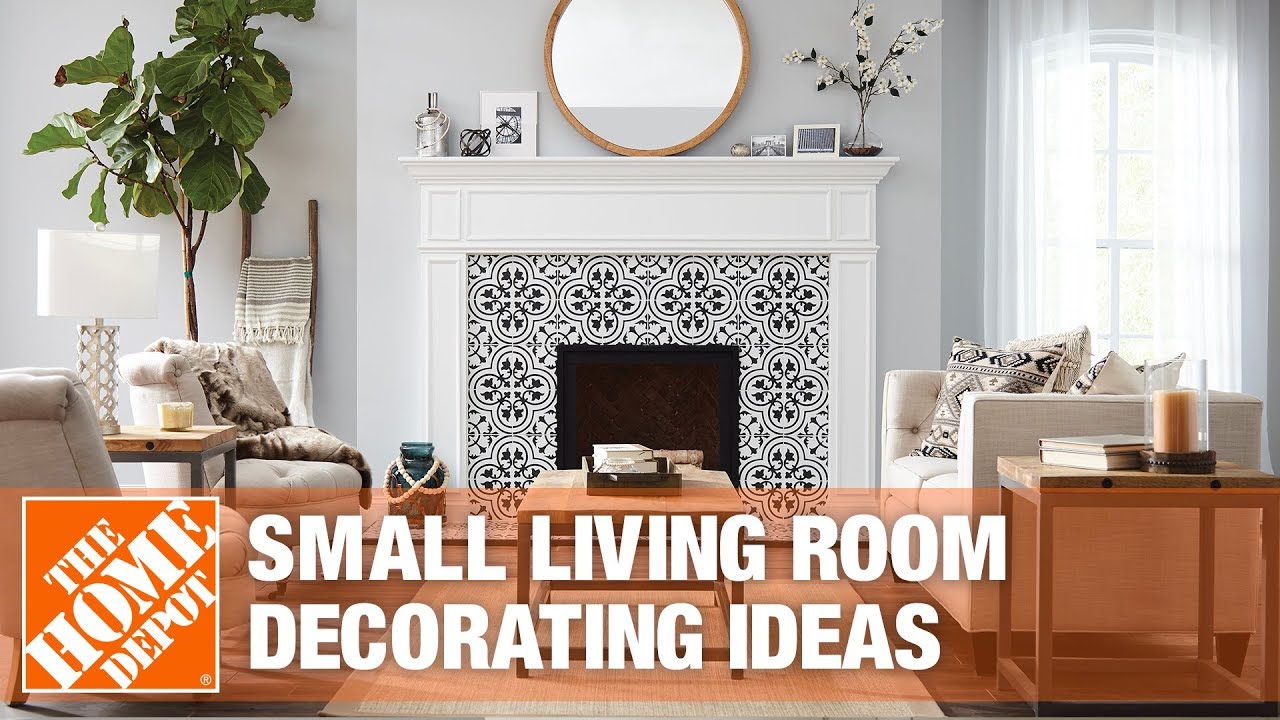
5 Ways to Maximize a Small Living Room

Last updated August 21, 2024

Erin aspires to guide beginners through a variety of home DIY projects through her blog Top Shelf DIY. She shares her passion for tools and drinks through helpful guides and tutorials offering unique tips and tricks.
A Note From The Home Depot
Sometimes, more is more! Take a tip from Erin Devine of Top Shelf DIY and don’t be afraid to take a risk. Follow her as she assesses the greater potential of her smaller living room, then heads to The Home Depot to shake up her space and make it feel even roomier. Watch along, then head to The Home Depot for the help and material to start your own renovation project!
Table of Contents
5 Ways to Maximize a Small Living Room
Before
After
Step 1: Lighten Your Surfaces
Step 2: Establish a Focal Point
Step 3: Be Flexible with Furniture Placement
5 Ways to Maximize a Small Living Room

Many beautiful things came out of the ’90s: our living room was not one of them. One of the reasons I loved our house when we toured it back in 2018 was its renovation potential (for my husband, the man-cave potential). Rather than doing it all right away, we lived in the space for a while, saving our pennies and taking note of how it was and wasn’t working for us.
In this post, I will share how we maximized our living room renovation budget to get the most bang for our buck. It wasn’t just about “making things pretty”—we wanted durable materials that could stand up to the wear and tear of two kids and a dog.

Before

After
Step 1: Lighten Your Surfaces

This may seem obvious, but dark walls and floors will make your room feel like a cave. The same goes for heavy window treatments. The very first thing I did was remove our dated, dusty blinds and replace them with custom plantation shutters. We only needed coverage on the lower half of our windows where there was a direct line of sight from our neighbors’ garage. The other windows got a custom curtain treatment (thanks, Mom!), giving us the freedom to keep them unobstructed 99-percent of the time.

Next, I painted the walls a bright, neutral color. Chantilly Lace is a creamy white that picks up the tones around it and works well in any room regardless of sunlight direction. As for the flooring, we opted for Home Depot’s Lifeproof luxury vinyl plank in a light pine color (Boulder Pass Hickory). LVP is waterproof and scratch-resistant, making it the perfect choice for a main-level living space. We added a light, neutral area rug to the flooring to bring back a bit of the comfort associated with carpeting.
Step 2: Establish a Focal Point
Then, the age-old debate: to mount or not to mount a television above the fireplace? That is the question.
For our layout, it made sense to mount it. Because our living room opens to our kitchen and eating area, we only have three walls to work with. One is entirely made of windows and the other is a fireplace. Initially the third wall was occupied by an ugly entertainment unit; we were missing a huge opportunity for precious square footage by having the TV there!

To remedy this problem, we had an electrician install an electrical outlet and ethernet cable above our fireplace. We upgraded to a 65" TV and placed it on a fully rotating mount to eliminate concerns of neck strain.
We had a plumber move the gas line next to our fireplace so that I could rebuild the surround three inches wider on either side.
Now the third wall houses a chaise lounge and floor lamp with overflow space for a Christmas tree when needed. I installed wallpaper above the chair rail to cover up the drywall damage left behind by the old TV unit.

Step 3: Be Flexible with Furniture Placement
We were gifted a large sectional in 2015; while the piece fit our old living room perfectly, it overwhelmed this new space. It was an expensive and beloved piece—replacing it was out of the question. The great thing about sectionals is that you can reconfigure them in about 10 different ways to make them work.
My pregnant sister came over one day and decided to pull apart one of the sectional pieces. (I helped.) It was like a lightbulb going off in my brain. I played around with the layout in Sketchup to see what would make sense. There are many free interior-design apps that will allow you to plug in the dimensions of your room. Use them to your advantage!

Step 4: Trim Is Your Friend
One might say I'm obsessed with trim. During this renovation, I replaced the window trim, baseboards and crown molding. I also added chair rails, a coffered ceiling and base cap wainscoting around the fireplace. (I just can't help myself!) I was a bit nervous about all this trim weighing down the room and making it feel smaller. But the reverse happened!

Our nine-foot ceilings feel even taller thanks to the coffered ceiling. The baseboards were upgraded to one-by-eight medium-density fiberboard from their three-inch builder-grade predecessors. Every piece of trim was painted the same shade, Cameo White, to make the room feel cohesive. Rather than feeling oppressive, all the custom woodwork makes the room feel taller and wider.
When it comes to trim, more is more—NOT less.

Step 5: Function > Style
I love the look of hardwood, but our worn kitchen flooring is testament to the fact that hardwoods and dogs don't mix. Luxury vinyl plank is just as beautiful, less expensive and, so far, holding up great to thrown toys and Labrador retriever paws.
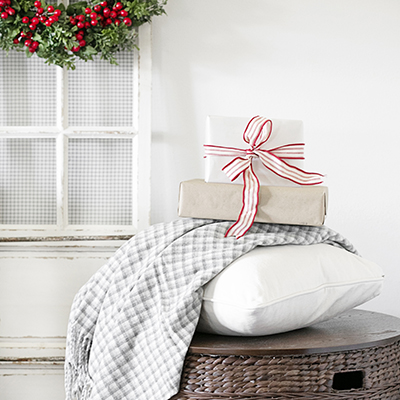
As for storage, I added cute green bins under the coffee table for kids’ toys. The rest of their toys have been permanently relocated to a playroom area next to the kitchen. I added a canvas basket next to the fireplace for extra blankets.

Whenever possible, try to designate “zones” in your living area. Your furniture and design elements should serve a specific purpose. Not only did we gain additional seating where the entertainment center used to be, but we added a bar-height console table and upholstered chairs behind the couch.

One might think adding furniture would make the space feel more cramped, but again it seems to have accomplished the opposite effect by providing moments of rest and conversation.
If you struggle with designing and renovating an open-concept space like we did, start with the basics. Don’t be afraid to keep it simple—a renovation is stressful enough! Refine your list of “must-haves” to keep the project on track. We are extremely happy with our new living room and grateful to The Home Depot for making it possible by selecting our project as an Orange Tank winner at Haven Conference.
For more specifics on the projects completed during this renovation head on over to Top Shelf DIY!

This post was created in partnership with The Home Depot. The author may have received compensation for this article and associated images or video, potentially in the form of products and/or services. All expressed opinions and experiences are the author’s own words.