6 Steps to the Perfect Limewashed Brick Backsplash

Last updated August 21, 2024

A wardrobe stylist, blogger and interior designer, Courtney covers everything from fashion to interiors on her blog, Lifestyled Atlanta. Working as a team with her husband at their company Mimosa Design Co., Courtney helps couples renovate, remodel and fix up their homes.
A Note From The Home Depot
Limewashed brick is popular these days. The unique, distressed look it produces is classic, and goes so well in many different decor styles.
Courtney Clymer, who writes Lifestyled Atlanta, wanted to create her own limewashed brick backsplash in her kitchen. She gave it a go, and discovered it’s a surprisingly easy look to achieve.
Table of Contents
Limewashed Brick Backsplash DIY
Step 1
Step 2
Step 3
Step 4
Step 5
Limewashed Brick Backsplash DIY
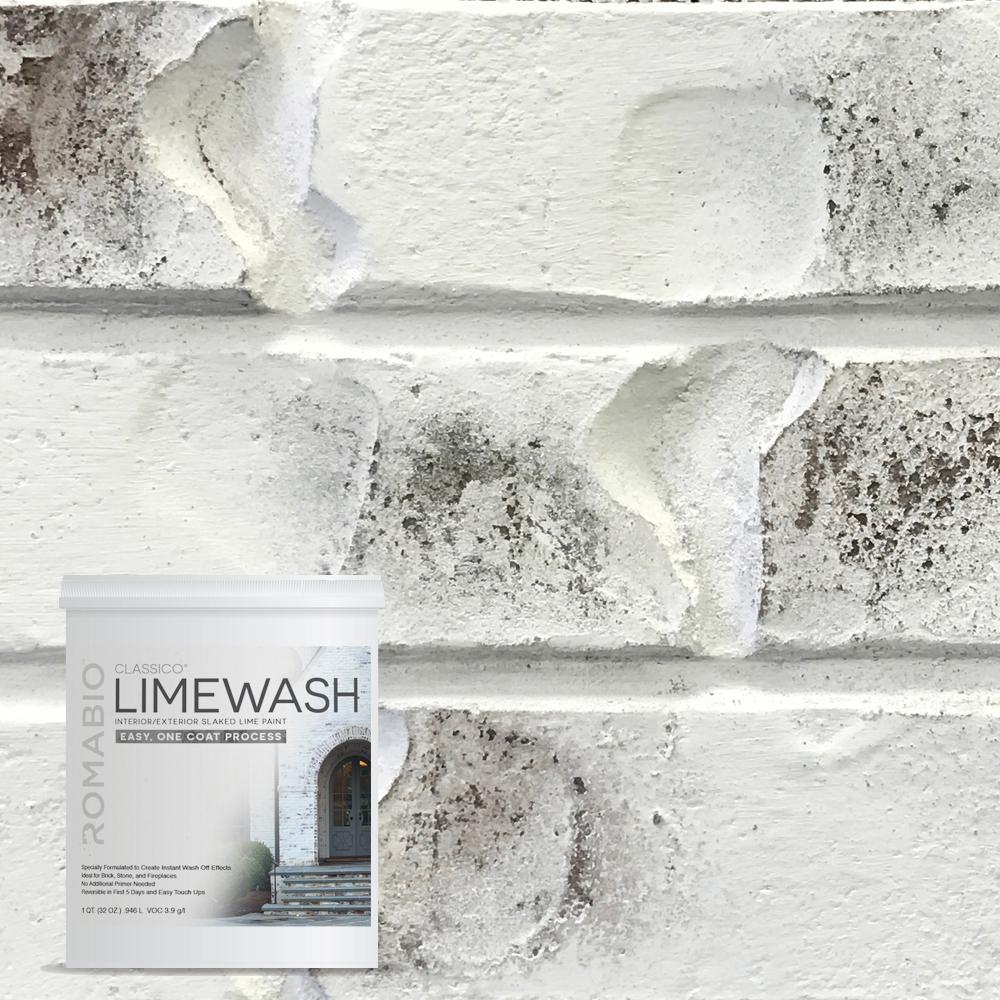
Here’s how I limewashed a brick backsplash surface using Bianco Antico Limewash. I was SO surprised at how easy it was– it took me less than a few hours, and it was actually much easier than painting.

Below you see our old kitchen backsplash. We decided to remove all the cabinets from this side and add a range hood, plus open shelving for a more open feel in our galley kitchen.

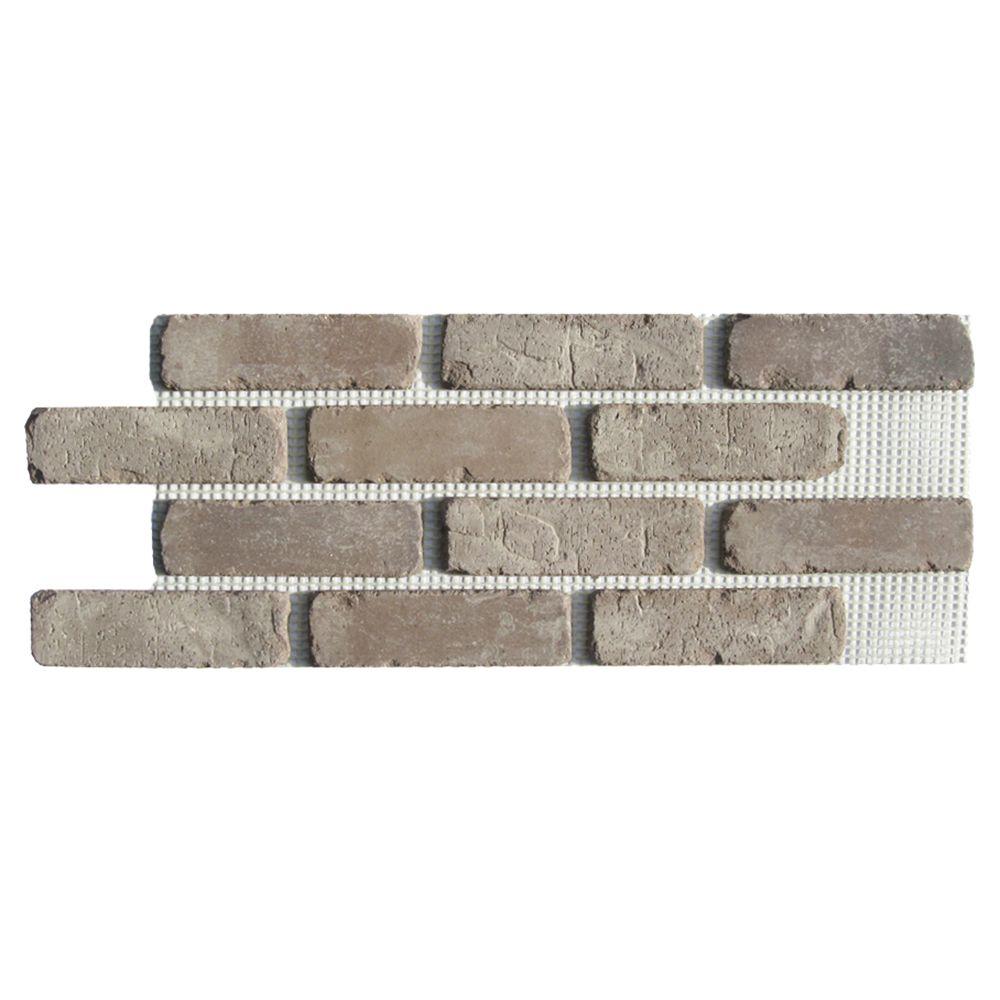
First, we put up a brick backsplash. We used this brick tile, which comes in sheets, making it super easy to install.

Here’s a step-by-step of the limewashing process.


Step 2
Spray the brick with water to dampen it.
I did this in sections, so it wouldn’t dry by the time I got to it with the paint brush.
Step 3
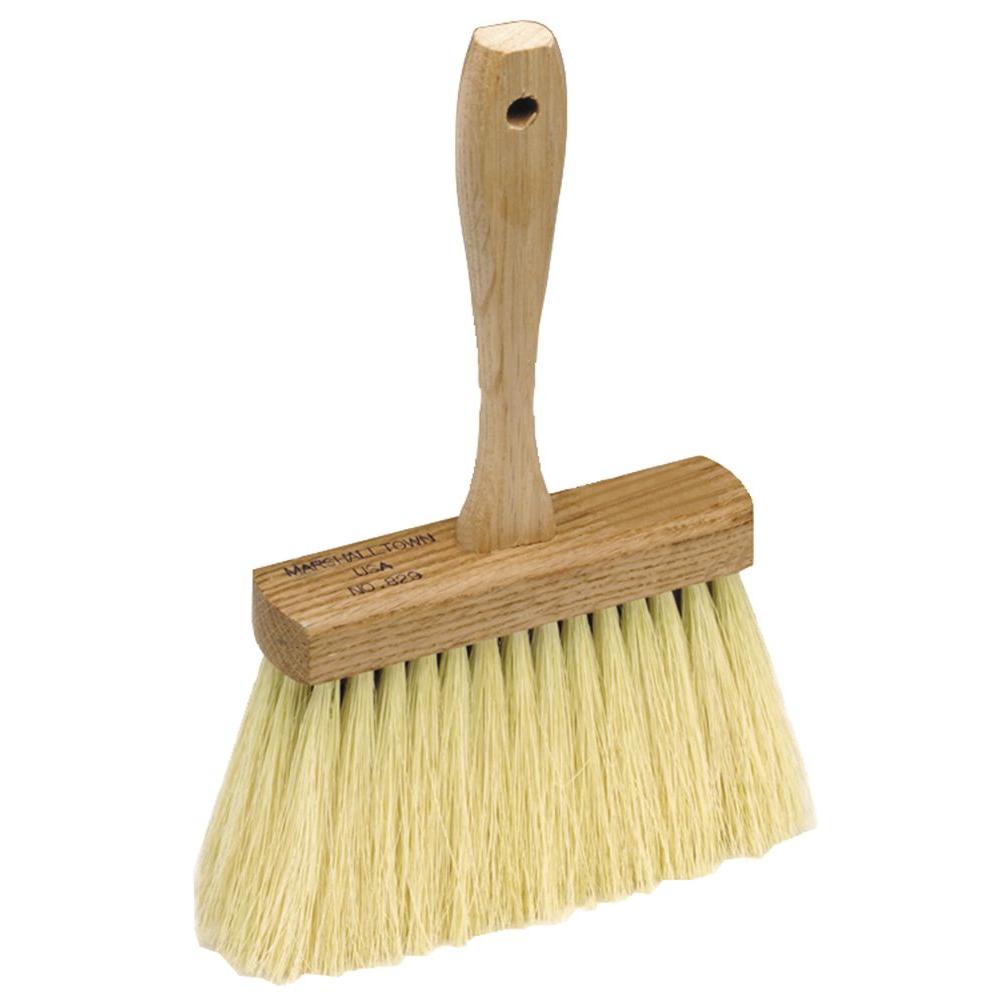
Apply the limewash to the dampened section with a masonry brush, working it into the grout lines and brick.

Step 4
Move from section to section, letting the paint dry for about 20 minutes.
Step 5
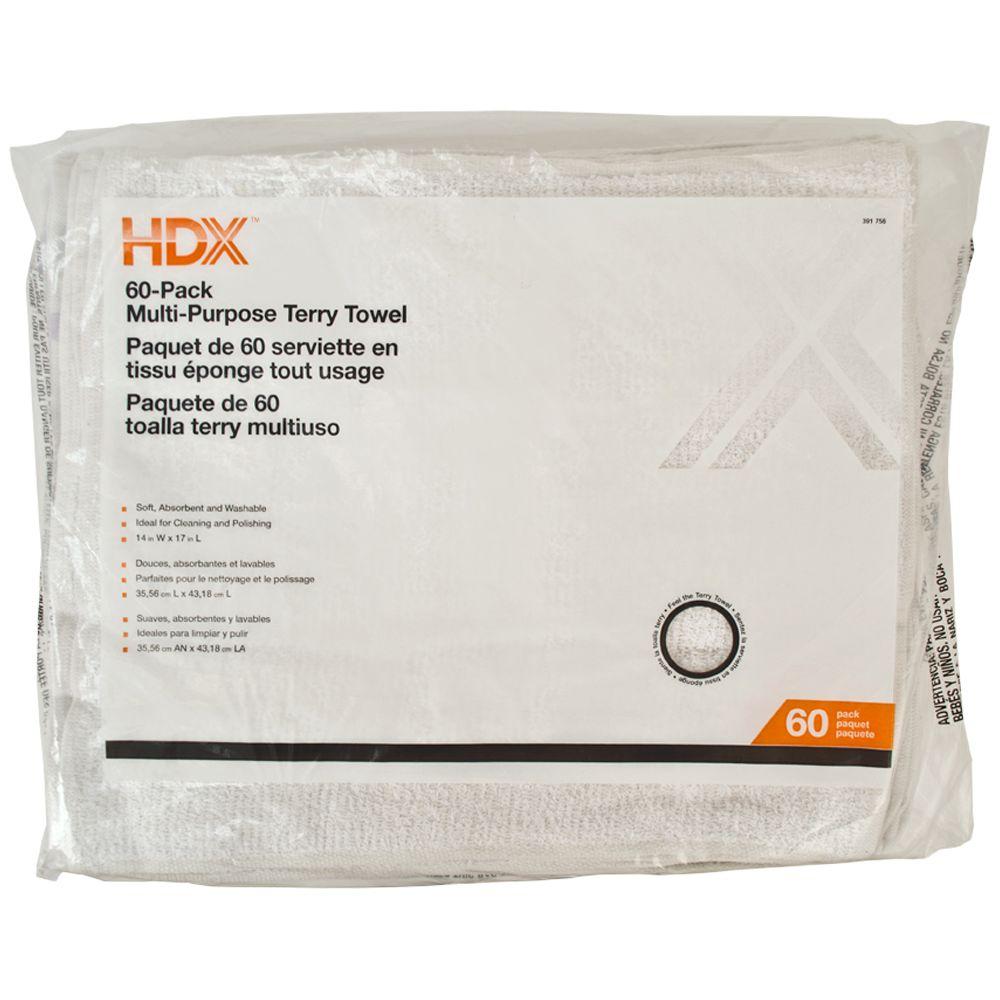
Spray the water on, section by section again, and use a rag or towel to rub off the limewash in various areas. I rubbed at different corners, middle pieces, etc. for an imperfect look– rubbing harder on some areas than others.
Step 6
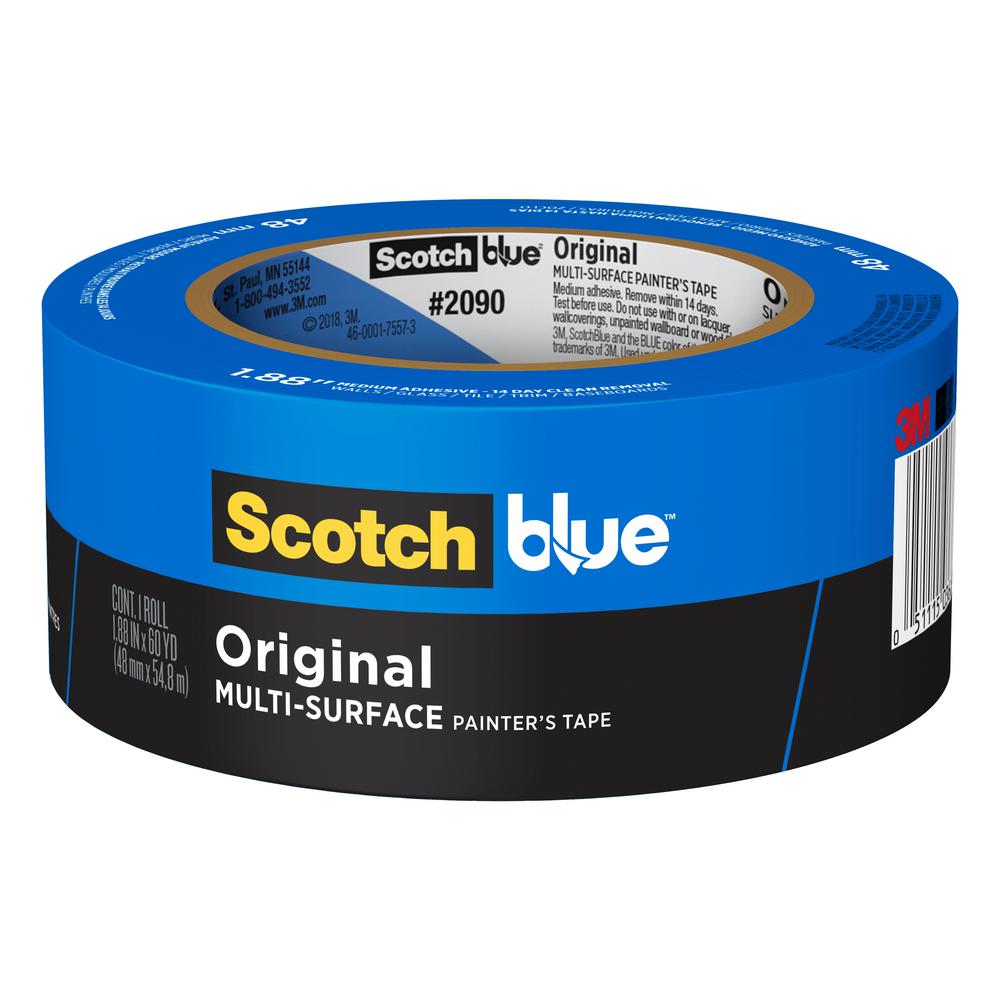
Finally, we caulked around the edges as a finishing touch (and of course we taped the edges off with painter’s tape.)


I wanted an overall white effect, so I repeated this entire process three times to make my limewashed brick backsplash extra white.
If you want more color to show through, you may only need to do it once or twice.
Browse The Home Depot’s Paint Department and Stone Veneer section for the materials needed in this DIY limewashed brick backsplash project.
This post was created in partnership with The Home Depot. The author may have received compensation for this article and associated images or video, potentially in the form of products and/or services. All expressed opinions and experiences are the author’s own words.