How to Add a Slide to your Backyard Deck
Last updated August 21, 2024
Morgan and Sean McBride of Charleston Crafted
are home decor bloggers living in Charleston, South Carolina. They teach others how to craft their dream home with the power of DIY. Check out their blog for doable DIY projects, beginner-friendly woodworking builds, and home improvement ideas.
A Note From The Home Depot
You don’t have to overspend to create a fun space for your kids to enjoy. Check out this fun backyard deck slide that Morgan and Sean of Charleston Crafted installed for their son with a little help from The Home Depot.
Table of Contents
How to Add a Slide to Your Backyard Deck
Step One: Assemble Slide Sections
Step Two: Connect Slide Sections
Step Three: Build Wooden Components
Step Four: Prepare the Deck
Step Five: Attach the Slide to the Deck
How to Add a Slide to Your Backyard Deck
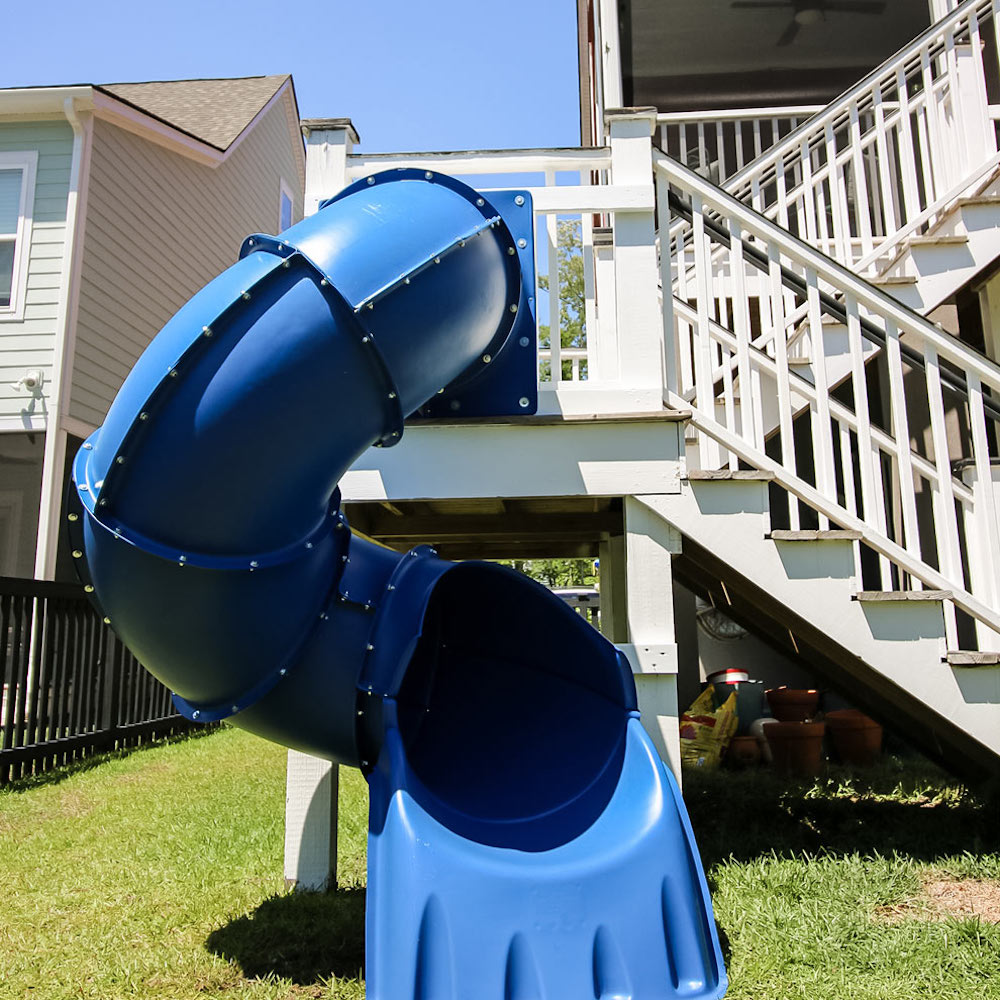
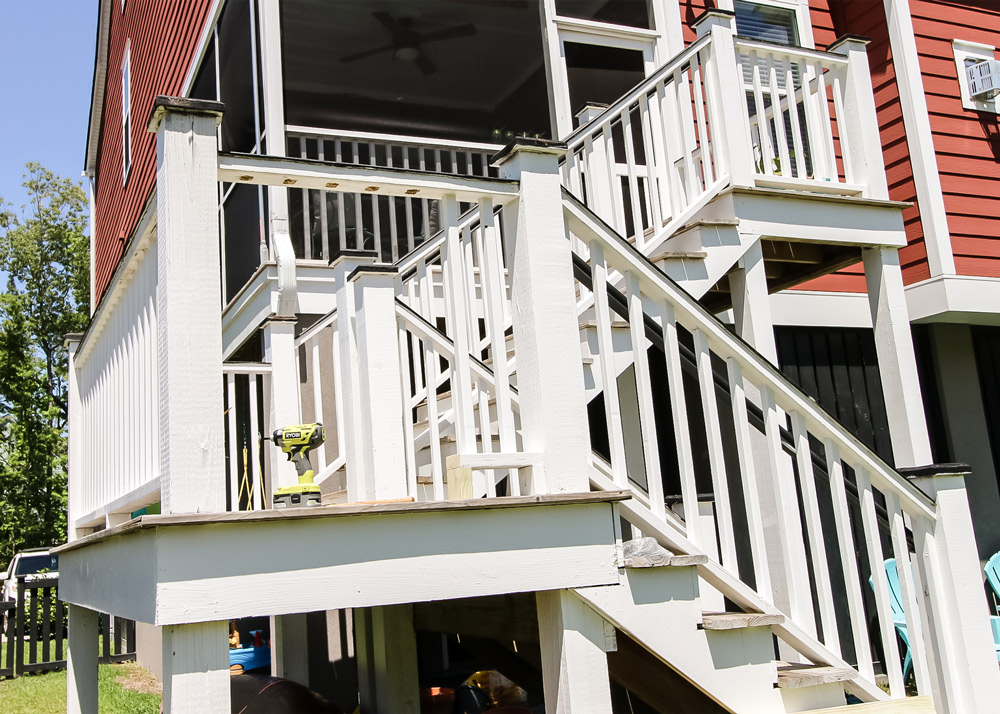
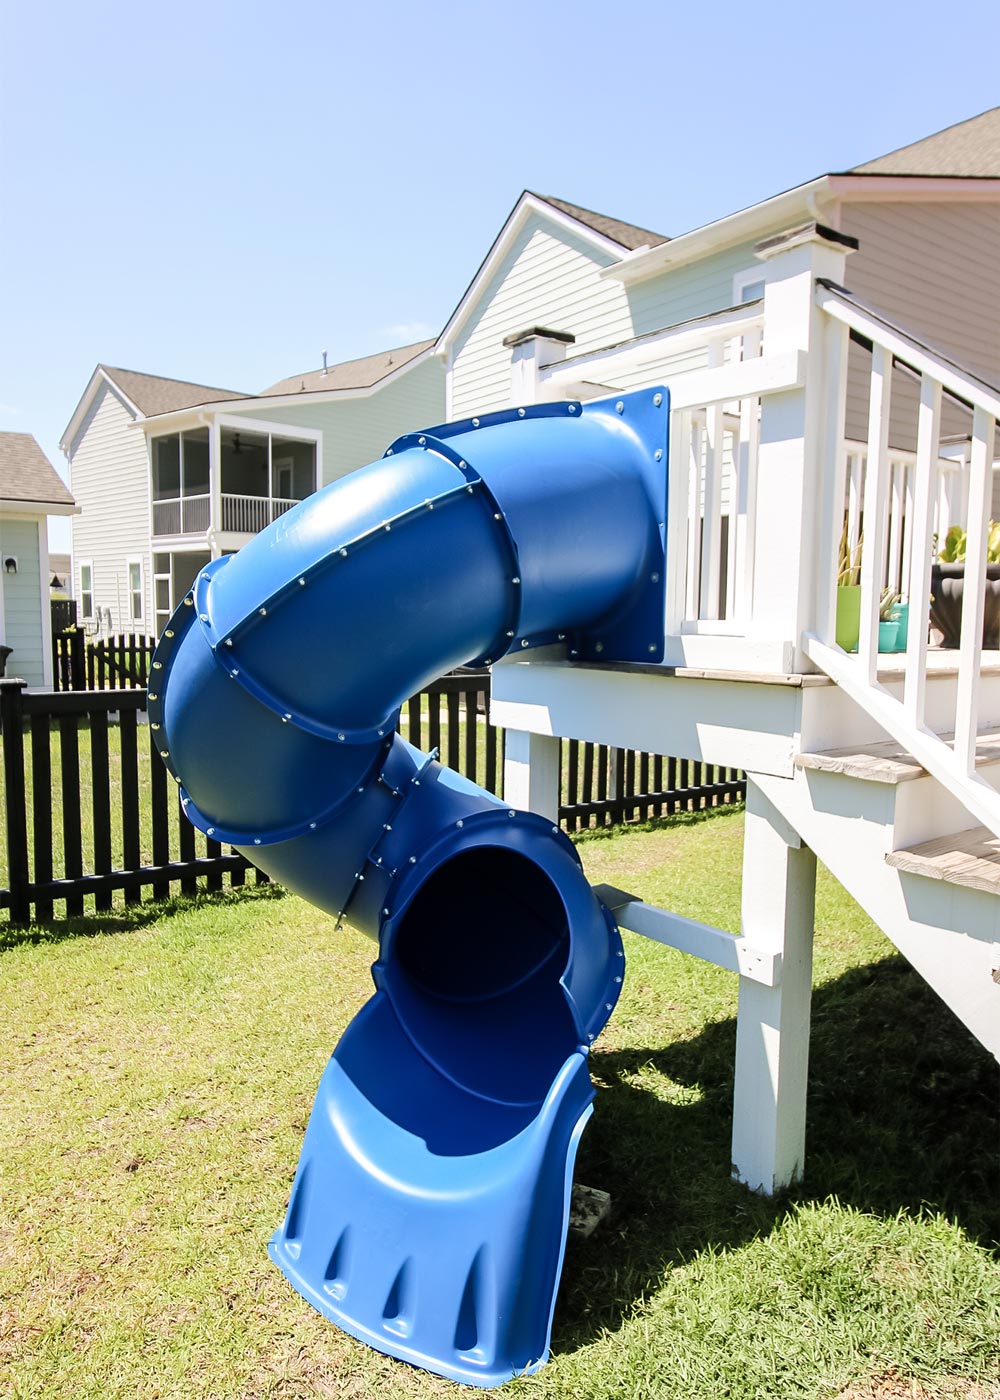
We recently bought a new, raised house with a set of switchback stairs from the porch to the backyard. The stairs have a 5 foot high landing in the middle that we realized was perfect for a slide down to the yard!
We picked up a 5 foot Turbo Tube Slide from Swing-n-Slide at Home Depot that is traditionally used to go off a play set. This was the exact height of our deck, so it safely works with that too. If you want a fun, unique project for your home, add a slide for your kids from your deck down to the yard.
Before you get started, make sure you have a large work area to construct the slide. There are literally hundreds of pieces and the final product is quite large. It needs to be a space that can be undisturbed for several work sessions. Also remember to follow all of the instructions that come with the slide and ensure you have the proper safety gear and tools. This is a general overview that will help you get the idea for how to attach this slide to a deck. Here’s how to do it!
Step One: Assemble Slide Sections
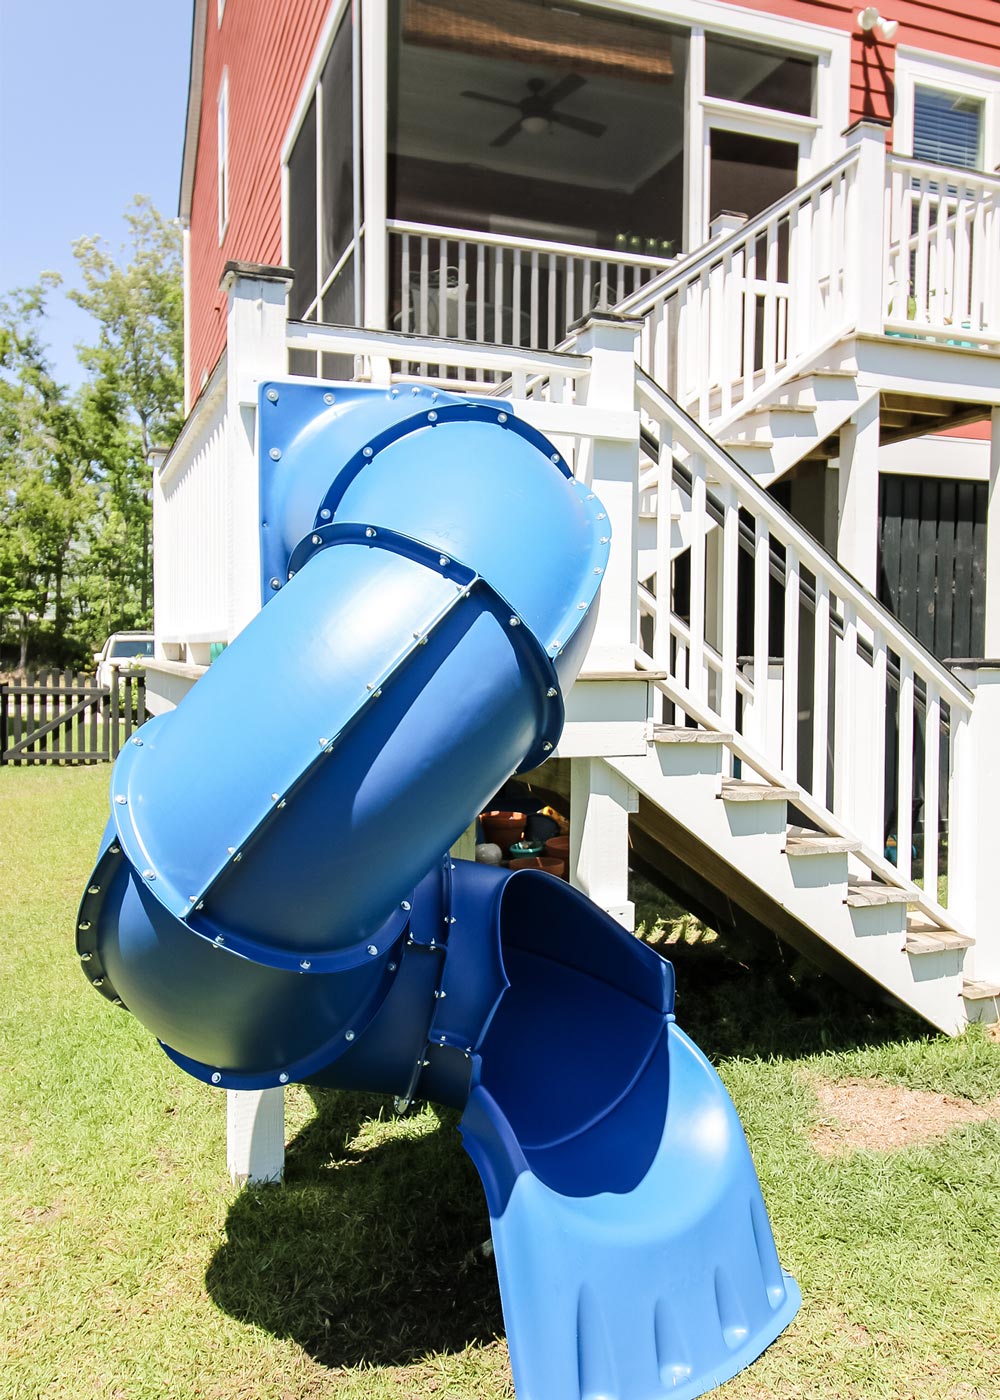
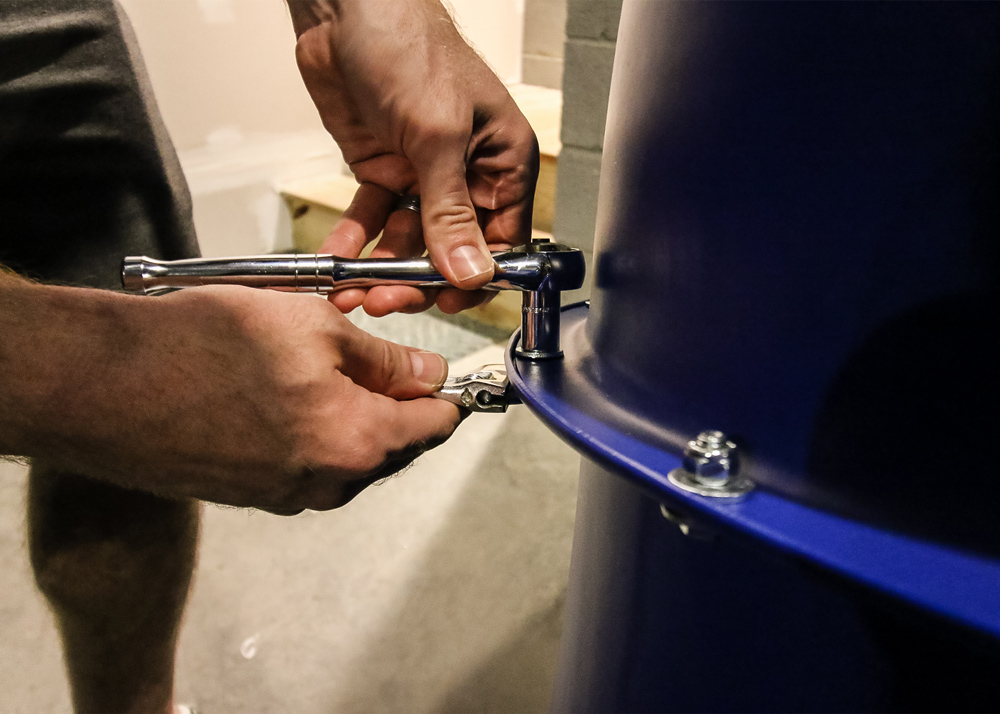
The first thing to do is to assemble the slide itself. The slide comes in 13 pieces that get put together with a series of bolts, nuts and washers. You start by connecting the two entrance pieces, then put together five elbow sections, connecting two elbow pieces together for each.Using an impact driver makes this process go much quicker than tightening all of the bolts by hand, but still set aside several hours for assembly.
Step Two: Connect Slide Sections
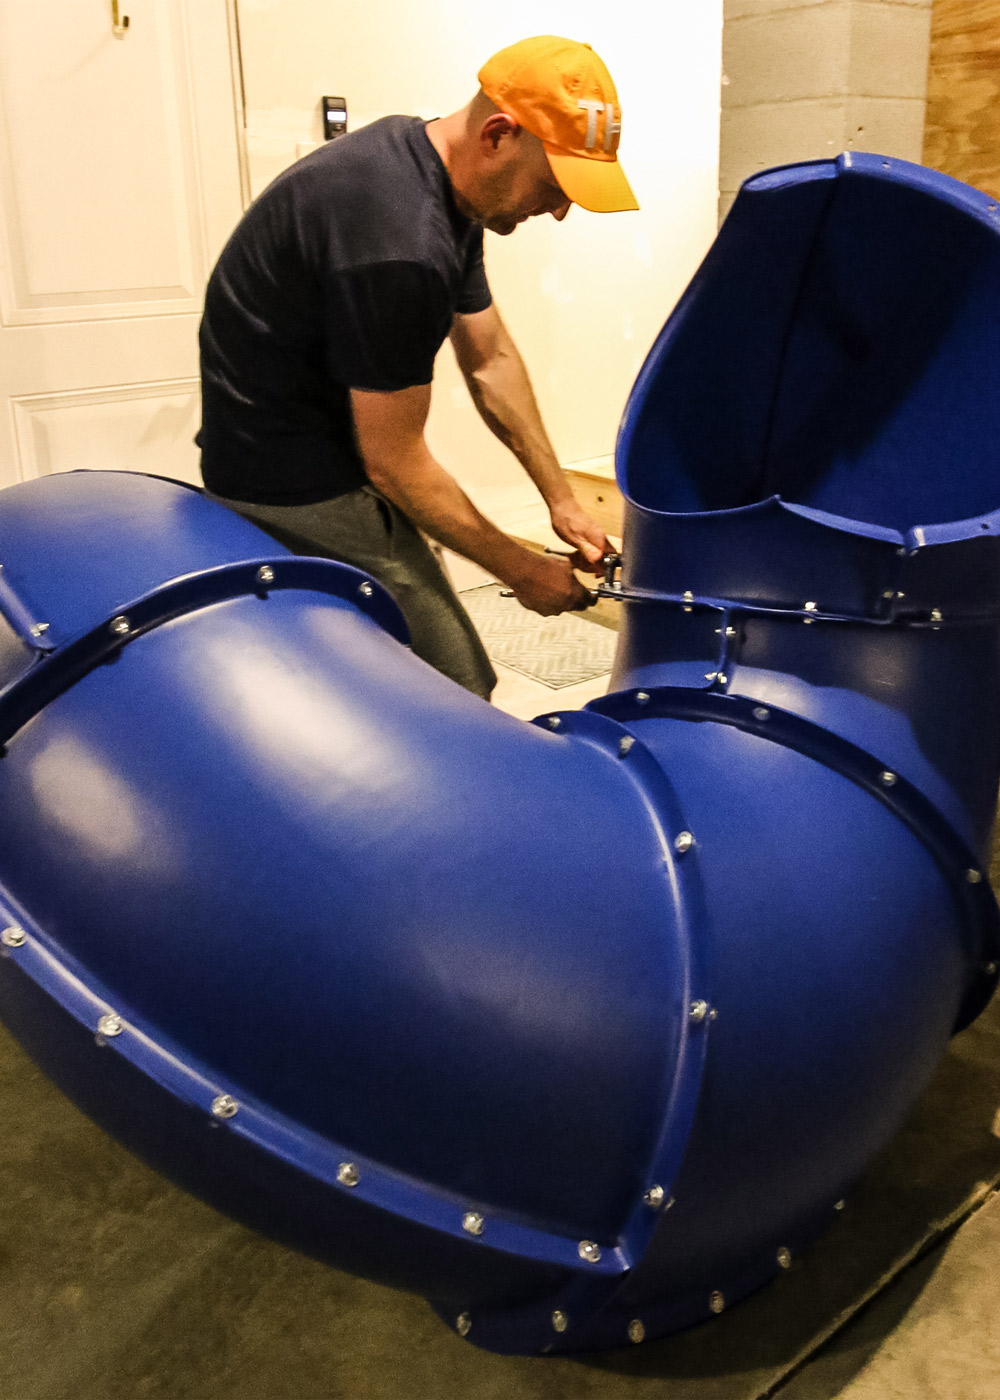
Once all those six sections are individually put together, you connect them together with the same bolts, nuts and washers. For each section, you attach the next piece slightly rotated in order to create the twist of the slide.
At the end, you connect the exit piece to the last elbow section. There are also two metal support pieces that attach to specific pieces of the tube sections. Refer to the instructions for the exact placement.
Step Three: Build Wooden Components
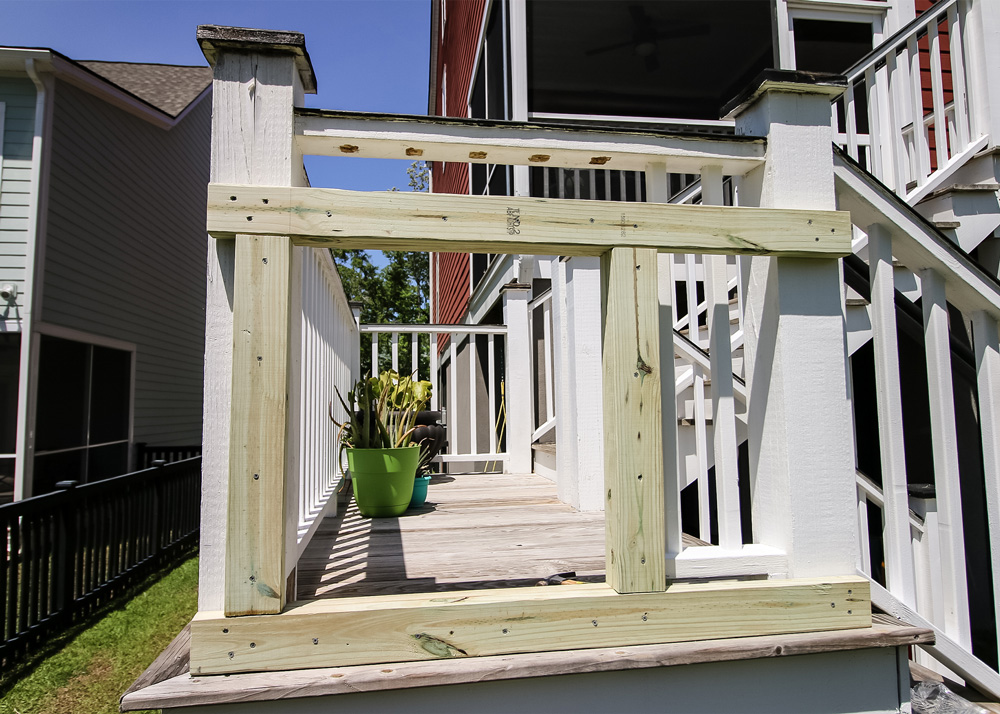
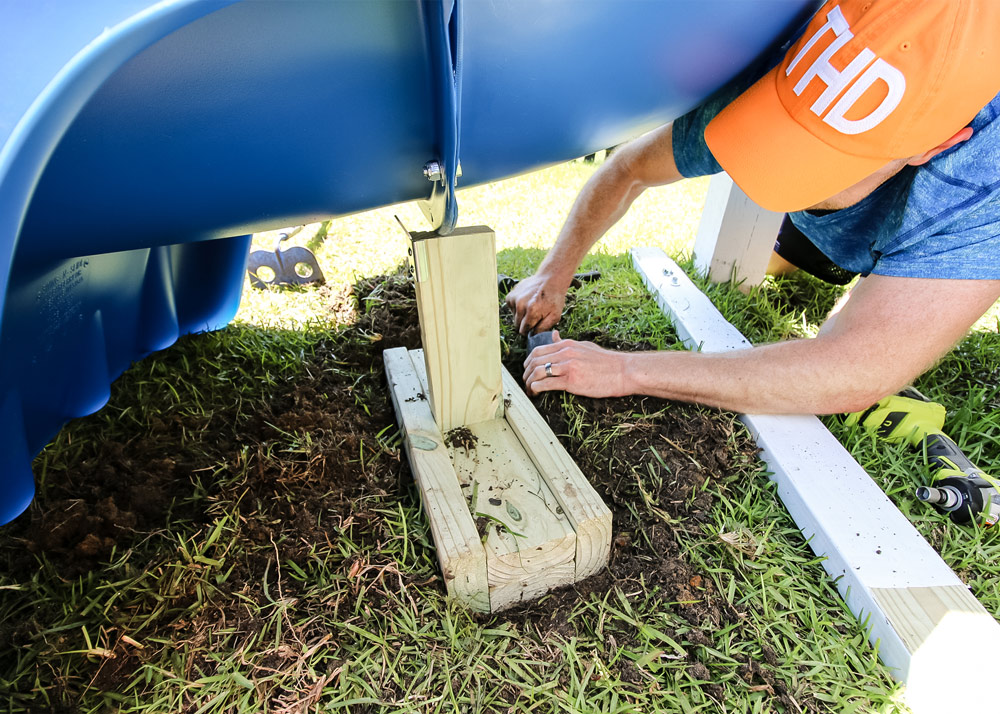
There are a couple of wooden components that are needed for the final support of the slide.The first is a base that holds up underneath the exit section of the slide. This is a series of 2x4 wood pieces and one metal support bracket. The other wood component is the entrance assembly. Normally, this would be built in place and attached to a standard play set
For attaching this to the deck, it was easier to build the entrance assembly as one piece and then attach it to the deck in the next step.
Your slide instructions will have the exact dimensions needed for the slide support. Form this from 2x4 exterior grade lumber and assemble with the included deck screws.
Step Four: Prepare the Deck
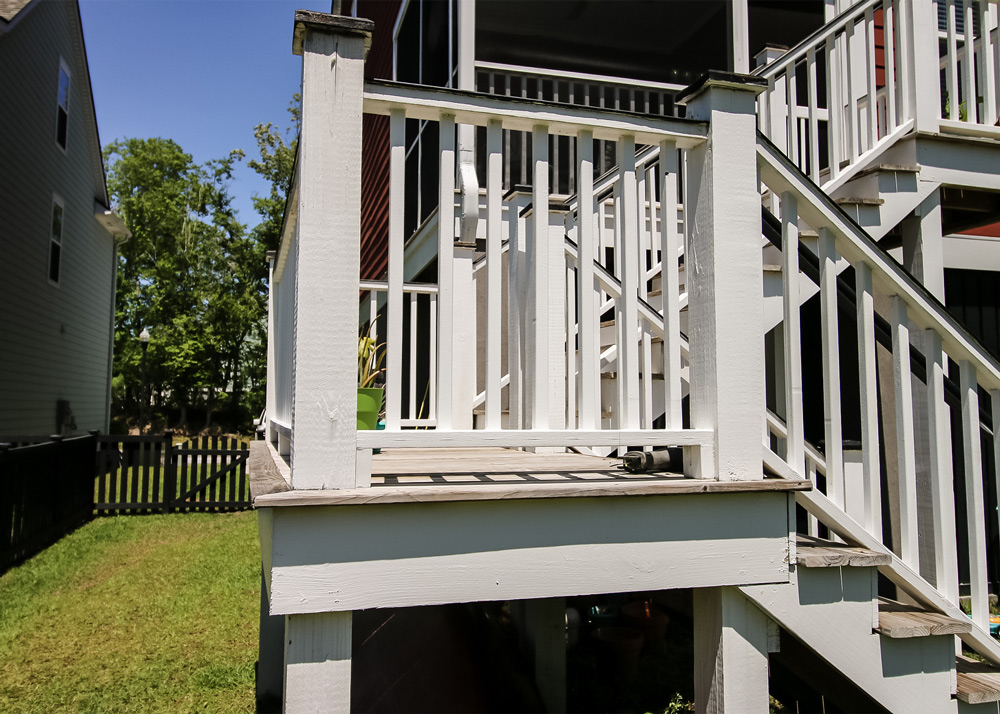
Preparing your deck will be dependent on the exact setup that you have. For us, we needed to remove balusters and a lower railing
Balusters are easily removed by using a reciprocating saw to cut down the middle of the balusters and then twisting them until the nails come loose. Pull out any remaining nails with a pair of pliers. We used wood filler and exterior paint to fix up everything that had been removed, then screwed in the slide entrance assembly to the two posts on the deck.
Step Five: Attach the Slide to the Deck
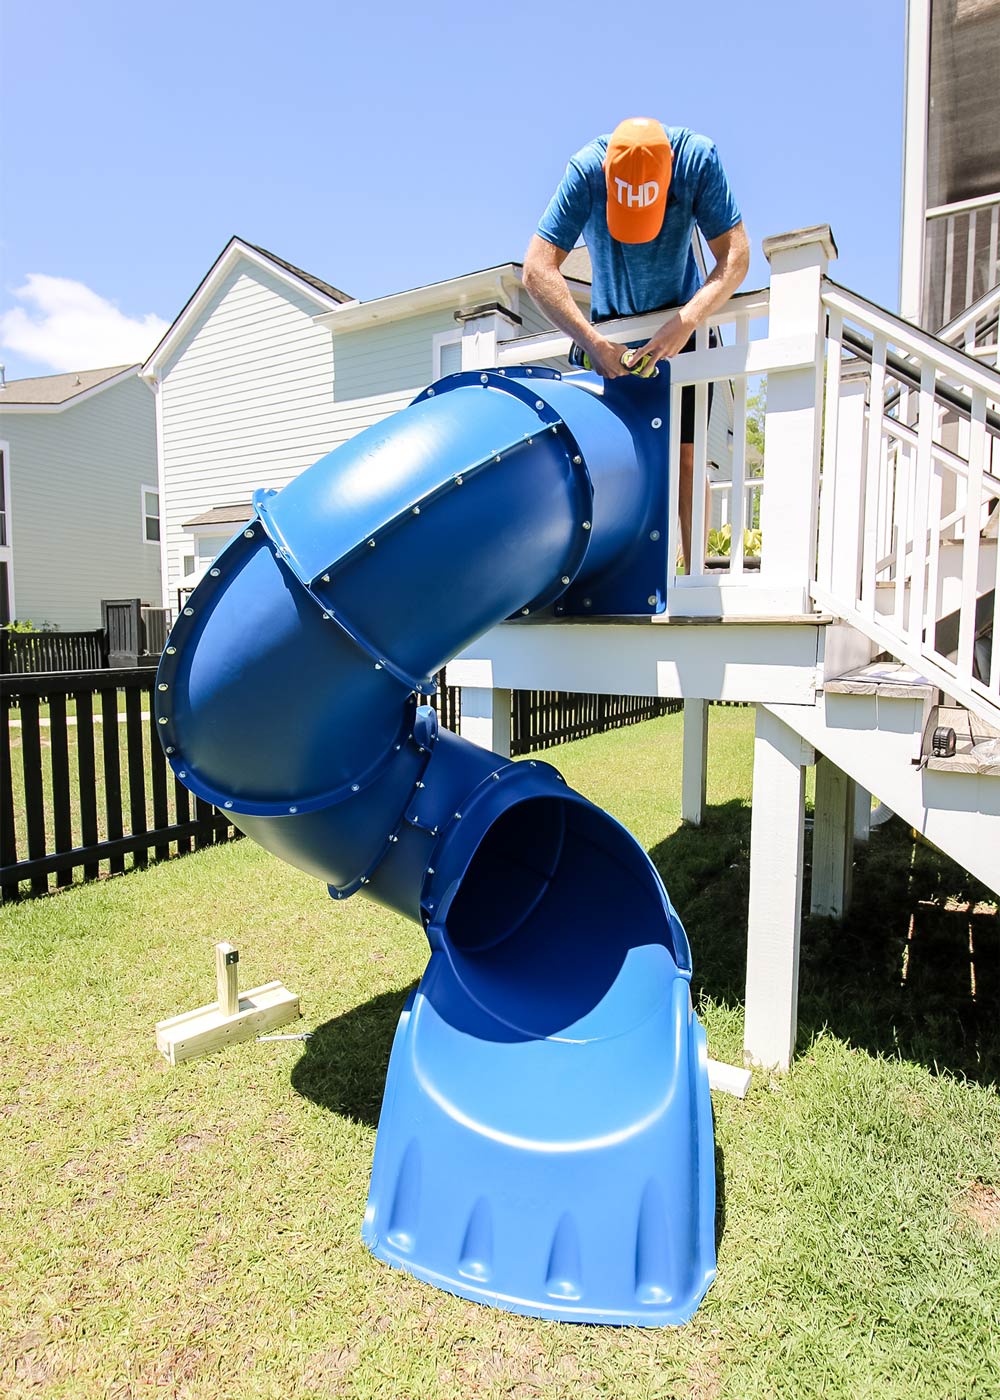
You will need at least two people to attach the slide to the deck. It’s important to have someone to hold the slide in place while screwing it in. Start by drilling one screw on each side through the slide entrance into the wooden entrance assembly first. Then it will be held in place to finish screwing it in. Once the entrance is secured, you can add the remaining support braces under the slide and be ready to go!
Step Six: Have Fun!
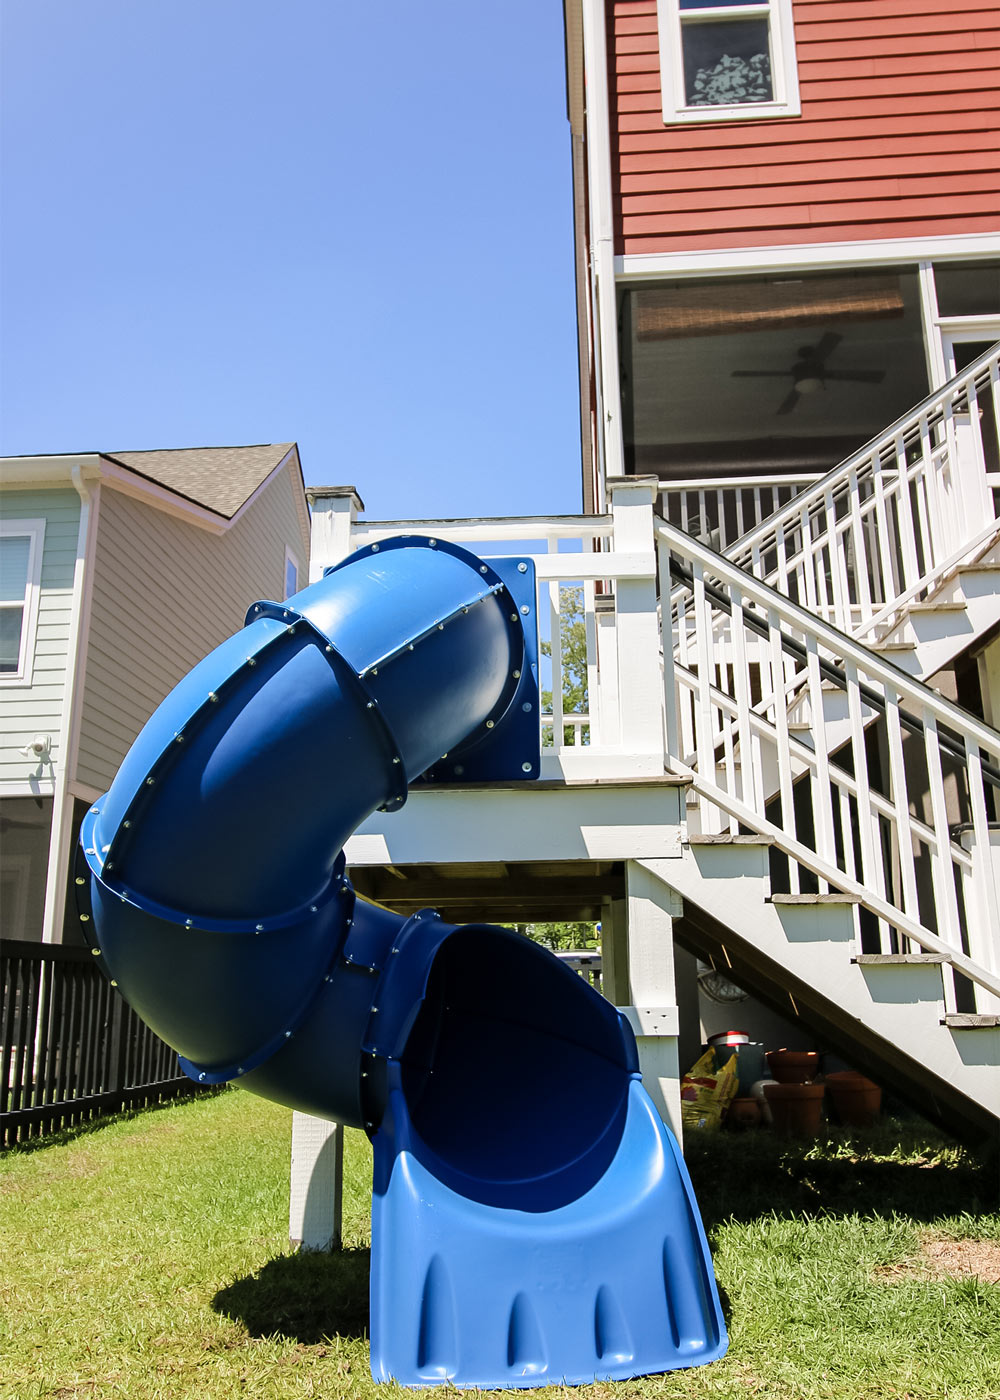
Our son loves playing on his slide! It’s perfect for going down to the yard. He loves to run back and forth up the stairs to do it over and over again. This slide is a perfect addition to any deck that is the right height down to the yard. Being the house that has the slide off the deck will make yours the one all your kid’s friends want to come to. The 5 foot Turbo Tube Slide is a great play accessory for any yard. It requires several hours of time and takes some effort to put together, but it’s totally worth it!
This post was created in partnership with The Home Depot. The author may have received compensation for this article and associated images or video, potentially in the form of products and/or services. All expressed opinions and experiences are the author’s own words.
