A DIY Yard Drainage Solution That Looks Great

Last updated August 21, 2024

Caitlin is a designer, DIYer and styler. She's a desert dweller who loves the thrill of the thrift, abstract art, and her three fur babies.
A Note From The Home Depot
Here’s a yard drainage solution that looks great. Caitlin Ketcham of DIY blog Desert Domicile designed it for the side of her home in Tuscon, Arizona. This was part of her recent backyard makeover for The Home Depot Blog’s Patio Style Challenge series.
This yard drainage project is in a desert setting, but it could work wonderfully in other regions, too. The basic principles of this yard drainage “river bed” lined with stones apply where ever you need to drain water efficiently from your yard.
Table of Contents
Yard Drainage Solution
Step 1 – Plot Out the Yard Drainage Path
Step 2 – Prepare the Ground
Step 3 – Line the Swale With Stones
Step 4 – Plot Out Your Landscaping
Step 5 – Add and Rake Pea Gravel
Yard Drainage Solution
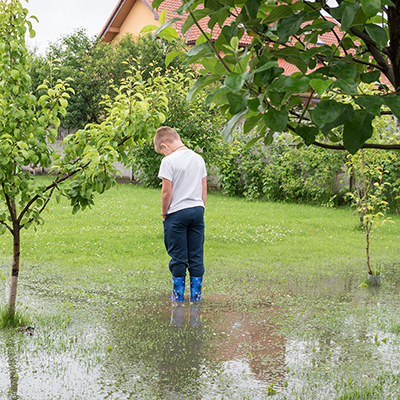
During the summer months in Arizona, we experience a monsoon season. The best way I can describe a monsoon is a hurricane without the ocean. When a storm hits, the wind picks up and the rain moves in very rapidly, drenching everything in sight!
Our side yard has suffered tremendously during previous monsoon seasons due to a lack of drainage. Because the rain comes down so fast, our side yard would turn into a mini river, flowing into our backyard. The rain water would pool up in our yard and sit for days, not drying out which would cause algae to grow. Yuck!
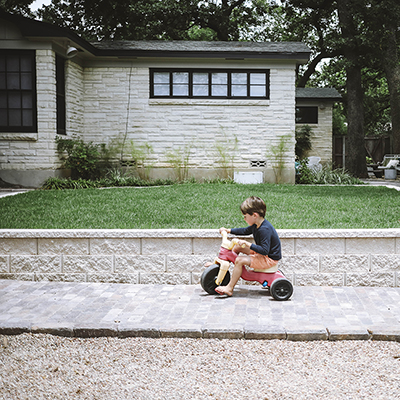
I wanted to figure out some type of aesthetically pleasing yard drainage system for our side yard so I designed a dry river bed.
Step 1 – Plot Out the Yard Drainage Path
There are a few things to consider when plotting your drainage path.
Your current ground cover is one thing. Do you want to attempt to buy more of the same or do you want to replace all of it?
The levelness of your area is another thing to consider.
The last is how far you want your yard drainage path to go and whether or not you want your path to be straight or curved.
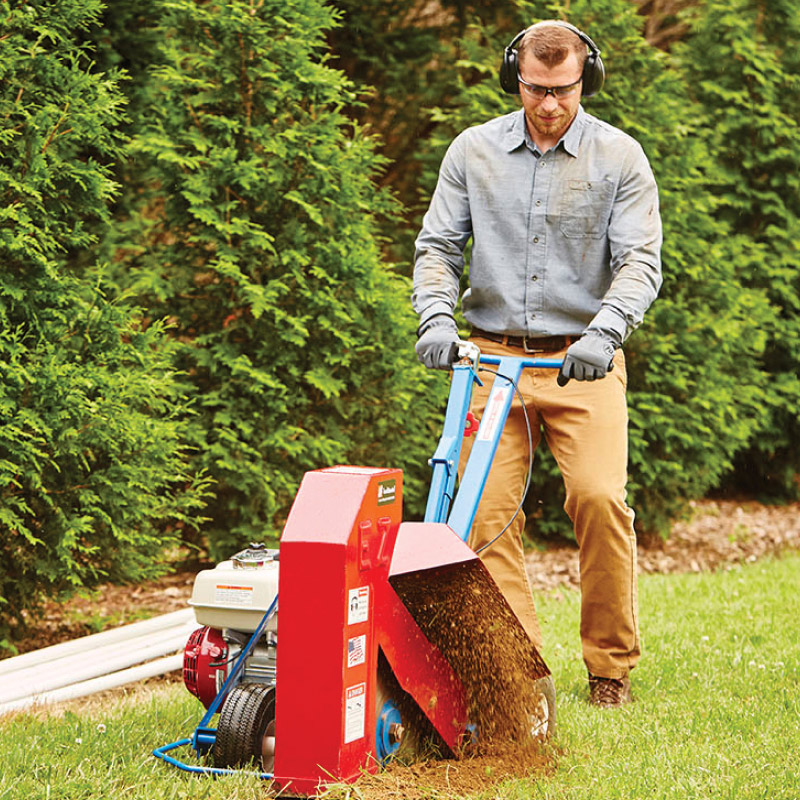
Step 2 – Prepare the Ground
Once you’ve figured out your plans, it’s time to prep your ground!
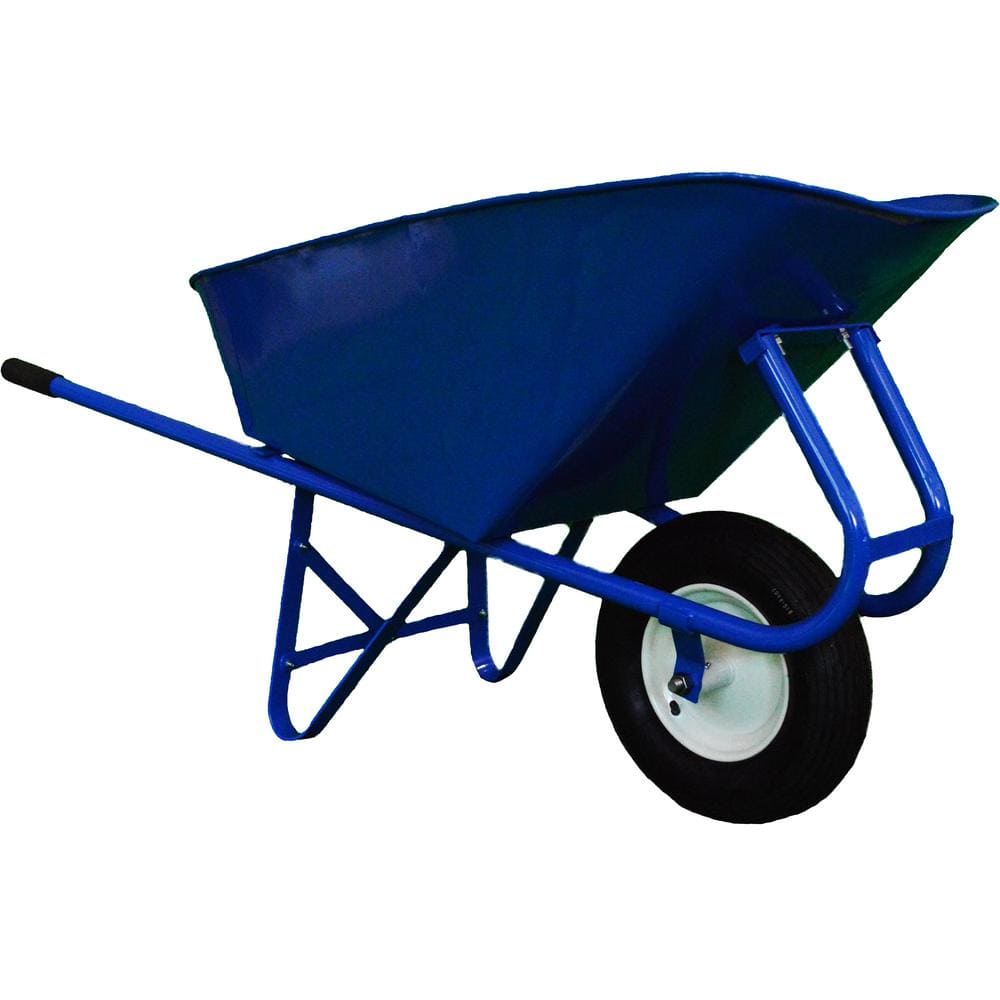
Use a shovel to contour the area. The goal is to create a shallow trench, or swale, which will help direct water run off along a path and toward the lowest point in your yard.


Step 3 – Line the Swale With Stones
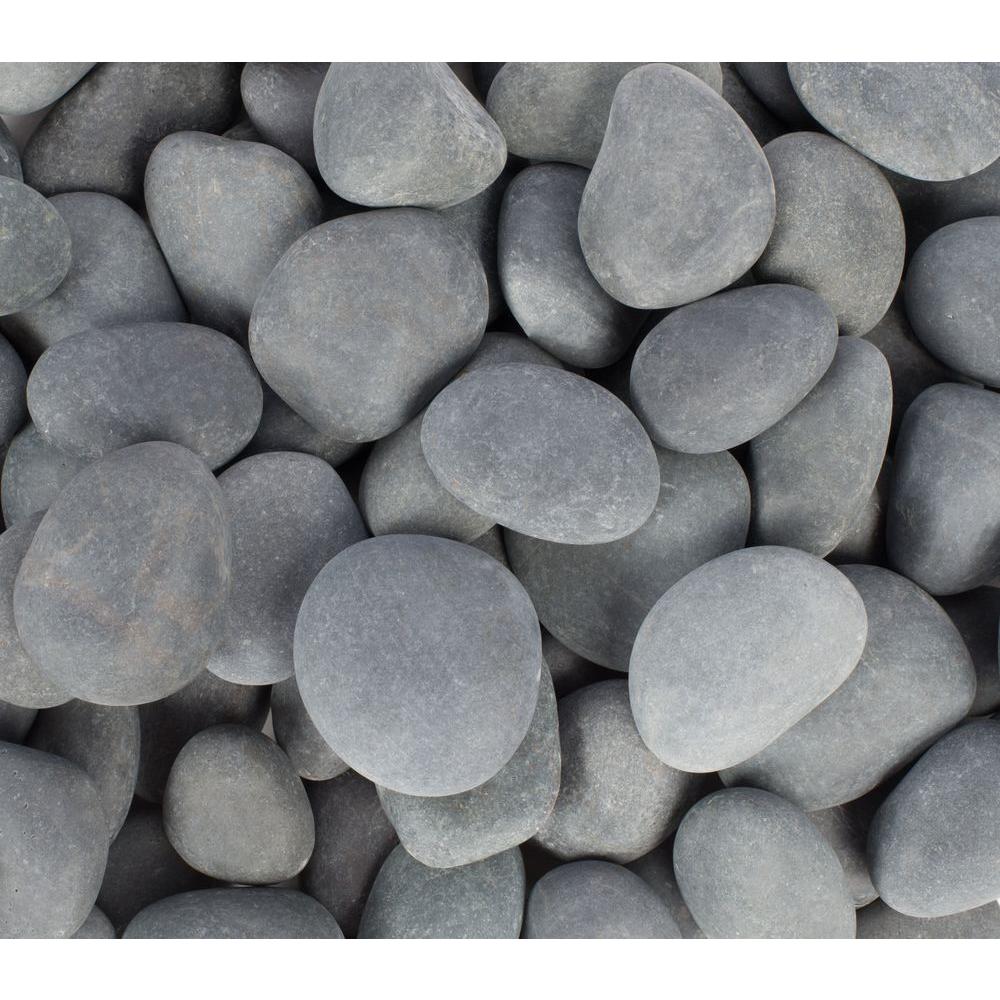
Line the swale you created with landscape rocks like Mexican Beach Pebbles.

Step 4 – Plot Out Your Landscaping
Line the swale you created with landscape rocks like Mexican Beach if you’d like to add any landscaping near the swale, plot it out now BEFORE you lay your pea gravel!
When your plan is in place, plant everything and then move onto the next step. Pebbles.

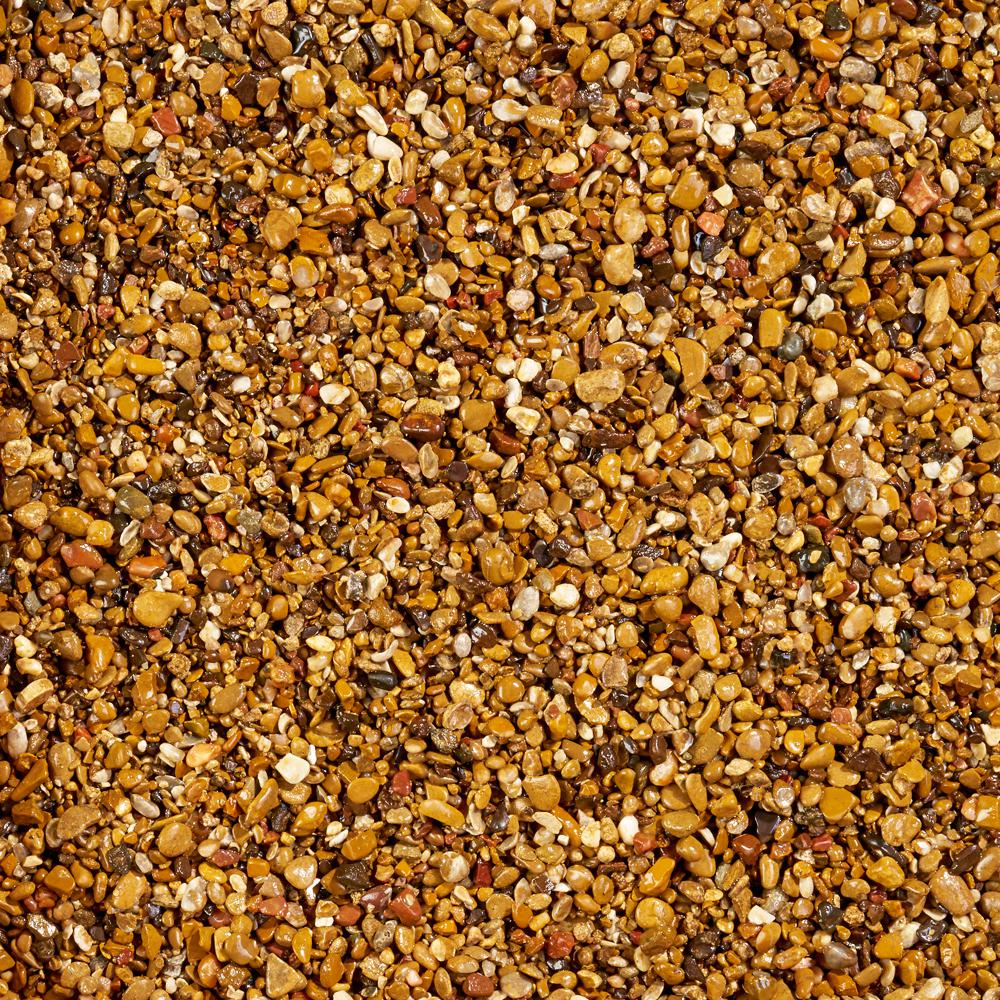
Step 5 – Add and Rake Pea Gravel
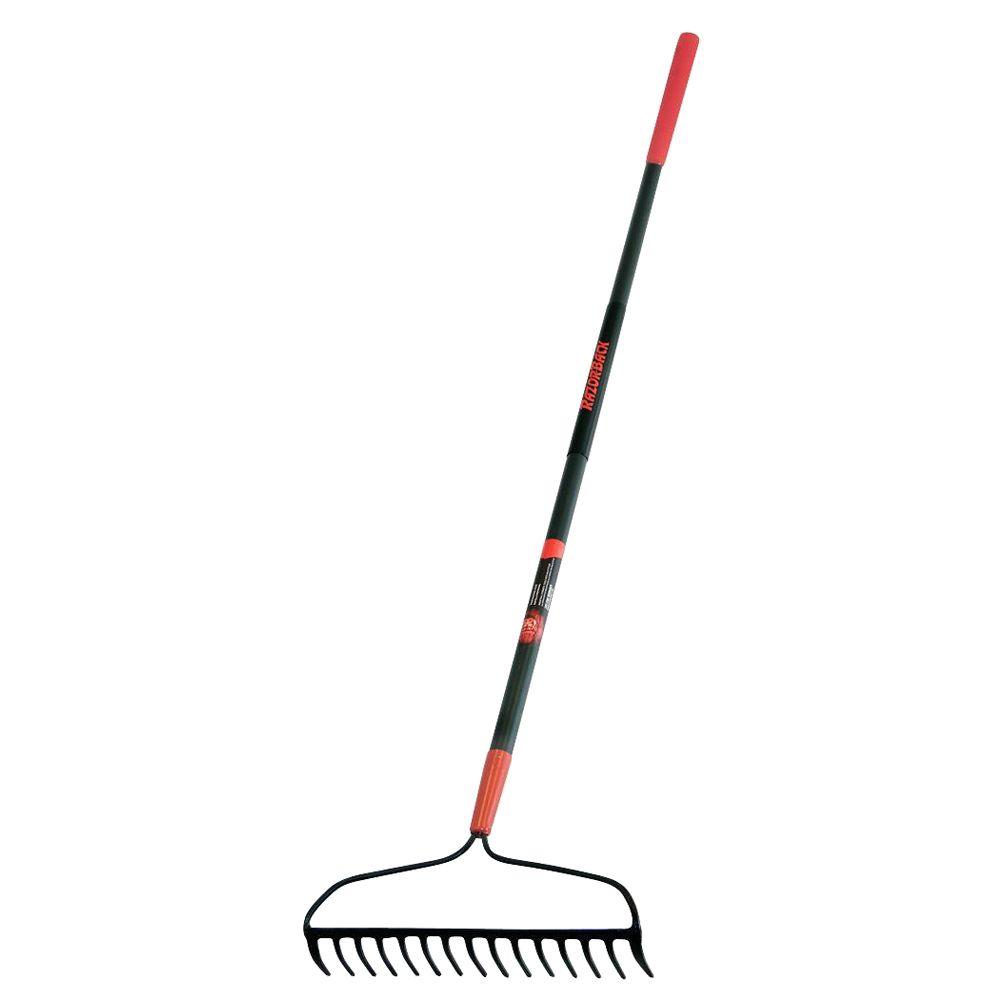
Add your pea gravel on each side of the swale and in between your landscaping. Use a rake to smooth the gravel out and contour the area surrounding the larger stones or Mexican Beach Pebbles.


We haven’t experienced a monsoon yet but it did rain pretty hard the other day and our river bed held up! All of the water drained out of our yard and nothing pooled up in place.
This post was created in partnership with The Home Depot. The author may have received compensation for this article and associated images or video, potentially in the form of products and/or services. All expressed opinions and experiences are the author’s own words.