Back To School: DIY Hallway Homework Station

Last updated August 21, 2024

Cara Newhart of Never Skip Brunch is a DIY enthusiast who lives in Houston, TX. She has a passion for empowering women to dive deep into the "masculine" world of DIY and home improvement. Her creativity has been featured in publications like PEOPLE StyleWatch, Denver Style Magazine, and she's the 2019 Home Depot Orange Tank Pitch Competition winner. Head over to her blog to see more of her chic DIY projects and tutorials.
A Note From The Home Depot
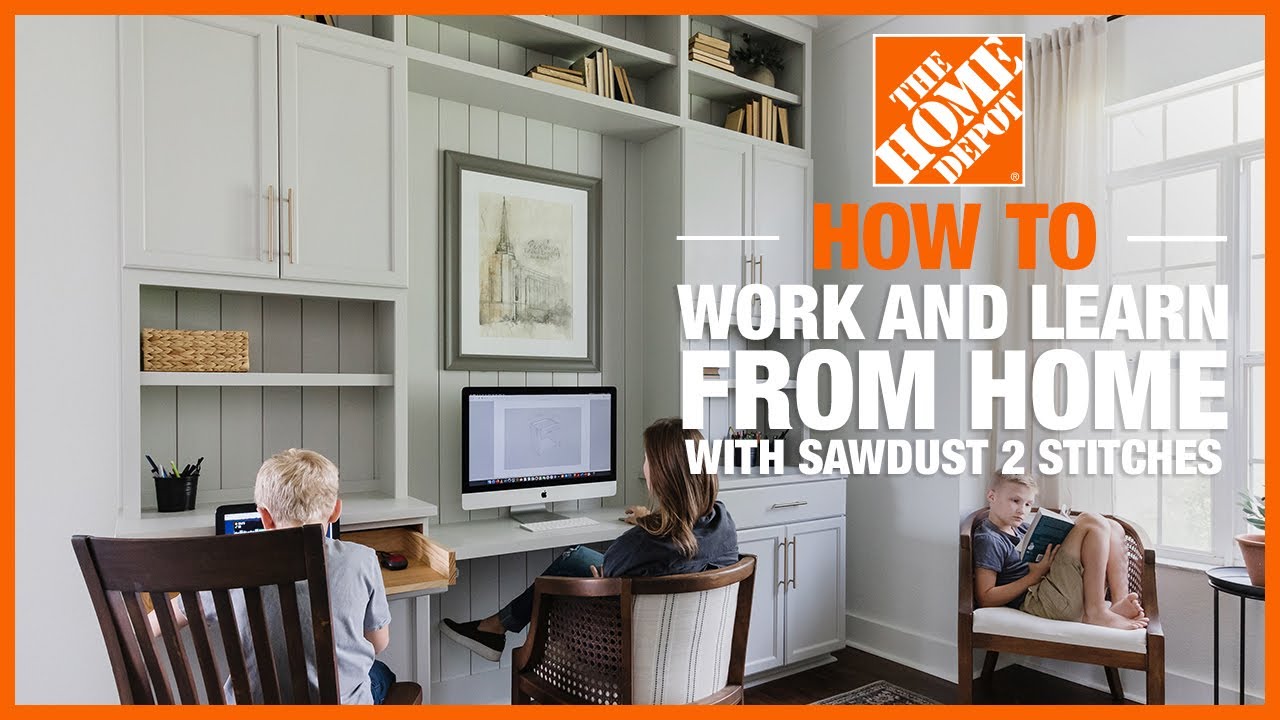
School is just around the corner! Whether they’re virtual or in-person, it’s always nice to have a designated space for your kids to learn at home. Below, one of our DIY experts, Cara Newhart can walk you through the steps to make your kids their own learning nook. Check it out!
Table of Contents
Step One
Step Two
Step Three
Step Four
Step Five
Step Six
Step One
Locate the studs using a stud finder, along the wall where you want to place your desk. Since this desk is narrow, we’ll secure it to the studs to ensure it’s stable and can’t be tipped. Once you’ve located the studs, secure a primed 1”x2” board to the wall at the same height as your furniture legs. This board should be cut down to the desired length of the desktop.
PRO TIP: Drive a screw into one of the studs then use a level to ensure the 1”x2” board is level as you drive the second screw in.

To attach the board to the wall, drive a 2 ½”-3” wood screw through the middle of the board and into the stud.
PRO TIP: Use screws that don’t require pre-drilling, like PowerPro Interior screws to ensure your board doesn’t split and that the screws countersink when you drive them.

Step Two
Cut the 1”x10” board to the desired length for your desk. This should be the same length as the 1”x2” board you secured to the wall in step one.
PRO TIP: If you have more space and want your desk to be a bit deeper, you can use a larger board (like a 1”x12” board). Just note that the nominal dimensions of the board — like 1”x10” — is different than the actual measurements of the board, which are 1”x9½”.
Since my hallway has a little nook area, I decided to use that to determine the length of my desk.
Step Three
Attach furniture legs to the bottom of the 1”x10” board. This might take some dry fitting or trial and error to find the perfect placement, but we decided the best spot was about 2 ¼” in from either side and about 1 ½” in from the front. We used a speed square to measure and draw lines to create a reference for lining up our furniture leg so that it was straight before securing by driving screws.

When driving the screws, I like to let Ella help by using the drill. I get the screw started by driving it in half way, then hold the drill steady as she pulls the trigger to drive the screw the rest of the way in.
Step Four
Attach the desk to the wall — position desk with back edge resting on 1”x2” board. Make sure the back of the 1”x10” board
is flush against the wall, then secure the 1”x10” board to the 1”x2” board by driving a screw through the top and down into the 1”x2” board.


Step Five
Add primed 1”x2” boards to the front and sides of the desk to trim it out. Cut the 1”x2” boards to size then attach using a nail gun to secure.
PRO TIP: You can attach these with a butt joint (flush edges) or miter the ends of each board for a polished look.

Step Six
Caulk and paint the desk — use paintable caulk to fill any nail holes, the cracks between the 1”x2” trim boards, and the gaps between the desk and the walls. Let the caulk fully dry.


Paint the desk with your color of choice. I used Behr White 522 in Eggshell. Let the paint fully dry.
Step Seven
Style it! Add an ottoman or chair, a cup to store pencils, a small lamp, or a little plant to add personality to your hallway homework area.

Optional: Flip Down Canvas Artwork or Desktop
If your little one needs more workspace, you can create this canvas artwork that flips down to create a larger desktop area.
Start with a canvas — we chose one that was 24”x30” — any canvas will work, and if you’d like to make your own, be sure to check out the Home Depot Blog for our DIY Canvas Artwork tutorial!
PRO TIP: You can paint or decorate the front of your canvas however you wish, I chose to use chunky yarn and embroider a flower on mine. I sealed it with a couple coats of Matte Polyurethane to protect it from tiny fingerprints and dirty hands. You can find the details for this process over on Instagram at @neverskipbrunch!
Cut corner trim to create a frame for the edges of the canvas. Miter the ends so that they fit flush, then attach the trim to the canvas by applying wood glue and positioning the trim on the canvas and leaving it in place until dry.

Next, cut a ¼” thick whiteboard project panel down to size so that it fits flush between the trim pieces on the back of the canvas.


Secure in place with wood glue and let dry.

Once the wood glue is dry, place the canvas on the desktop, art side down and flush against the wall.
Set the hinges open on the canvas and against the wall — lining them up with the studs if possible.

Attach the hinges to the canvas frame using the provided hardware screws.

Attach the hinges to the wall by driving a 3” wood screw into the stud or by using drywall anchors to secure if there isn’t a stud in the right spot.
Add industrial strength velcro to the top corners — stick the soft side of the velcro to the desk and position the rough side on top.
Peel the backing of the rough sides on each corner and press the canvas up against the wall so that the rough sides adhere. You can secure it with staples in addition to ensure it’s fully stuck down.
Now you have a flip down whiteboard desktop your little one can use to do homework at, or just have fun drawing!

This post was created in partnership with The Home Depot. The author may have received compensation for this article and associated images or video, potentially in the form of products and/or services. All expressed opinions and experiences are the author’s own words.