Backyard Makeover for Entertaining With a Paver Patio

Last updated August 21, 2024

Alejandra is the voice, the eye, the everything of Piloncillo & Vainilla, Brown Sugar & Vanilla. Originally from Mexico, Ale resides in Texas with her family of four and is an expert in the kitchen. As it’s the central meeting point for her whole family, she is able to share her experiences in the kitchen, her recipes and lifestyle with the world.
A Note From The Home Depot
With warmer days just around the corner, we all want our backyards to be ready for hosting. Blogger Ale Graf of Piloncillo y Vainilla(Brown Sugar and Vanilla) tackled her backyard hardscapes project to create the perfect outdoor kitchen and entertaining space where she can share her best recipes with family and friends.
Table of Contents
Before the Makeover
1. Prepare the Area
2. Level the Soil
3. Lay Sand and Pavers
4. Add a Layer of Sand
5. Install the Grill Enclosures
Before the Makeover

We have a new outdoor kitchen and patio addition to our backyard, and I couldn’t be more excited to show it to you. First, let me walk you through the whole experience and how it all came together. It all started with a dream of an outdoor kitchen, a place to entertain in an “almost always” flooded space in our backyard. You know that space that nobody uses, not even Miko, our dog. We tried everything to make the space useful, from placing a ping-pong table to starting a new lawn. All of our efforts failed. Then we thought of extending the patio, but we had no idea if it was possible. So, basically it all started with a dream and a sketch.

We went to the store with our sketch, our dream and no idea where to go from there. We left the store with a solution, a plan and eagerness to get started. One of The Home Depot’s associates suggested pavers for our new space. He showed us the complete line of Pavestone pavers. He also showed us how easy it is to install them. After taking a look at all of the options and learning a bit on how to install the pavers, we decided that the best choice for us was the RumbleStone plank paver. We loved all of the colors and sets offered.

When we got home that night, we went online to watch videos explaining how to install the pavers. We measured the space and made our final decision. It’s so straightforward to calculate the material that you need. Pavestone has a project calculator on their site. It counts for you!
1. Prepare the Area
First, we prepared the patio area. We marked the perimeter using spray paint and wooden stakes then attached a mason line. We immediately started to clear the space from grass and soil with a shovel. I think this was the most challenging and time consuming part of the project. It was really fun though!


The pavers arrived just when we finished clearing the area. The service was fantastic and very impressive to watch. The Home Depot delivered every block right to my front yard!

2. Level the Soil
Next, we leveled the soil with a rake and compressed it with a steel tamper. This step is super important because it gives you a firm base for the pavers. Because of the type of soil we have, we did not need to add an additional stone base. When you make your patio, be sure to double check what your specific needs are.


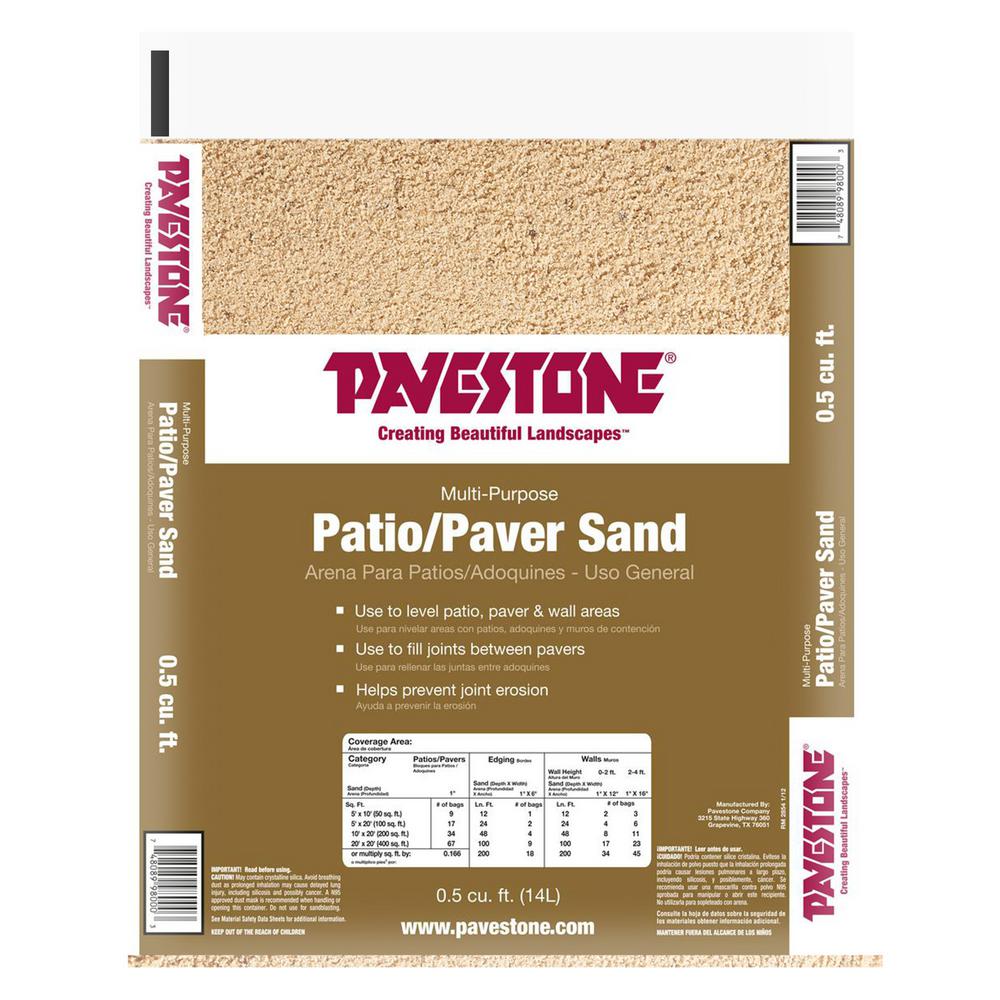
3. Lay Sand and Pavers
Then it was time for the sand and placing the pavers. Be sure to level the sand with a 2 in. x 4 in. stud so all of the pavers are even after the installation. We also used two electrical conduits that helped as a guide when leveling the sand. Another very cool thing about the Pavestone pavers system is that you can choose any pattern to install them in. We decided to do a double stack bond and closed the perimeter with ProFlex paver edging.


4. Add a Layer of Sand
After we finished installing and securing the pavers with the edge, we added a light layer of sand and pushed it with a broom into the gaps between the pavers. Then we ran a plate compactor across the patio. We repeated this multiple times and voilá we were done.

5. Install the Grill Enclosures
Then it was time to start installing the grill enclosures. It’s as easy as stacking blocks. At some point, it even felt like we were playing with our favorite childhood toy. The first step is to decide where you are going to place your grill. We have a wood pizza oven and a grill in our outdoor kitchen. Total foodies, right? The second step is to start layering the RumbleStone pavers. There is no way to go wrong with this system. All of the blocks perfectly fall into each other.

Installation Tips
Here are some tips and tricks that I feel will help you out along the way:
- Clean as you go; you will have a lot of empty sandbags.
- We rented the plate compactor for four hours from The Home Depot, and it was more than enough time. Just remember that time starts counting from the moment you leave the store and ends when you return it. Plan well.
- Use a wheelbarrow or a dolly to move the materials. They are heavy.
- Use safety goggles and gloves.
- After leveling and preparing the sand, be sure to stay away from the area. If you step on it, you will need to rework the spot.
- When placing the pavers make sure you don’t work yourself into a corner.
- Use old brooms to sweep the sand.
Depending on the size of the area you’re working on, it could take you as little as two days to finish the project.
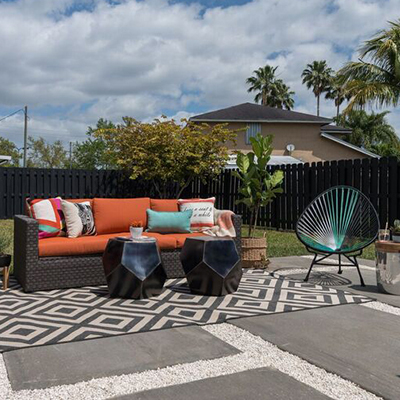
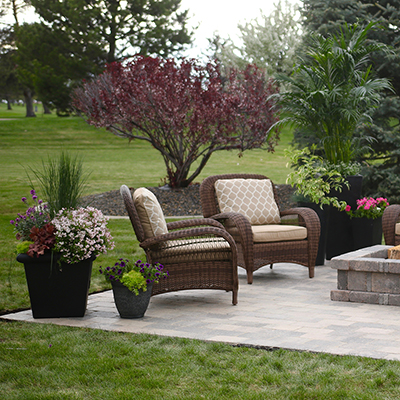
The Finished Look
So are you ready for the FINAL AND GRAND REVEAL??? Here it is, our new favorite space. This is a space we can’t wait to have filled with family and friends. We know we will spend countless hours of laughter, cooking great food and creating wonderful memories here.


This post was created in partnership with The Home Depot. The author may have received compensation for this article and associated images or video, potentially in the form of products and/or services. All expressed opinions and experiences are the author’s own words.