A Note From The Home Depot
Upgrade and reorganize your pantry this spring! Take your space to builder-grade quality with Kyle Ortiz of Kyle Did It and follow along with how he flipped his pantry.
Builder-Grade Pantry Flip

When we first moved into this house, we kind of just filled the pantry with our food and closed the door - I knew I eventually wanted to do something with this space to make it more functional and nicer to look at.
2.5 years later, the pantry was still a boring, disorganized mess. It was time to do something about it. The pantry is a great size and I think the layout of the shelving generally works fine for us.2.5 years later, the pantry was still a boring, disorganized mess. It was time to do something about it. The pantry is a great size and I think the layout of the shelving generally works fine for us.
The plan was to work with the existing shelving but add a few design elements to make it more visually interesting and functional for our family.
I started by clearing out the entire space, in the process I found a bunch of food items that had been hiding in corners and on the floor. I also got rid of anything that was expired.I started by clearing out the entire space, in the process I found a bunch of food items that had been hiding in corners and on the floor. I also got rid of anything that was expired.
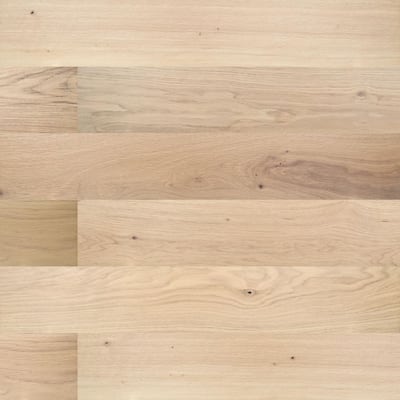
I never finished the flooring in here when I did the rest of the floors in the house last year so this was the perfect time to tackle that project. At this point, I have gotten flooring installation down to a science and I was able to knock this out in a few hours. I used the same flooring we already laid everywhere else, so I was able to make a seamless transition into the pantry area. This is Lifeproof Engineered Hardwood, Shenandoah Oak and we love it, it has held up great over the last year and its super easy to install and keep clean.
Once the flooring was done, it was time to get to work on the rest of the space. I know from experience in my laundry room upstairs, removing this type of builder-installed shelving is a pain, and it leaves behind a lot of wall damage. Since the shelving was in good shape and the layout worked, I decided to just keep it all and make a few minor adjustments.
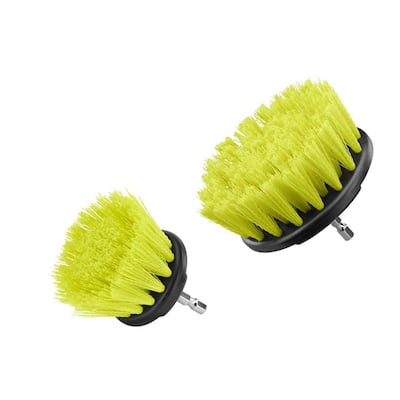
We all know paint is one of the easiest and most cost-effective ways of updating a space, so I knew I wanted to paint the entire pantry, including all the shelving. Our home was built in 2014 and the shelves have seen a lot of heavy use. Paint doesn’t stick to dirt and the shelves were pretty beat up and super dirty so I went to town cleaning them up. I vacuumed up all the crumbs and dust then I used hot, soapy water with my Ryobi Drill Brush Attachment to scrub away all of the built-up grime. After about 50 brown/grey water bowl changes, the shelving was clean and ready for paint.
Before I painted, I had another step I wanted to tackle. These shelves are basically painted particle board, and even though they are sturdy, they just look kind of flimsy and cheap. After looking at a ton of “Custom” pantries online for inspiration, one thing I noticed about the more “fancy” spaces was they all had these thick looking, cabinet style shelves. I figured it wouldn’t be too hard to just add some 1.5” strips to the face of all the shelves.
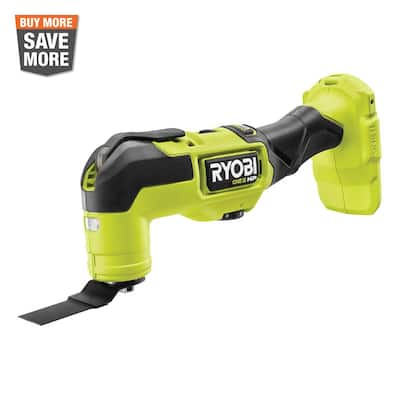
The existing shelves had these rounded ends which would make it hard to attach flat boards to. In order to remove the ends, I just used a flush router bit and ran my router along the edge. That worked perfectly. Not only did it make all the ends flush, but it also exposed the raw particle board which is much better for wood glue adhesion. Since I couldn’t get all the way into the corners and edges, I just used my Ryobi Multi Tool to get into those spots. I know not everyone has a router or is comfortable using one, so you can also use a jigsaw or1circular saw for this step if you have the same rounded edges.
After I got the rounded edges off, It was time to install the “faces” on the shelf fronts. The easiest way to do this would be to just use 1x2 MDF or Pine strips. Because I wanted to keep the cost as low as possible and I wanted to add a few more shelves to this space, I decided to just get a big 4x8’ sheet of MDF and rip it down into all the pieces that I needed for this project. I wrote down an itemized last for all the pieces I needed to make including the dimensions I needed three extra shelves I planned on adding. Whenever I’m working with big sheets of materialize this, I use cutlistoptimizer.com to plan all the cuts. You simply plug in the starting size of the material you have and then add the dimensions of the pieces you need and then the site plots an optimized cut list to minimize the waste.
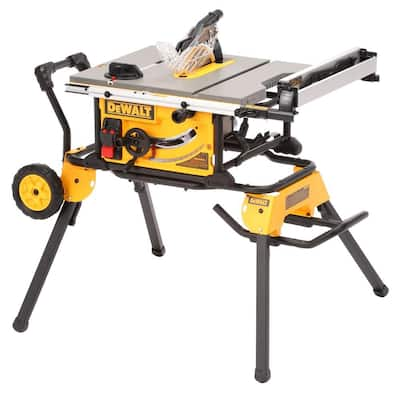
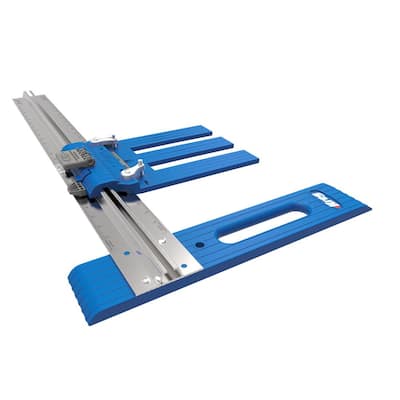
I followed the reccut list and used my Kreg Jig Rip Cut and DEWALT Table Saw to make all my cuts. If you don't have a table saw, you can probably get away with just using the Rip Cut or you can get creative with some kind of jig or track for the circular saw. You can also just use precut material for those faces.
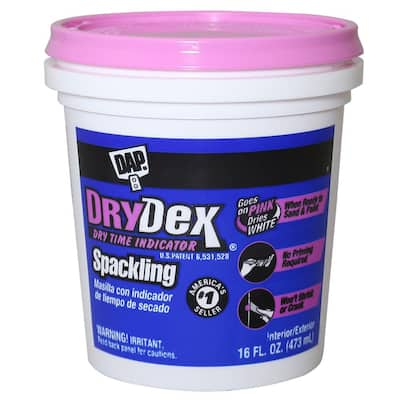
After I had all my material cut down, I attached the faces to the edge of the shelves with wood glue and my Ridgid 18 Gauge Brushless Brad Nailer. Since I wanted to hide the seams of these faces, I used one of my favorite products - Drydex Spackling. This stuff is a total game changer for things like this, it goes on pink and turns white as it dries. It’s my go-to product for filling nail holes and hiding seams like this. I used a putty knife to apply the product to all the seams. I was pretty liberal with it and left a decent amount of excess so after it dried, I would be able to come back and sand it all down for a smooth, seamless finish. It worked like a charm.
I also took this time to add three extra shelves in this pantry to take advantage of the some of the dead space the builder left near the ceiling. I gave these shelves the same faces so when it came back with paint, they would all look cohesive.


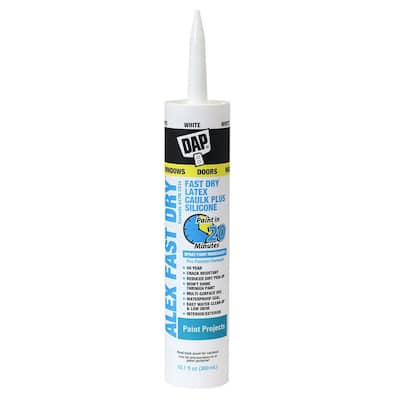
Once all the shelves were installed, I had a lot of gaps to fill. I always use Alex Plus paintable Latex Caulk. Whenever I caulk, I usually a damp rag but I picked up some of these Crocodile Wipes and they are a game changer. They are super durable, and they work perfect for cleaning up excess caulk and they also worked great for cleaning up paint spots.

At this point it was time to do something I have been wanting to do in this space since the day we moved in… installing a pegboard wall! We had this entire wall on the left that was 9 feet tall, and 6 feet wide. It was dead space, and I knew it would be perfect for a functional pegboard wall. I know pegboard is more of a garage or craft room kind of material, but it actually works really well in the kitchen too! I love cooking and I’m also a big fan of the original home chef, Julia Child. Her kitchen is on display permanently at the Smithsonian Institute in Washington DC and she had pegboard everywhere. She used it to organize all the cookware, utensils, and kitchen gadgets she used.

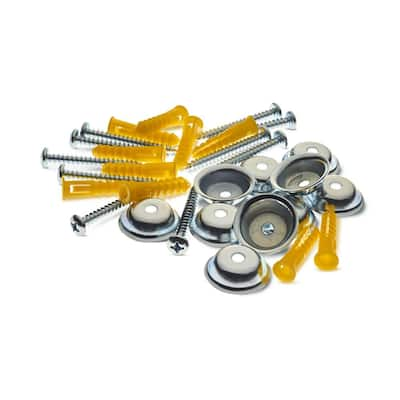
Pegboard is super inexpensive and it comes in these big 4x8 sheets, so I picked up two sheets at home depot and I cut them to fit the wall. I hung them up with these awesome Pegboard Hangers/Spacers. They are great because you can use the existing holes in the pegboard and they include everything needed to mount the pegboard including the screws, drywall anchors, and metal spacers.
After the pegboard was hung, It was almost time for paint. I wanted even coverage with good adhesion. Since I had a mix of materials (raw MDF, spackle, pegboard, and existing particle board) and because this is a pantry that will get heavy use, I took the extra time to just go ahead and prime everything. I used Kilz Primer and a High Density Foam Roller. This step is really important when it comes to getting a durable and even finish since it basically creates a uniform base layer for the paint to adhere.
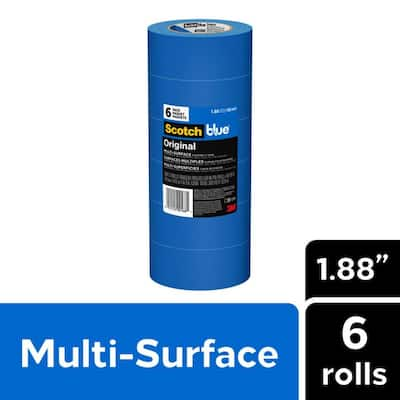
After the primer dried, I gave everything a light sand to make sure it was smooth and ready for paint. I planned on using the paint sprayer for some of the job, I had a lot of masking to do. I used my trusty Scotch Blue Painters Tape to tape off all my lines and plastic.

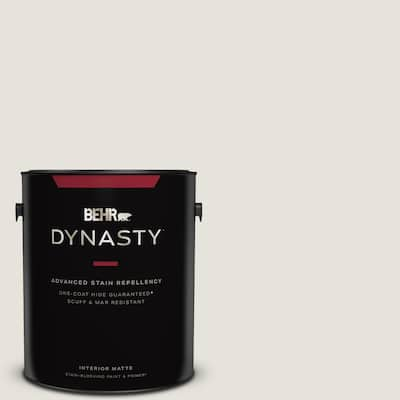
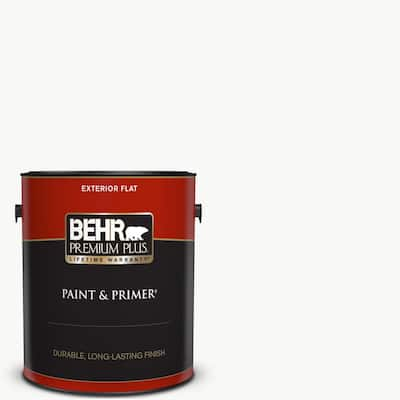
I knew I wanted to use a trendy color in this space. Right now, everyone is using earthy neutrals and pastel colors so I picked up a few samples and eventually landed on Behr Lite Cocoa. It’s blushy pink color and it looked great with the floors. Dark enough to look moody but also light enough for a small windowless room like a pantry.
Since everything is going to be painted the same color, including the shelving brackets and all the shelving, I decided to use the sprayer to help me get into all the nooks and crannies. When it comes to coverage and durability, it doesn’t get better than Behr Dynasty. I love this paint, its velvety smooth and the finish always looks so perfect. I used the sprayer to get all the hard-to-reach spots then I came in with my trusty foam roller to paint everything else. This step took a long time, but I want to make sure I got a solid two coats on the shelves for maximum durability.


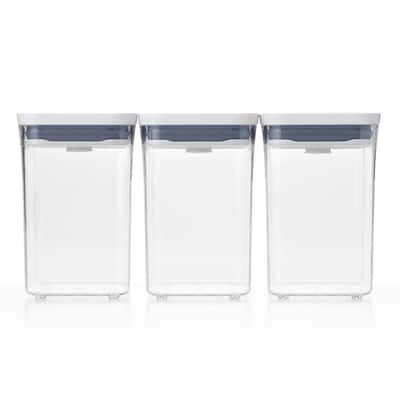
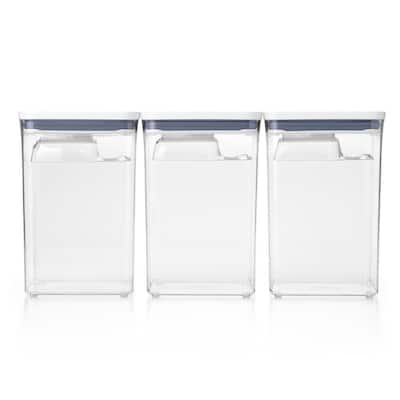
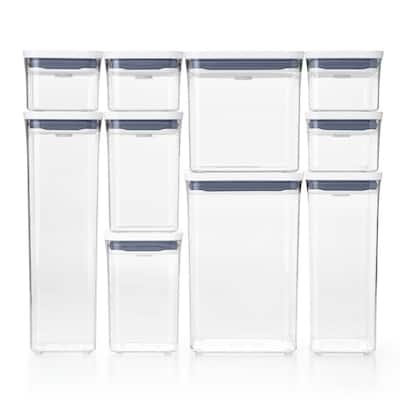
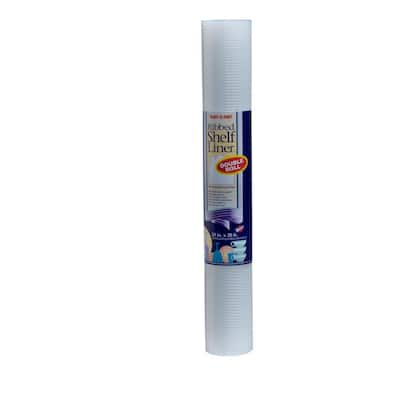
After the paint dried, the room looked so good! I was stoked about the color and all the shelving looked super solid and custom. The next step was to start filling it back in with all our food. I took this moment to line all the shelves with this Clear Ribbed Shelf Liner. The paint color still comes through but now the shelves are super protected, and they will also be super easy to wipe clean. I picked up a bunch of really cool products from The Home Depot to level up our organization and food storage game. They carry a ton of OXO products, so I got this 10-piece OXO Pop Set, a Three-piece 4qt Set, and 3 extra 6-quart containers. These clear bins are airtight and they have a cool pop button style lid. I used them to hold a ton of our dry goods like pancake mix, flour, sugar, protein powder etc.

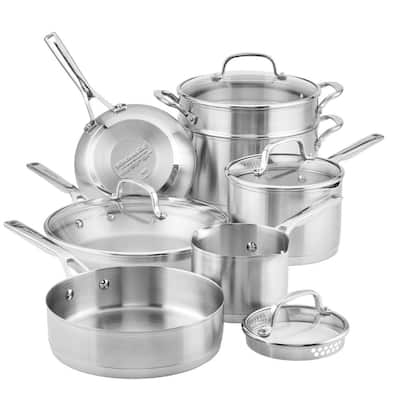
For the pegboard I used a variety of different sized hangers for all the things I wanted to hang. I knew I wanted to hang up my new KitchenAid Stainless Steel Cookware as well as my cast iron cookware, wok, cutting boards, measuring cups and spoons, and aprons. The best part about pegboard is its endlessly customizable so I can add new items or make new arrangements as I need. This has freed up SO MUCH space in my cabinets and now all my cookware is easy to access. No more stacking pots, no more struggling to fit everything — now it’s just neatly organized and super functional.

I am so happy with the way this pantry turned out. This project was a super cost-effective way to flip a builder grade pantry into something beautiful and functional without any major demo and we love the results!