Building a Modern Closet for Studios and Small Spaces

Last updated August 21, 2024

Ben Uyeda is a designer, lecturer, and entrepreneur focusing on the field of affordable and sustainable design. Ben is the co-founder and design director of FreeGreen.com, as well as a visiting Lecturer at Northeastern University.
A Note From The Home Depot
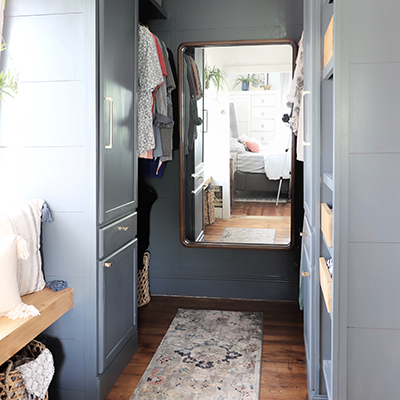
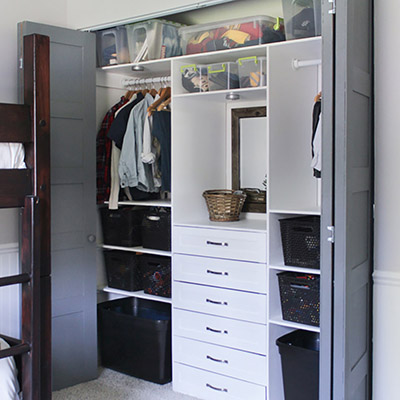
This versatile DIY closet organizer can help structure your stuff inside of a normal closet or provide extra storage space outside of it.
This project by Ben Uyeda of Homemade Modern could also serve as a dressing station or valet. Follow Ben’s step-by-step tutorial to build this DIY closet organizer for your home.
Table of Contents
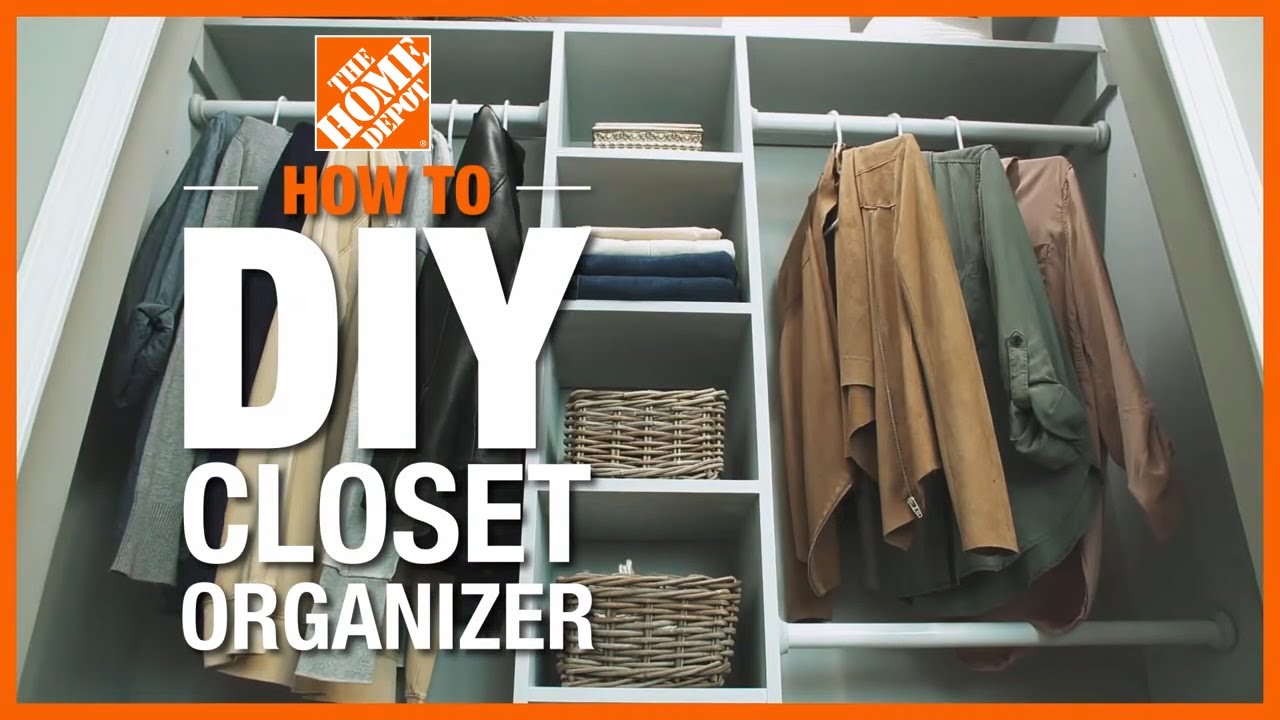
DIY Closet Organizer
Step 1: Pick the Plywood
Step 2: Cut the Plywood to Length
Step 3: Cut the 2 x 4s to Length
Step 4: Screw the Plywood Together
Step 5: Screw on the Shelves
DIY Closet Organizer
Download a PDF schematic of this project here.
Step 1: Pick the Plywood
I had the nice Home Depot associates rip a 4 ft. by 8 ft. sheet of plywood into three strips. Not only does this save me the time from doing it myself on my table saw, it also makes it easier to fit the wood in my car.
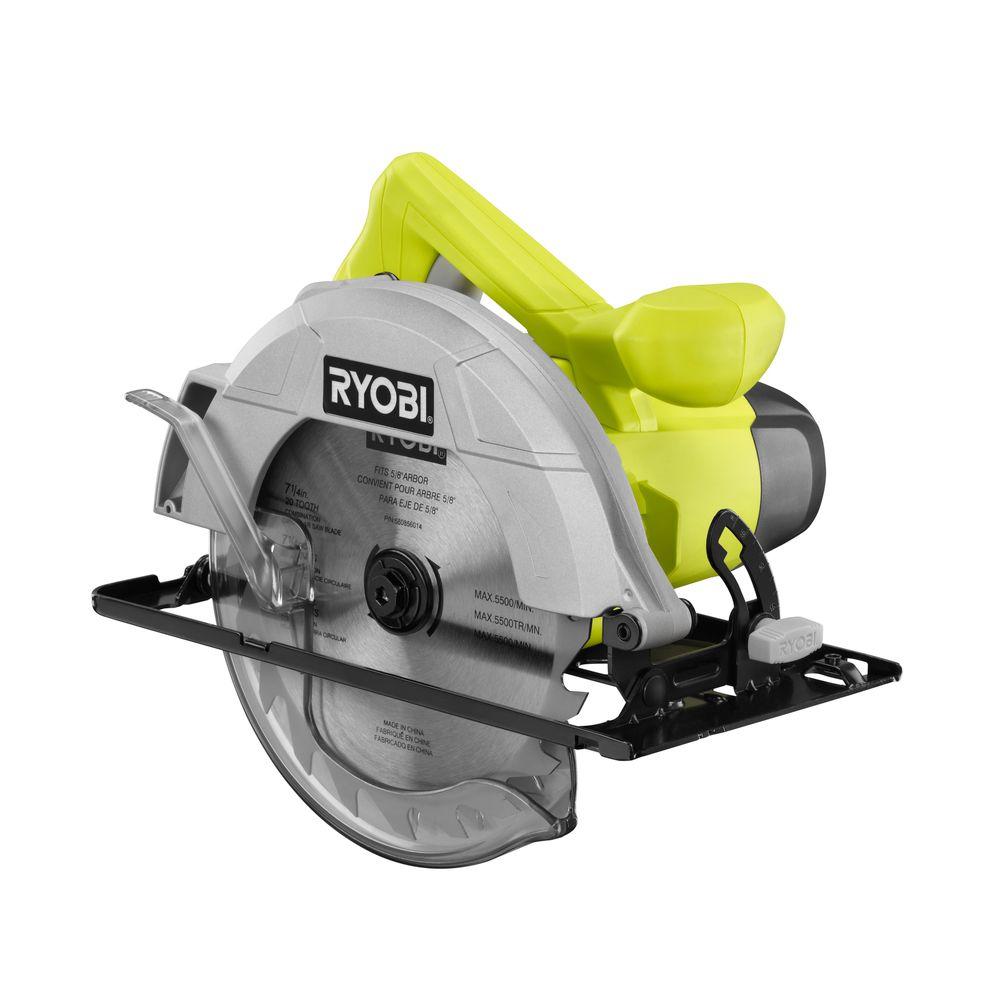
Step 2: Cut the Plywood to Length

I cut the plywood into the lengths shown in the drawing. I used my circular saw but this could also be done with a compound miter saw.
Step 3: Cut the 2 x 4s to Length

I used my circular saw to cut the 2x4s.
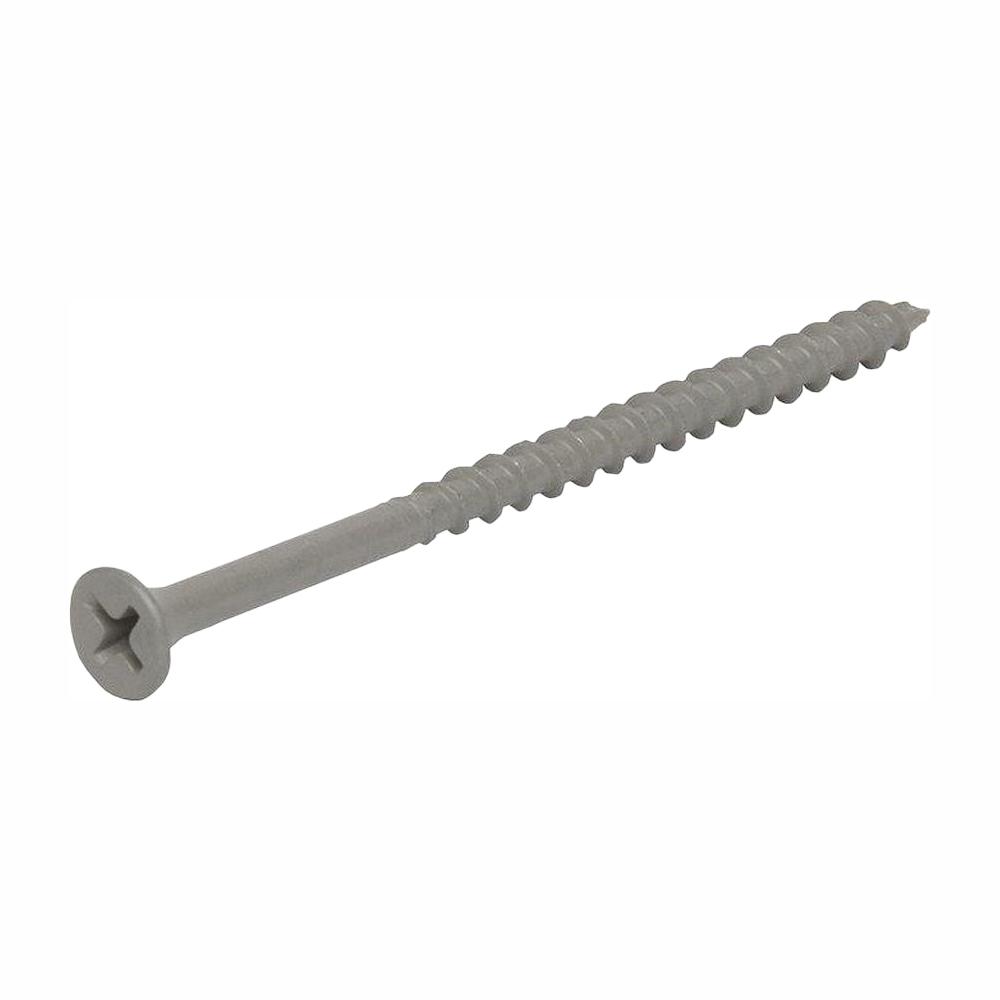
Step 4: Screw the Plywood Together

I screwed the biggest piece of plywood to a piece of 2 x 4 and then screwed the second biggest piece of plywood to that same piece of 2 x 4.

Step 5: Screw on the Shelves

I screwed the plywood shelves in place using pieces of 2 x 4 as supports.

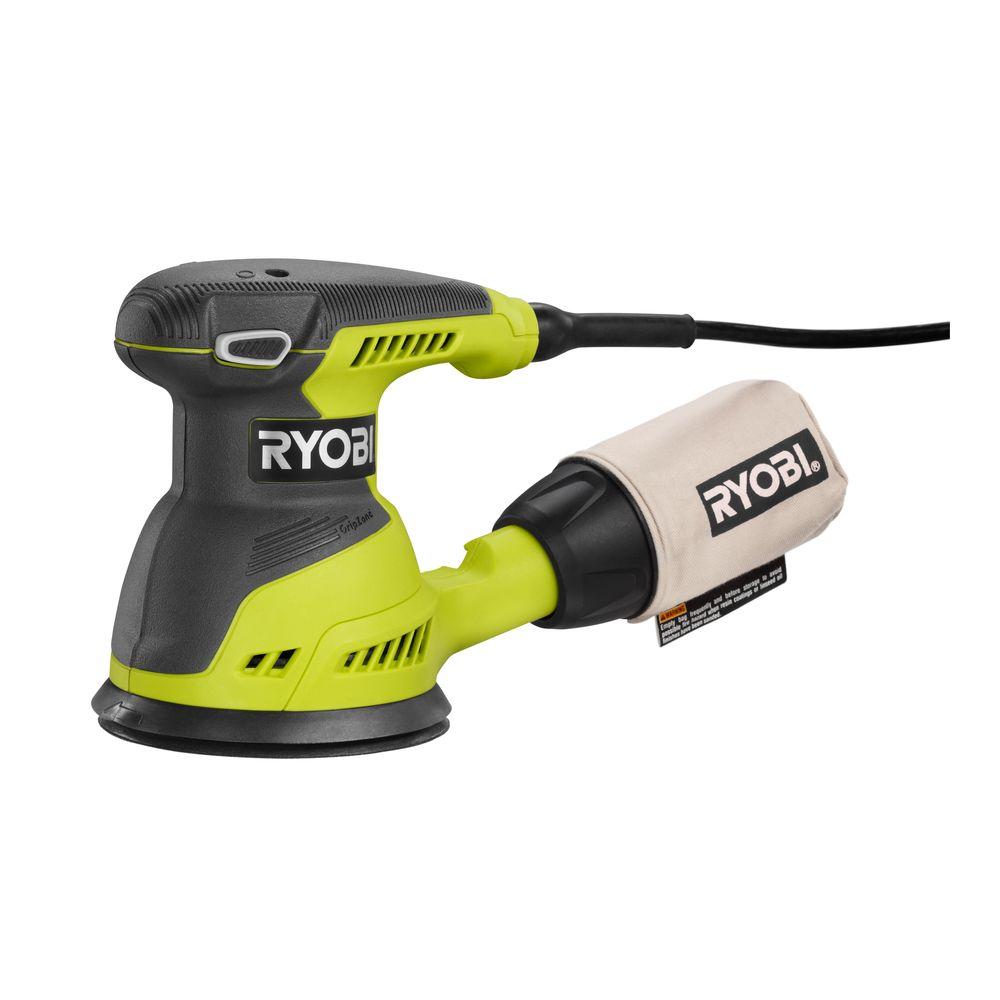
Step 6: Sand Down the Edges

I used my orbital sander and a sanding sponge to round over the rough plywood edges.
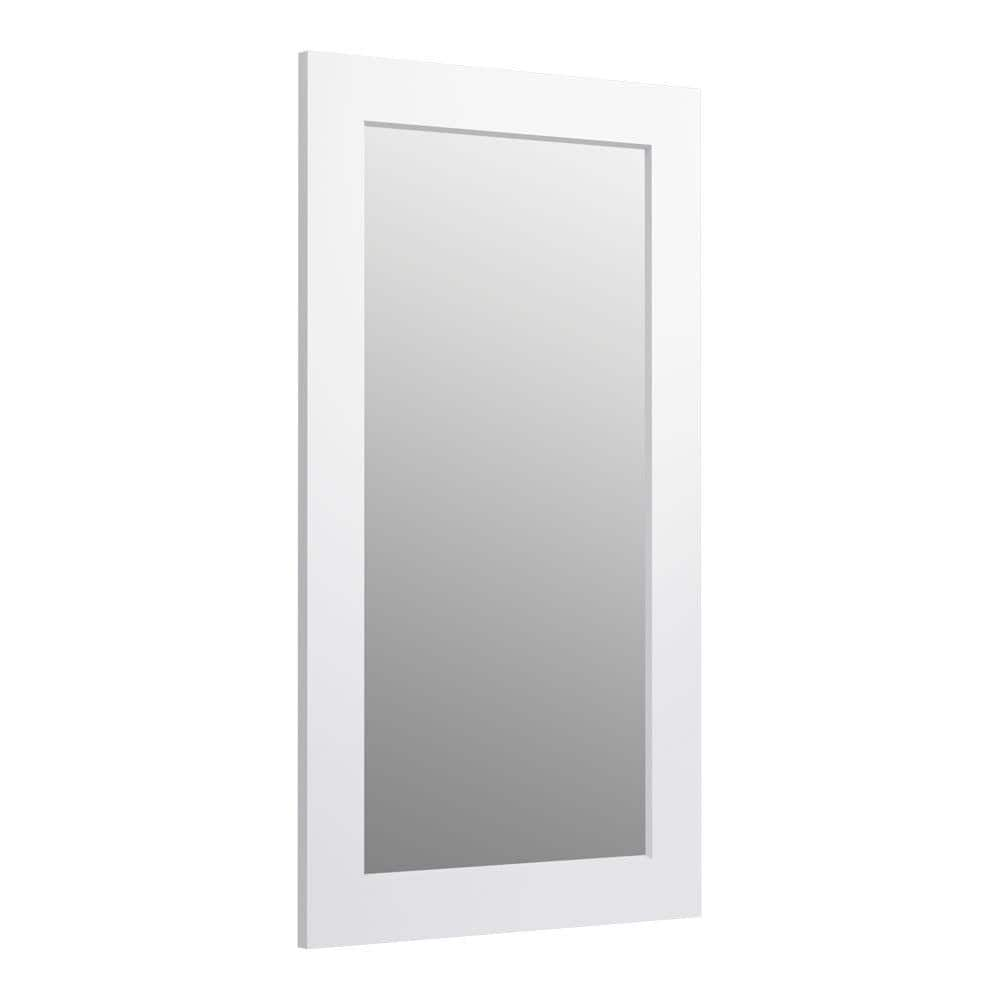
Step 7: Screw on the Mirror

The mirror that I bought from The Home Depot came with hardware that I screwed to the plywood.
Step 8: Add Clothes Hanging Bar

I used a scrap piece of wood and some duct tape to help hold a piece of ¾ in. pipe with flanges on each end in place while I screwed it to the plywood and wall. I used a 3-foot long pipe, but longer or shorter pipes would also work.

Step 9: Add Hooks

I add some large coat hooks and small eye hooks.
Step 10: Add Optional Shelf

I had some scrap plywood and 2 x 4 left over so I made an additional shelf that fit underneath the bar.

Ben Uyeda is a designer, lecturer, and entrepreneur focusing on the field of affordable and sustainable design. See his designs and DIY projects on his blog, HomeMade Modern.
Follow our Easy DIY Projects board on Pinterest to discover even more ideas.
This post was created in partnership with The Home Depot. The author may have received compensation for this article and associated images or video, potentially in the form of products and/or services. All expressed opinions and experiences are the author’s own words.