Classic Tile for a Walk-In Shower Renovation

Last updated August 21, 2024

Kevin O’Gara is editor and founder of Thou Swell. He’s inspired by a mix of traditional and contemporary design, and loves dogs, dinner parties and big windows. Kevin is the brother of two sisters and the best friend of one spunky wired-hair fox terrier. After voraciously pinning interiors throughout his early teens, Kevin decided to write and produce his own content. In 2013, he created Thou Swell, named after the famous jazz standard and inspired by the song’s spirit and nostalgia. In just a few years Thou Swell has become a destination for interior lovers and entertaining enthusiasts.
A Note From The Home Depot
With limited space in some master bathrooms, upgrading your experience with a shower renovation can really make a small space feel large. Kevin O’Gara of Thou Swell was able to take advantage of a few Home Depot products, showing how refreshing the tile in your shower can still make a huge difference.
Table of Contents
Before the Walk-In Shower Renovation
Choosing the Right Tiles & Grout
Contemporary Style & Finishes

Space is limited in our townhome’s master bathroom. So I knew a walk-in shower would not only provide an upgraded bathroom experience, but also it would actually make the small room feel much bigger. By opening up the floor and removing some visual barriers. With a simple glass shower panel to show off the pretty new tiling, the room ended up feeling much bigger. And more luxurious with these key upgrades! Now let’s dive into the renovation process and the classic tiles I found for this project.
Before the Walk-In Shower Renovation


We started with a bathroom that hadn’t been updated since the house was built in the 80’s. The bathtub was in dire need of replacement. I worked with my contractor to have the old tub and tiles removed, and re-mud the walls to prepare for new tiles from floor to ceiling. Before, the tiles only went 3/4 up the wall. So with new tiles all the way up to the ceiling, the height is accentuated making it visually less cramped. The drain was moved to the center of the shower and the plumbing was also reconfigured to remove the tub filler. It was so excited to see the space stripped down to the studs, then reimagined with all of the updated finishes!

Choosing the Right Tiles & Grout
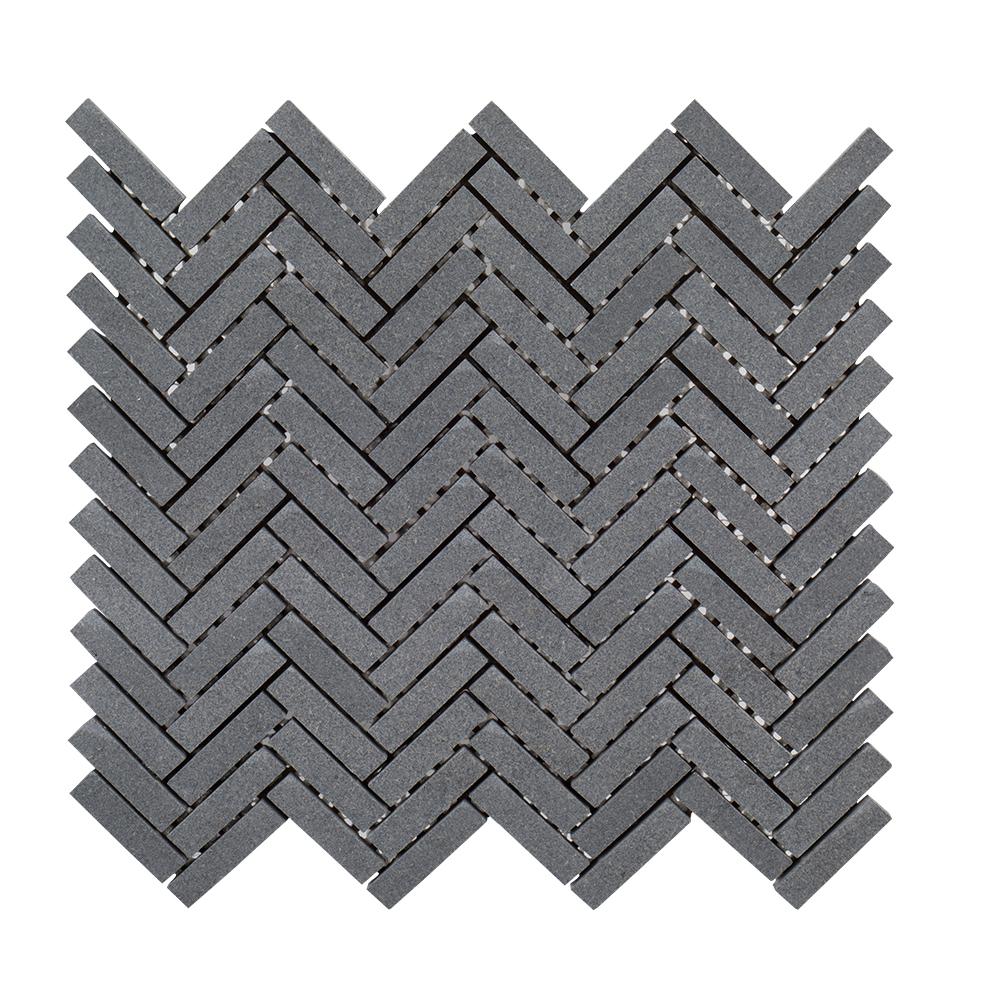
There are many important factors for tile selection in bathrooms – chiefly style, cost, and safety. With a modest budget, I knew that subway tiles would be an easy and accessible way to cover the walls. Since the floor is small, I chose a more expensive mosaic. The cost of installation also increases with mosaics. The smaller the tiles the more cuts have to be made, so by choosing extra-long subway tiles I made a unique statement on the walls and also reduced the labor cost. It’s also important to have smaller tiles on the shower floor to reduce the chance of slipping.


To tie together the dark herringbone on the floor and the white subway tile, I used a dark gray grout. This helped the tiles coordinate and is super practical in terms of cleaning, as the dark color hides discoloration. The contrast also helped show off the long size of the subway tiles and give them some more visual interest.

Contemporary Style & Finishes
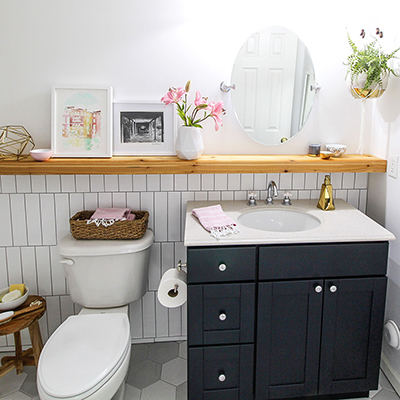
I decided against a shower door and went with a simple glass panel to help open up the room. This helped to keep a more clean, contemporary look to the space. This helped save on product and labor as well! The shower panel gives a clear view of the beautiful new tiling. And, it also shows off the sleek waterfall shower head I chose. I love the clean lines of the fixture and think it’s perfect for a master bath where you want to feel a little extra pampered.
This post was created in partnership with The Home Depot. The author may have received compensation for this article and associated images or video, potentially in the form of products and/or services. All expressed opinions and experiences are the author’s own words.