DIY Christmas Gingerbread Village Outdoor Decor

Last updated August 21, 2024

Crystel Montenegro is the owner of Crystel Montenegro Home. This website began in an effort to show you that creating a beautiful, comfortable, and functional home does not have to be an expensive or difficult ordeal. She started her DIY journey as a stay-at-home mom while her husband was preparing to begin his first year of medical school. They were living in her sister’s basement temporarily and wanted to find a way to make it a cute space, but on a budget due to little income at the time. She searched through Pinterest for ideas, and once she had the plans she made her way to the nearest Home Depot beginning her DIY journey that has blossomed into a community of people to share an array of fun projects and home ideas!
A Note From The Home Depot
One of the best parts of the Holiday season is making the home feel more festive with some fun decorations. Keep reading to see how Crystel of Crystel Montenegro Home creates these awesome DIY Gingerbread Houses for her front yard to add some DIY flair for the Christmas season.
Table of Contents
DIY Christmas Gingerbread Village
How to Create the Front of the Gingerbread House
How to Create the Sides and Roof of the Gingerbread House
How to Decorate the Gingerbread Houses
DIY Christmas Gingerbread Village

Hey there fellow DIYer! I’m a HUGE Christmas decor addict, and I partnered with The Home Depot to come up with some easy do-it-yourself holiday decorations. For the last several months, I’ve been exclusively focused on remodeling the interior of my house, so this creative break was much needed. We’re big on holiday traditions around here, and a highlight of the Christmas season is the gingerbread house decorating competition my husband’s family throws every year. That’s the inspiration behind this Front Lawn Gingerbread Village.
Everything I used for this project can be purchased at The Home Depot!
How to Create the Front of the Gingerbread House
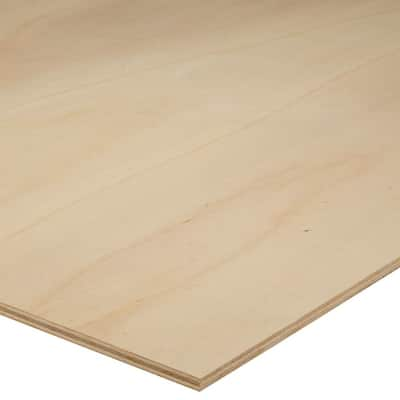
I built the 4 houses out of 3 sheets of ½ inch Sande Plywood. These houses are totally customizable! I built them to be roughly the size of a child’s doll house, but I also wanted a slight variation in height, so I made some skinnier and taller and some wider and shorter.
I used a long straight-edge ruler to draw out the front of the houses. I didn’t get exact measurements on all the houses, but just for context, the shorter, wider house was 25-inches tall and 30-inches wide. The others were within 5-10 inches of that size.
To figure out the peak of the roof, I found the exact center width, made an X mark, and then drew an X mark exactly 10-inches above. I used a straight edge to connect the sides of the house to the roof peak.

The taller, skinnier house is 30-inches tall and 22-inches wide. The roof peak is also exactly 10 inches above the center width.

Next, I used my ruler to sketch out some windows and doors. I didn’t worry so much about being perfect with the measurements or placements of the windows since these were gingerbread houses and therefore didn’t need to be up to code.

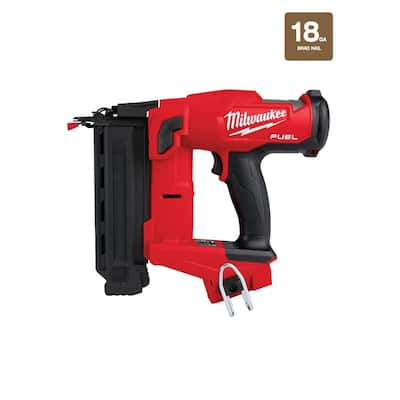
Trying to cut a full sheet of plywood on a table saw can be really tricky, so I first used my Milwaukee Jig Sawand aStraight Edge Guide to make the initial cut.
I was able to use the table saw and miter saw to make the remaining cuts which made this project go waaaaay faster.


Oh, and by the way, I LOVE my Milwaukee tools! The M18 battery packs not only make using them so convenient without having to deal with extension cords, but also they last forever on one charge and provide all the power you’d get in a corded tool. Seriously. Batteries didn’t use to be so good, but Milwaukee has FIGURED IT OUT. And they can be purchased at The Home Depot!
To get the windows cut out, I used a Milwaukee Drillto drill a hole in the corners of the windows. Then I placed my jigsaw blade in a corner hole and followed the lines to cut out the windows. The door was a piece of cake to cut using my Milwaukee Jig Saw.


How to Create the Sides and Roof of the Gingerbread House
Now that the fronts of the houses were cut out, the side walls and roof were next. Both were cut with my Ridgid Miter Saw and myRidgid Table Saw. I also cut a few windows out of the side walls.

The plywood planks for the roof of the houses were 17-inches wide, and I cut them long and wide enough to hang off the house by about 3-inches.
Next up was to sand the plywood. I used a Milwaukee Sander and to lightly sand away the splinters and rough spots until the plywood was smooth.

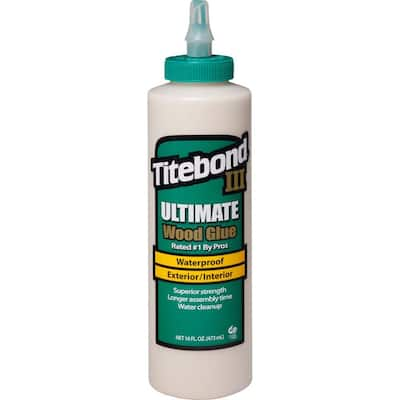
To assemble the pieces together, I secured the side walls to the front of the houses using my Milwaukee Brad Nail Gun and Titebond Wood Glue (also my favorite wood glue!). I shot a few nails through to secure them together. Also, did you know that wood glue is stronger than nails and screws in a lot of cases? So really, the nails are useful for holding the pieces together while the wood glue dries, but it’s the glue that makes these bad boys sturdy. Don’t skip the wood glue, and be generous!


Also – pro tip – if any wood glue dries on the wood where it will be stained, the stain won’t absorb in those areas. So be sure to wipe it off well before it dries and give it a good sanding so there is no wood glue residue if you want it to stain evenly.
I also used wood glue on the roof before I secured that as well!


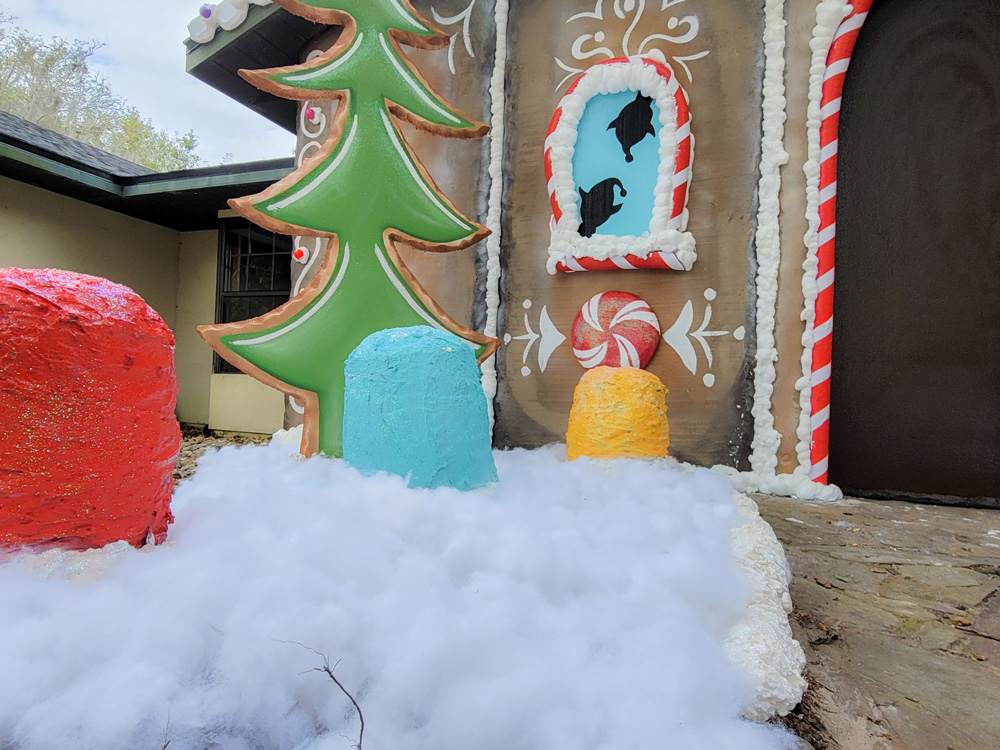
How to Decorate the Gingerbread Houses
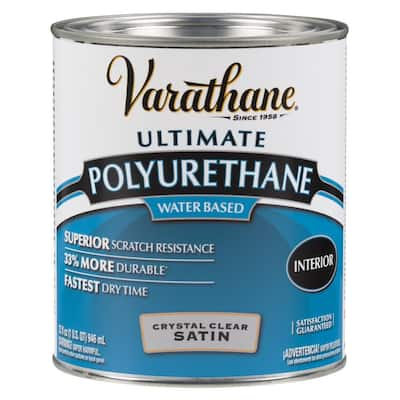
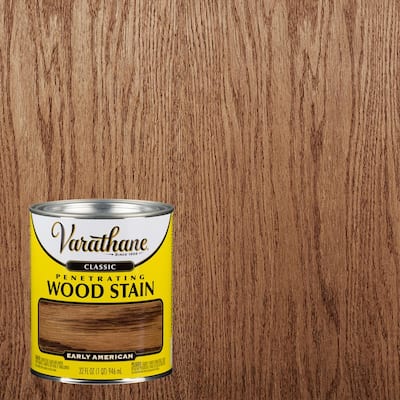
They were adorable just the way they were but since we’re going for the gingerbread house look, I used a staining pad to apply a layer of Varathane Early American Stain. To create different shades of light and dark, I mixed some Varathane Polyurethane into the stain. Now they were starting to look like real gingerbread houses!

After the stain was dry, we added a bit of Christmas flair to the roof and walls. I had some white latex paint left over from a previous project, and my husband and girls went to town applying the “icing”. I drew the designs out with a pencil, and they painted over them.


The last thing I did was tape a few mini white Christmas lights to the inside of the houses, so they’d be seen at night.

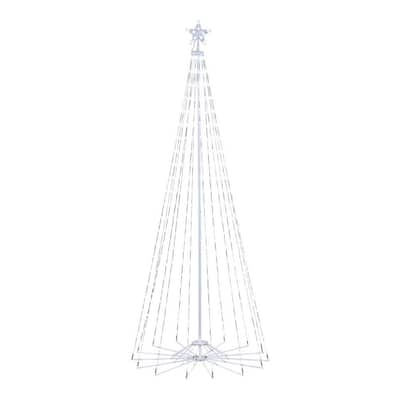
Super cute and easy! I set a few spiral-lighted trees and a cone tree outside next to the houses to complete the scene. Seeing these little houses and trees in our front yard is making me even more excited about spending our first Christmas in our new house.

Here is what they look like in the daytime!

This post was created in partnership with The Home Depot. The author may have received compensation for this article and associated images or video, potentially in the form of products and/or services. All expressed opinions and experiences are the author’s own words.