DIY Christmas Tree Planters to Spruce Up Your Entryway

Last updated August 21, 2024

Jaime is a DIY girl and mom to three. She lives with her husband in Westchester County, NY — in the oldest house in the town. When she’s not busy with her kids, she likes to build, paint and sew.
A Note From The Home Depot
Jaime Costiglio of Jaime Costiglio came up with a beautiful way to add character to this wedding reception entrance. Her DIY wooden planter boxes created a warm and welcoming feeling.
Just follow Jaime’s step-by-step DIY wooden planter boxes tutorial for your patio or next event!
Table of Contents
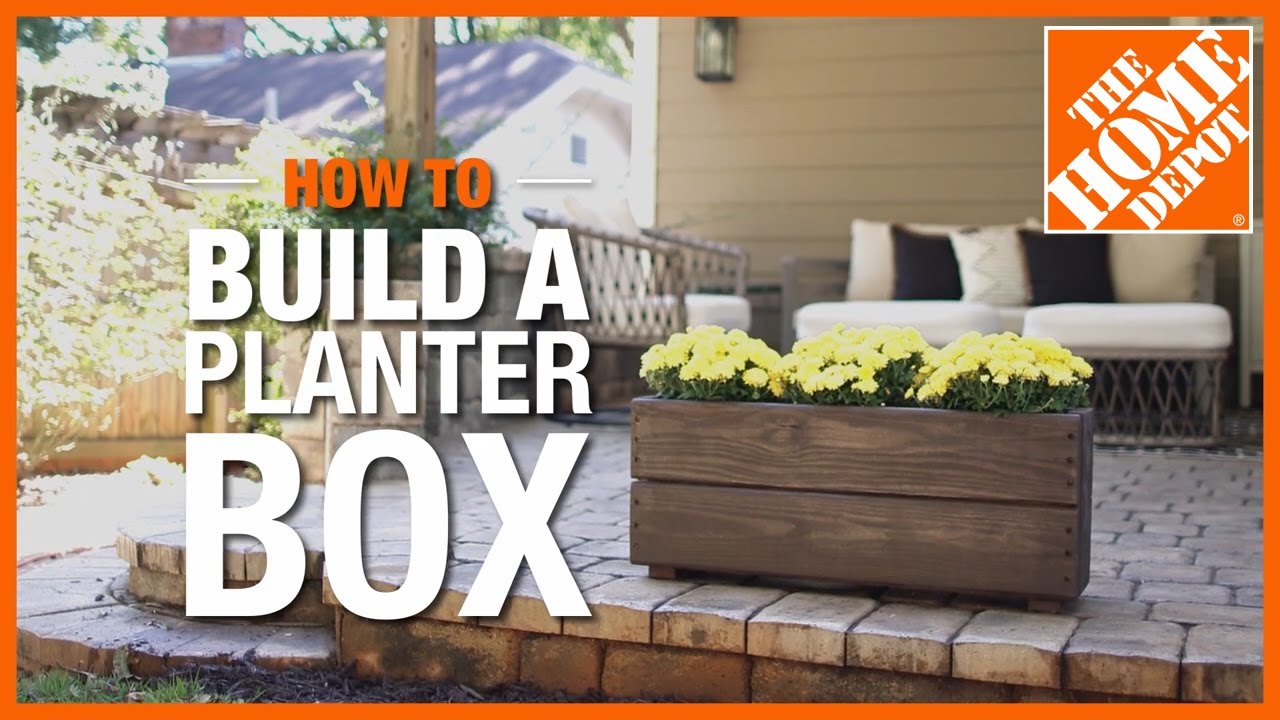
DIY Wooden Planter Boxes
Cut List for One Planter
Step 1: Make the Side Panels
Step 2: Attach the Corner Pieces
Step 3: Attach the Side Panels
Step 4: Attach the Final Side

DIY Wooden Planter Boxes

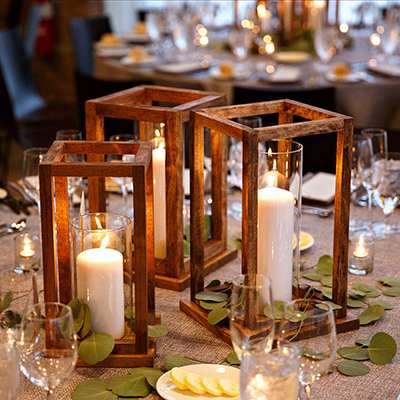
Wedding décor includes everything from the smallest of details to the larger pieces in a party space. Take a good look at your venue, whether that space is indoors or outside, does it feel complete? If you’re wanting to add big impact wedding décor without breaking the bank consider these large DIY wooden planter boxes.

This reception site was a blank slate on the exterior and looked rather corporate so I built cedar wooden planter boxes to flank the entry creating a more inviting and warmer feel for guests as they enter the space.

Warm cedar boards straight off the shelf are the perfect contrast against the dark grey siding and play wonderfully with the faux evergreens. Think how pretty these planters would be with real trees or florals overflowing in your venue! And after the big event you have beautiful big planters to use at your home (or maybe a parent’s home if you don’t have the space yet).

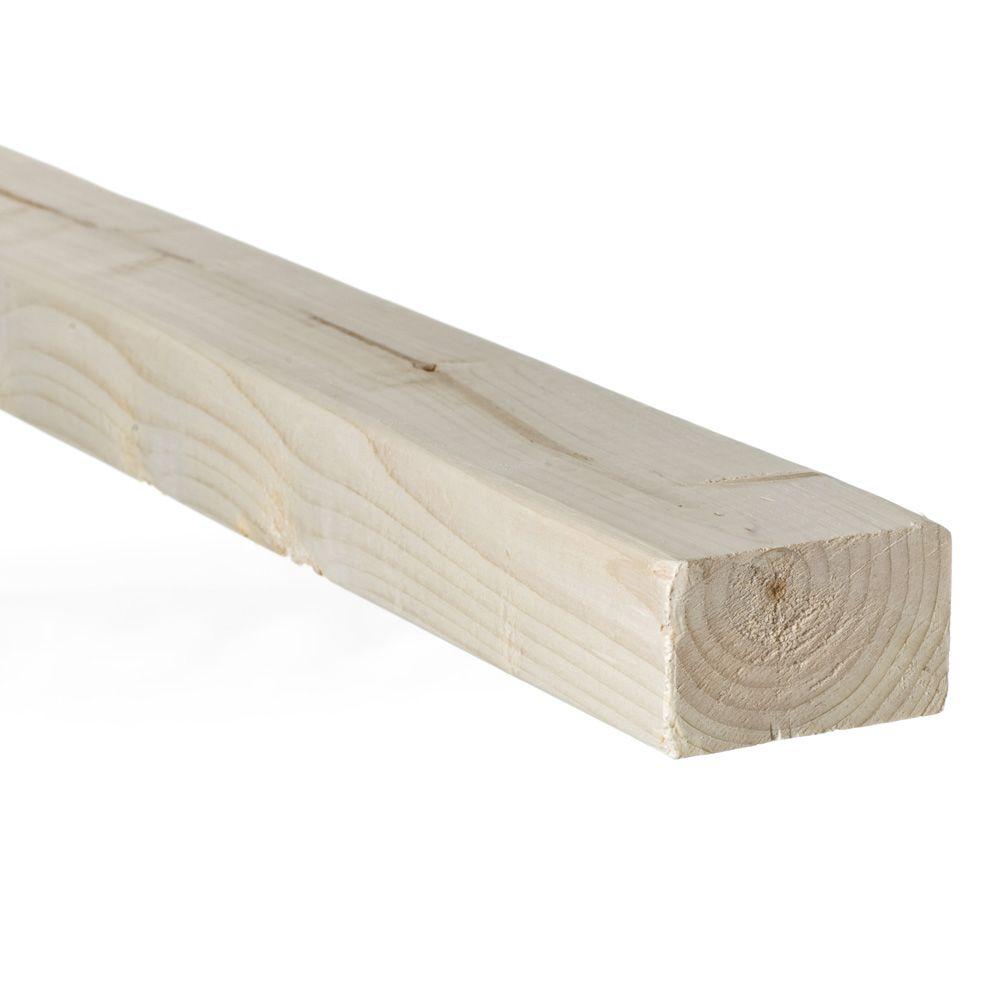
Down below I will share the step by step tutorial to build cedar wood planters. These planters measure 28 ½ in. x 27 in. x 24 in. tall with an interior space capable of holding a 22 in. diameter pot. Measure your event site and be sure to account for walking space for guests then adjust the planters to fit your space.
As always read through the entire project before beginning in order to understand the progression of steps. I choose to leave these planters unsealed.
Cut List for One Planter
- 4 @ 24 in. both ends 5 degree miter, not parallel (side panel 1)
- 4 @ 23 in. both ends 5 degree miter, not parallel (side panel 2)
- 4 @ 22 1/8 in. both ends 5 degree miter, not parallel (side panel 3)
- 4 @ 21 1/8 in. both ends 5 degree miter, not parallel (side panel 4)
1 x 2 boards
- 4 @ 24 in. both ends 5 degree miter, parallel (legs)
- 4 @ 24 in.both ends 5 degree miter, parallel (interior corners)
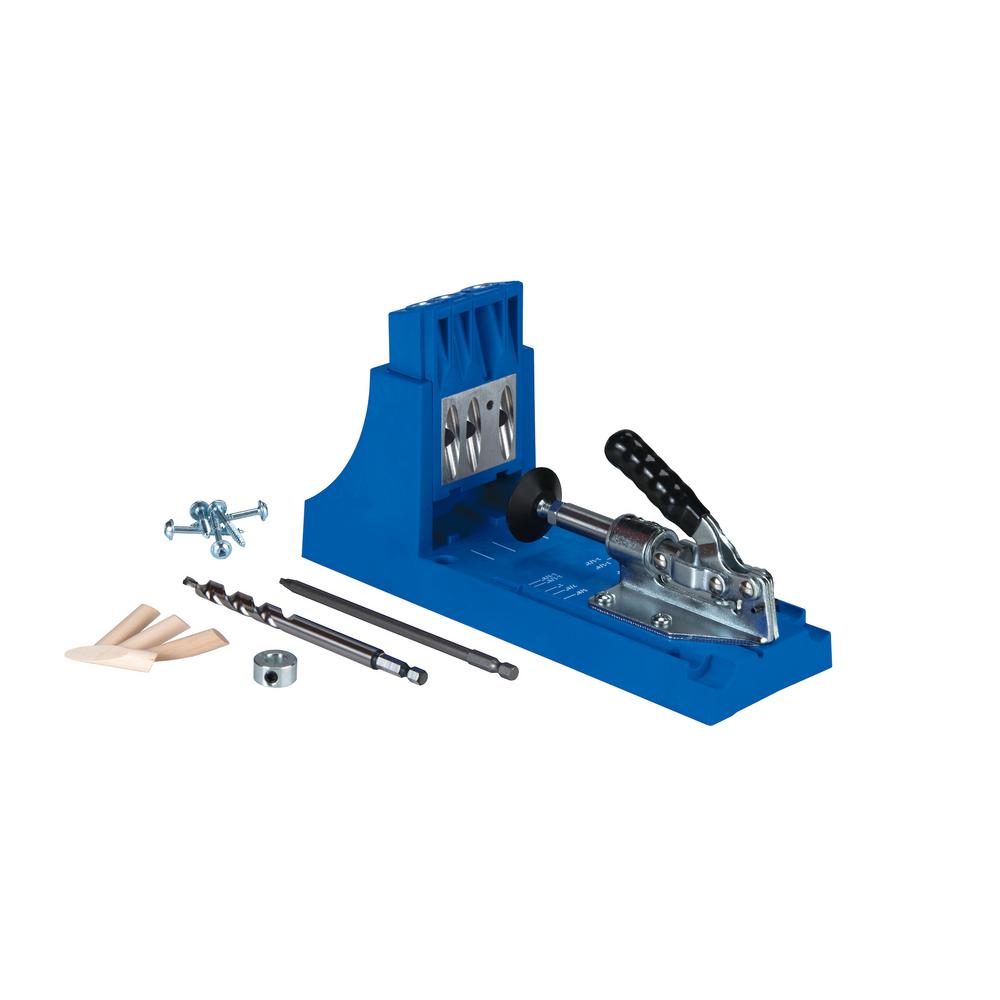
Step 1: Make the Side Panels

Attach the side panels to the legs using 1 ¼ in. pocket hole screws. Begin at the top longest side board and work your way down leaving a 1 ¾ in. space on the bottom. Make 4.
Step 2: Attach the Corner Pieces

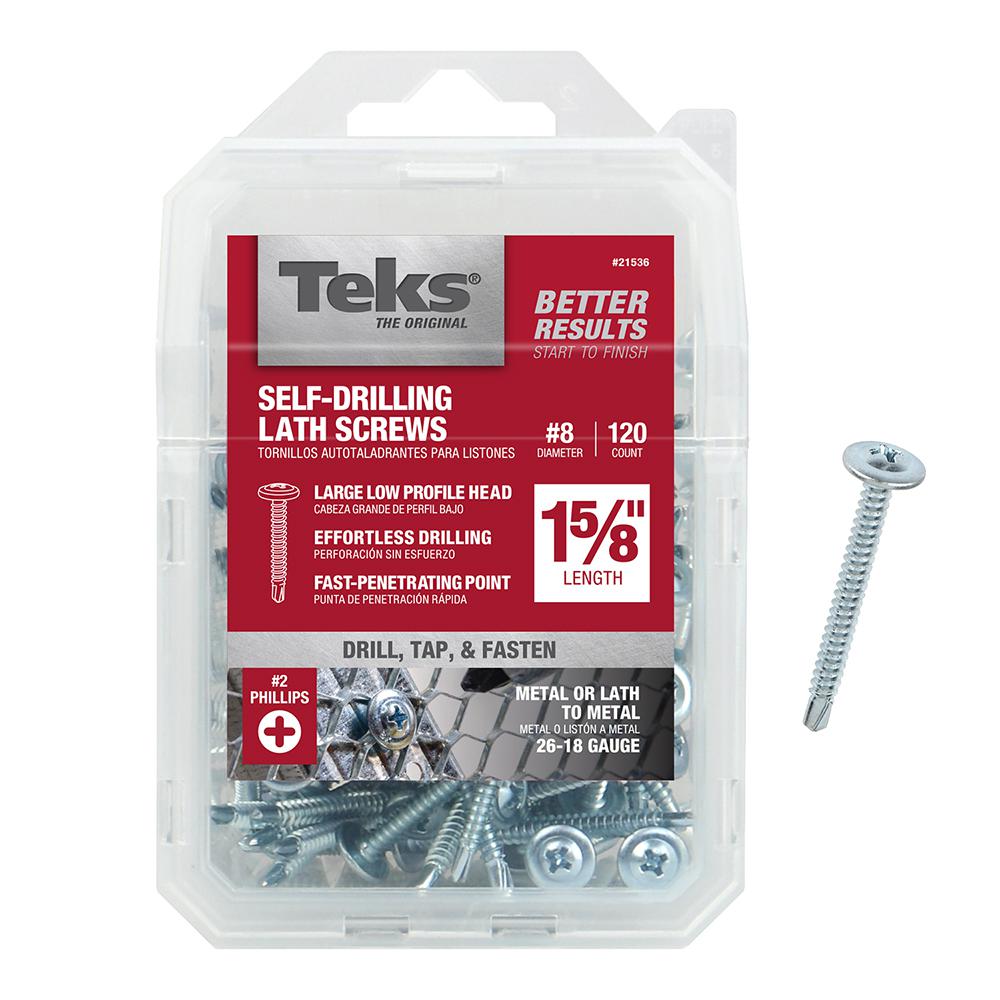
Attach the 2 x 3 interior corner pieces to only 2 side panels (A & B). Clamp in place and secure from exterior using 1 5/8 in. lath screws.
Step 3: Attach the Side Panels

Attach side C to A & B as per the sketch. Use 1 5/8 in. lath screws on the exterior.
Step 4: Attach the Final Side

Attach the final side D to A & B again using 1 5/8 in. lath screws from the exterior.

The visible lath screw head provides a slight industrial feel and I love the contrast against the rough cedar. Cedar boards have a rough and a smooth side so I opted to keep the rough side on the exterior. However, if you’re looking for a something a little less rustic, you could use the smooth side.

Despite the rainy, grey weather these cedar wood planters made a dull entrance space look amazing for very little effort. Imagine all the things you could build for your wedding space! Get planning now and you can make cedar planters in time for your next event.
Make your own DIY wooden planter boxes for your wedding with materials at The Home Depot.
Photo credit: Matt Gillis
This post was created in partnership with The Home Depot. The author may have received compensation for this article and associated images or video, potentially in the form of products and/or services. All expressed opinions and experiences are the author’s own words.