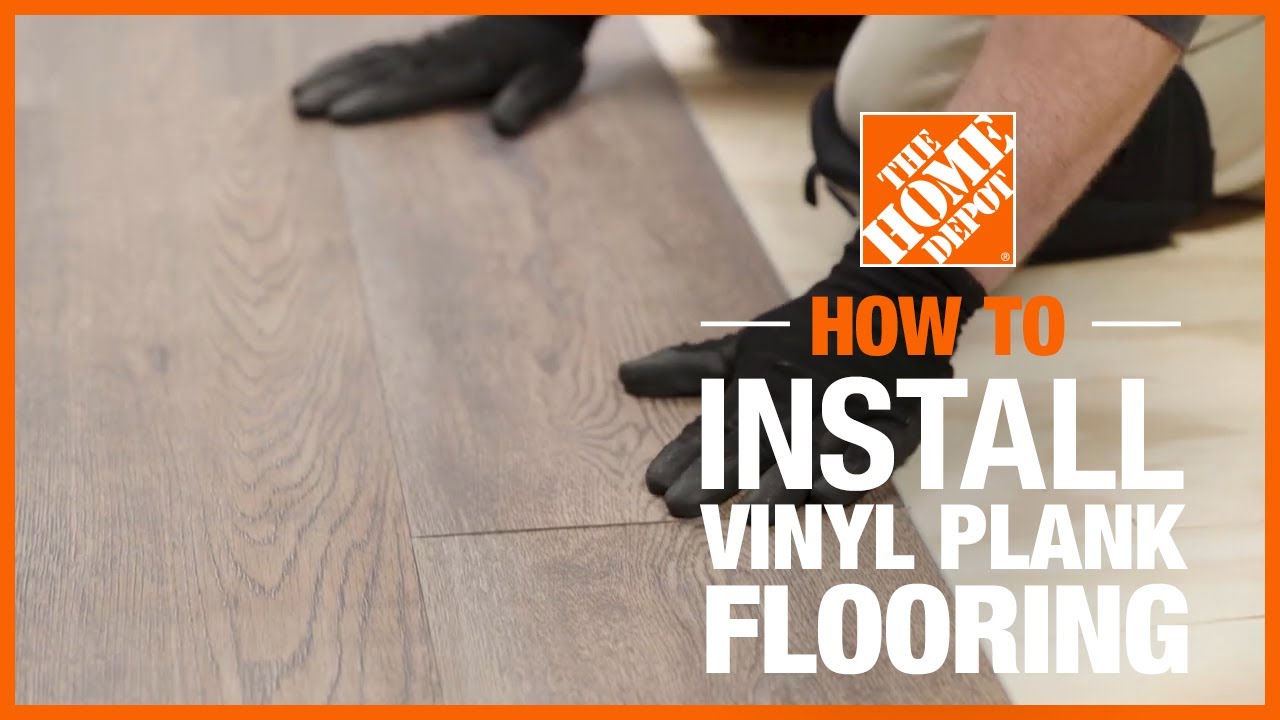
DIY Click And Lock Luxury Vinyl Plank Flooring

Last updated August 21, 2024

Lindsay Zuelich is the face behind the brand, Wood Brain. Wood is Lindsay’s go-to medium for art, furniture and custom projects. On her socials you can find projects where she reclaims collected
wood to create unique handcrafted products for both women and men like; Wood Planters, Wood Jewelry and Paintings on Wood.
A Note From The Home Depot
Dreaming of a new floor?
Lindsay Zuelich from Wood Brain installs plank flooring around her vintage fireplace.
Table of Contents
DIY Click And Lock Luxury Vinyl Plank Flooring
Prepare the Flooring
Measure the Room
Planning Your Luxury Vinyl Plank Installation
Set the Spacers
Install the Planks
DIY Click And Lock Luxury Vinyl Plank Flooring

After years of having carpet it was time to update our flooring with the TrafficMaster Rigid Core Click Lock Luxury Vinyl Plank Flooring. It’s easy to install, low maintenance and is pet friendly. This DIY tutorial will walk you through the steps on how to refresh your flooring in any room.

Prepare the Flooring
Your subfloor should be clean, level and free of cracks. Remove any carpeting or old vinyl flooring and temporarily remove the baseboards. Sometimes you may need to temporarily remove an obstacle like our vintage Malm fireplace or you can decide to install around it.
By using my shop vacuum, I ensured the floors were extremely clean and ready for the next steps.

Measure the Room
Measure the room with a tape measure and write down the room’s length and width. Be certain to take into account a 1/4-inch gap at either end and add 10 percent additional flooring for matching and waste.
Prior to installing the TrafficMaster Rigid Core Click Lock Luxury Vinyl Plank Flooring, let the product adjust to the room’s temperature and humidity by placing them in the room for at least 48 hours.

Planning Your Luxury Vinyl Plank Installation
We decided to add Roberts AirGuard underlayment with Microban to add more cushioning and decrease noise. Then we picked the best corner wall to begin the installation. A great tip is to start the first flooring plank against the longest wall to keep cuts minimal.

Set the Spacers
Start at the corner of the room and lay the first plank, appropriately spaced from the wall.
The Roberts Laminate and Wood Flooring Installation Kit was ideal for this DIY project. The spacers keep the Rigid Core vinyl plank flooring from shifting as it is being installed and helps to keep that 1/4-inch space between the wall and the row of planks.

Install the Planks
The next step is to install the TrafficMaster Rigid Core Click Lock Luxury Vinyl Plank Flooring.
Each package of vinyl plank flooring will have subtle differences in pattern and color, so be sure to pull from at least three different boxes as you go to prevent repeating patterns.
Install the second plank by holding it at an angle and inserting its tongue edge into the first plank’s groove edge. Lower the second plank to snap the planks together.
Tap the outer edges with an installation tool or rubber mallet to remove any gaps.
Continue to set 1/4-inch spacers between the wall and the row of planks as you go. Work left to right with the groove edge facing away from the starting wall.
Continue these steps for the rest of the row, trimming the last plank as needed.

Cutting Planks with the Floor Cutting Tool
You may need to trim planks to fit at the end of a row. This gives the room a balanced appearance at the end of the installation. Plus the end cuts can be used as the next row starter plank.
I like to cut 4 starter boards of different lengths to create a pattern that looks natural and roughly lay them out to make installation faster.
Cut the planks to accommodate the room size and shape.

Adding the Next Row
For the second row, use the same angle-and-snap method, attaching them side-by-side to the planks in the
first row as well as to one another. Continue for the rest of the room.
Trim the border planks as needed and leave appropriate expansion space between the planks and the wall.

Tap the Planks in Place
Use a soft-faced hammer or mallet and a tapping block to tap down on the planks to ensure that they lock into place for a smooth fit.


Cutting the Last Row to Fit
There are lots of options you could use to cut the flooring planks like a flooring cutter tool, jigsaw, circular saw, and miter saw or utility knife.
I prefer to use a vinyl flooring cutting tool from the ends, and a circular saw for the long cuts.

Finish Flooring with Baseboard Trim
It’s now time to remove the spacers. Nail the baseboard trim into the wall. Make sure to fill spaces around areas vulnerable to moisture with silicone caulk.

Reinstalling Appliances
Earlier I mentioned that we temporarily removed our vintage Malm fireplace. Reinstallation was quick and easy thanks to the Husky Mechanic tools set.


Before and After
The new flooring really gives the space a new life. I love how the floors feel under our feet and that they are so much easier to maintain with having pets. I know our family will enjoy these floors for years to come. This project was super easy and could be accomplished in a few days.
This post was created in partnership with The Home Depot. The author may have received compensation for this article and associated images or video, potentially in the form of products and/or services. All expressed opinions and experiences are the author’s own words.