DIY Colorful Wooden Spring Garland

Last updated August 21, 2024

Andrew Boza & Dennis Setteducati or Crafty Lumberjacks, are New York-based DIY and crafting experts who are sure to add some fun to your projects with their unique and creative projects.
These former actors turned their crafting dreams to reality and now specialize in DIY projects, decorating inspiration, and the occasional vegan treat.
A Note From The Home Depot
A Note from The Home Depot: Welcome any season with a versatile wood garland that you can easily create yourself. Watch as Andrew Boza and Dennis Setteducati from Crafty Lumberjacks
demonstrate this simple, fun DIY project. Stop by The Home Depot and stock up on what you need to make your seasons bright!
Table of Contents
DIY Colorful Wooden Spring Garland
Cut Down the Wood Spindle into Small Pieces
Drill Center Hole
Sand Down Rough Edges
Separate the Pieces
Spray Paint!
DIY Colorful Wooden Spring Garland

Spring is finally here! Add a modern pop of color into your spring decor with a quick trip to The Home Depot. You’ll be surprised how inspired you’ll be by walking up and down the isles. Take an unconventional raw wood item, and turn it into a colorful spring garland to match your aesthetic perfectly. Cottagecore realness!

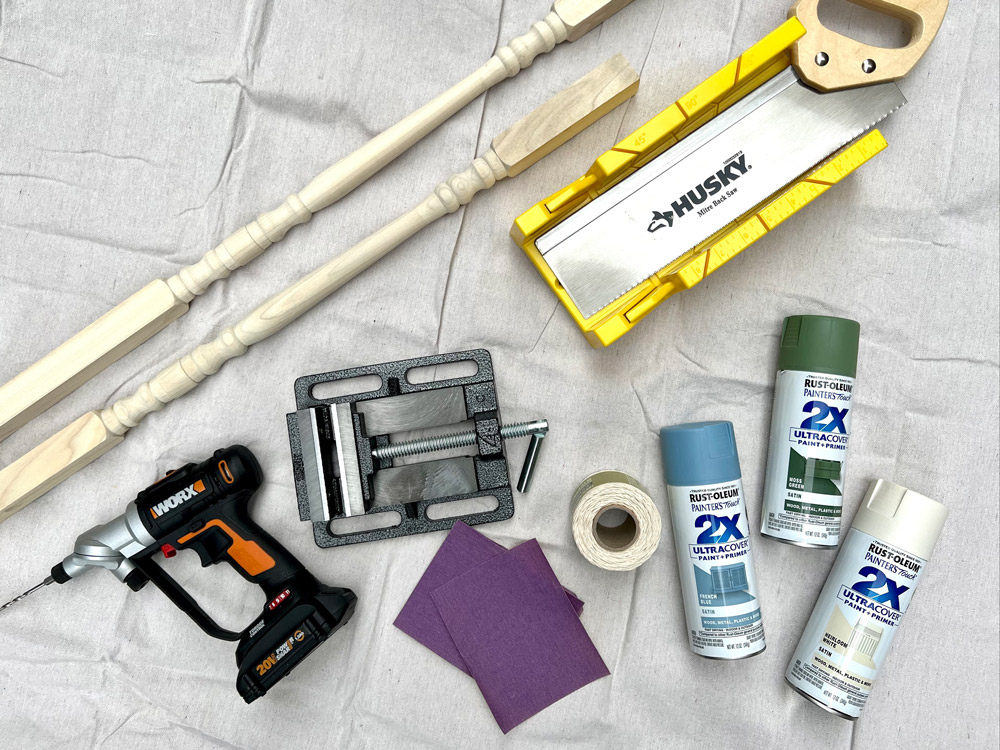
Cut Down the Wood Spindle into Small Pieces
Use the miter box and saw to cut down the wood spindle into a wide variety of different sizes and shapes. Each piece should be about one to two inches in length, if you want them all to be exactly the same size measure out and mark the spindle before cutting. Tip: The more variety of shapes and sizes will add to the playfulness of the garland.
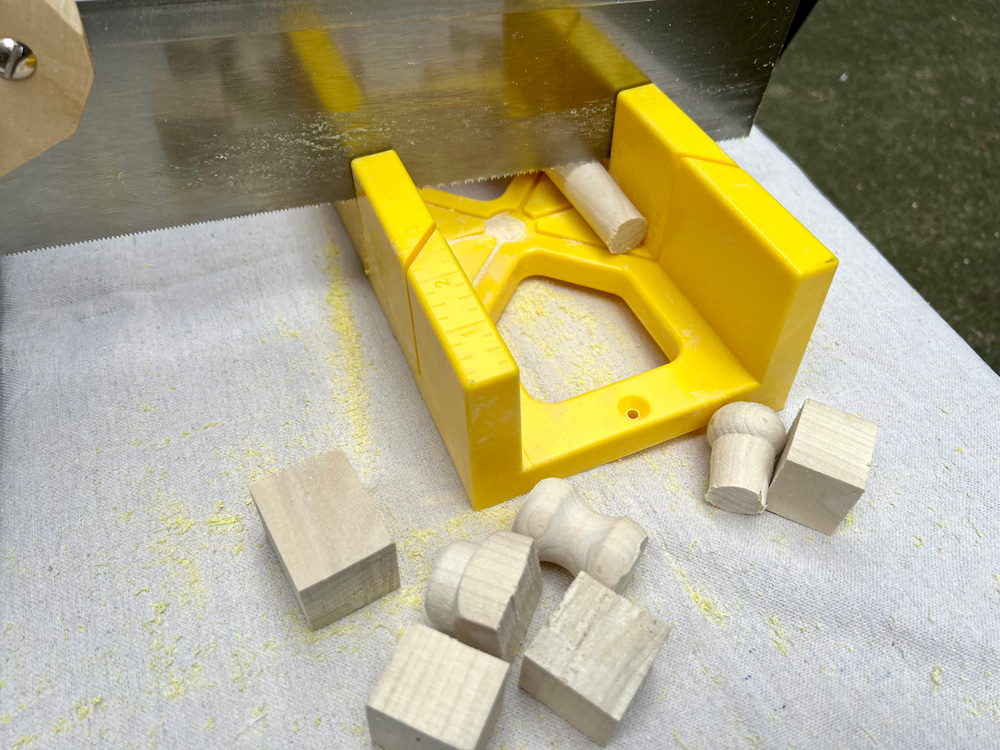
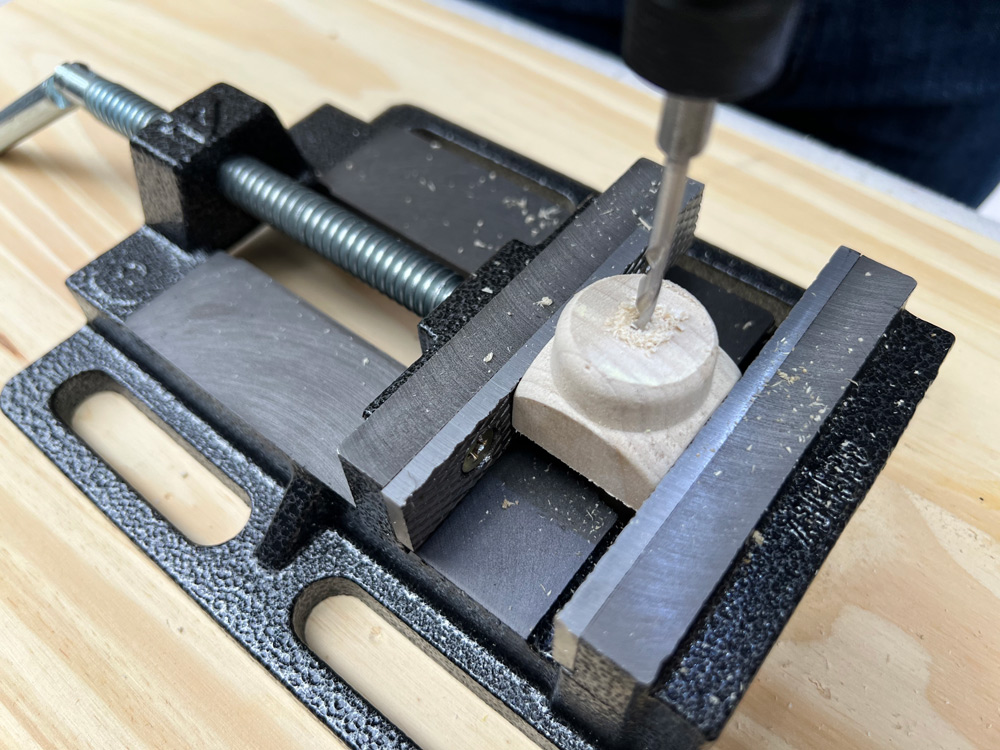
Drill Center Hole
Place and tighten one cut piece into the drill press vice, and drill a hole through the center of the piece. Repeat for all pieces until each has a hole drilled in the center.
Sand Down Rough Edges
Starting with the 150-grit sandpaper, lightly sand down any rough edges of each piece. Swith to the 220-grit sandpaper for a smooth and clean finish. Wipe down each piece with a rag before spray painting. Don’t worry too much if some of the spots are a little rough, that adds a textured element once spray painted.
Separate the Pieces
Divide and separate the pieces evenly into three groups for the three different spray paint colors. When doing this, try to separate like-shaped pieces so that they don’t all end up being the same color.
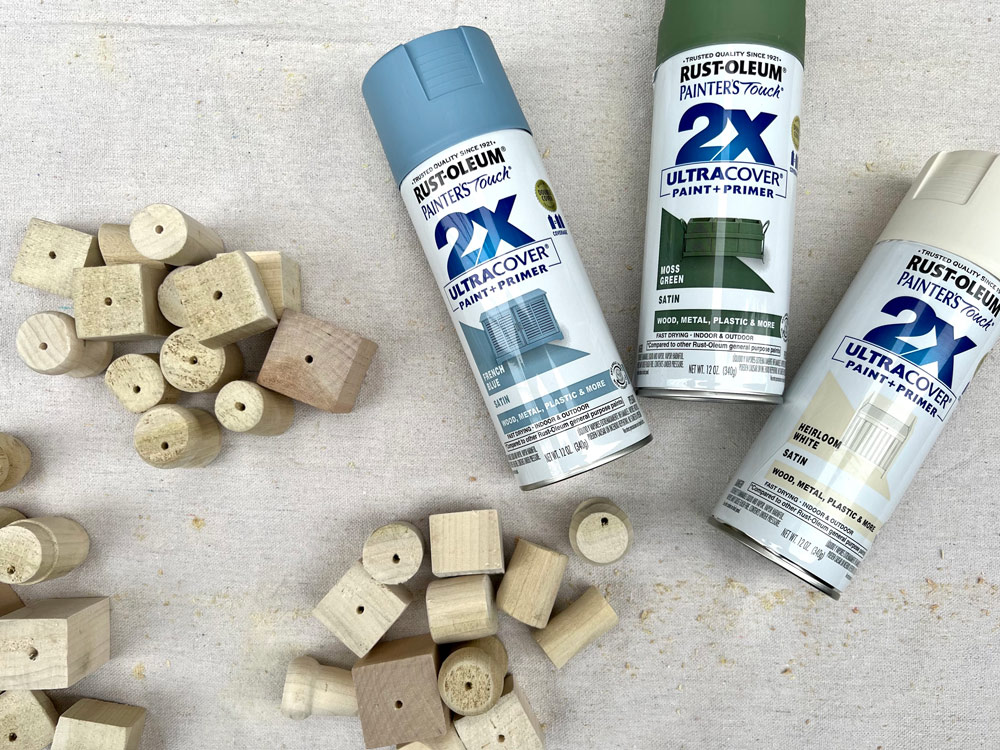
Spray Paint!
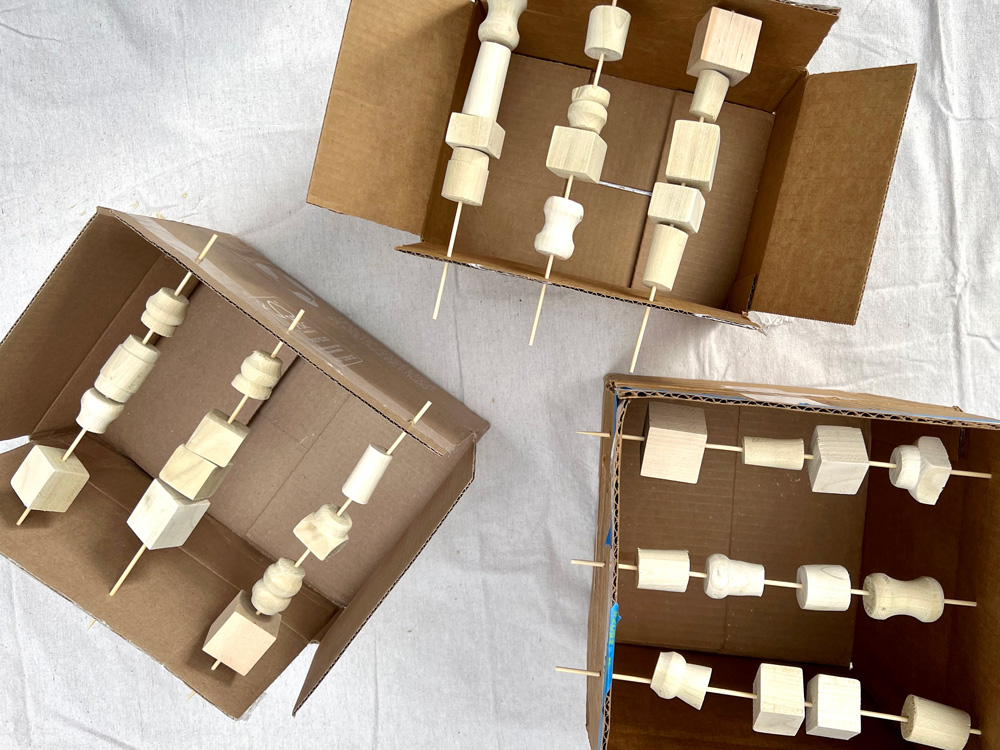
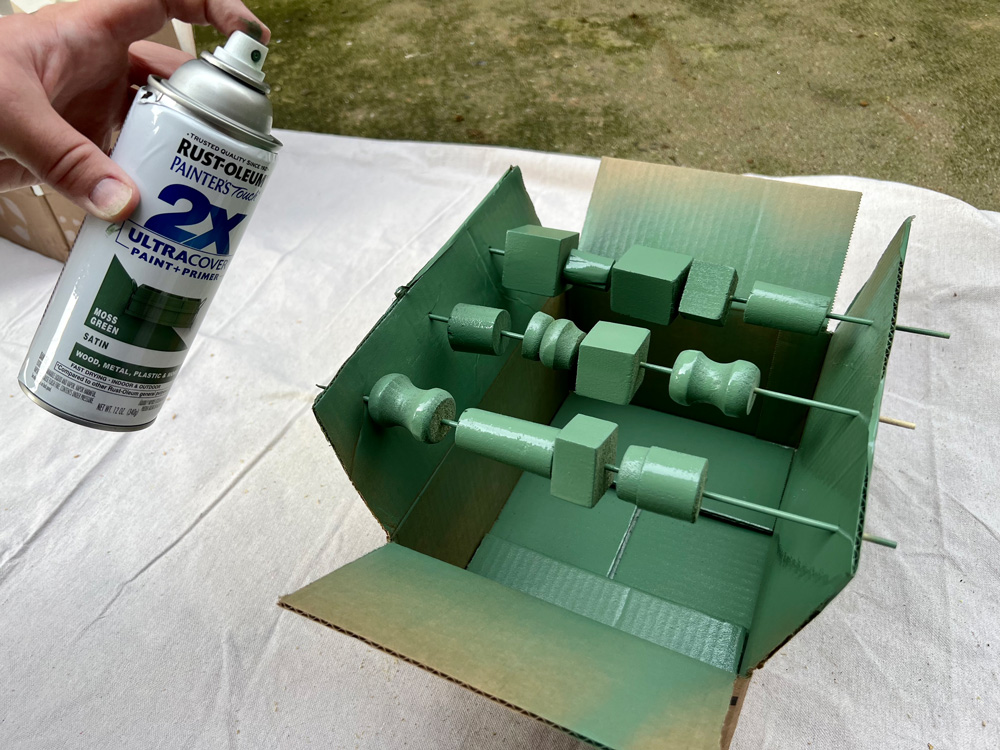
Make spray painting easy by making a “shish-ka-bead”! Thread a handful of wood pieces on skewers or dowels —make sure there is room between each piece, so the spray paint covers all sides. Poke the skewers or dowels into the lid of a cardboard box
for an easy spray painting hack. Use a separate box for each color of spray paint. Shake the can well and spray with sweeping even motions, rotate and spray each skewer until fully coated. Let dry and repeat for full coverage. Tip: This garland can fit any season just by changing the color! Pick spray paint colors that match your favorite season and aesthetic perfectly.
String Garland
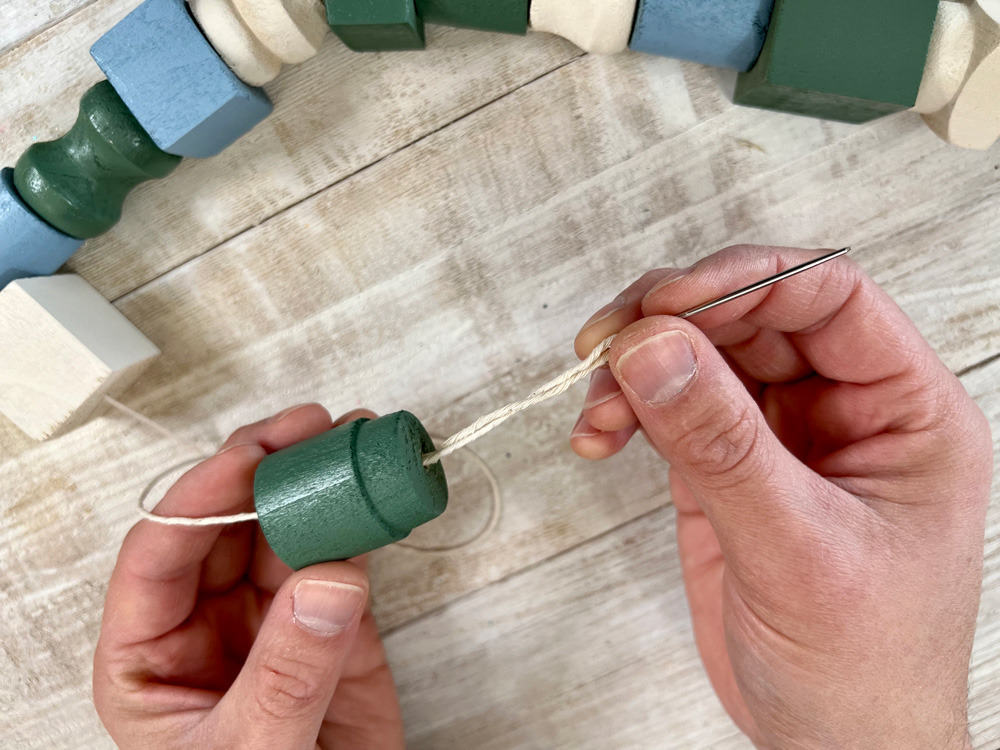
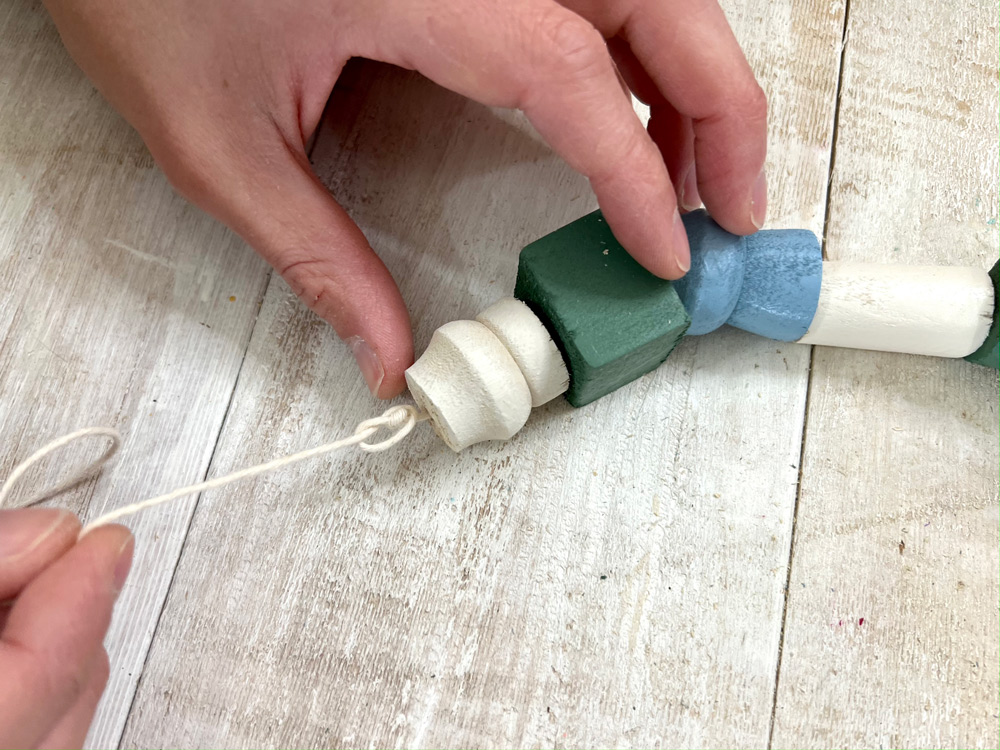
Cut a long piece of twine, and begin threading the wood pieces randomly by color or in a pattern until you are happy with the look. Tie a few knots at the end of twine being sure that all the wood pieces are close together. Tip: Use a needle or tightly wrap a piece of painters tape around the end of the twine for easy threading.


This post was created in partnership with The Home Depot. The author may have received compensation for this article and associated images or video, potentially in the form of products and/or services. All expressed opinions and experiences are the author’s own words.


