DIY Custom Storage Unit

Last updated August 21, 2024

Sam is a full time psychologist with a passion for making and building things in her spare time. As a full blown weekend warrior, Sam's goal has always been to share fun and attainable woodworking, DIY, how to, and home improvement projects that can be completed with a busy work schedule!
A Note From The Home Depot
Looking to build a quick and easy custom storage unit to revamp your space? Follow along as Sam of DIY Huntress shows a step-by-step process on how she did hers in just a few days!
Table of Contents
Custom Storage Made Easy
Step 1: Build Bases
Step 2: Install Cabinets
Step 3: Create Cabinet Tops & Floating Shelves
Step 4: Hang the Shelves & Install the Tops
Step 5: Finishing Touches
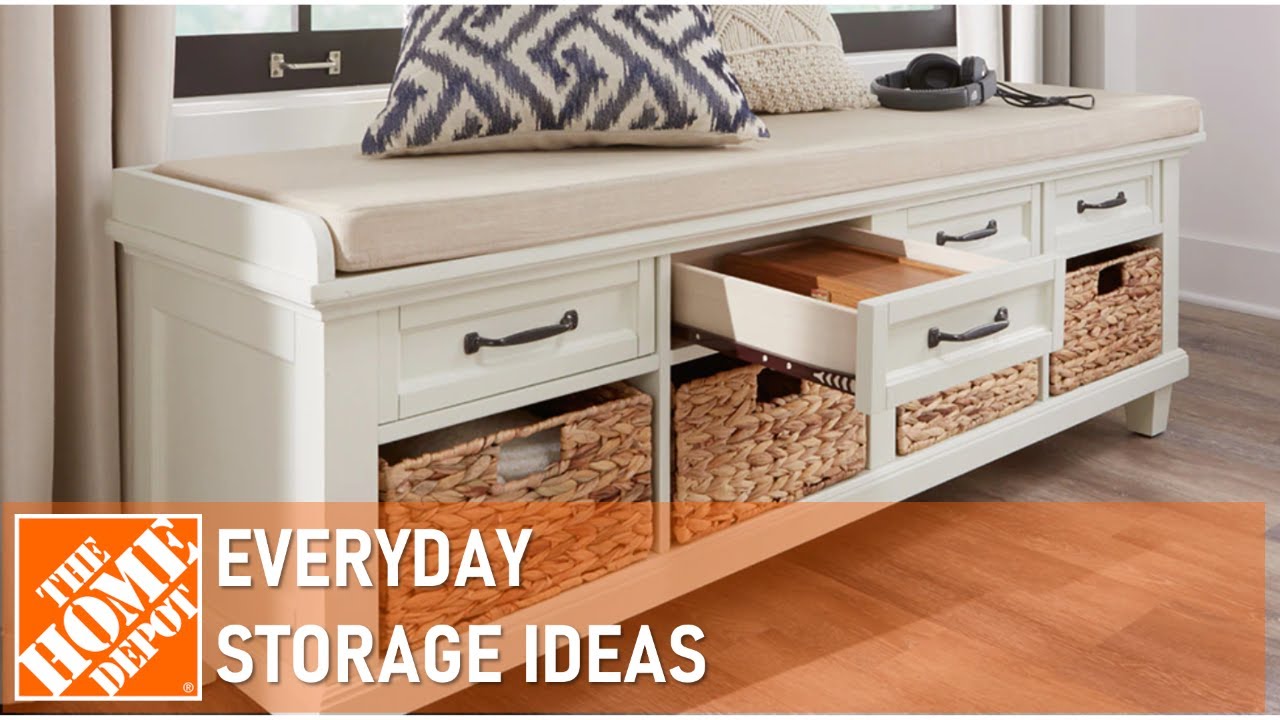
Custom Storage Made Easy

Creating custom storage doesn’t have to be complicated or time consuming. In fact, you can make a beautiful, custom new storage unit for any space in your home in just a few days of work by using pre-made kitchen cabinetry and a few sheets of plywood from The Home Depot. Here’s how!
Step 1: Build Bases

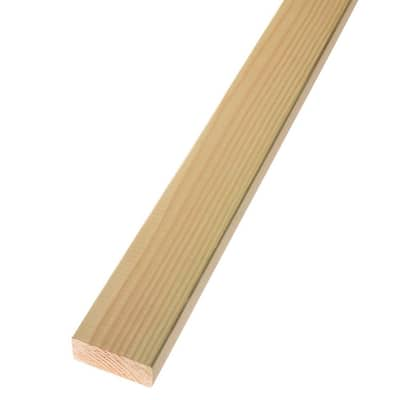
When using wall cabinets to build custom storage, you’ll want to build a custom base from 2x4 boards for the wall cabinets to sit on. This will give you space to open the doors, provide a base for leveling the cabinets and also serve as a backer for trim later in the process.

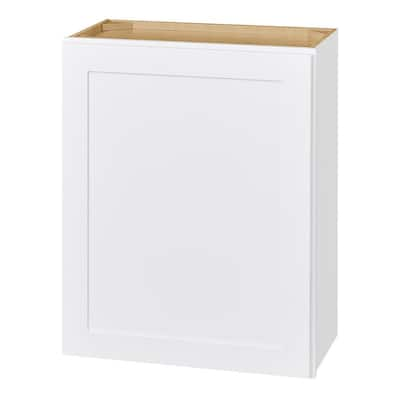
Step 2: Install Cabinets

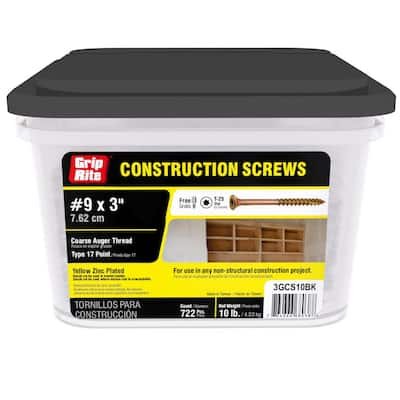
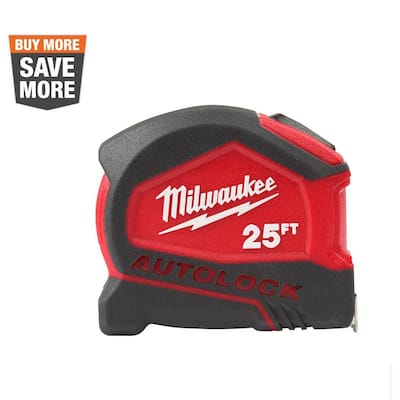
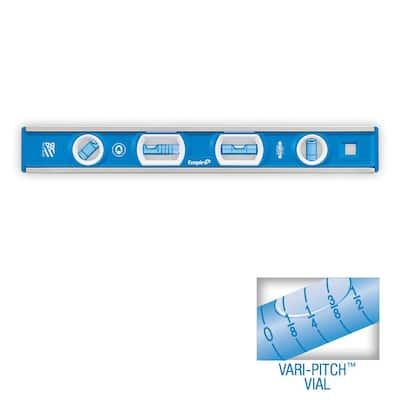
Install your wall cabinets to the bases and into the studs in the wall with wood screws. Use a level to make sure everything is straight. If you are using multiple wall cabinets, you can also screw them together in this step.
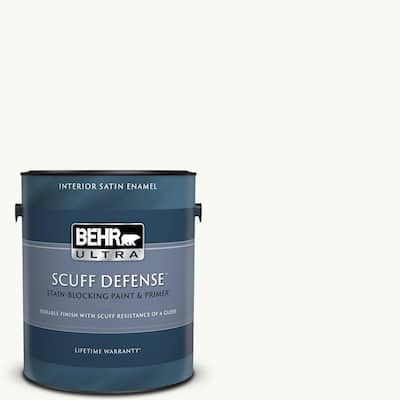
You may want to paint your cabinets in this step as well (it’s easier to paint them without the tops on).
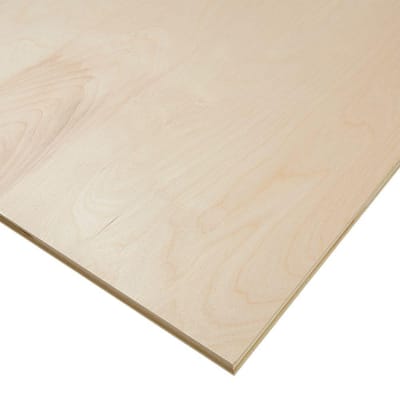
Step 3: Create Cabinet Tops & Floating Shelves

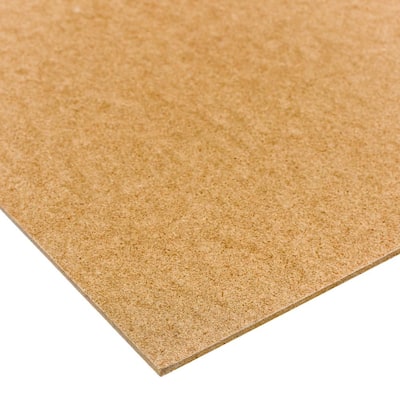
While the cabinets dry, cut ¾ inch sheets of plywood into your shelves and cabinet tops. These dimensions will be determined by the needs of your space.
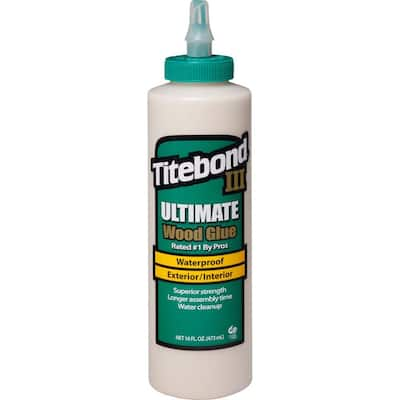
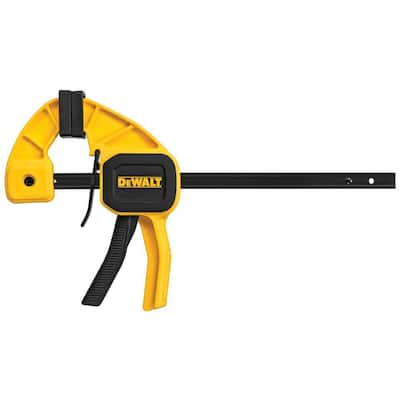
I opted to laminate two pieces of wood together to create chunkier 1 ½ inch thick shelves and tops for my project. This was done by gluing the boards together and clamping them in place (with the help of some weights I had around my house) and letting them dry overnight.

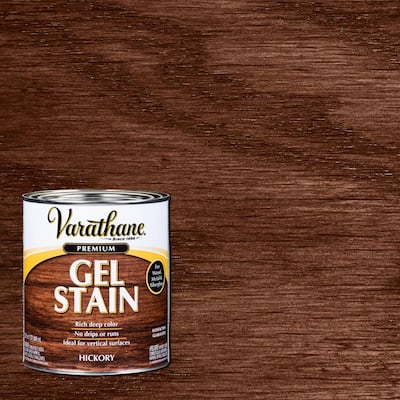
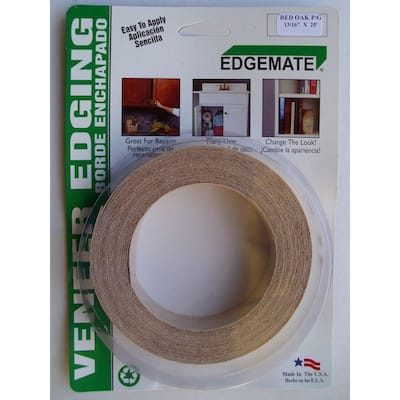
Quick tip: you can use edge banding on the edges of your shelves and then stain them to make them look like solid pieces of wood!
Step 4: Hang the Shelves & Install the Tops

To hang the shelves, I chose to use hidden floating shelf hardware! This required me to drill ½ inch wide holes into the back of each shelf before hanging (follow the instructions for your particular brand of floating shelf brackets for this part).

To install the cabinet tops, screw them in from under the wall cabinets. I chose to pre-drill oversized holes and then install them using screws and washers.
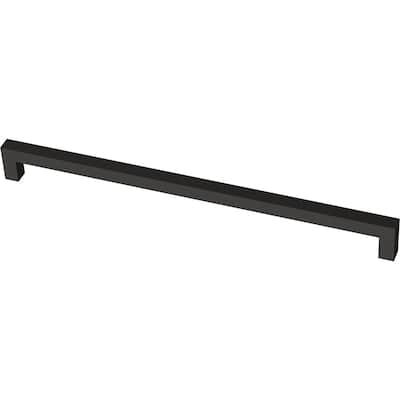
Step 5: Finishing Touches

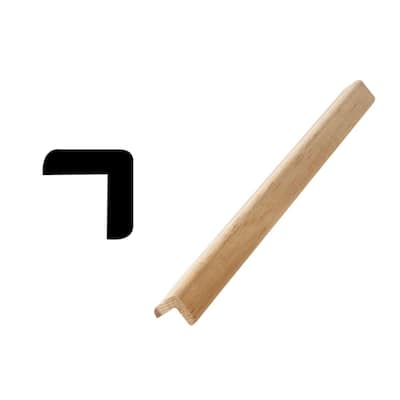
To give your built-ins a polished look, you can add finishing touches like cabinet pulls, trim boards, and finish trim.

And, after a few days of work you now have custom storage!

Looking for more easy DIY ideas that you can complete in one weekend? Follow me for more project ideas with The Home Depot!
This post was created in partnership with The Home Depot. The author may have received compensation for this article and associated images or video, potentially in the form of products and/or services. All expressed opinions and experiences are the author’s own words.