DIY Fall Mirror with Removable Vinyl

Last updated August 21, 2024

Andrew Boza & Dennis Setteducati or Crafty Lumberjacks, are New York-based DIY and crafting experts who are sure to add some fun to your projects with their unique and creative projects.
These former actors turned their crafting dreams to reality and now specialize in DIY projects, decorating inspiration, and the occasional vegan treat.
A Note From The Home Depot
Looking to give your home a little fall flair to get into the spirit for the seasons changing? Andrew and Dennis of Crafty Lumberjacks has you covered. This DIY Fall Mirror with removable vinyl is easy to do and a fun way to freshen up your space for any season! Keep reading to see how you can recreate this in your own space with the help of The Home Depot.
Table of Contents
Fall Mirror with Removable Vinyl
Step 1: Size Your Design
Step 2: Load Materials and Cut
Step 3: Unload and Weed
Step 4: Apply Transfer Tape
Step 5: Clean Your Mirror
Fall Mirror with Removable Vinyl

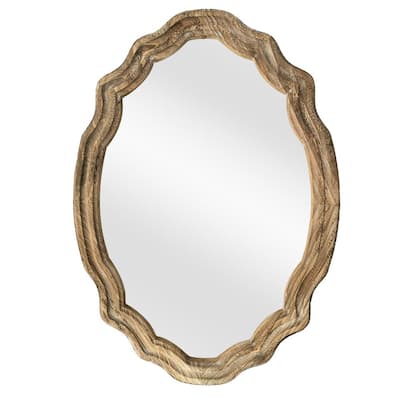
Fall comes and goes quickly and decorating for it can sometimes feel overwhelming. Welcome your guests with a fresh fall greeting in just a few easy steps. The Home Depot isn’t just for builders, it’s for creators, crafters, and DIYers of all skill levels. Use a Cricut cutting machine to cut out cozy autumn saying on vinyl and apply it to a mirror for an elegant pop of fall. This is a great way to get a chic fall feeling without taking up any extra space… and it’s easily removable!

Step 1: Size Your Design
Each Cricut machine comes with a web-based program called Cricut Design Space. You can access this program on your computer, smartphone, or tablet. In Design Space you can choose premade-designed projects or create and upload your own. When starting a project, measure your base material and resize the image to cut it out to fit perfectly. Find the “Hello Fall” image on Design Space, measure the inside of the mirror, and size the image accordingly.

Step 2: Load Materials and Cut
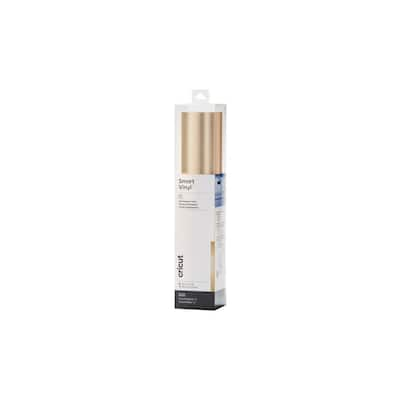
In Design Space choose Smart Vinyl material. Design Space will prompt you step-by-step through the cutting process. Feed the vinyl under the mat guides and against the machine rollers. Press the load button and the machine will check and measure making sure you’re working with enough vinyl. Press the go button and watch the machine do its magic.
*In this project we are working with Cricut Smart Vinyl, which is only compatible with Cricut Maker 3 and Cricut Explorer 3. If you have a different machine, choose Cricut Everyday Vinyl and load it using a mat.


Step 3: Unload and Weed
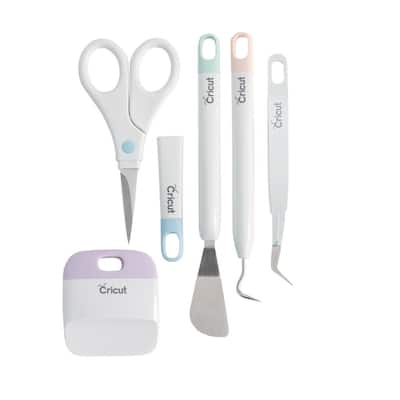
Weeding is a process of removing unwanted vinyl. When the cut is complete press the unload button. Place the vinyl on a flat surface and begin to weed out any unwanted pieces of vinyl using a Cricut weeding tool from the Cricut Basic Tool Set. Make sure you double-check your work before moving to the next step. Tip: Take your time with the weeding process, at first this can seem a little tricky, but the more you do it the easier it gets.


Step 4: Apply Transfer Tape
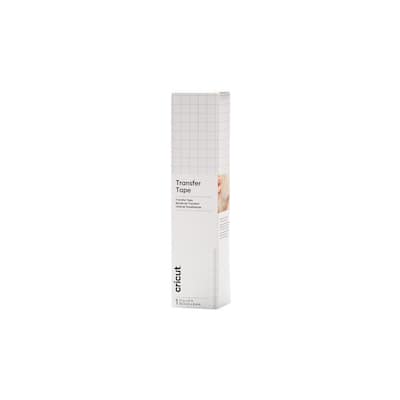
Cut a piece of transfer tape to the size of the image. Remove the backing from the transfer tape and carefully place the transfer tape on top of the design. Use the scraper tool to burnish the transfer tape onto design, flip the vinyl over and repeat on the back. Tip: It’s best to attach a small piece of the transfer tape first and press the rest down with your hand or the scraper tool.


Step 5: Clean Your Mirror
To successfully adhere the vinyl to the mirror, you must clean it first. Spray Windex or rubbing alcohol onto the mirror and wipe it clean with a lint-free cloth. Allow it to dry fully before applying the vinyl.

Step 6: Add the Vinyl Image to the Mirror
Peel off the vinyl liner leaving the vinyl image on the transfer tape. If any part of the vinyl image does not separate from the liner, use the scraper tool again to burnish the liner and continue to peel. Center the image on the mirror as best as you can and carefully lay the transfer tape flat on the mirror.


Step 7: Peel Transfer Tape Away from Design
Carefully press and smooth the vinyl on the mirror surface until the vinyl has completely adhered to the surface. Slowly remove the transfer tape at an acute angle revealing your design on your newly decorated mirror. Tip: Once the season is over, remove the vinyl using soap and water and cut a new festive saying for the holidays.


This post was created in partnership with The Home Depot. The author may have received compensation for this article and associated images or video, potentially in the form of products and/or services. All expressed opinions and experiences are the author’s own words.