DIY Farmhouse Kitchen Remodel

Last updated August 21, 2024

Sara first began her blog, Twelve on Main, as a creative outlet, prompted on a whim by her husband. Now, her main goal is to inspire and encourage others to DIY. She believes there is potential in everyone, and wants to show that it is possible to any project, whether simple or complex, in their homes.
A Note From The Home Depot
After renovating her kitchen ten years ago, Sara Syrett of Twelve on Main thought the dark backsplash and alder wood cabinets weighed the room down. Despite a tight budget and little help, Sara completed this cozy DIY farmhouse kitchen remodel to turn the room into the kitchen of her dreams in only two weeks.
Throughout her new kitchen, look for mixed metal appliances and hardware, an affordable subway-style backsplash and open shelving that tie this farmhouse look together.
Table of Contents
Kitchen Remodel Checklist
Removing the Current Backsplash
Installing the New Tile Backsplash
Painting the Cabinet Doors
Mixed Metal Hardware and Appliances
The Completed Farmhouse Kitchen Remodel

I am going to show you how I updated my kitchen, on a small budget by carefully choosing items and projects that would give the biggest bang for my buck.
If you find yourself wanting to give your kitchen an update, but feel that you cannot or don’t want to commit to spending thousands of dollars to do it, then I have some advice for you. There are key elements that will completely transform your space. Choose your battles.
The most obvious update would be kitchen cabinets. But there are a few other more inexpensive things that you can do to create a lovely space. Think outside the box here. Do you have a backsplash? I did, and I did not like it.
So, that was on my list.
Kitchen Remodel Checklist
- Paint Cabinets
- Add or change current backsplash
- Add new hardware to current cabinets
- Update lighting
- Change out kitchen sink faucet
- Do space planning, add or take away cabinets if needed. (This will completely change the space).
- New countertops
Now, most of us cannot do all of these things. Neither could I, nor did I want to. I still loved so many things about my kitchen. I loved my countertops, so they were staying. I hated my backsplash, so it was going bye bye.
Here is what I chose to do in my farmhouse kitchen remodel:
- Paint cabinets
- Install new backsplash
- Remove two wall cabinets, and replace with open shelves
- Update faucet
By choosing key elements in the room, you can strategically focus your efforts on things that will make the biggest impact. After deciding what projects I wanted to tackle, I made a supply list.
Removing the Current Backsplash


The first thing I did was tackle the backsplash. I had to remove the current tile, and with careful methods, I was able to save the majority of the drywall behind it.
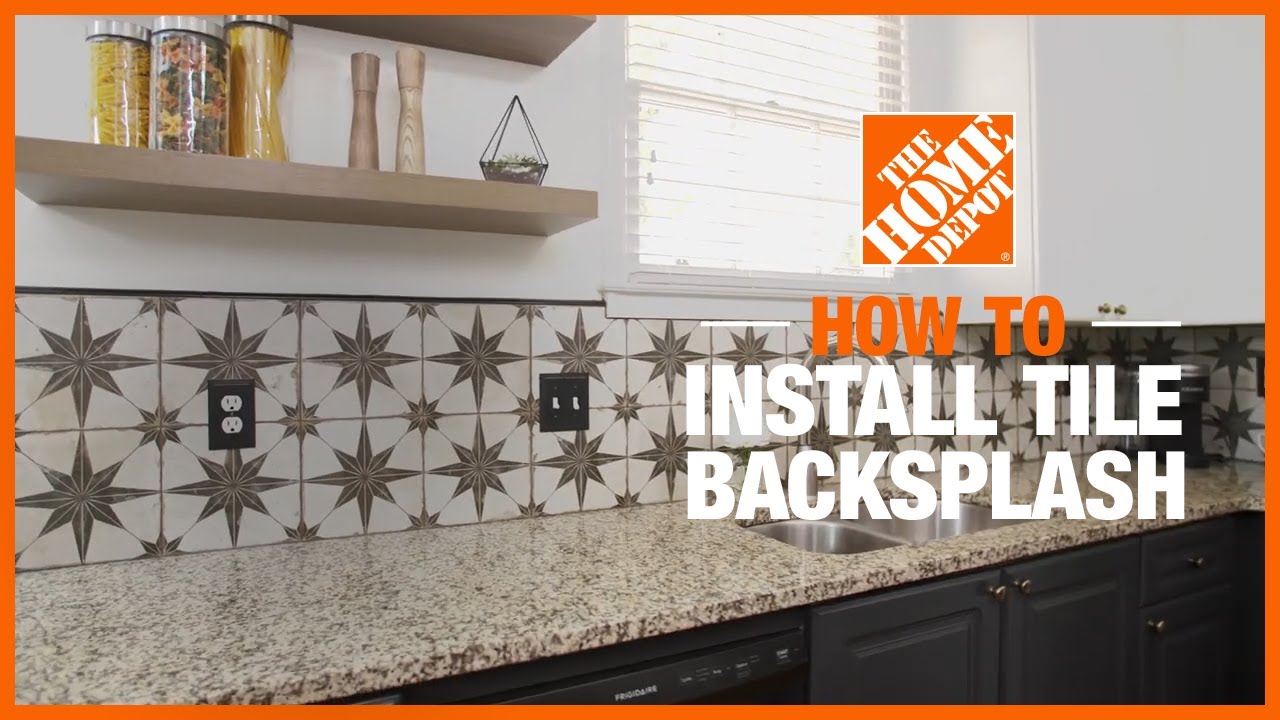
Installing the New Tile Backsplash

I chose to replace it with a 4 x 4 square in. white tile with a brick or subway tile pattern.
I took the tile all the way to the ceiling. I think this attention to detail makes a big difference between having a standard look and a more custom look.
Above, you see it mid-project.
As someone who loves subway tile, this was a big decision for me. I love the fact that this tile was super inexpensive and by using a “fancy” pattern, it completely changes the feel of the tile. I chose Delorean Grey grout to compliment the tile.
Painting the Cabinet Doors

My cabinets were the next thing I tackled. When deciding what color to paint them, take into consideration all the other aspects in the room such as tile, countertop colors, light fixtures, and cabinet pulls. Don’t work against it all, work with it.
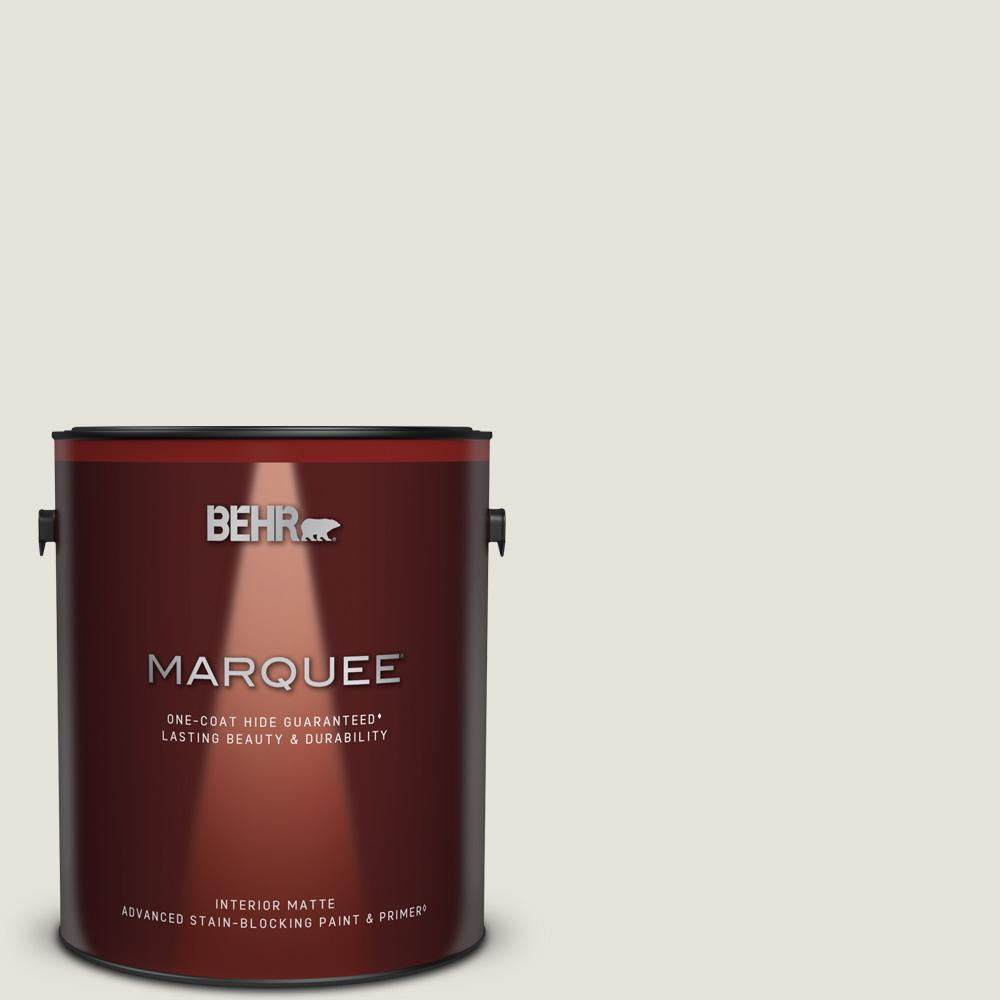
I chose Behr MARQUEE White paint for the wall cabinets . For the island, I decided to change it up and go with a real dark navy blue color, called Winter Way. I loved the way it looked with my grey island countertop and it surprisingly went really nice with the black countertops on the wall cabinets.
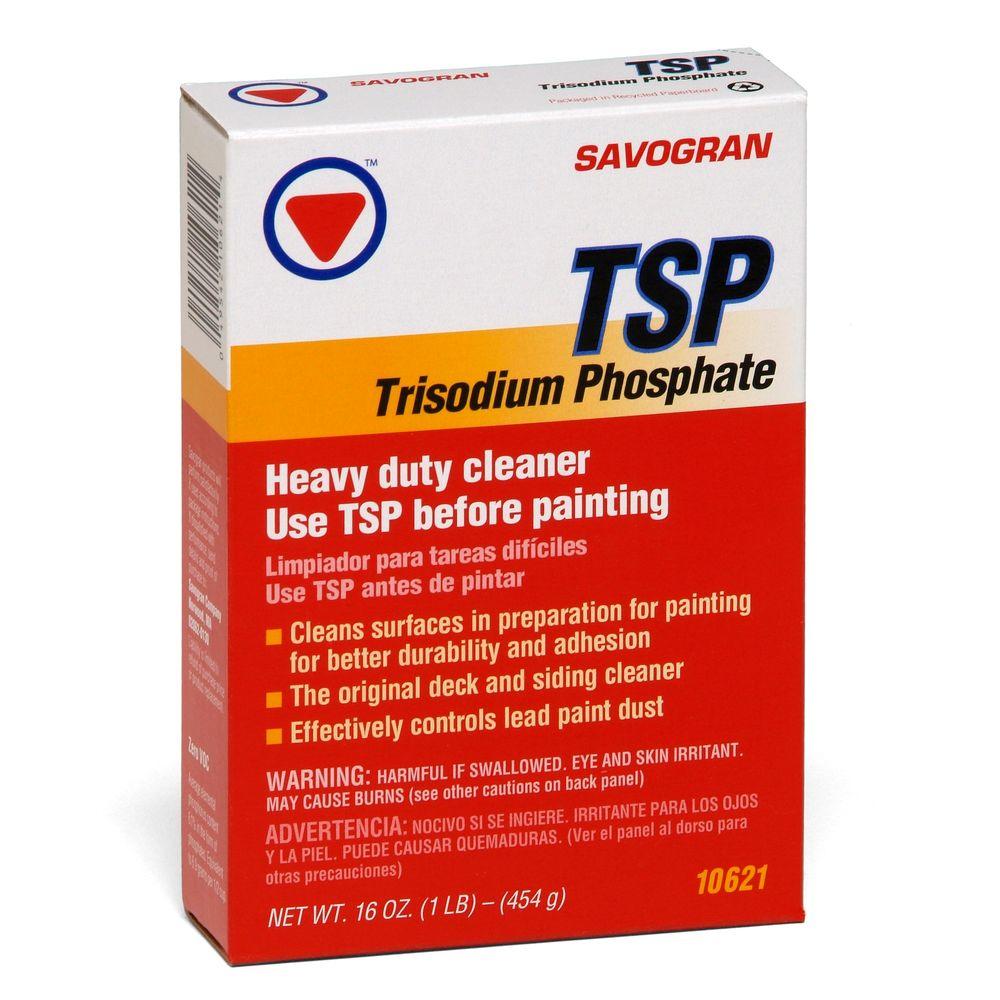
I removed all the cabinet doors, cleaned, sanded and de-glossed them, and then painted them all in my garage with a foam brush roller. I was going to spray them, but MARQUEE brand recommends not using an air powered sprayer, which is what I have.
The colors went great with my current cabinet pulls. I debated whether I should get new ones, but sometimes, by picking the correct colors, it can completely change the look of them. That’s exactly what happened here. I thought they looked too outdated and rustic for the space, but against the white and blue, the copper undertone stood out. This is where the next choice came into play.
Mixed Metal Hardware and Appliances

This copper faucet by Danze was the hardest decision I had to make and the best one, too. The shape is so timeless and classic. I love that the bridge style faucets are really popular right now.

Now, I mentioned that I was going to take two cabinets down. I really wanted some open shelving. After all, that is what farmhouse style is all about. I decided to remove the cabinets on either sides of my range. And I know what you are saying, of course the kitchen will look good with a range like that. Well, this was my big splurge when we built our home. I knew that if I didn’t do it then, I would never do it, and so I designed the space around it. So, yes, I did have some great bones to start with.
By doing a little space planning and organizing, I was able to take two cabinets down without losing any storage space. One cabinet held my spices, and the other held our microwave. Both were simple to rehome.
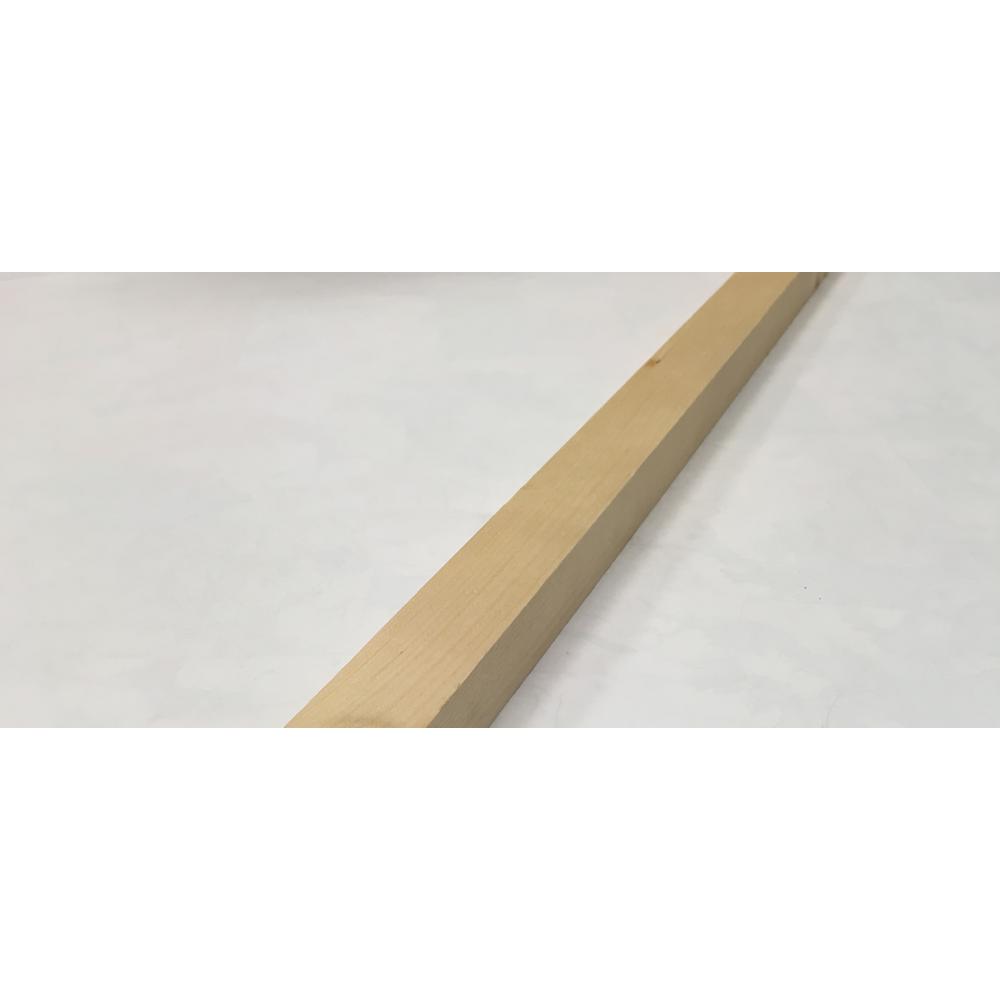
Once the tile was installed and grouted, we installed the shelves. We created brackets with the 2 x 2 in. wood boards. We made sure to install them with drywall anchors and used a masonry drill bit to drill through the tile without breaking it.
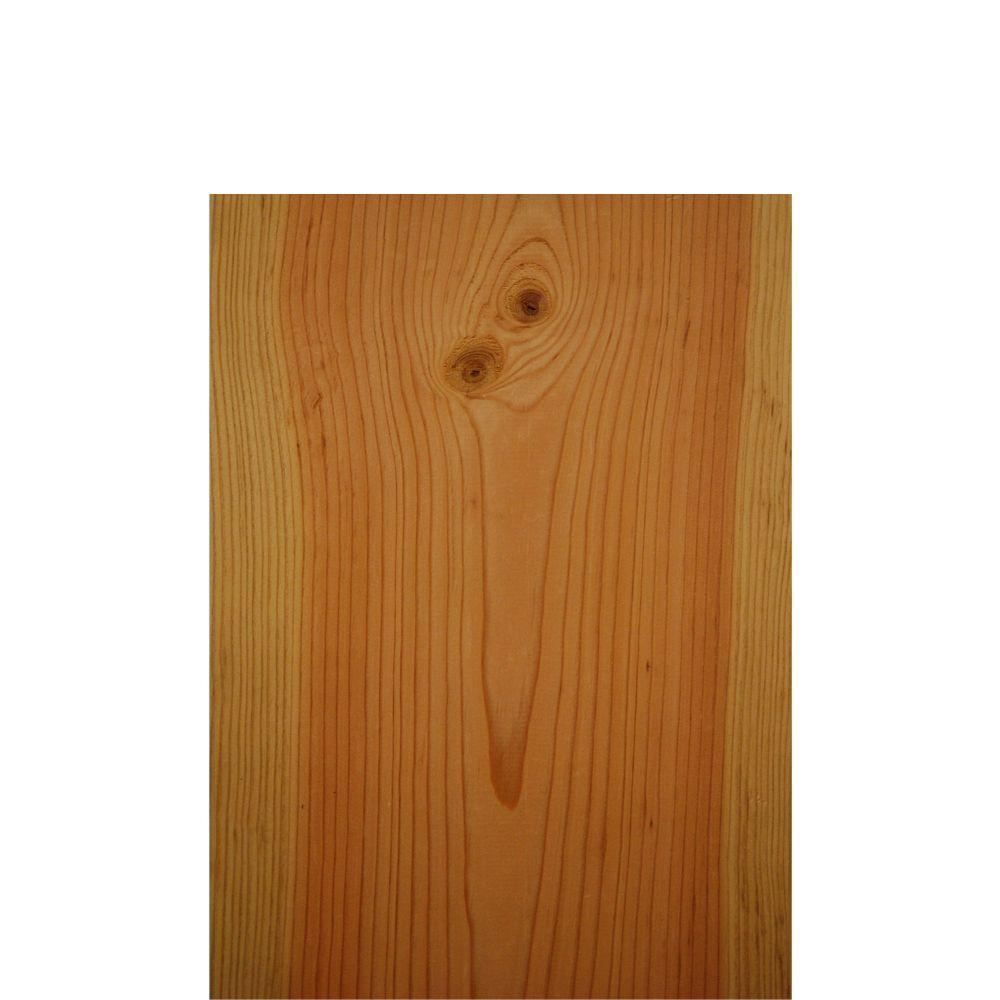
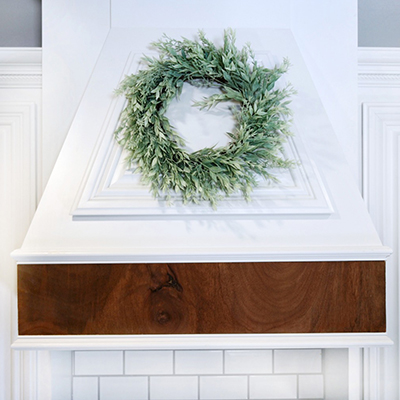
I painted the brackets white and stained the shelves.
Once the shelves were in, I had the ultimate pleasure of displaying all those lovely pieces that have been hiding away in cabinets.
The Completed Farmhouse Kitchen Remodel


This project took me two weeks to complete. And I like to think that the results are pretty spot on with what I wanted.


I have to give myself a little pat on the back, since I told my hubby he did not need to help me, since I am the crazy one that wanted to do the farmhouse kitchen remodel. And other than one very hard to reach area, I, my little old self, did it all. So, if you think you are not good enough to do it, think again. If you put your mind to it, you can. I am proof. I am so completely thrilled with the results!
Let’s have a few more looks at it…


I feel incredibly grateful to be able to share this here on The Home Depot Blog. To say that I am a fan of The Home Depot is an understatement. I think most associates at my local store know me by name.
Follow our Kitchen Ideas and Inspiration board on Pinterest to get inspired for your next project.
This post was created in partnership with The Home Depot. The author may have received compensation for this article and associated images or video, potentially in the form of products and/or services. All expressed opinions and experiences are the author’s own words.