DIY Flocked Wreath
Last updated August 21, 2024

Ashleigh is a YouTube content creator whose journey began in September 2017.
She started this creative outlet to express her love for all things DIY, including furniture refinishing and home decorating. Ashleigh is originally from Columbia, SC, currently living in Georgia with her husband, two baby girls, and two dogs. She enjoys being able to share her creativity to inspire others to create budget-friendly DIY's while incorporating her fun and easy to follow step-by-step instructions. You can see more of her work over on her YT channel Ashleigh Lauren and Instagram @_ashleighlaurn.
A Note From The Home Depot
If you’ve been looking for perfectly chic holiday decor, this project is for you! Take a quick trip to The Home Depot for supplies, and keep reading to see how Ashleigh Boyd from Ashleigh Lauren created a simple yet gorgeous piece that you can DIY and add to your home this season!
Table of Contents
DIY Flocked Wreath
DIY Flocked Wreath
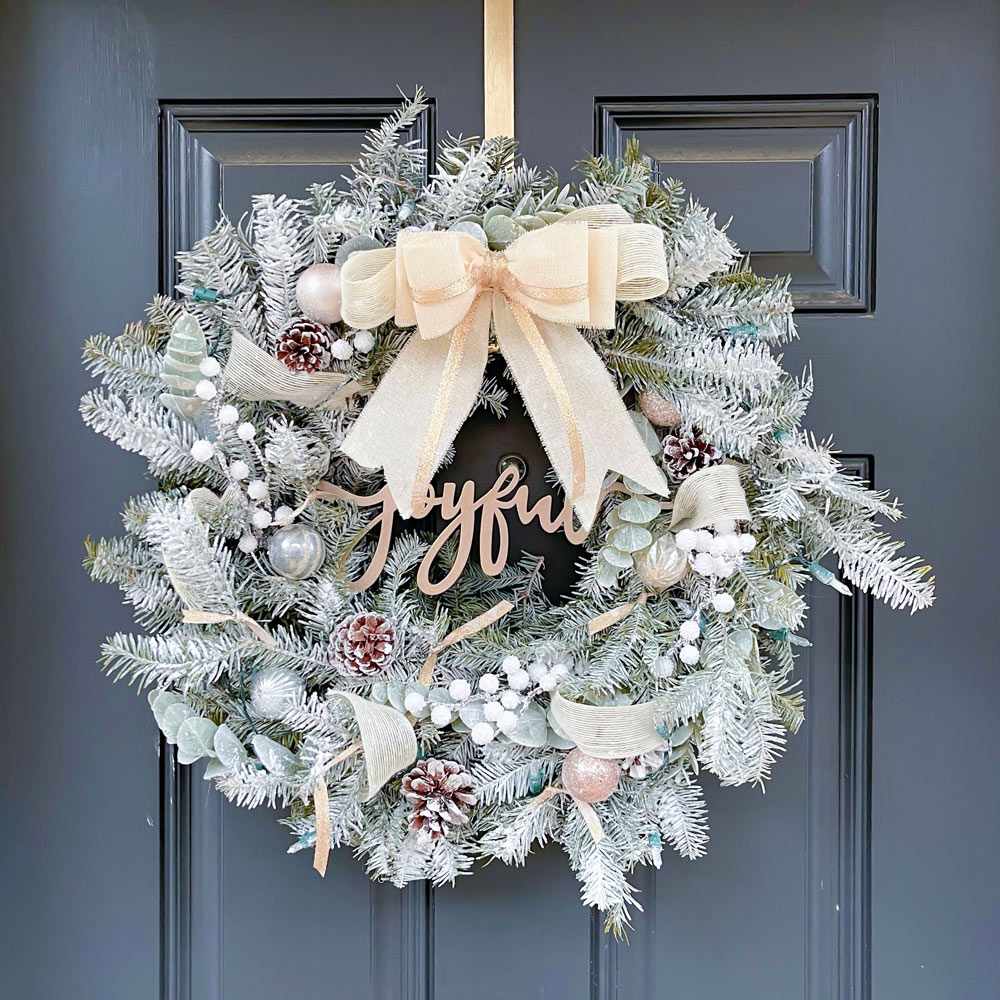
Quick and easy DIY alert! I'm so excited to share how to create a flocked wreath because it's easier than you think. The first thing you will want to do is find that perfect wreath. I opt to get a fresh-cut wreath, but you can also do this with an artificial one.
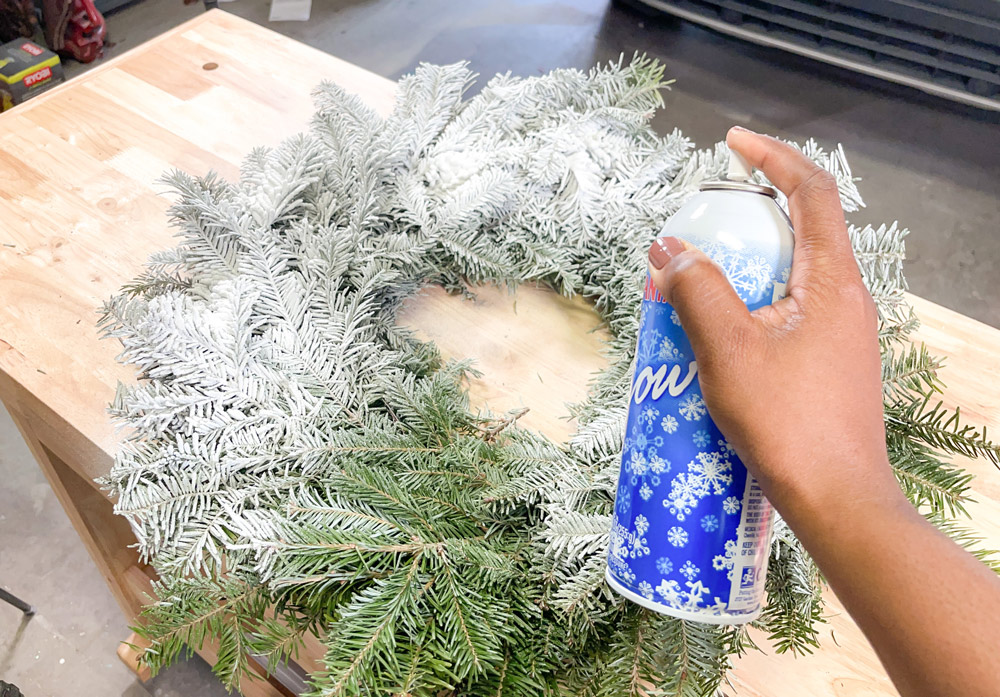
The next step is to flock your wreath. I used two cans of Santa Snow to get this done. One can do the trick, but I got two for more volume. You can also use another type of flock, powder snow flock, to add as well.
After I flocked my wreath, I added some eucalyptus floral around it to add more dimension and texture. Not to mention, I love to use eucalyptus whenever I can.
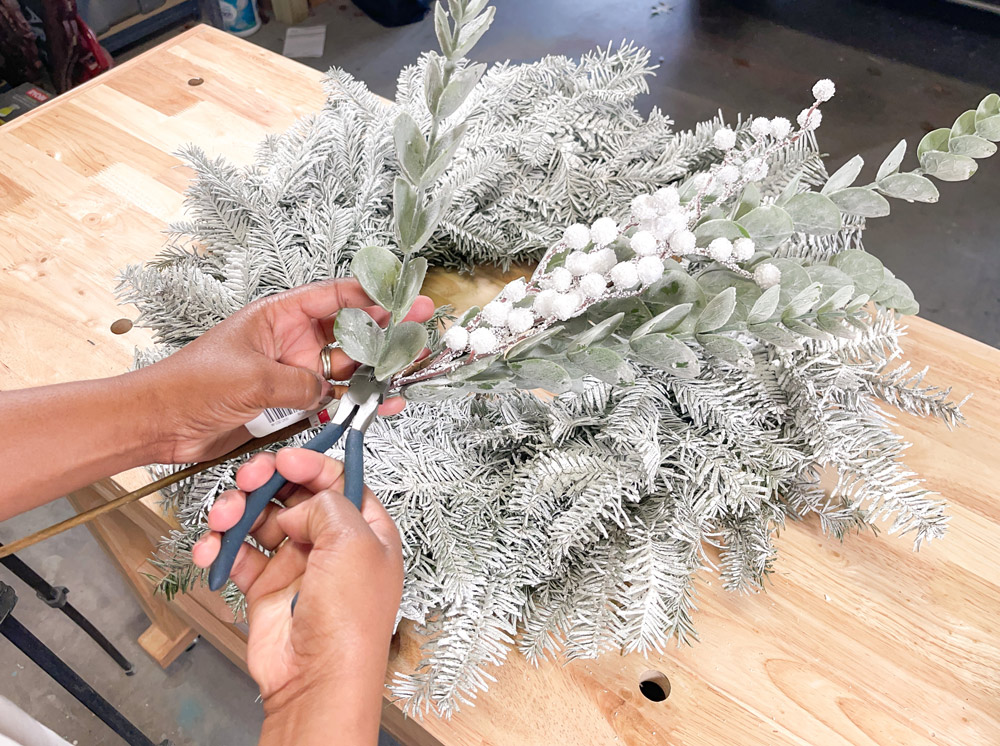
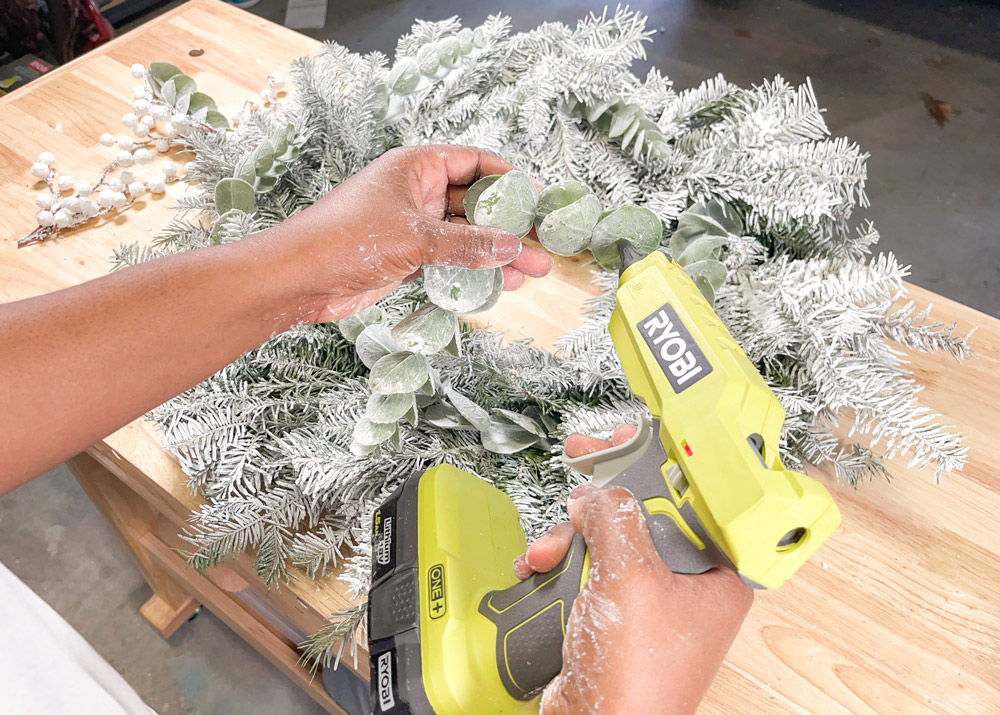
To attach them, I used my glue gun. I first cut each piece of the stem using my floral cutters, then I arranged them how I wanted before actually attaching them.
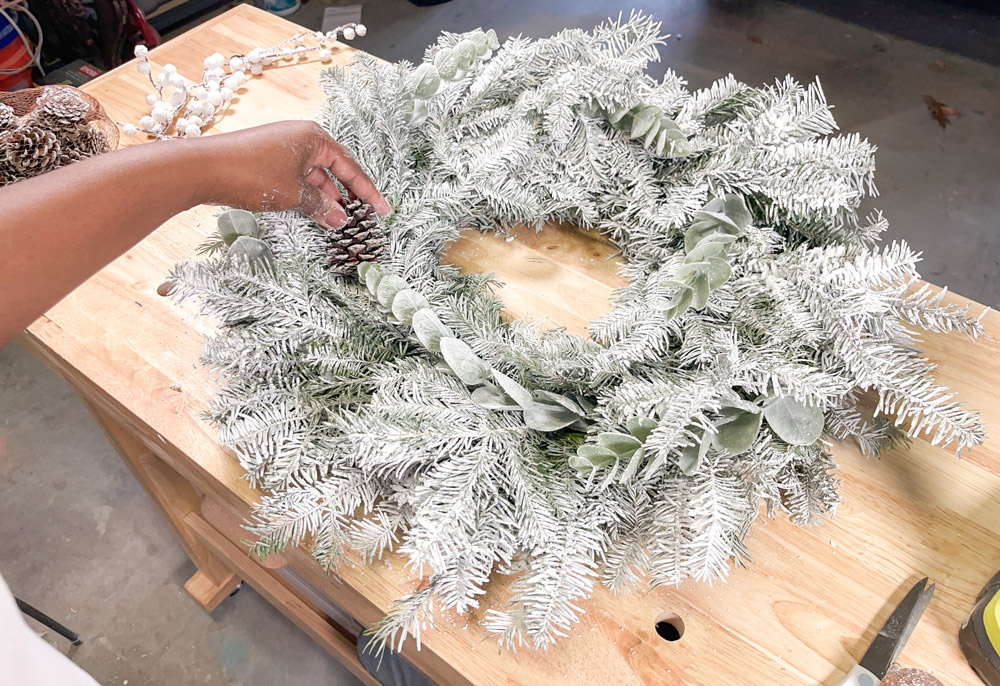
Next, I added some pinecones with my glue gun. You can paint your pine cones white if you have plain ones and spray them with some Santa Snow!
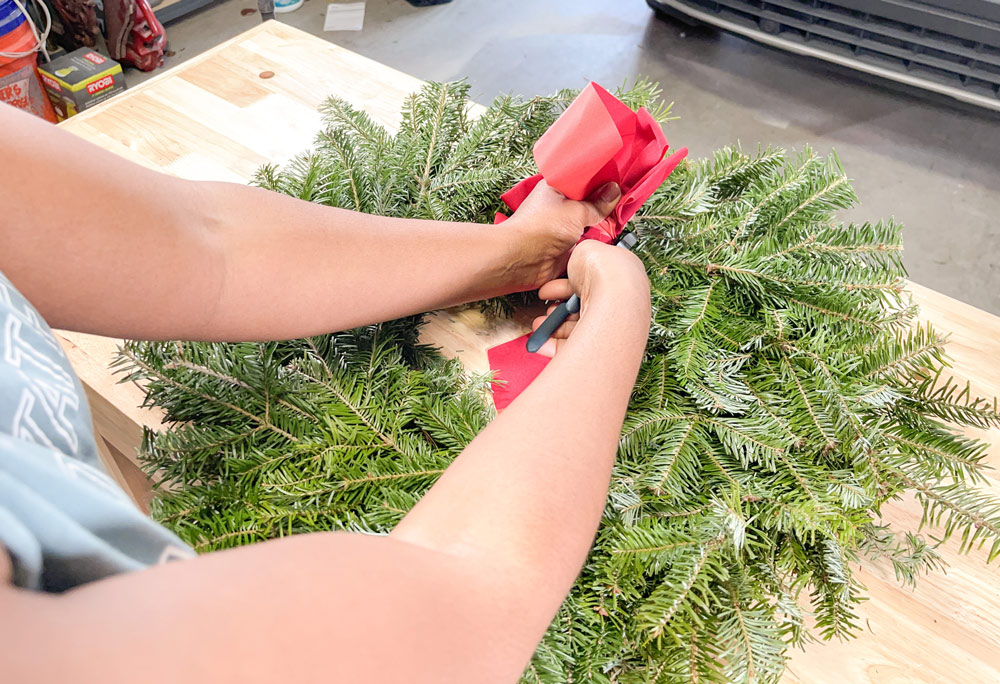
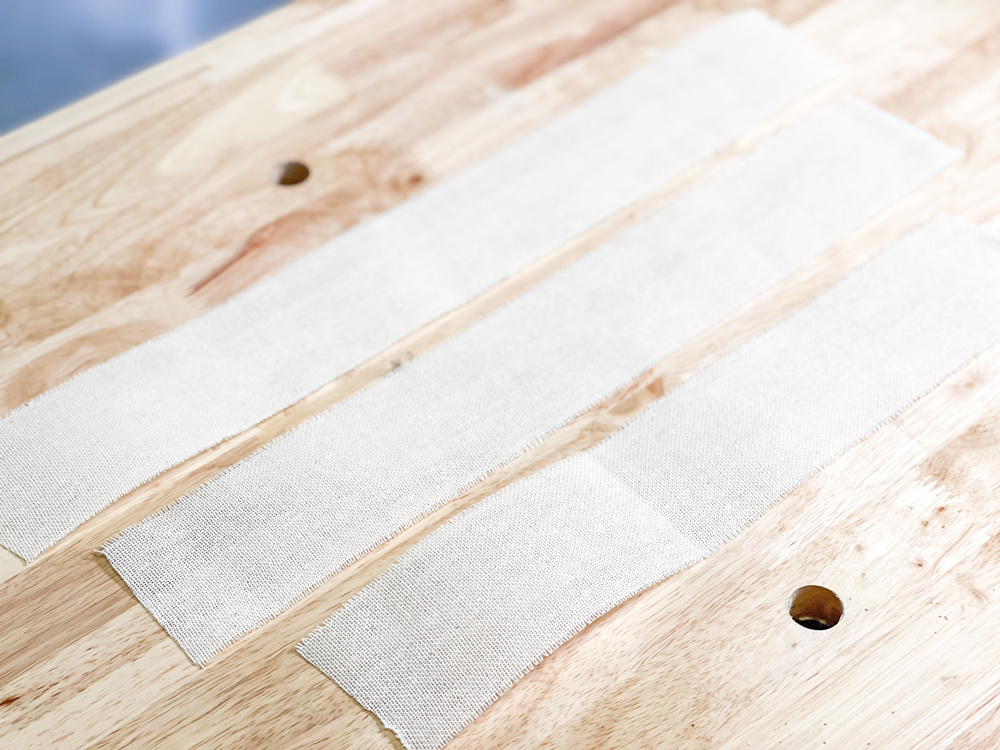
Moving along, I decided to add a bow, of course, to the top of my wreath. I'm going to share the easiest way to create a bow. The first thing you will want to do is cut out three strips—one long, one medium, and one short in length. The ribbon I used for this is the 2.5-inch burlap ribbon.
After you cut the strips, you will glue the small- and medium-size strips using a glue gun. You will be creating a circle shape and gluing each end together.
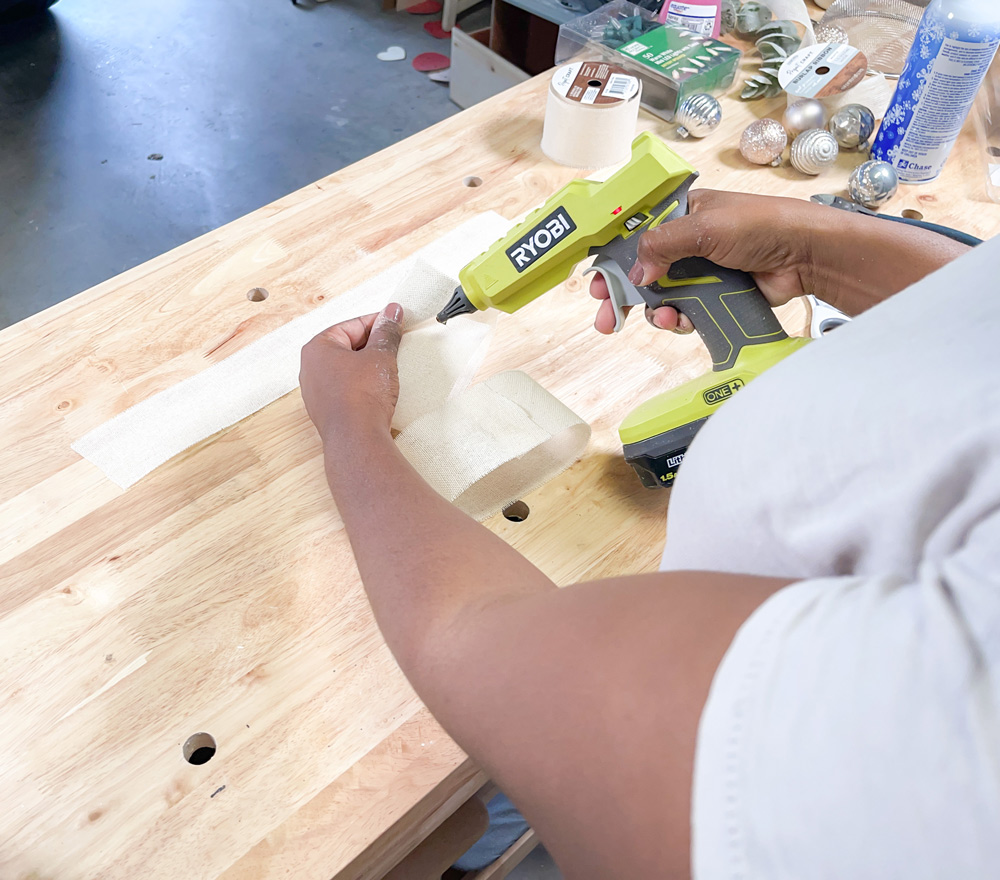
When you finish gluing the two pieces, the next thing is to scrunch them together in the middle.
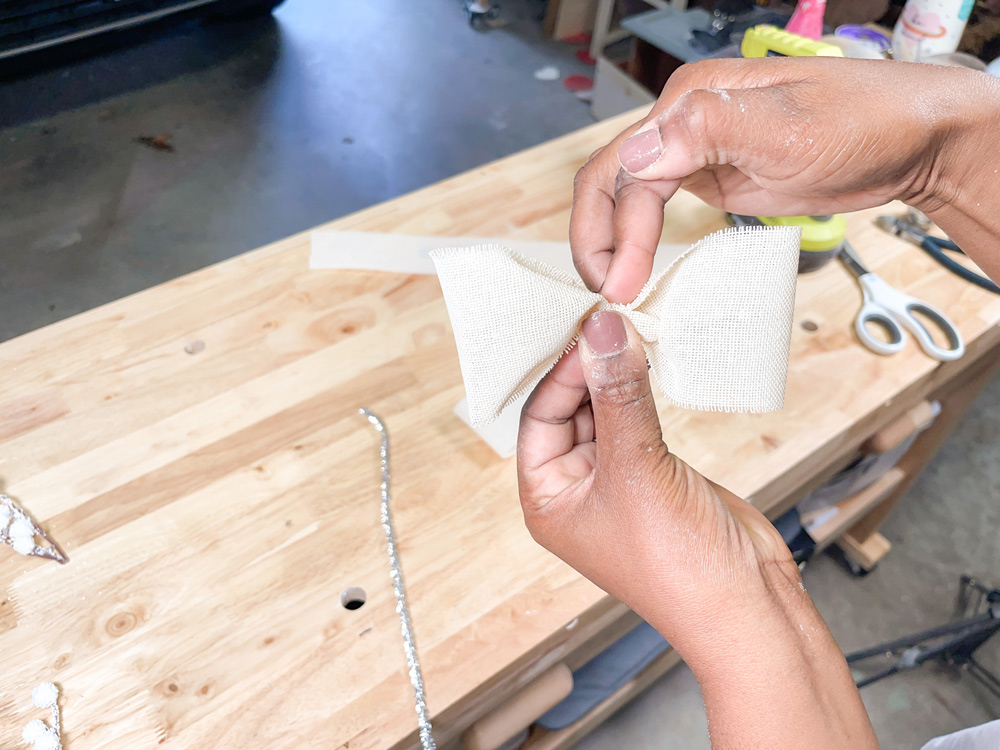
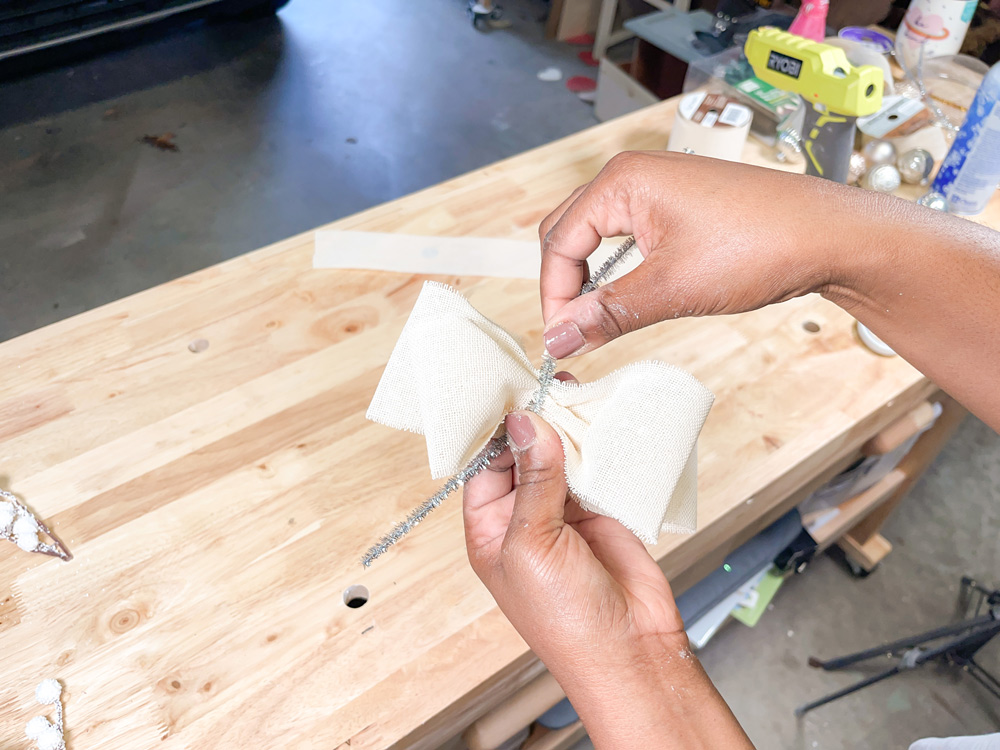
I then use a pipe cleaner to attach my smaller bow to my medium-sized bow with the smaller one on top. You can also use floral wire.
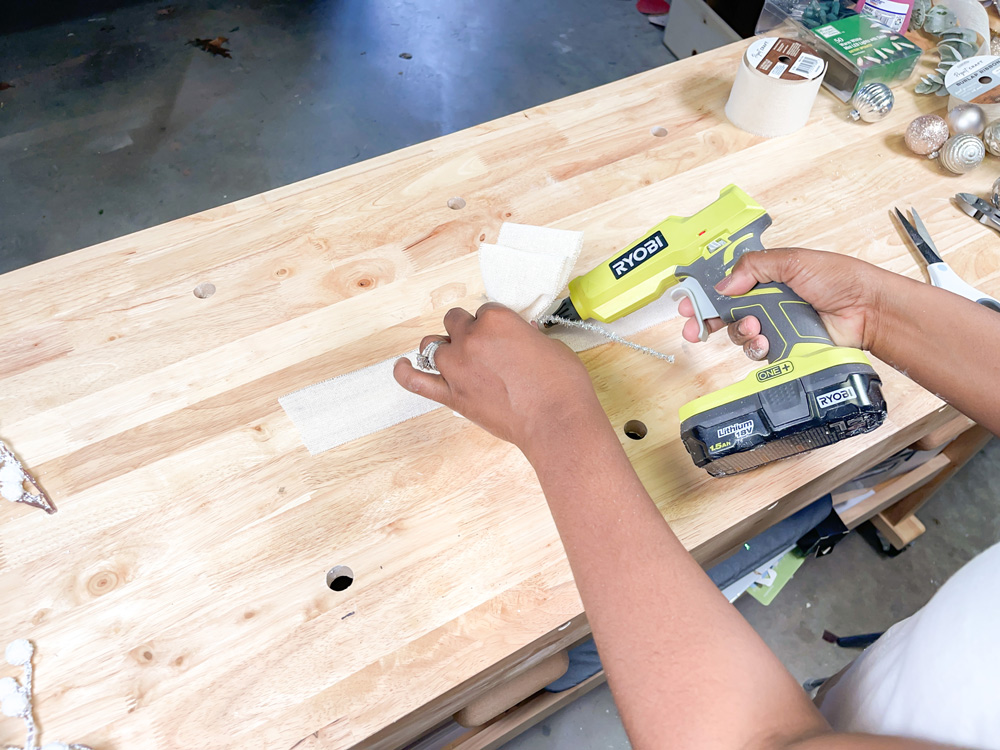
After that, I glue my bow to the longest strip using my hot glue.
Once glued, you will have your bow tail, and I cut dovetails on the bottom. To do this, all you will need to do is fold your strip hotdog style and cut up diagonally.
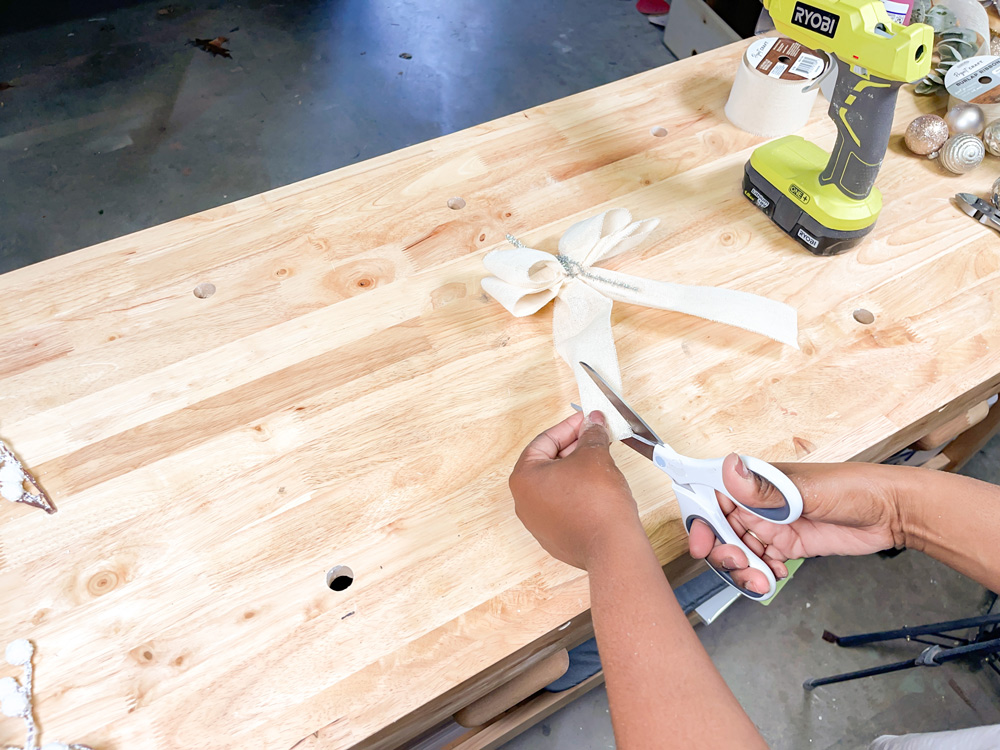
To spice up my ribbon a little more, I added a smaller gold ribbon to my center to hide the pipe cleaner and my tail and smaller bow.
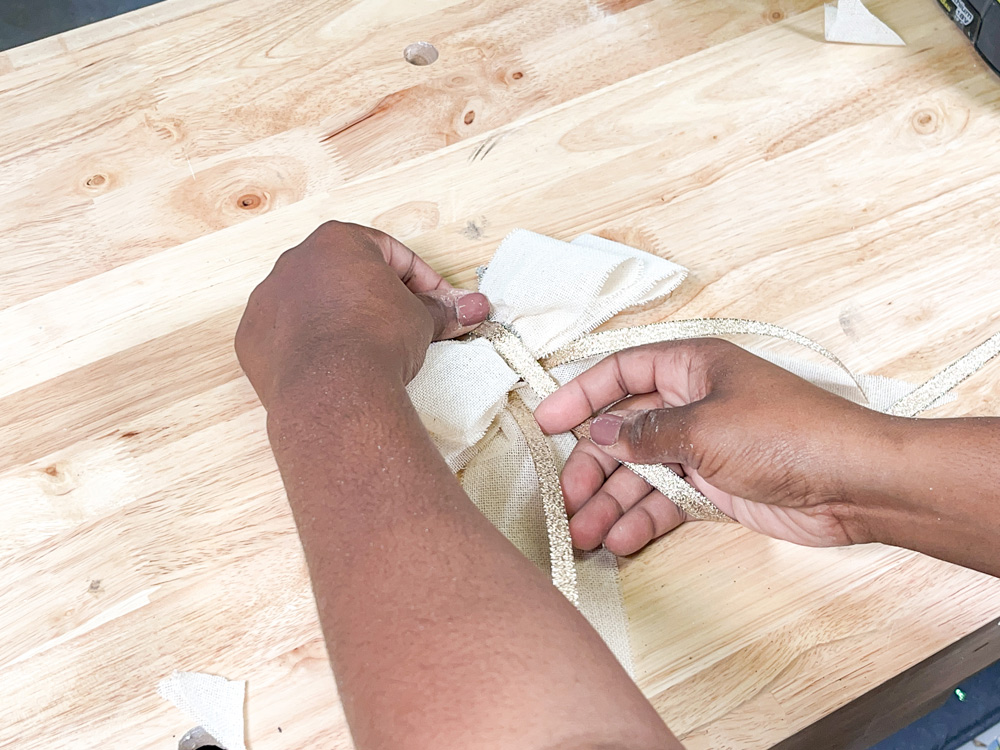
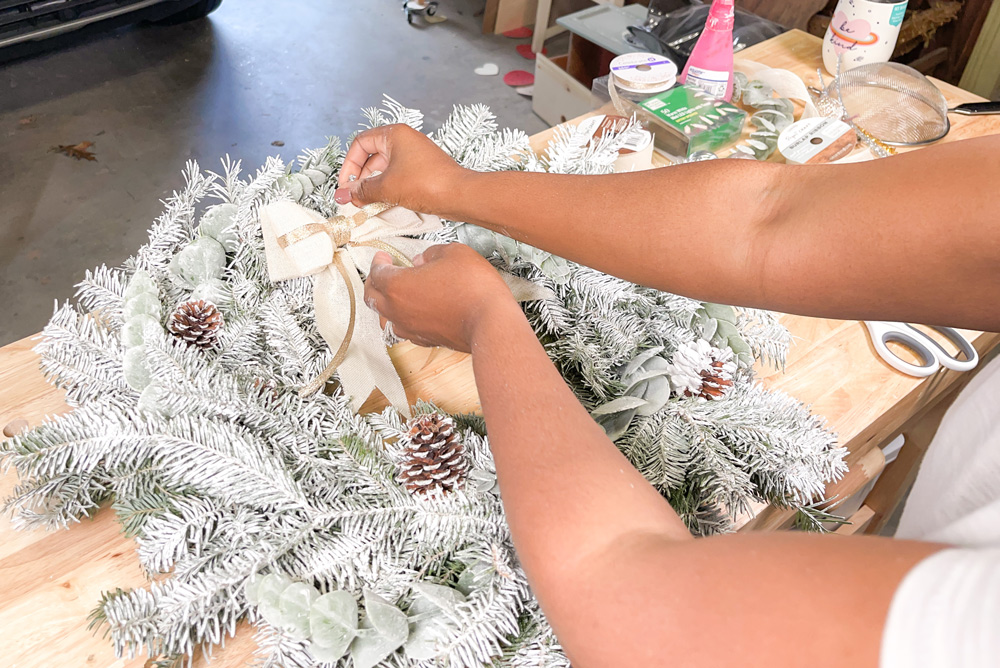
After, I attach my bow to the top of my wreath using the remainder of the pipe cleaner and cut off the excess.
I added more decor around my wreath, starting with miniature ornaments attaching them with my glue gun. I also added more ribbon around the wreath.
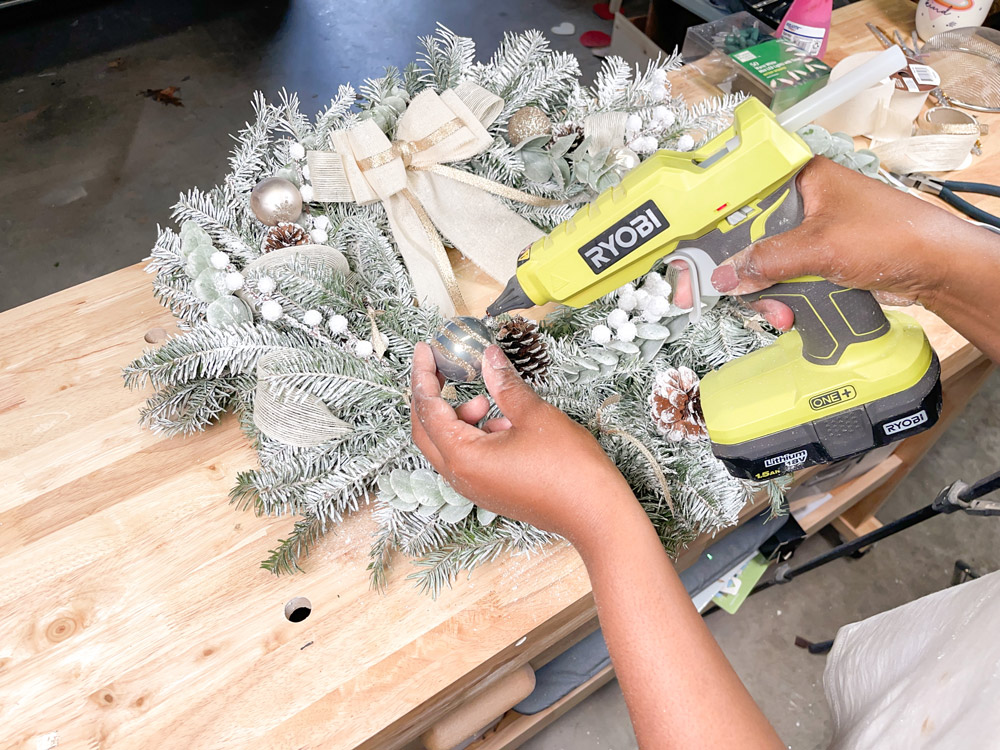
Lastly, I added battery-operated timed LED lights around my wreath. I also added some more flocking for more volume. You can choose to use multi-colored lights or cool or warm white LED lights. I chose warm white, which is my absolute favorite.
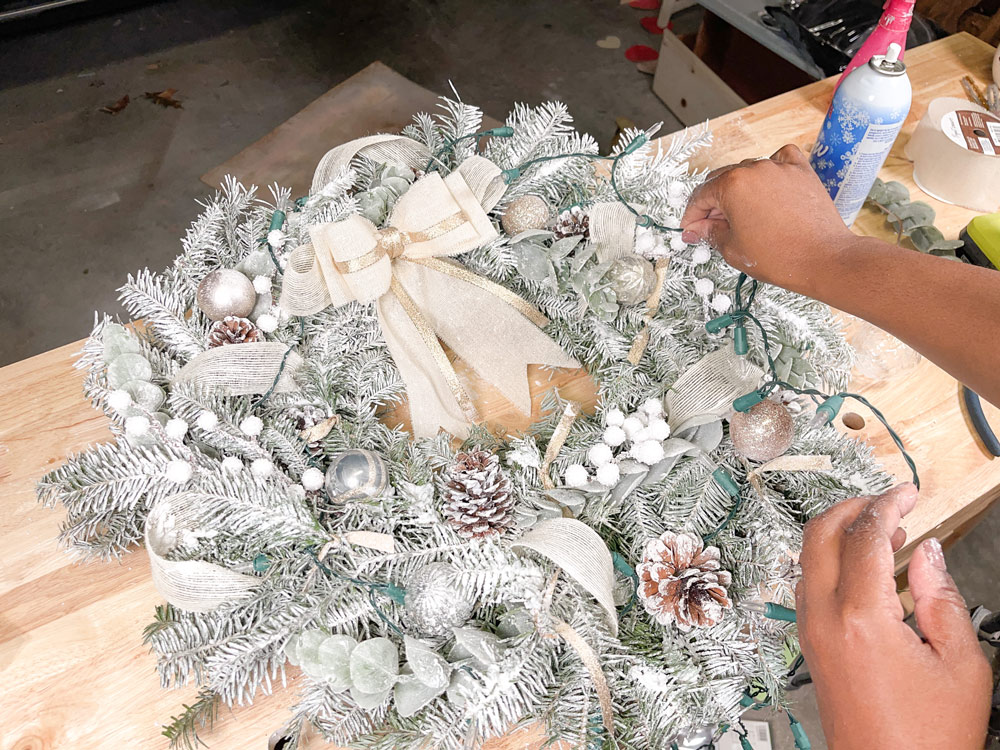
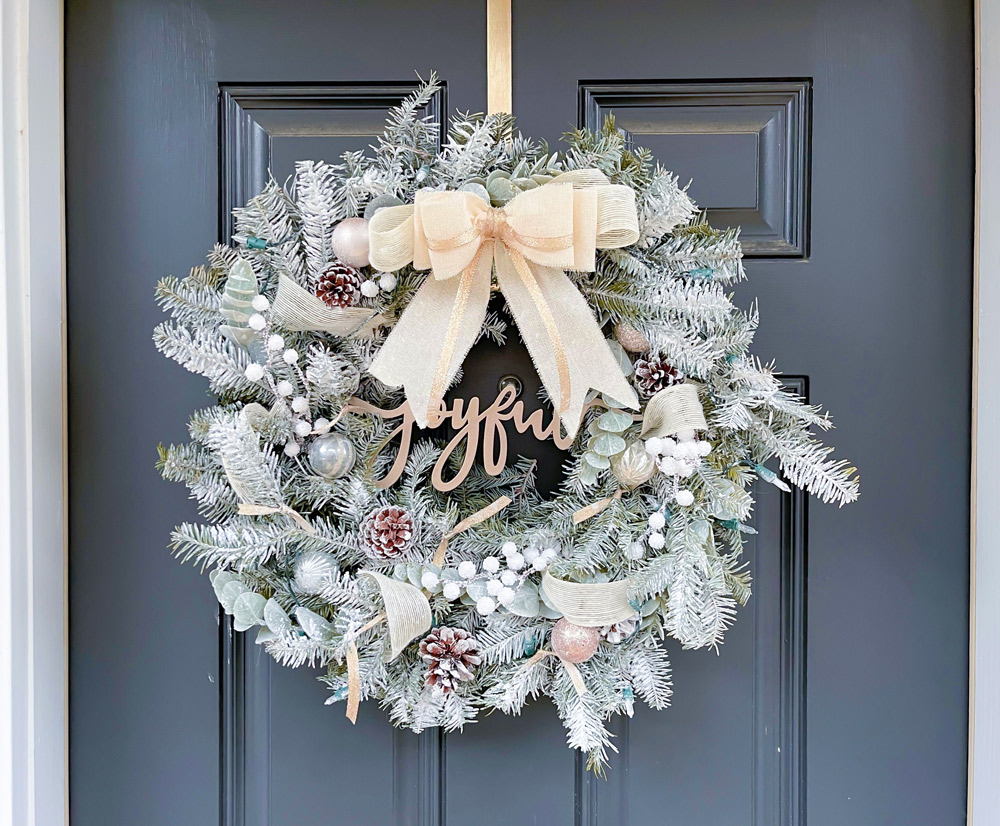
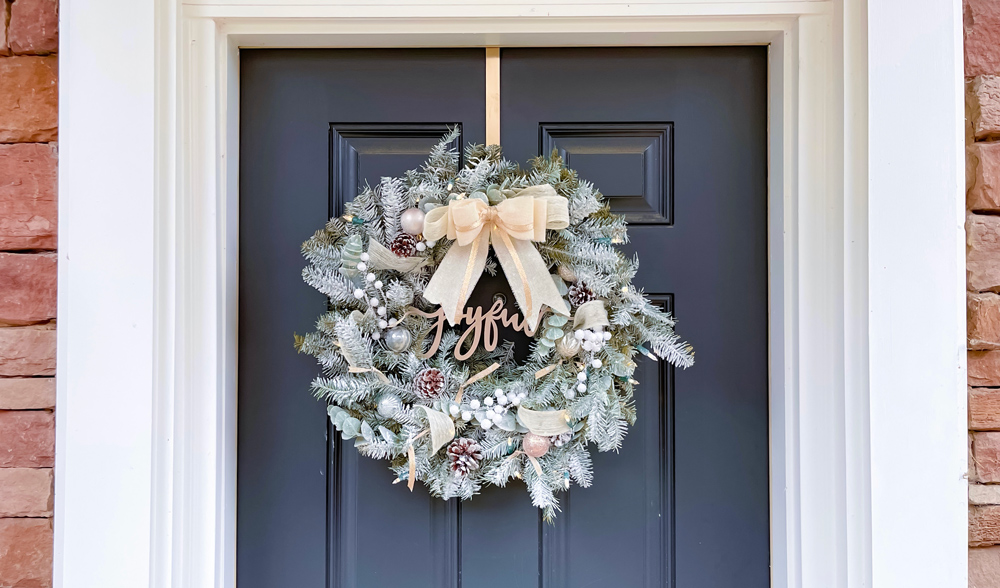
And that's it - you will have a great flocked and styled tree to add to your front door, window, or anywhere else you choose! I love how this turned out, and it was fun to create and super easy to do. I hope you enjoyed this project too!
This post was created in partnership with The Home Depot. The author may have received compensation for this article and associated images or video, potentially in the form of products and/or services. All expressed opinions and experiences are the author’s own words.


