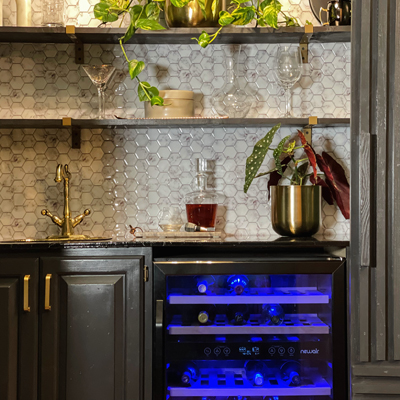
DIY Fold-Down Wall Table (+ Bar)

Published November 16, 2023

Sam is a full time psychologist with a passion for making and building things in her spare time. As a full blown weekend warrior, Sam's goal has always been to share fun and attainable woodworking, DIY, how to, and home improvement projects that can be completed with a busy work schedule!
A Note From The Home Depot
Prepare for the upcoming season with a new fold-down wall table! Follow along as Sam of DIY Huntress shows how she created this practical and decorative table in a weekend.
Table of Contents
DIY Fold-Down Wall Table (+ Bar)
1. Build Your Frame
2. Add Shelving
3. Cut Front Panel + Tabletop
4. Get Creative!
5. Hang Cabinet
DIY Fold-Down Wall Table (+ Bar)

Want to entertain guests for the holiday, but are short on space? I’ve got you covered with this super easy DIY fold-down wall table with storage! You can make magic happen in your home this holiday season in just ONE weekend with some supplies from The Home Depot! Ready to get started?
1. Build Your Frame

First step is to create a frame for your art piece (this will also become the cabinet shell for your table as well). You want the art piece to sit inside of the cabinet so this will be made with 1x6 boards. I cut mine to the following dimensions:
(1) Top at 24 ½ inches
(1) Bottom at 24 ½ inches
(2) Sides at 38 inches
Attach these together with pocket holes and wood glue through the top and bottom pieces. You can use a pocket hole plug to hide the openings before sanding.
2. Add Shelving

Next, add shelving using 1x4 pieces. These measurements will be made depending on where you want to place your shelves and what you’d like to store on them! These can be added using pocket hole screws and wood glue.
You’ll also want to add 1x2 boards to the top and the bottom of the cabinet box during this step as well to work as supports for hanging the cabinet later.
3. Cut Front Panel + Tabletop

Next, cut your two project panels to 36 inches tall. These will be your front board/table leg and tabletop.
4. Get Creative!

Now, it’s time to have some fun! Add some artwork to your front panel. I chose to do this with joint compound and paint! I just spread the compound all over the panel, added a swirling design with a comb and then painted it once it dried.

Pro Tip: Save some time and add wood finish or stain to your cabinet box while the joint compound dries!
5. Hang Cabinet

Once everything is dried, hang your cabinet box by drilling through the 1x2 boards and into the studs in your wall (it’s easier to do this before installing the panels).
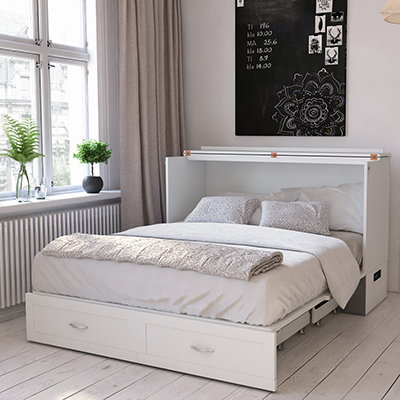
6. Install Panels

Once the cabinet is installed on the wall, attach the tabletop to the frame first (the hinges will sit on the bottom of the front panel and bottom shelf) and then install the front panel to the tabletop with hinges (the hinges will be installed to the top of the front panel and the back of the front panel).
7. Final Touches

Now, break out those holiday decorations. Because after one weekend of work, you’re ready to entertain for the holidays!


Looking for more easy DIY ideas that you can complete in one weekend? Follow me for more project ideas with The Home Depot!
This post was created in partnership with The Home Depot. The author may have received compensation for this article and associated images or video, potentially in the form of products and/or services. All expressed opinions and experiences are the author’s own words.