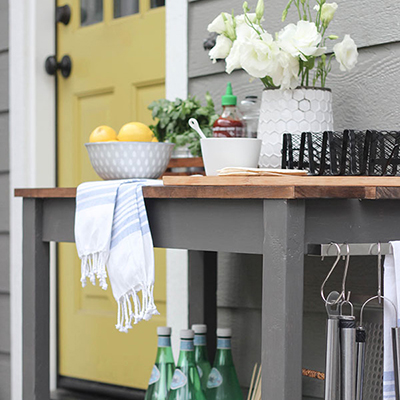
DIY Grill Cart

Last updated August 21, 2024

Ben Uyeda is a designer, lecturer, and entrepreneur focusing on the field of affordable and sustainable design. Ben is the co-founder and design director of FreeGreen.com, as well as a visiting Lecturer at Northeastern University.
A Note From The Home Depot
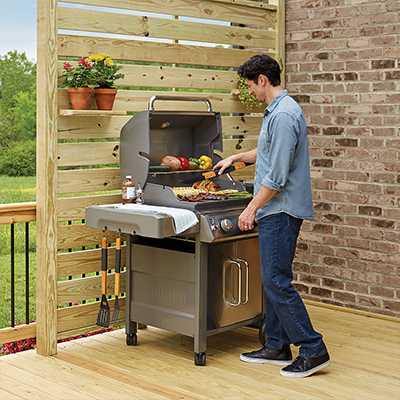
This DIY grilling cart was created by Ben Uyeda, the designer behind the popular website HomeMade Modern. This wheeled cart is a handy way to store grilling supplies, and the butcher block top provides extra prep space that you can wheel right up to your grill.
To make your own wheeled grilling cart, just follow his step-by-step tutorial.
Table of Contents
Wheeled Grilling Cart Tutorial
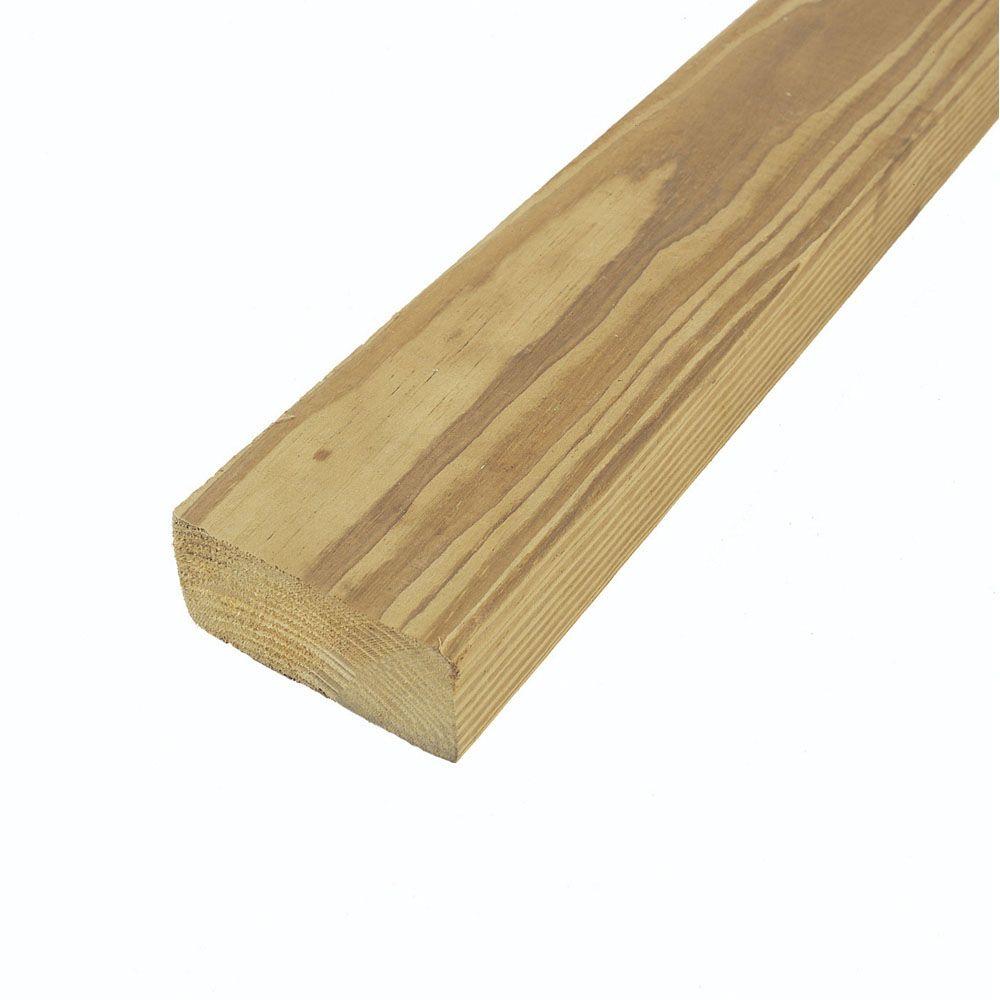
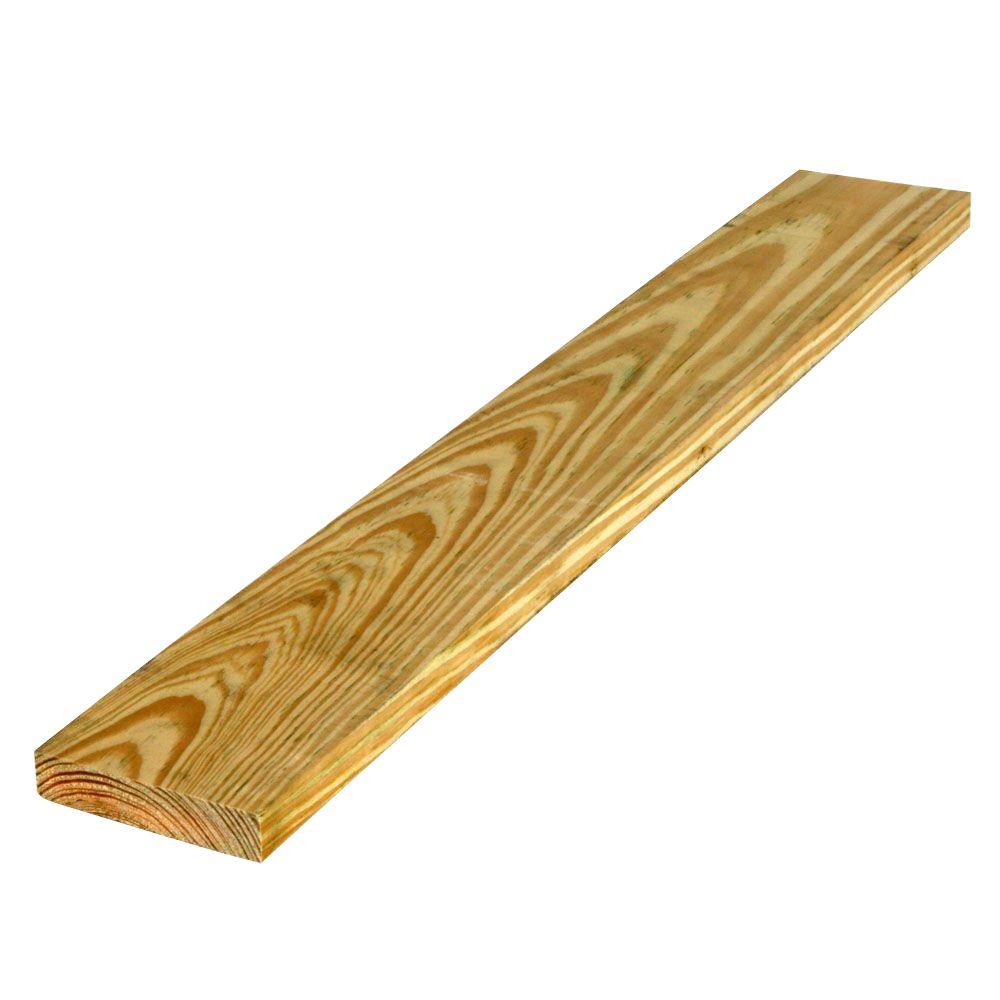
Step 1: Cut the Lumber
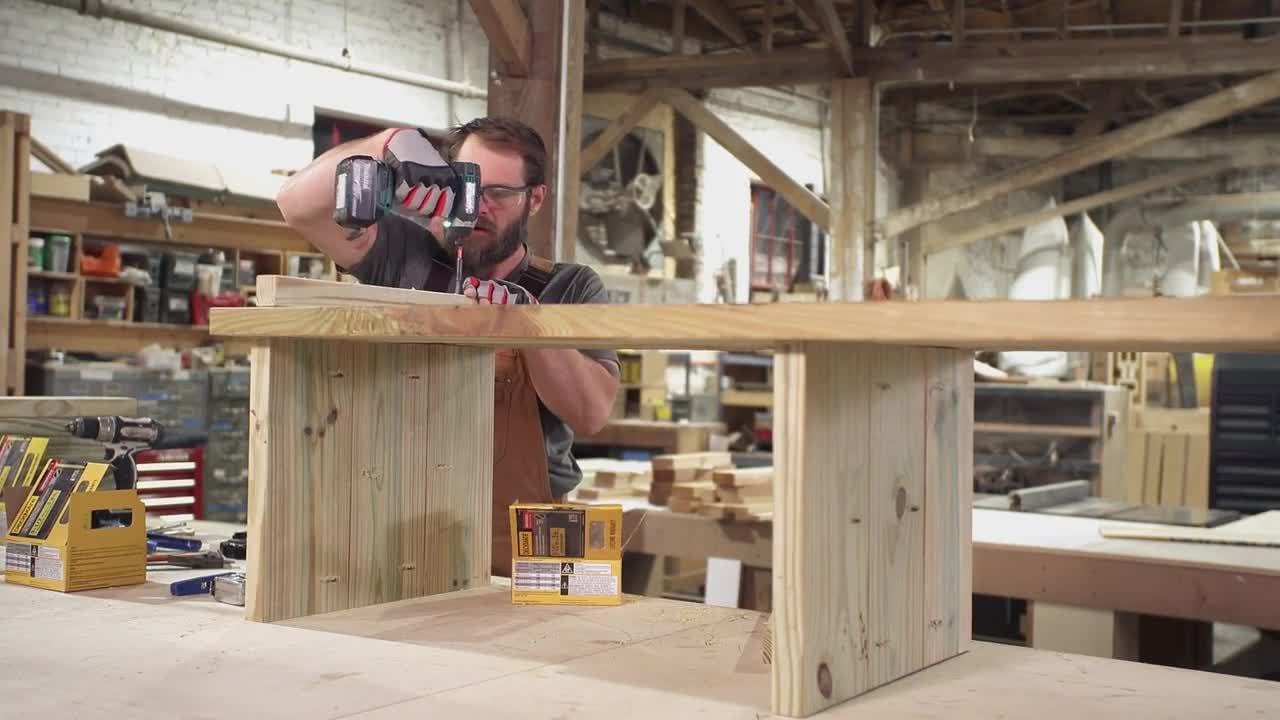
Step 2: Build the Shelves
Step 3: Drill Through the Angle Irons
Step 4: Paint the Angle Irons
Step 5: Attach the Angle Irons
Wheeled Grilling Cart Tutorial
See the diagram below for a larger image that you can download or print.

Step 1: Cut the Lumber
Cut the wood into the lengths shown in the diagram above.

Step 2: Build the Shelves
Screw together the 2 x 4s into rectangular frames and then screw the longer pieces of 2 x 8s and 2 x 4s on top of them.

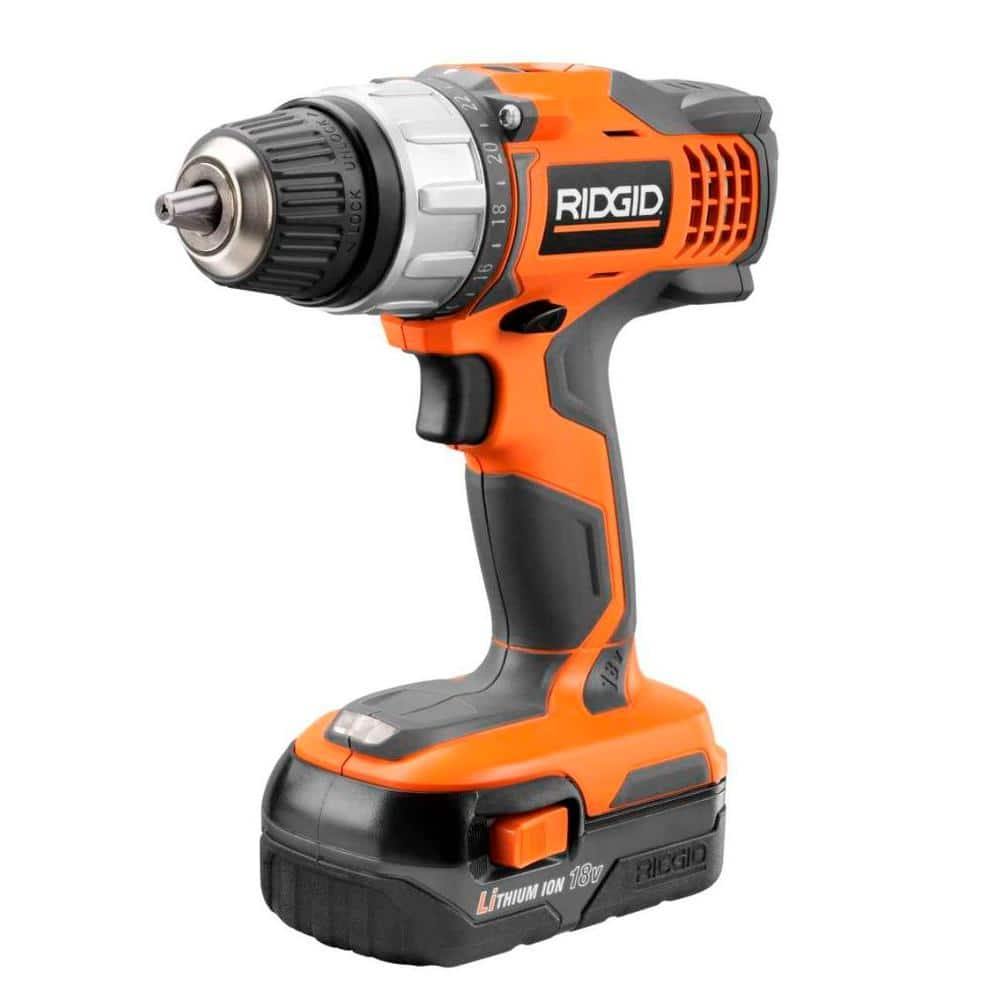
Step 3: Drill Through the Angle Irons
Drill through the angle irons with the 3/16 in. bit. Check to make sure that the screws fit through the holes.
Then use the larger drill bit to create a hole over the 3/16th hole to countersink the screws.

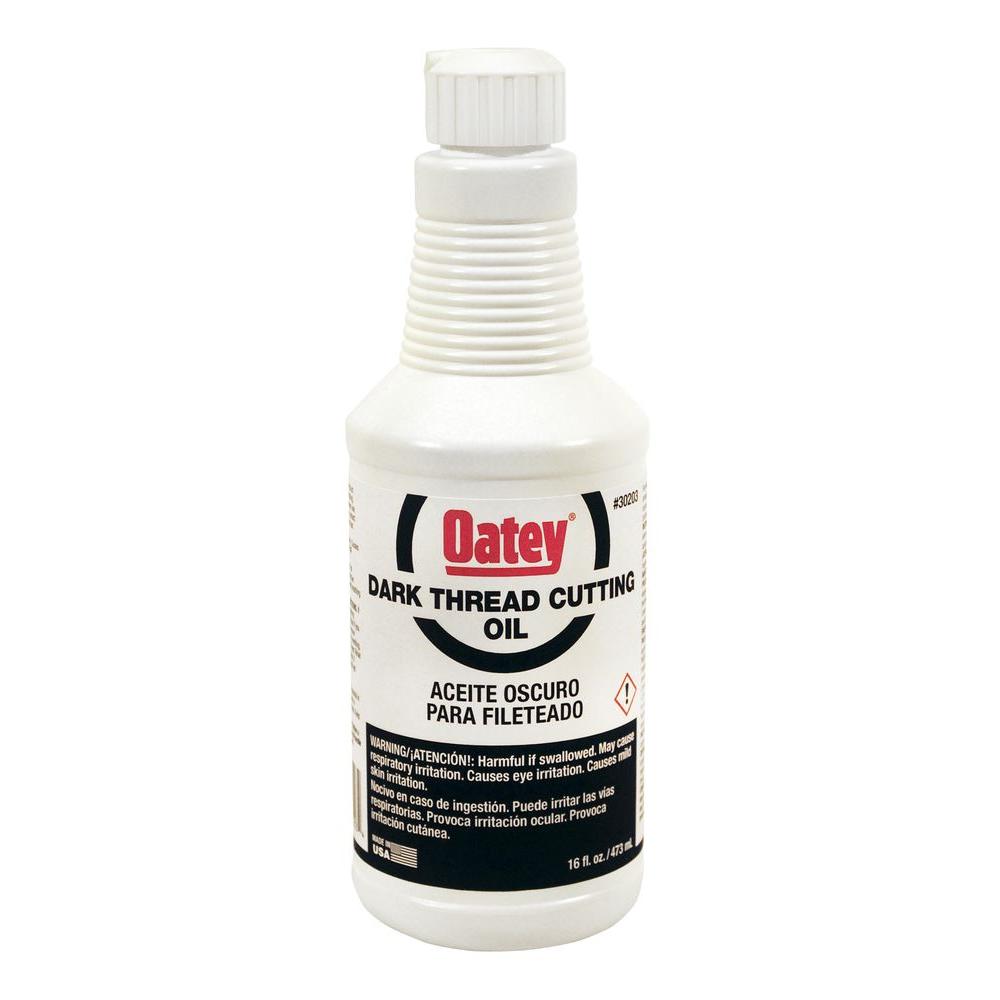
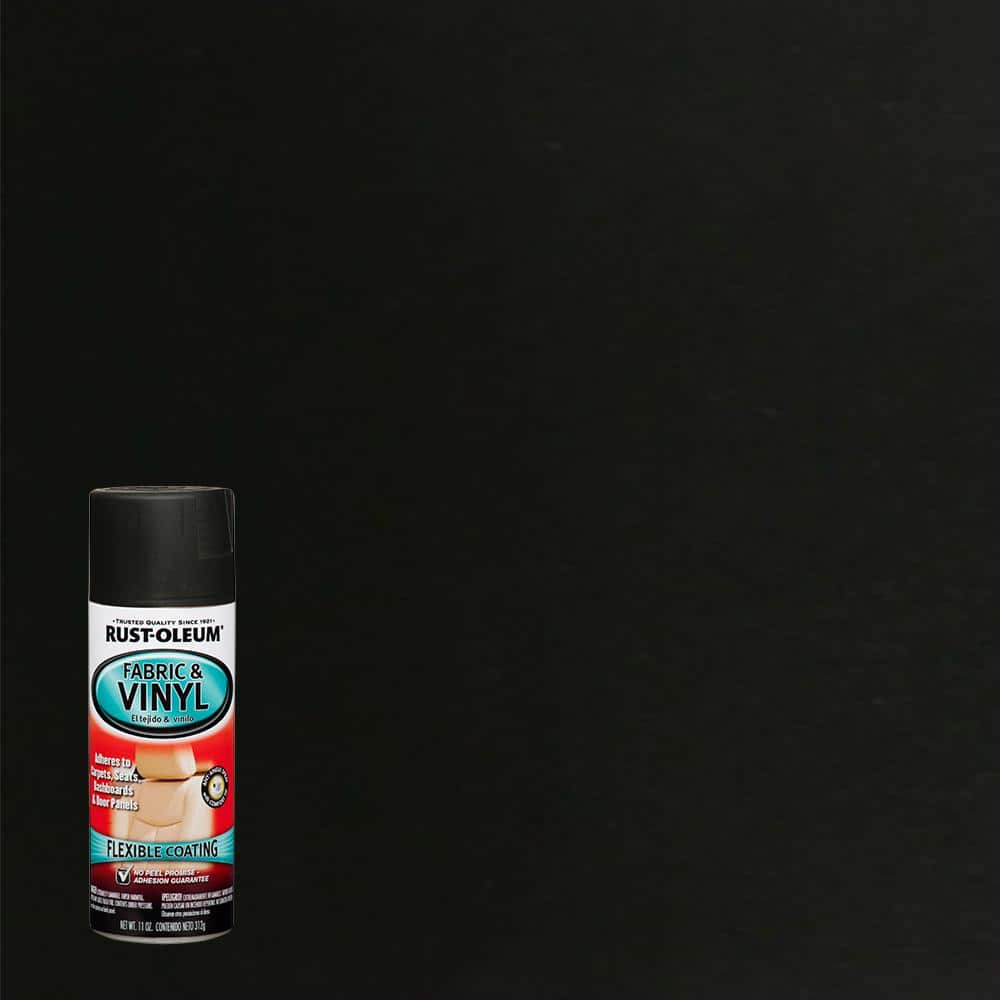
Step 4: Paint the Angle Irons
Clean the cutting oil off the angle irons and then paint them with spray paint.

Step 5: Attach the Angle Irons
Screw through the holes drilled in the angle irons and into the wood shelves.

Step 6: Attach the Top
Screw through the top boards and into the frame.

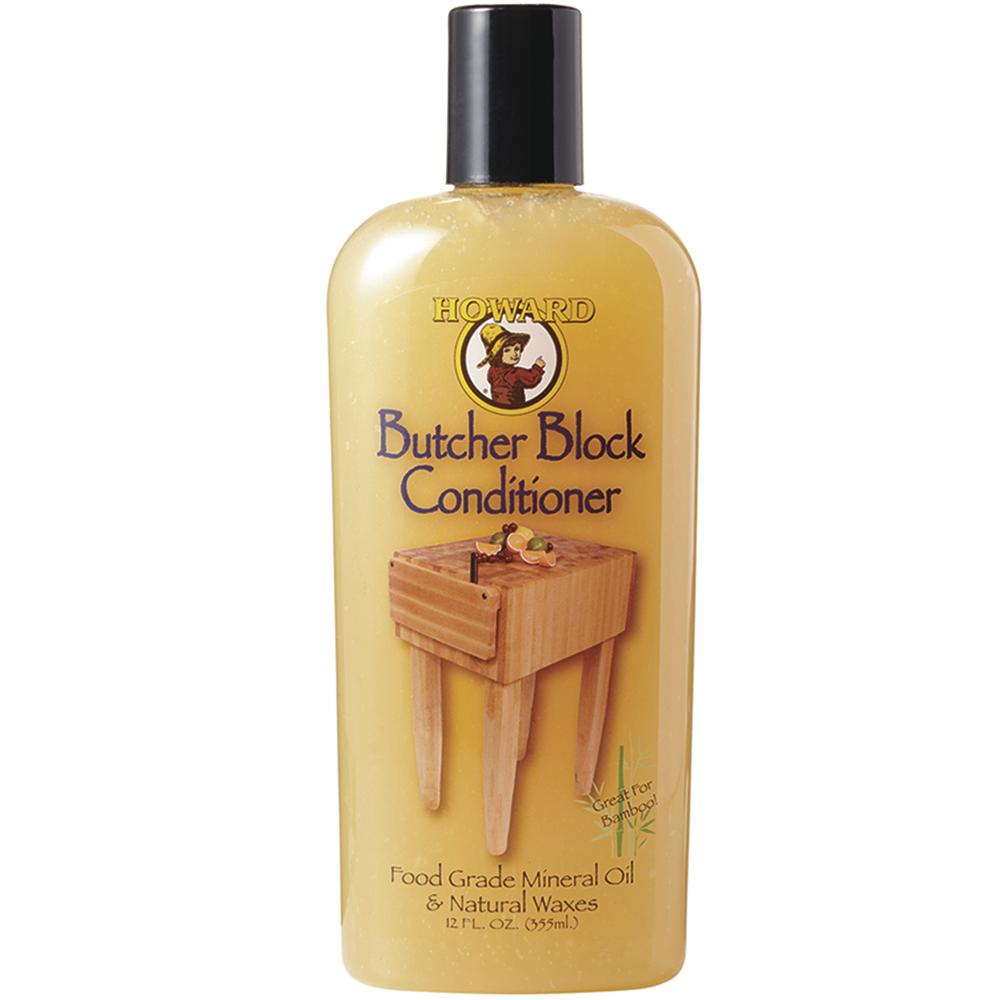
Step 7: Seal or Stain the Wood
Finish the wood with a butcher-block conditioner.

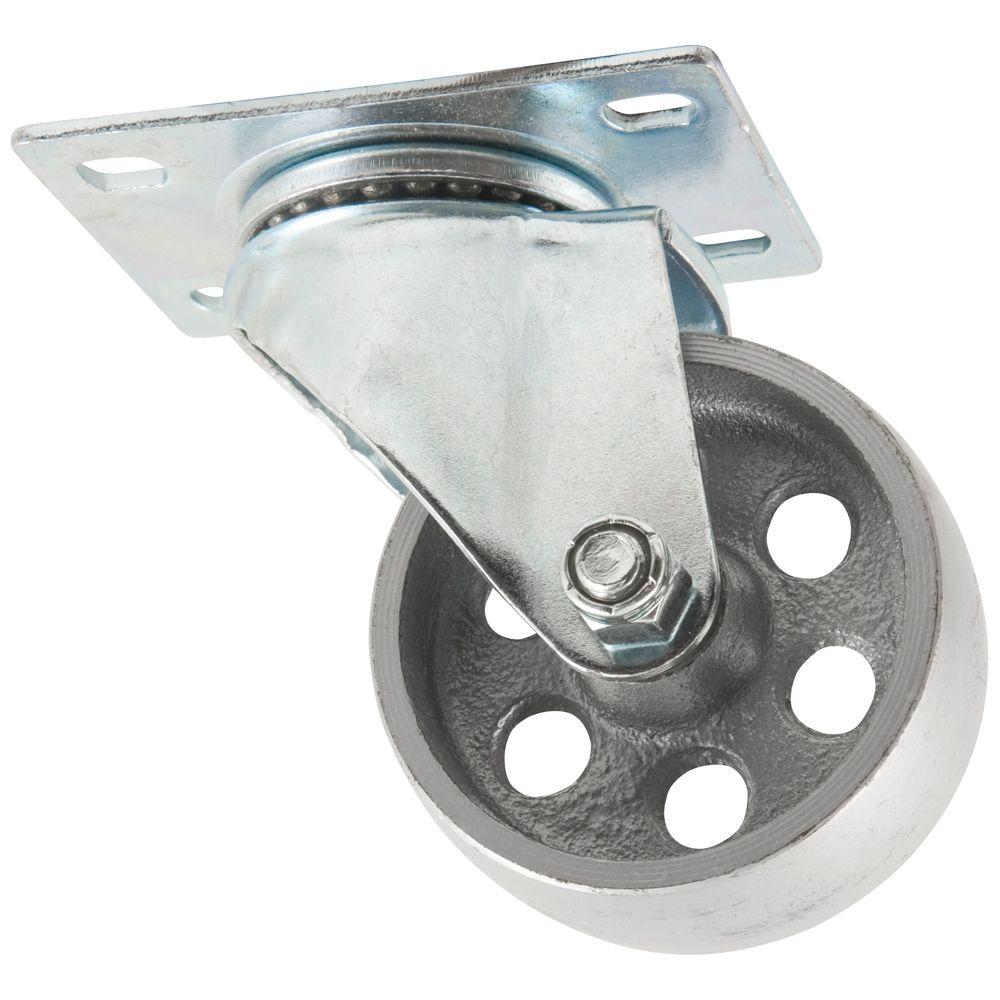
Step 8: Add Wheels and Accessories
Screw on the wheels and other accessories.

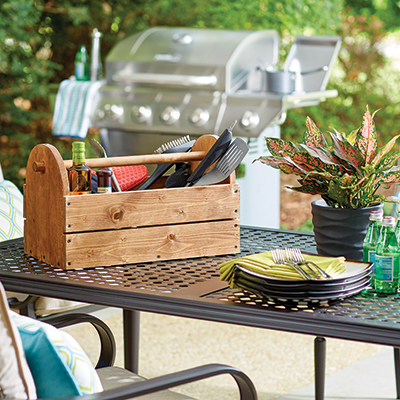
And there you have your DIY grilling cart.

Take a look at five DIY grilling carts that started with Ben’s design, but with modifications.
Follow our Easy DIY Projects board on Pinterest for more project ideas and tutorials.
This post was created in partnership with The Home Depot. The author may have received compensation for this article and associated images or video, potentially in the form of products and/or services. All expressed opinions and experiences are the author’s own words.