DIY Holiday Backyard Oasis

Last updated August 21, 2024

Doer, creator, DIYer and new mother Monica Chavez of House of Esperanza can do it all. Someone who originally looked to DIY hobbies as an escape, it has now turned into a full-time job with her husband.
A Note From The Home Depot
Looking for a way to spruce up your outdoor living space to host in for the holidays? Monica Chavez of House of Esperanza has you covered! Keep reading to see how she put together a beautiful holiday table setup for her backyard in preparation for this year’s holiday entertainment.
Table of Contents
DIY Holiday Backyard Oasis
The Materials
Variations and Finishing
The Steps
Step 1
Step 2
DIY Holiday Backyard Oasis

One of my must-haves for this year’s family dinner was a VERY BIG outdoor dining table. I had a hard time finding the size and look I wanted so we decided to build it instead.

You can see the full build plans below for the 10-person outdoor dining table.
We didn’t just stop there. I wanted to add something special for the Holidays so with help from The Home Depot, we designed a DIY-friendly, over-the-table rod for a modern tablescape.

That’s what this post is all about!

The best part is that it can be disassembled and stowed away for use at your next party. Let's get into it.
The Materials
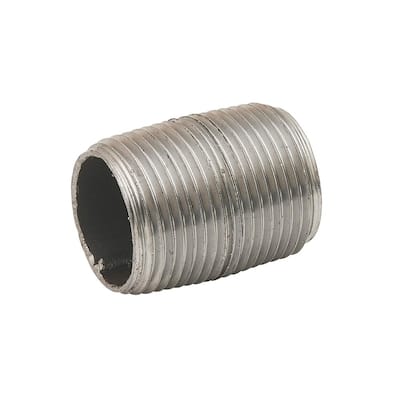
- Pipe ½ inch diameter, desired length to match your table (1 piece)
- We used an 8-foot length cut to size at The Home Depot
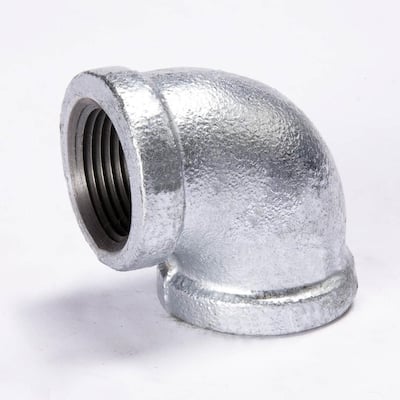
- ½ inch 90 degree elbow fitting (2 pieces)
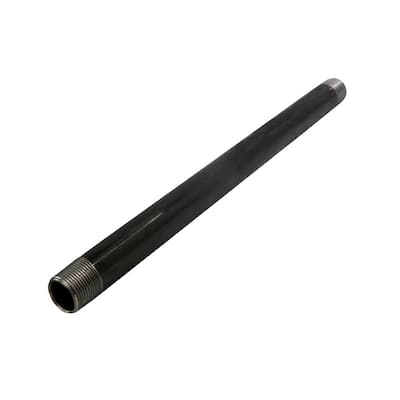
- Pipe ½ inch diameter, 36 inches long (2 pieces)
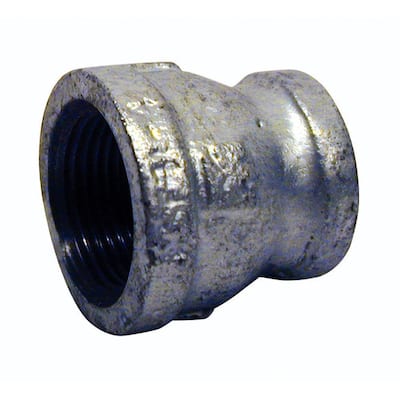
- Reducer coupling 1 inch to ½ inch
- Nipple 1 inch
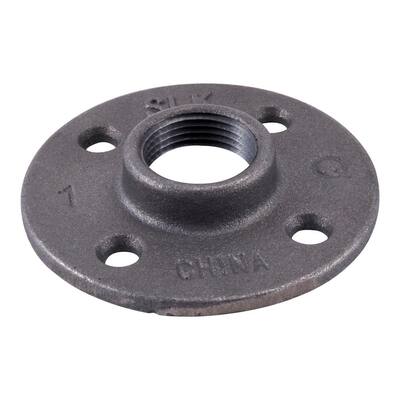
- Flange 1 inch
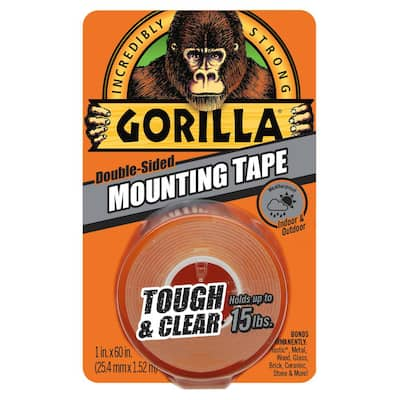
- Double-sided sticky tape
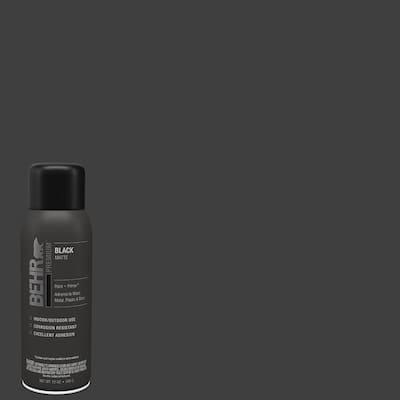
- (Optional) Spray paint
- Tools Needed: None! This is a toolless project.
Variations and Finishing
We opted to use black steel piping because we needed the strength and durability for the extreme length we were assembling. Some things to consider: If you don’t need the length you can consider using PVC pipe or even wooden dowels.
Those products will also be less expensive than black steel.
You can also choose to spray paint the entire assembly whatever color you choose so it blends in as one piece.
Whatever décor you have on hand for the season or event can hang over the rod.
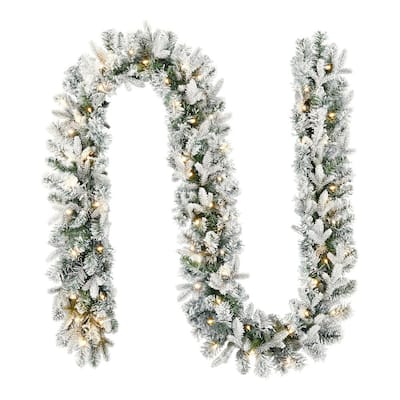
You can use wire to hold the items on the rod or twine. This step is totally customizable. I used this pre-lit garland.
The Steps

Step 1
Install the 90-degree elbow piece on each end of your long pipe.
Step 2
Thread your 36-inch pipe into each of the 90-degree elbows.
Step 3
Thread the reducer onto each of the 36-inch pipe sections.
Step 4
Attach the 1-inch nipple to each reducer.
Step 5
Attach the 1-inch flange to the 1-inch nipple.
Step 6
Spray paint (optional).
Step 7
Place the entire assembly on top of your table, depending on the size of your rod this might require 2 people.
I recommend placing heavy-duty double-sided sticky tape underneath the flanges where the assembly makes contact with the table surface.
Alternatively, if you're ok with the holes, you could secure the flanges with screws into your table.

Step 8
Decorate however you want! Garland, ornaments, paper lanterns, banners, flowers, etc.

We wrapped a pre-lit garland around the top pipe. You could also wrap the vertical supports.

I’m thrilled with how this turned out. Our backyard oasis is complete and we are ready to entertain for the holidays! We plan on using this setup for all future events, parties, and Holiday dinners. Look how pretty it looks at night!
To find more holiday inspiration visit DIY Holiday Home Projects & Gifts.

This post was created in partnership with The Home Depot. The author may have received compensation for this article and associated images or video, potentially in the form of products and/or services. All expressed opinions and experiences are the author’s own words.