DIY Ladder Golf Game For Cookouts And Tailgates

Last updated August 21, 2024

As the daughter of a Michigan carpenter and an English teacher, Jenn has been honing her passion for instructional woodworking all her life. Her years as a magazine editor and video producer in New York City led to the launch of her blog, Build Basic. Through step-by-step instruction in her weekly carpentry projects, Jenn aims to prove you don't need fancy tools and advanced training to create high-quality furniture and décor—you just have to know the basics! Jenn is an instructional writer, builder, project designer, web series producer and host who has worked for industry leaders like This Old House, Fine Homebuilding and About.com. Her work has also been featured on sites such as The Huffington Post, CNN Money, AOL Real Estate, Yahoo Real Estate, Fox News Online Magazine, MSN, and others.
A Note From The Home Depot
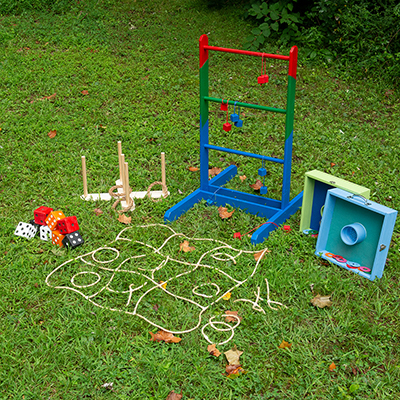
This DIY ladder golf game will provide plenty of fun at tailgates and cookouts.
Jennifer Largesse of Build Basic created this DIY project using lumber, rope and golf balls.
Table of Contents
DIY Ladder Golf Fame
Cut List
Step 1: Cut the Uprights, Legs and Blocks
Step 2: Detail the Legs
Step 3: Layout the Legs
Step 4: Secure the Blocks
DIY Ladder Golf Fame
In my family, yard games are a staple at every cookout. The games need to be sturdy enough to take a beating, though, and they should be collapsible for easy transport and storage. To cover my bases, I made a DIY ladder golf game set from 1 x 4 boards and dowels fitted with screw-together connectors that will stand the test of time. I know our family will love this set for years to come, and I hope yours will, too!
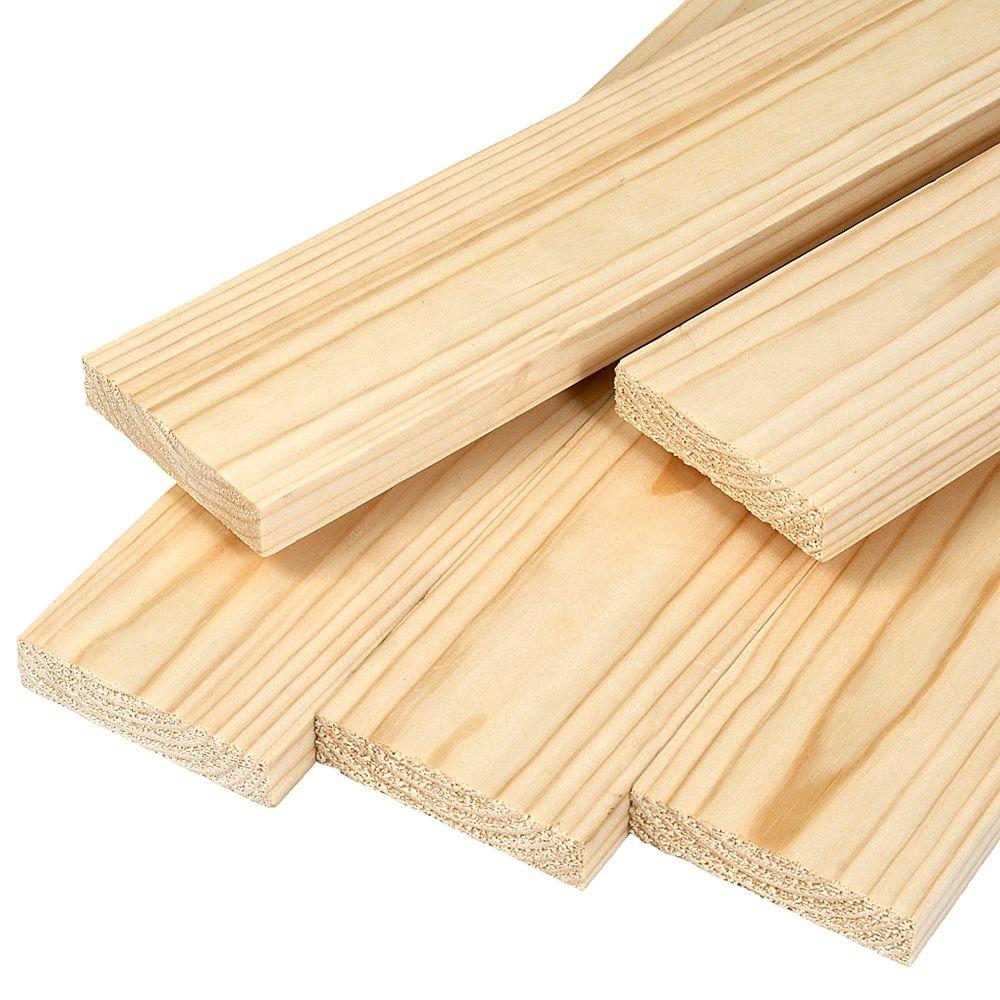
Cut List
- 1 x 4 Uprights – 4 @ 42 inches
- 1 x 4 Legs – 8 @ 24 inches
- 1 x 4 Blocks – 8 @ 6 inches
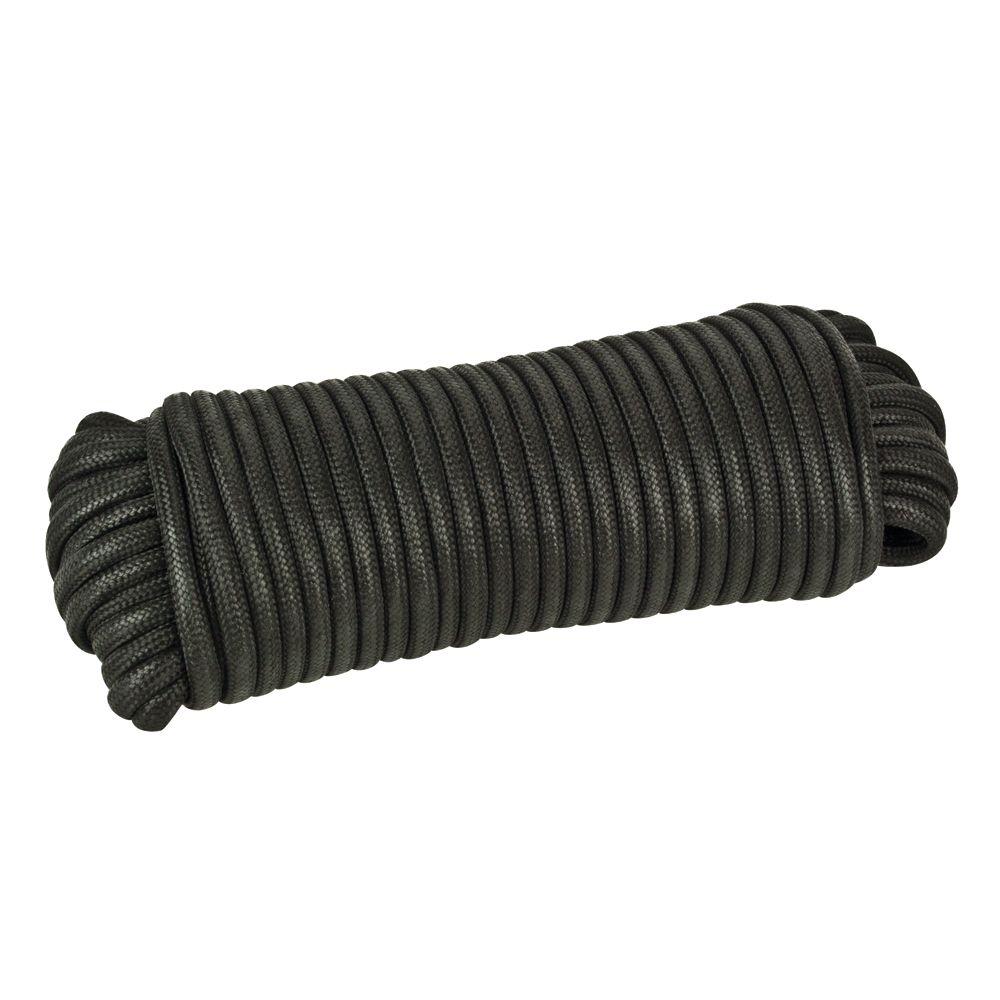
- Rope – 6 @ 22 inches
Step 1: Cut the Uprights, Legs and Blocks

Using a miter saw, cut the 1 x 4 uprights, legs and blocks to length to create two groupings of two 42-inch-tall uprights, four 24-inch-long leg pieces, and four 6-inch-long blocks.
Step 2: Detail the Legs

Set the miter saw to 45-degrees. To create a decorative detail on the legs, clip 1 inch from the top corner of the ends of each leg piece.
Step 3: Layout the Legs

The legs are made from three “layers” creating a slot in the middle that will hold the uprights.
To create the first two layers, first place a 24-inch-long leg piece flat on the work surface. To designate a space for the upright to later be inserted, center a scrap block as a placeholder on the leg, running perpendicular to its length.
Place a 6-inch block on each side of the scrap piece.
Step 4: Secure the Blocks

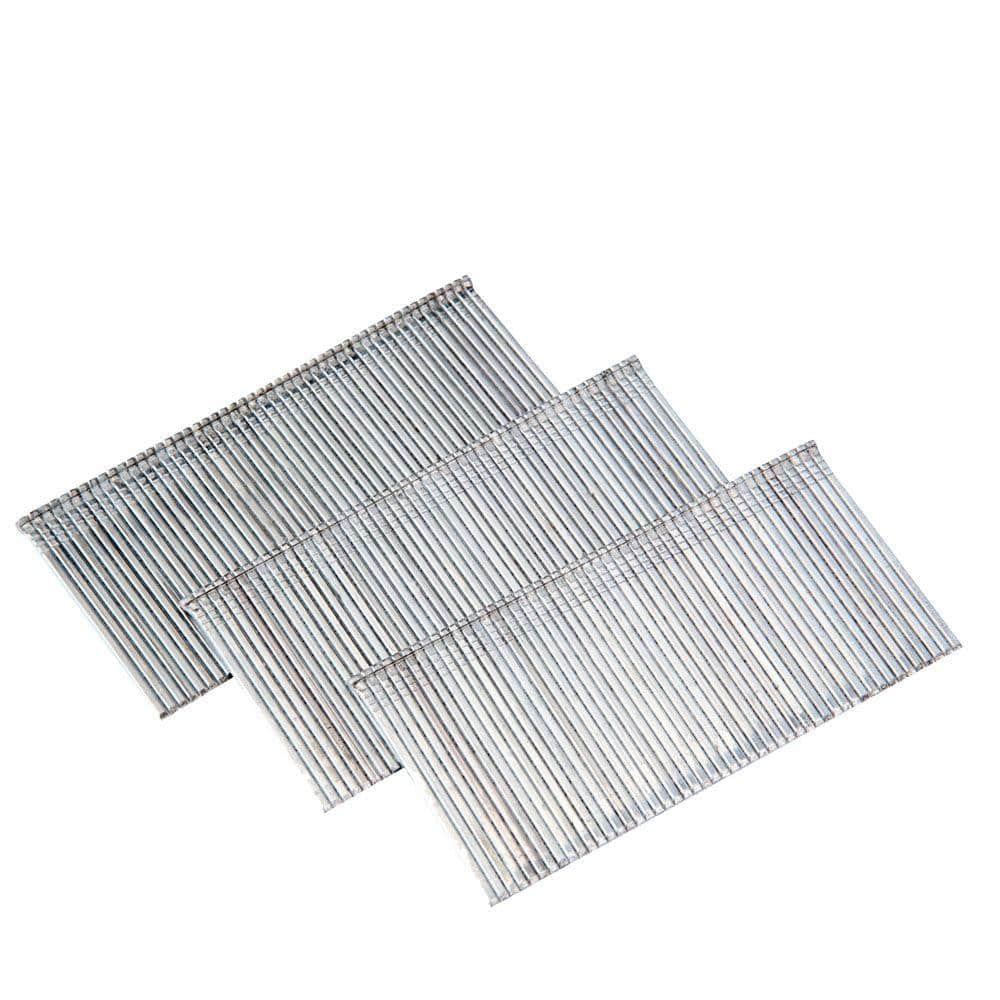
Apply wood glue between the block and the leg piece. Using a nail gun, shoot 1-inch nails through each block and into the leg piece. Repeat to attach the remaining blocks to three additional leg pieces.
Step 5: Finish Assembling the Legs

Apply wood glue to the face of each block. Place a leg piece onto the assembly. Then, use the scrap block to ensure the ends align. Shoot 1 inch nails through the top board and into the blocks to secure the parts in place.
Repeat to assemble the three remaining legs.
Step 6: Detail the Uprights

Set the miter saw to 45-degrees. To create a decorative detail on the top end of each upright, clip 1 inch from both corners as shown.
Step 7: Prep the Legs and Uprights for Assembly

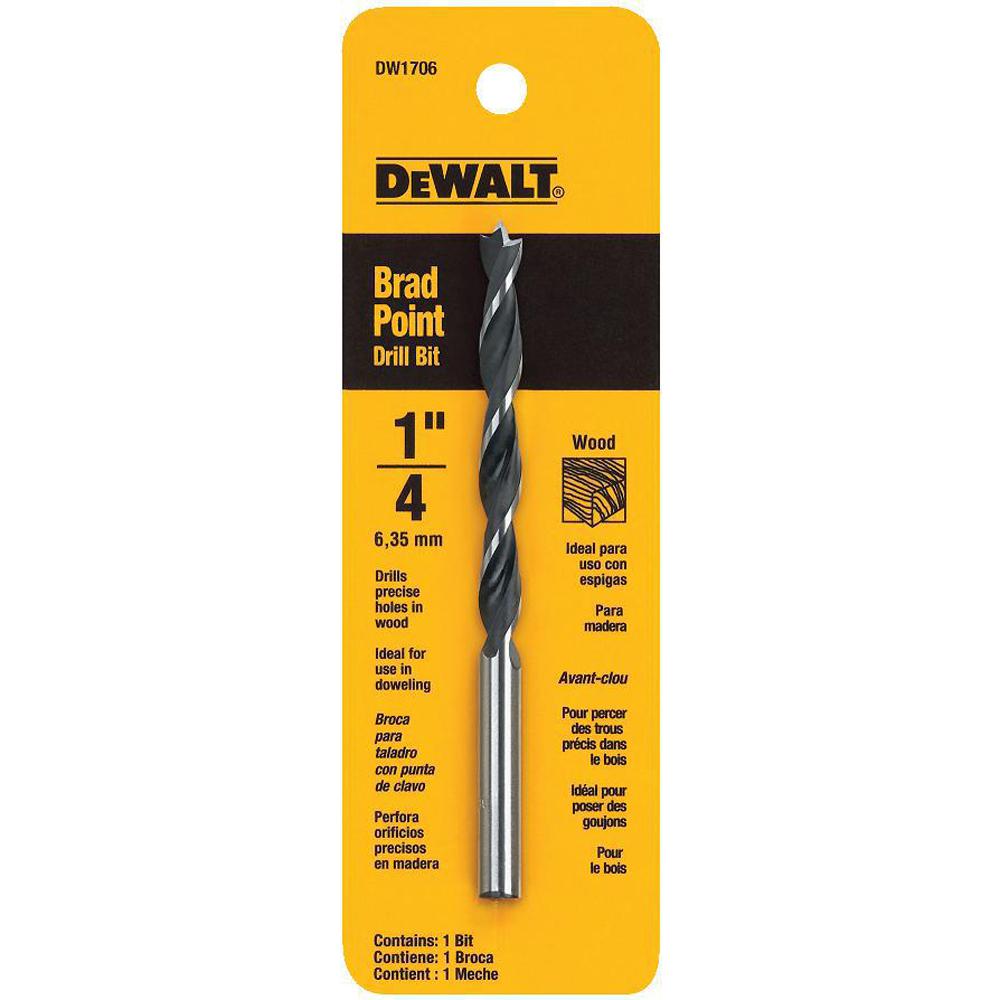
Slide an upright into a leg slot until its bottom edge sets flush with the underside of the leg. Mark a depth of 1 inch on the end of a 3/16 drill bit (or similar) using painter’s tape. Mark the center of the leg, and then drive a pilot hole through the leg and into the upright.
Repeat on the remaining leg and upright pairings.
Step 8: Prep the Uprights

Remove each upright from the leg. Using a ⅝-inch spade bit, drive a ⅛-inch-deep impression centered on the pilot hole in the upright.
Next, mark a ¼-inch depth on an 11/32-inch drill bit. Drill a hole into the center of the impression.
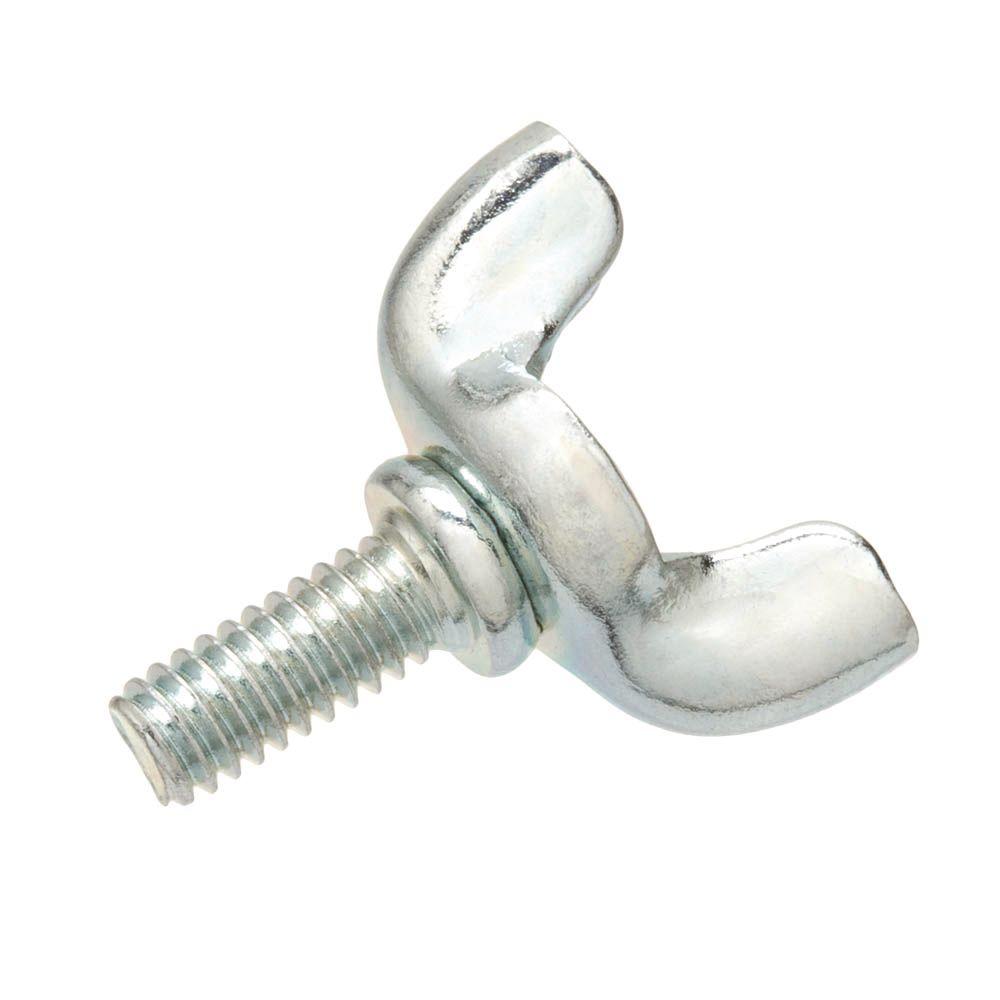
Step 9: Install the Insert Nut

Using a hammer, drive an insert nut into the hole until the rim of the insert nut sets flush with the surface of the upright.
Repeat to install an insert nut in each upright.
Step 10: Finish Prepping the Uprights

On an upright, measuring from the base, mark three lines spaced 13 inches apart. Mark the center point of each line.
Stack two uprights together on a scrap block. Drill a ¼-inch-wide hole through the uprights at the center of each line.
Repeat to prep the remaining set of uprights.
Lastly, open the pilot hole at the base of each upright to accept a wing screw using a ¼-inch drill bit.
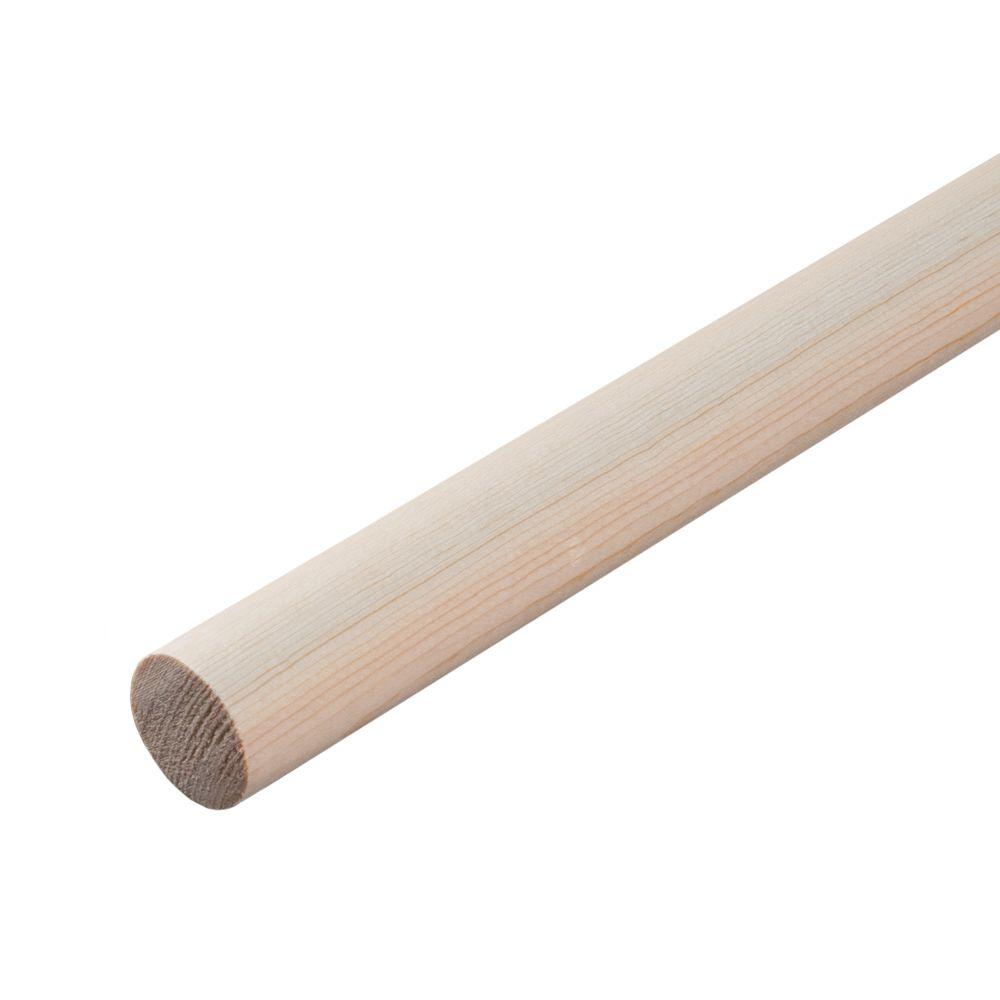
Step 11: Cut the Dowels

Using a miter saw cut each dowel to a length of 24 inches.
Step 12: Prep the Dowels

Securely clamp each dowel to the work surface with a least two bar clamps. Be sure to tighten the clamps as tight as possible to avoid the dowel from slipping.
Using a drill fitted with a ⅝-inch spade bit, drill a ⅛-inch impression centered in the end of each dowel. Just as with the uprights, drill a 11/32-inch hole into the center of the impression.
Step 13: Install the Insert Nuts

Using a hammer, drive an insert nut into the end of each dowel until the rim of the insert nut sets flush with the end of the dowel.
Step 14: Assemble the Legs and Uprights

Slide the uprights back into their legs with the insert nut facing the side of the leg with the hole. Insert a wing screw into the hole, and then thread it into the insert nut in the upright.
Repeat to assemble the remaining uprights and legs.
Step 15: Add the Dowels

Position the dowels between the uprights. Insert a wing screw into each hole in the uprights, and then thread them into the adjacent end of the dowels.
Step 16: Prep the Golf Balls

Securely clamp a golf ball in a bar clamp, and place the golf ball on a scrap block.
Using a drill fitted with a ¼-inch drill bit, drill a hole through the center of the golf ball.
Repeat to drill a hole through each remaining golf ball.
Step 17: Create the Bolos

Thread the rope through two golf balls. Tie two knots 22 inches apart to secure the golf balls on the rope. Clip the excess rope.
Repeat to create five additional bolos.
The Completed DIY Ladder Golf Game

And that’s your DIY ladder golf game.
Have fun!
If making a DIY ladder golf game just isn’t your thing, we have ladder golf game equipment online in our Lawn and Backyard Games section.
This post was created in partnership with The Home Depot. The author may have received compensation for this article and associated images or video, potentially in the form of products and/or services. All expressed opinions and experiences are the author’s own words.