DIY Larger Than Life Butterfly Garden Art
Last updated August 21, 2024

Andrew Boza & Dennis Setteducati or Crafty Lumberjacks, are New York-based DIY and crafting experts who are sure to add some fun to your projects with their unique and creative projects.
These former actors turned their crafting dreams to reality and now specialize in DIY projects, decorating inspiration, and the occasional vegan treat.
A Note From The Home Depot
Looking to add a bit more color to your home exterior? Read below to see how Andrew and Dennis of Crafty Lumberjacksadd a beautiful butterfly accent to their home garden, in a few simple steps with the help of The Home Depot!
Table of Contents
DIY Larger Than Life Butterfly Garden Art
Draw, cut, and Trace a Butterfly Template
Cut Out the Butterfly
DIY Larger Than Life Butterfly Garden Art
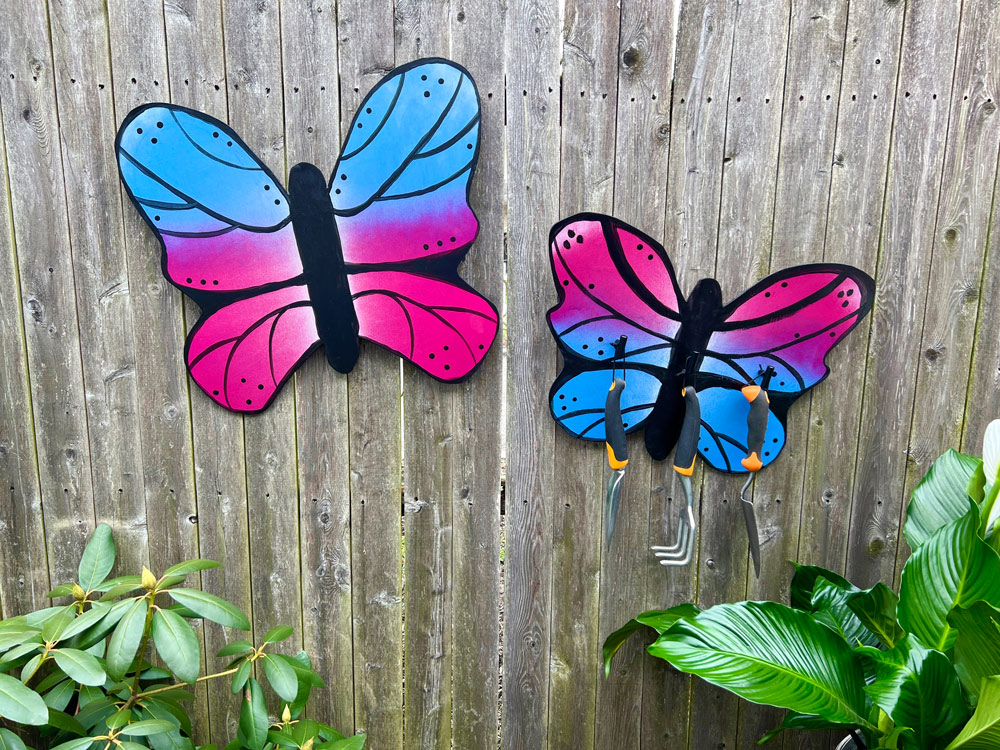
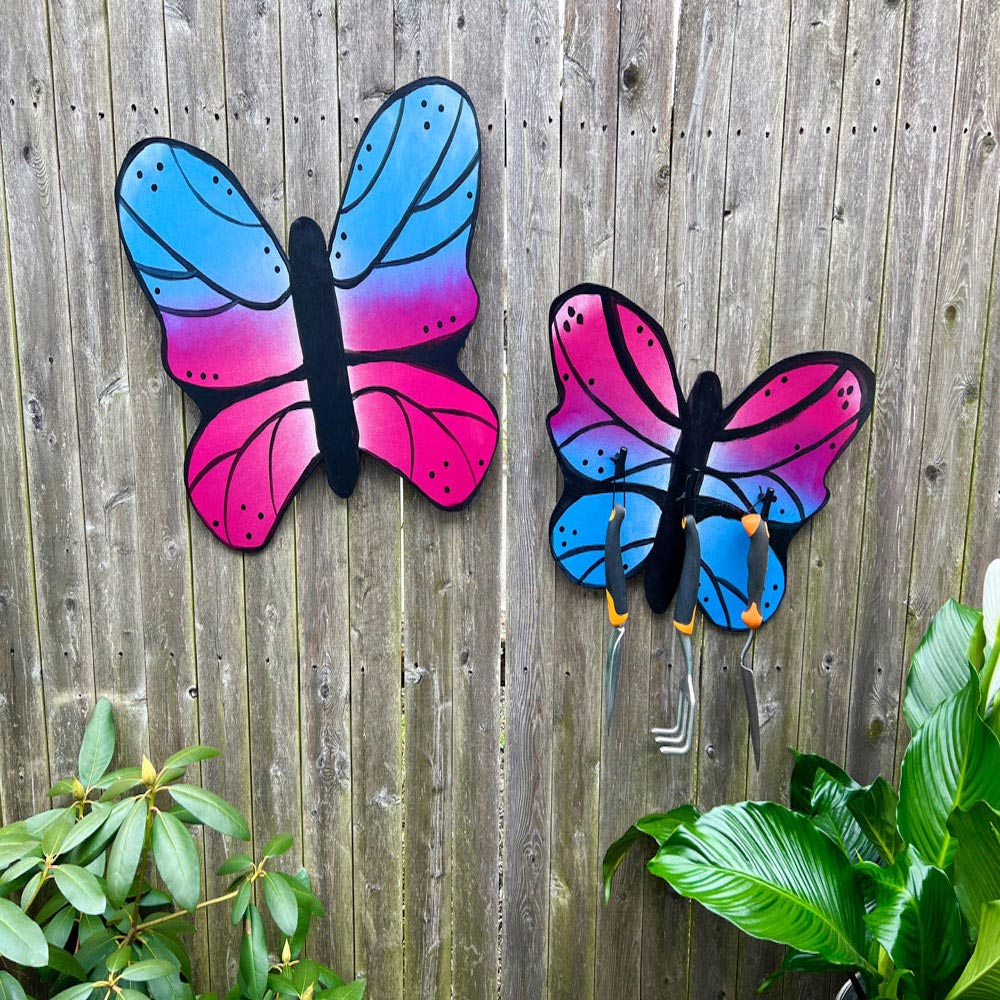
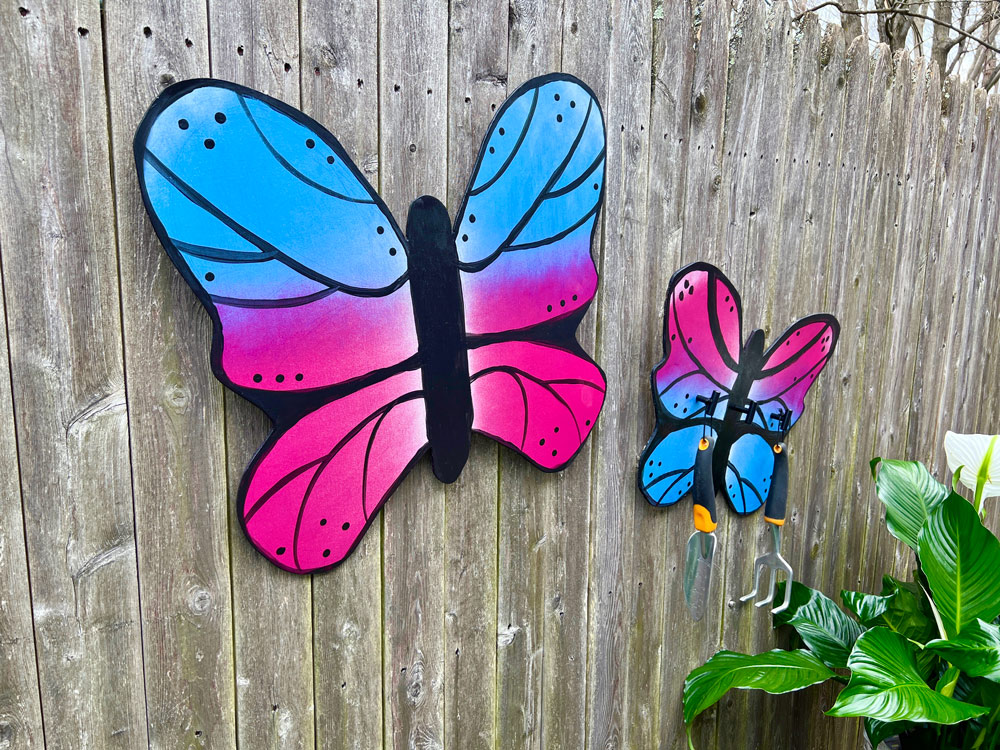
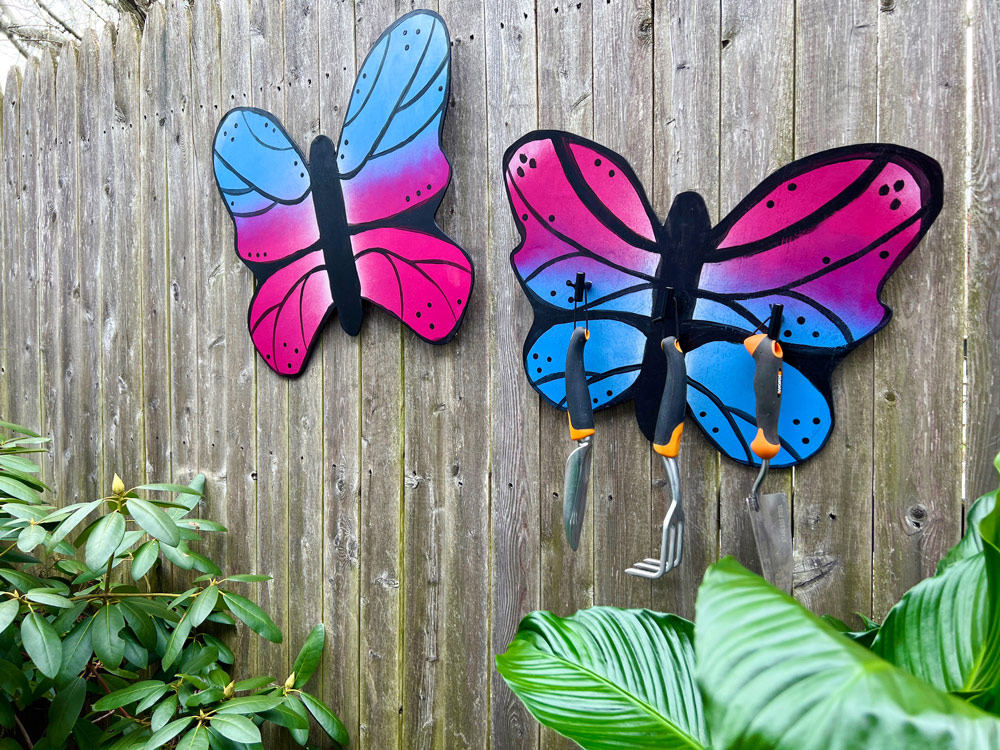
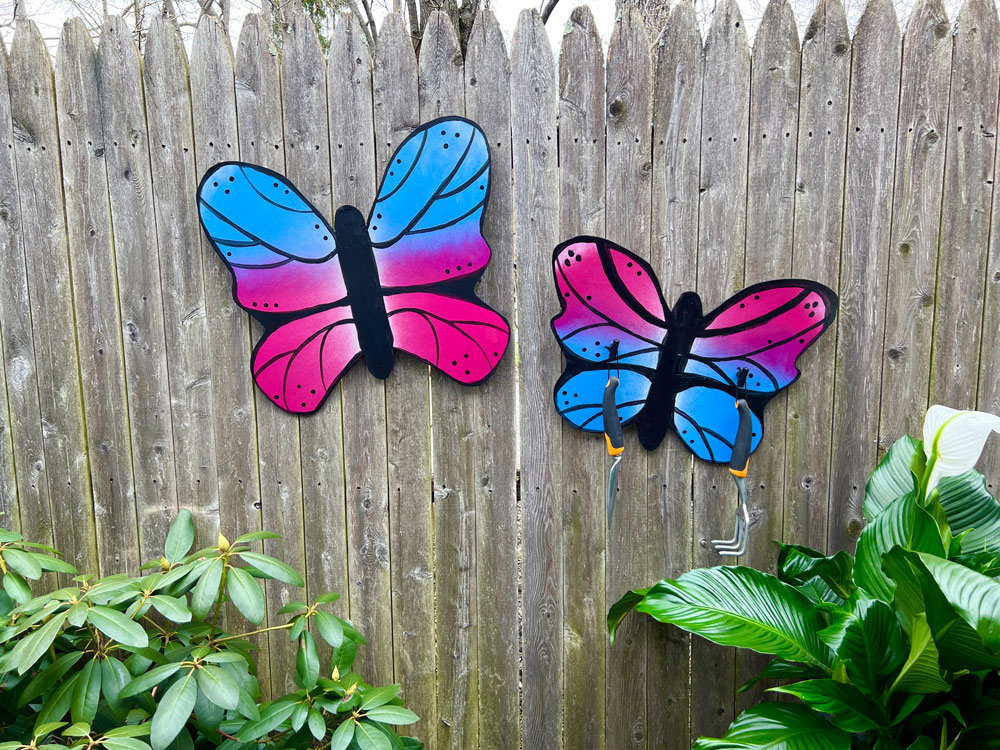
Add a pop of color and whimsical addition to any space with these larger-than-life butterflies! These hand-painted butterflies look intimidating, but in just a few steps and a quick trip to The Home Depot, you can turn a piece of wood into a stunning masterpiece that’s functional! Customize your butterflies by adding hooks to hang gardening tools so they’re always in arms' reach. This project is perfect for an outdoor garden or to add a bright and bold impact inside.
Draw, cut, and Trace a Butterfly Template
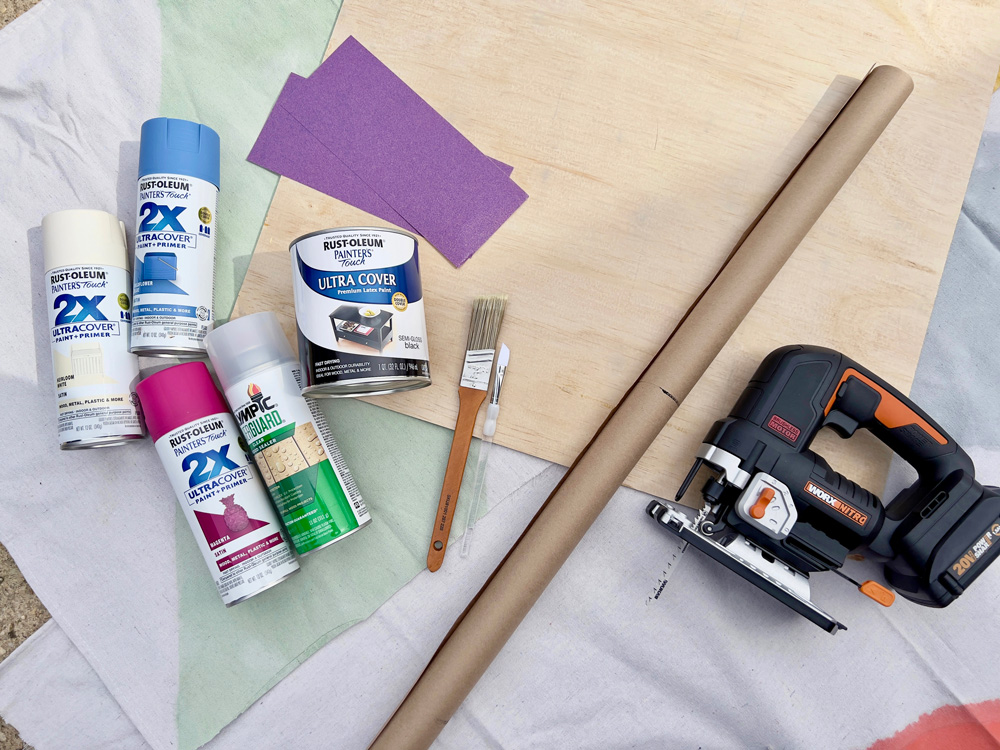
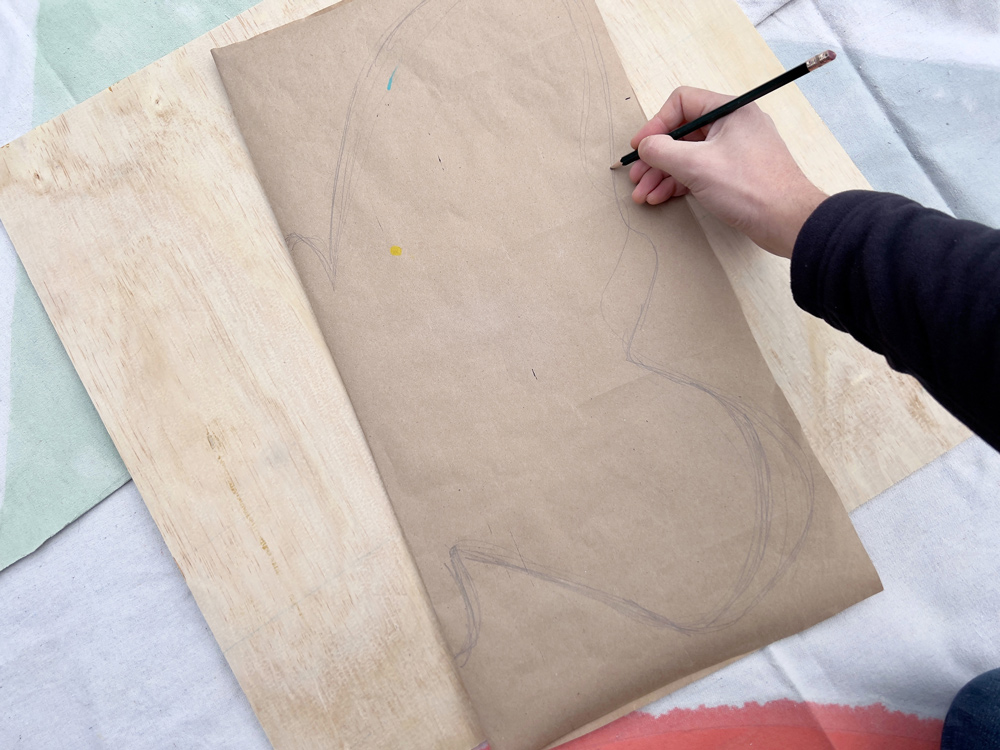
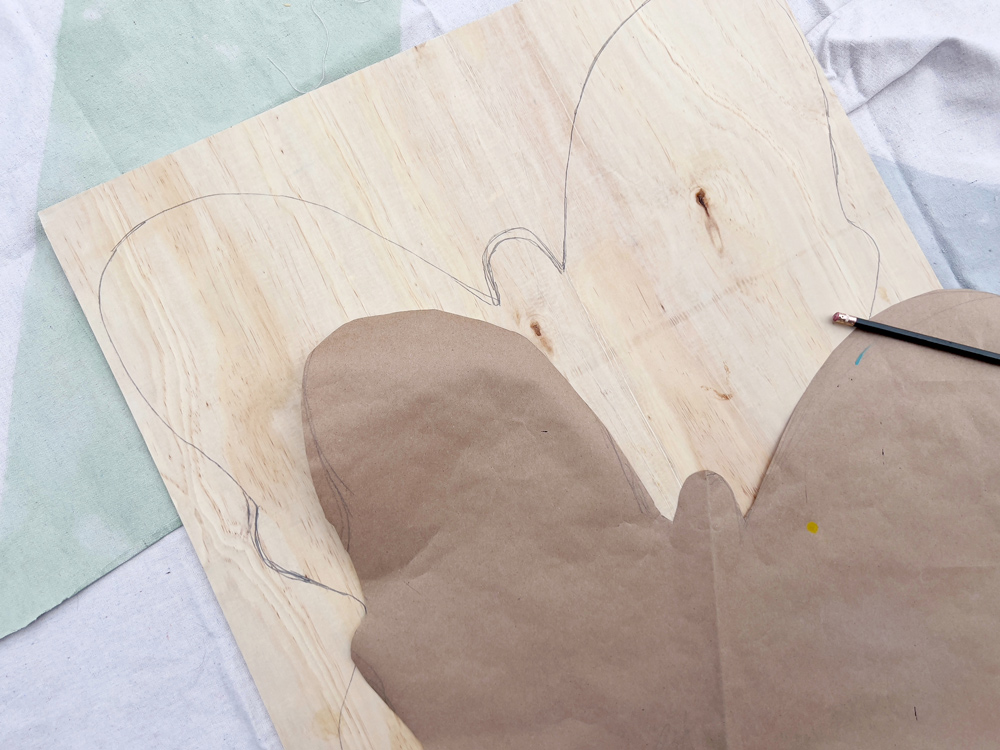
Cut a scrap piece of paper to the size of the plywood you are working with. Butterflies are known for being symmetrical. Keep it easy by folding the piece of paper in half and drawing the butterfly body on the fold. Draw the wings as well, but keep the shapes pretty simple. Cut out the butterfly and open it up. Flip the wood you are working with upside down and trace the butterfly template onto it.
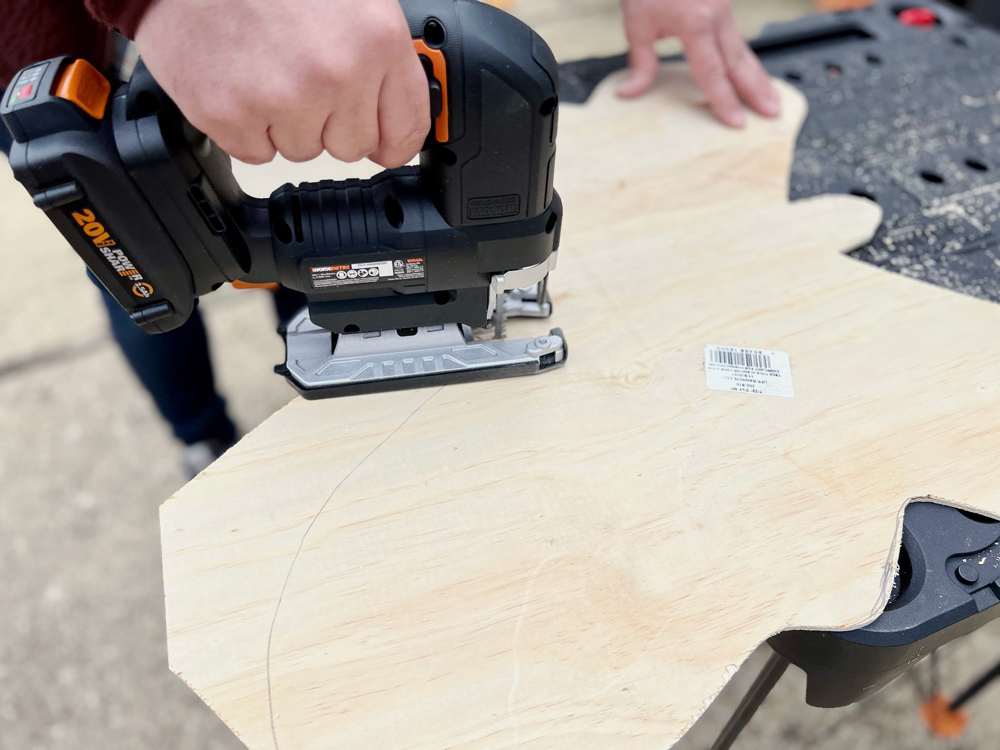
Tip: Cutting the wood from the backside will help reduce splintering.
Cut Out the Butterfly
Before starting make sure the jigsaw blade is nice and straight. If it’s an older blade and bent, the jigsaw can be harder to cut along the traced line. Place the piece of wood on a workbench or table top with the area you are cutting first off of the edge. Make sure the base of the jigsaw is pressed onto the piece of wood with the blade not yet touching the wood. Once everything is set, pull the trigger and let the blade go to full speed. Guide the jigsaw to the traced line and gently push it along the butterfly. Turn the wood as you cut to make sure the jigsaw doesn’t hit the table. Then, continue to cut out the butterfly until finished.
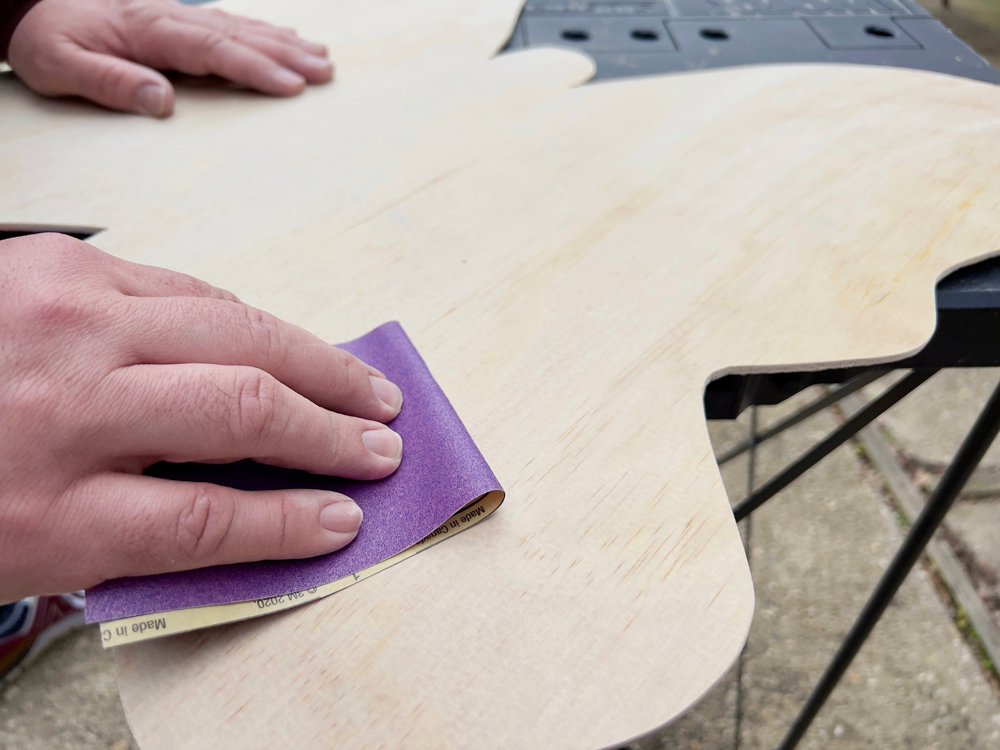
Sand the edges and the top of the butterfly with 150 grit sandpaper then switch to 220 grit sandpaper until they are smooth. Once done, wipe the sawdust off the wood.
Tip: When sanding on top always sand with the grain. If not you will leave a trail where you sanded and will be noticeable after applying paint.
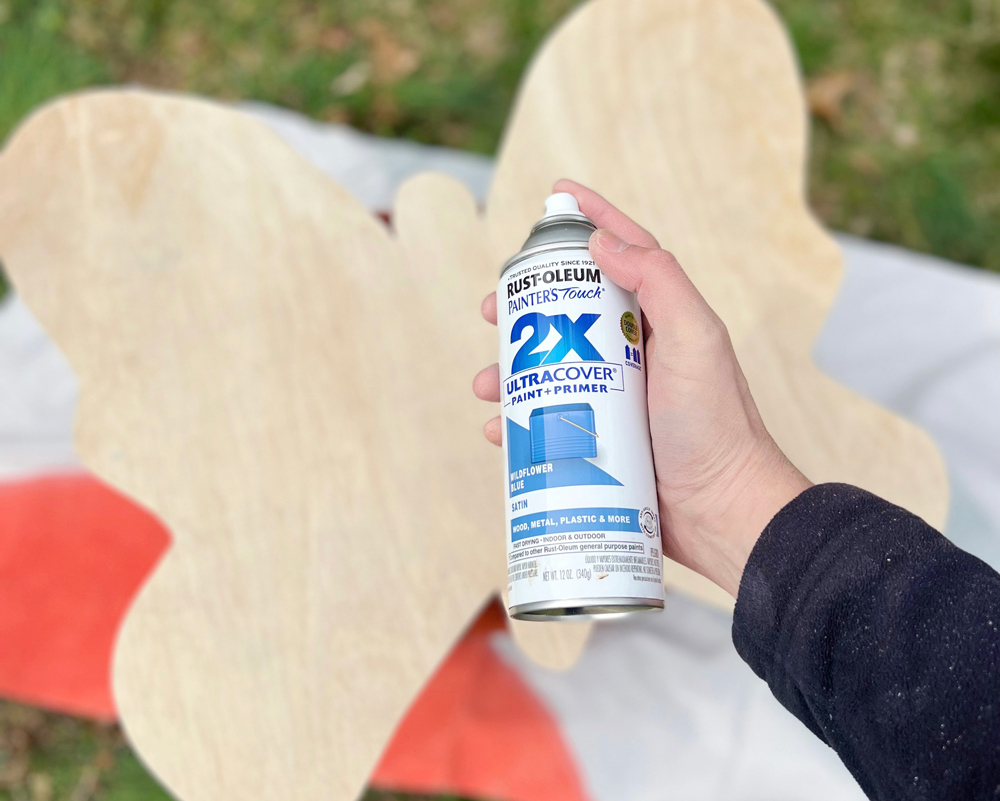
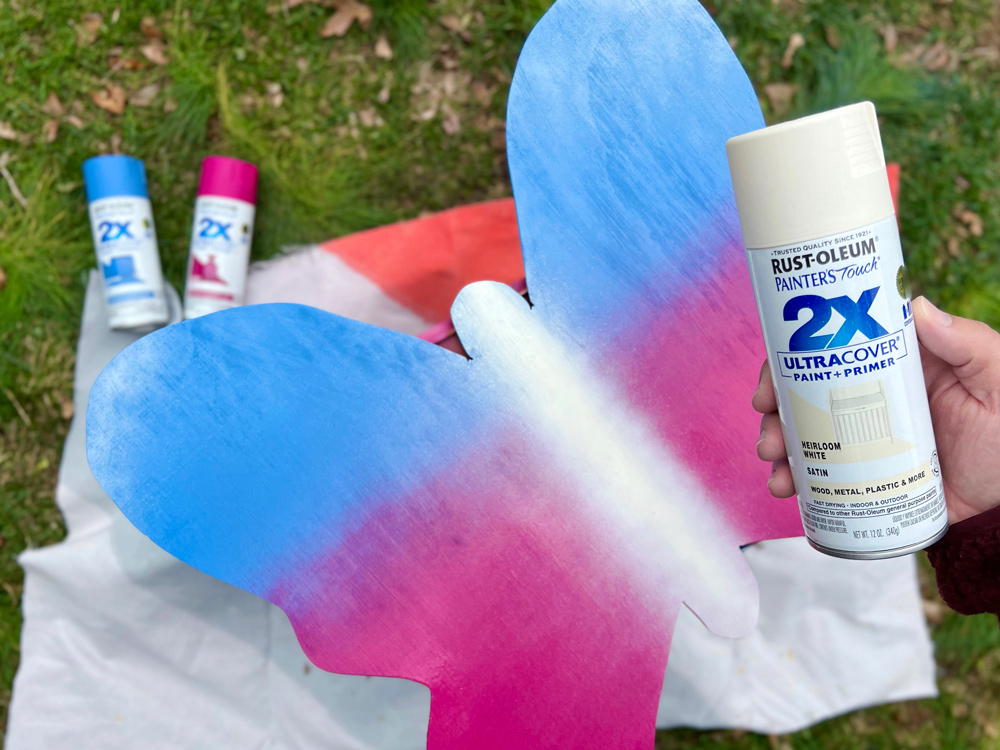
Place the butterfly onto a crate, paint can, or something to keep it off the ground. This will make it easier to spray at all angles. Start with one color of spray paint at the top of the butterfly and spray it about halfway down. Keep the spray paint at least a foot away from the wood. Allow the first coat to dry then spray the next color from the bottom going up. As you meet in the middle with the next color, move the can further away to give it a gradient look. Add a light pop of white to the edges of the wings, and in the center of the butterfly. This little detail really takes it over the top! Allow the spray paint to fully dry.
Tip: Add a big pop of color by picking out some vibrant spray paint and picking colors that go together if they are mixed.
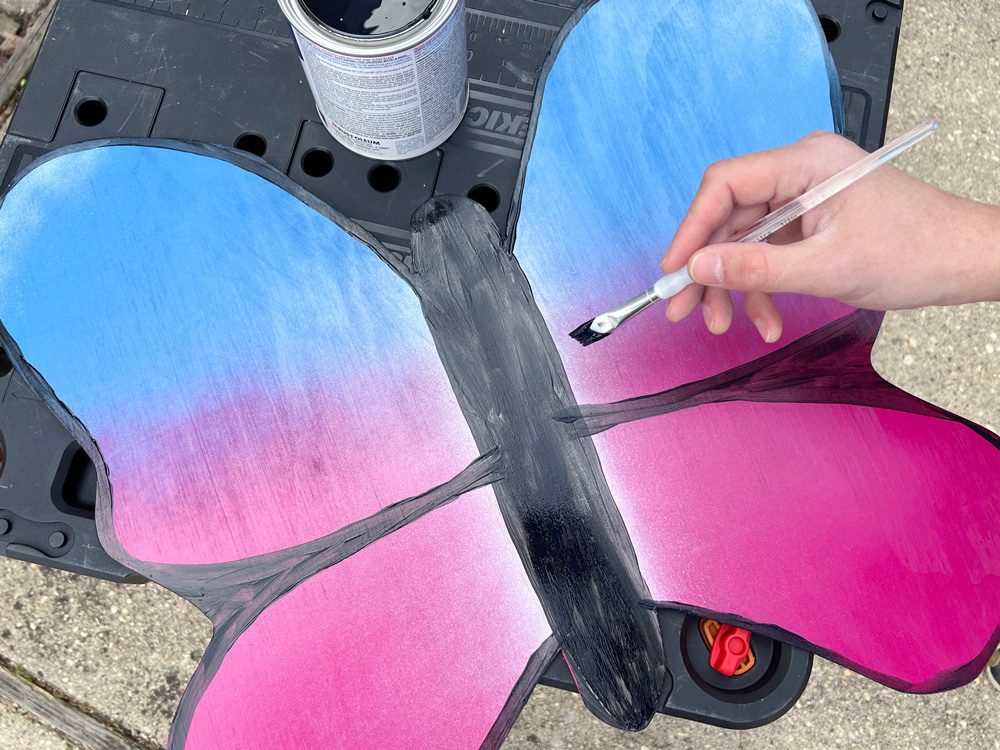
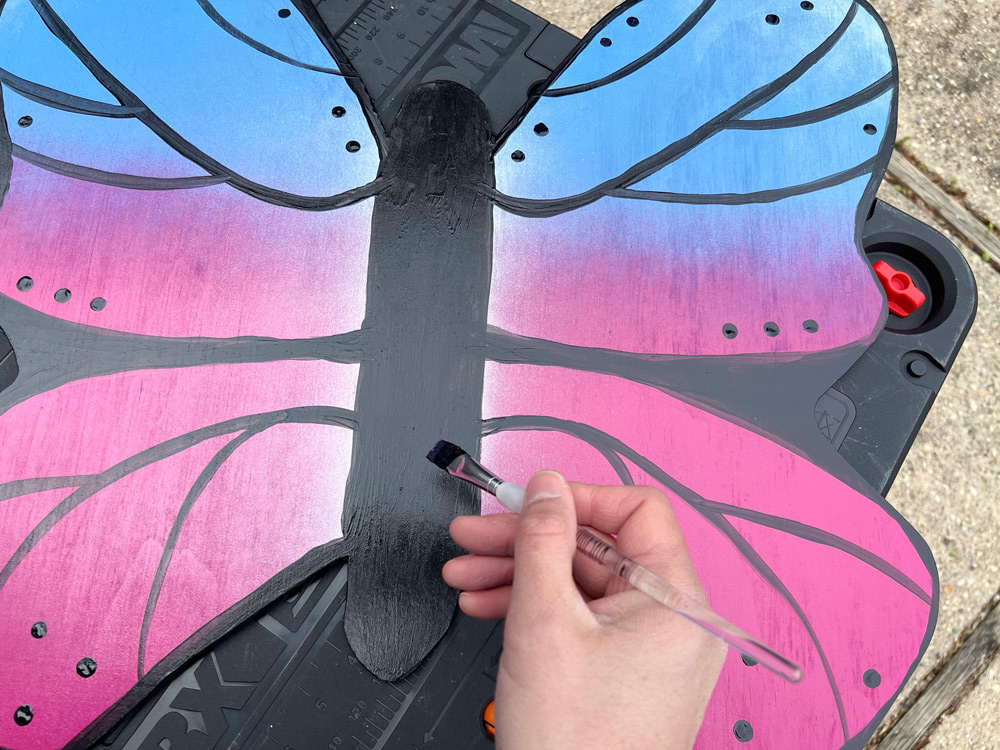
With a pencil, mark out the areas of the butterfly you want to highlight with black paint. Use images online as references when mapping them out. Begin to paint the body of the butterfly and then move on to outline the wings and sides of the wood. Once those areas are finished, begin to paint the lines inside the wings. Butterflies are known for being symmetrical however, it is very hard to paint perfectly symmetrical on both sides. Don’t allow any mistakes to deter you - the more you add on to the wings the less the imperfections show and there is something beautiful about a painted piece of art. Once done with all of the lines add dots to the wings. Dip a pencil eraser into the paint and stamp it right onto the wings. This technique will give you perfect dots.
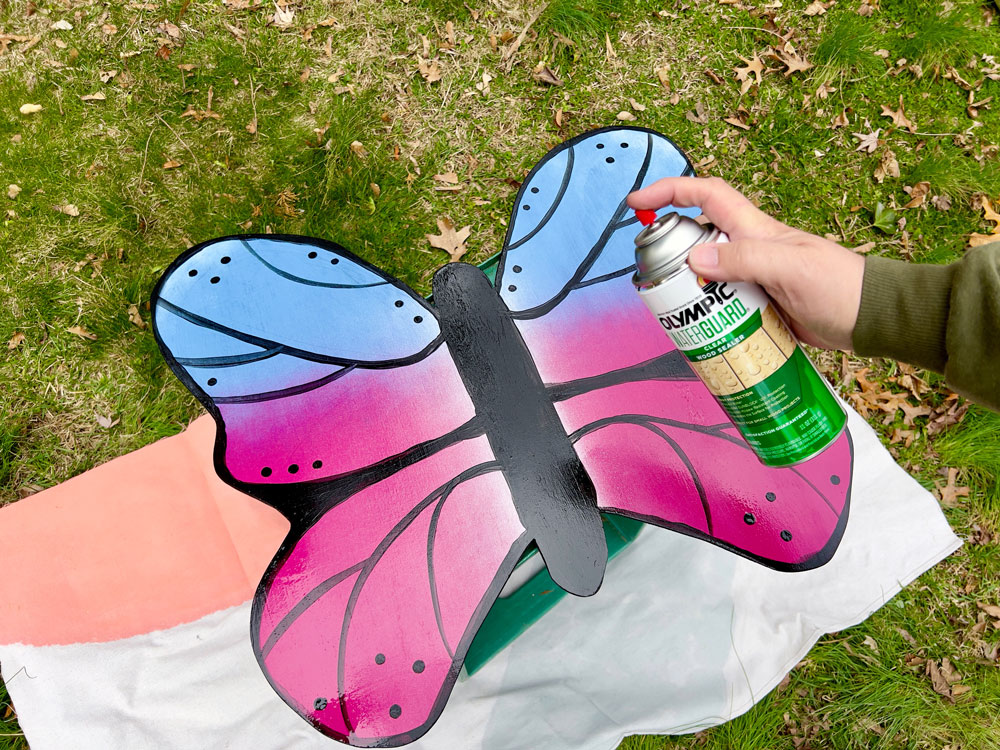
Once the butterfly is completely dry add a light coating ofclear wood sealer spray following the directions on the sealant you choose. This step will help keep your butterfly looking new whether you are displaying them inside or out.
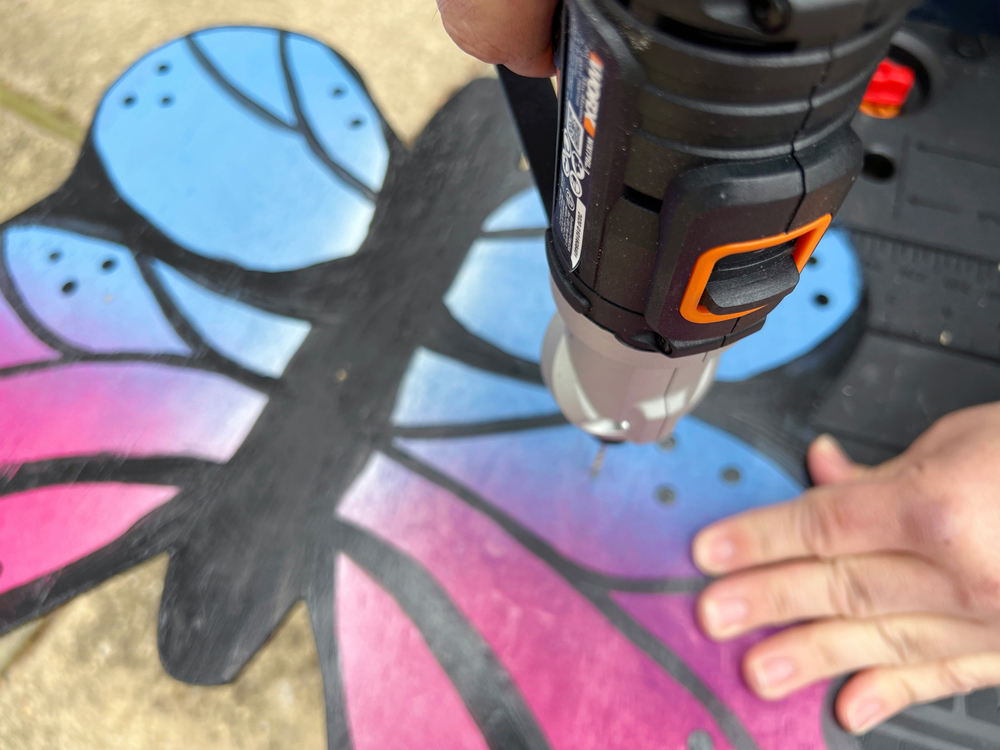
Make the butterfly functional by adding hooks or drawer knobs to it. This is a great way to hang your gardening tools in a beautiful way. Turn it over and mark out the spots of the hooks. Drill a hole slightly smaller than the screw, then add the hooks with the screws in the back. Drill the butterflies directly into a fence, a tree, or even your wall to keep it sturdy.
This post was created in partnership with The Home Depot. The author may have received compensation for this article and associated images or video, potentially in the form of products and/or services. All expressed opinions and experiences are the author’s own words.


