DIY Luxury Vinyl Flooring

Last updated August 21, 2024

Petite Party Studio is the vision of two BFF's, Shannon & Rebecca. These two interior designers shared a mutual daydream chatting over cubicles of someday owning their very own Brick & Mortar paper and party shop. When they started having kids, designing printable party invitations from home was the perfect transition from their corporate model home design jobs. Since these two creatives have joined forces, their work and products can be seen in print and on-line publications such as Martha Stewart Weddings Magazine, Parents Magazine, Hostess with the Mostess, Emma Magazine plus many more along with numerous appearances on local morning shows.
A Note From The Home Depot
Rebecca and Shannon of Petite Party Studio needed to replace the flooring in their expanding party supply shop. They came up with a simple yet chic and vibrant look using vinyl flooring and bursts of bright color throughout the space.
Here they show us how they installed the vinyl flooring. And don’t miss the photos of their bright, colorful shop after the makeover.
Table of Contents
Step 1
Step 2
Step 3
Step 5
The building that houses our shop was built in the 1930s, and the subfloor was a little less than perfect. We knew we needed to go with a flooring option that had some flex– Allure Luxury Vinyl Planks. We had used a different Allure product when we first moved in and were beyond happy with the ease of installation and maintenance of their products, so we knew that Allure would be the obvious choice for our remodel project.
Step 1
The first step was to remove the carpet and vinyl. This was the hardest part of the project.

Step 2
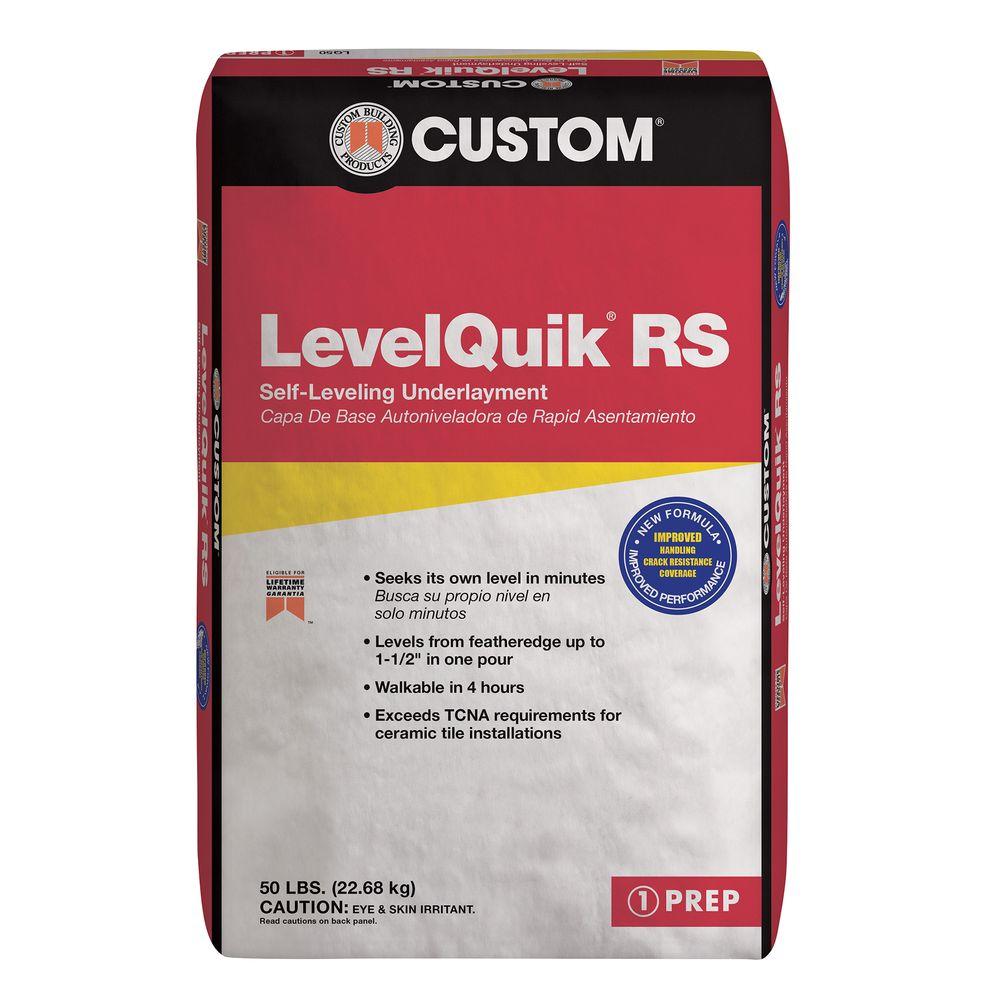
Next we needed to level out some low spots in the subfloor using a self leveling underlayment.

Step 3
Then we cleaned up as much of the old flooring residue with a scraper and a shop vac.
We picked the wide plank Allure Ultra in Smoked Oak Silver and when it arrived and we saw it in person…it was GORGEOUS and we couldn’t wait to get started!


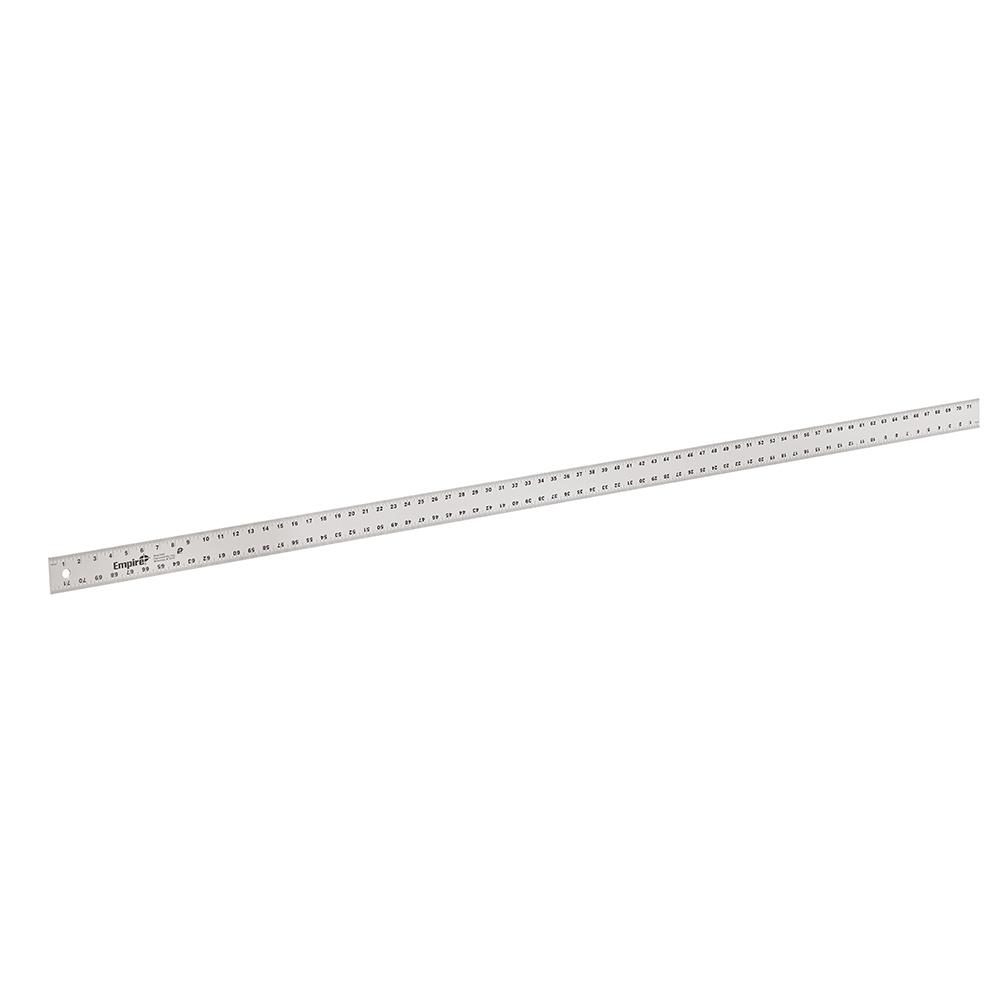
Once the prep was complete, we started off with a quick measure to figure out our first row and got to work. The instructions provided with the vinyl planks were very clear and easy to follow.
This is a floating floor that uses a tongue-and-groove locking system. Starting with the tongue side facing the wall these planks fit together with little effort. The ends of the planks have little locking strips that snap into place and secure the planks.

Once the first three rows were in place, the installation moved very quickly.


When you are at the beginning or end of a row, trimming this product is so simple. We used a straight edge and a utility knife, just score and snap!!

The key to a clean cut is making sure to use a sharp blade.


We used a staggered pattern, and the instructions state to make sure that there are not any cut pieces on the ends that are less than 12 inches in length.


Once you get into a rhythm, this flooring was fun and easy to install.
One tip we recommend is to continue sweeping as you go along to make sure there isn’t any debris hiding under the planks.

Step 5
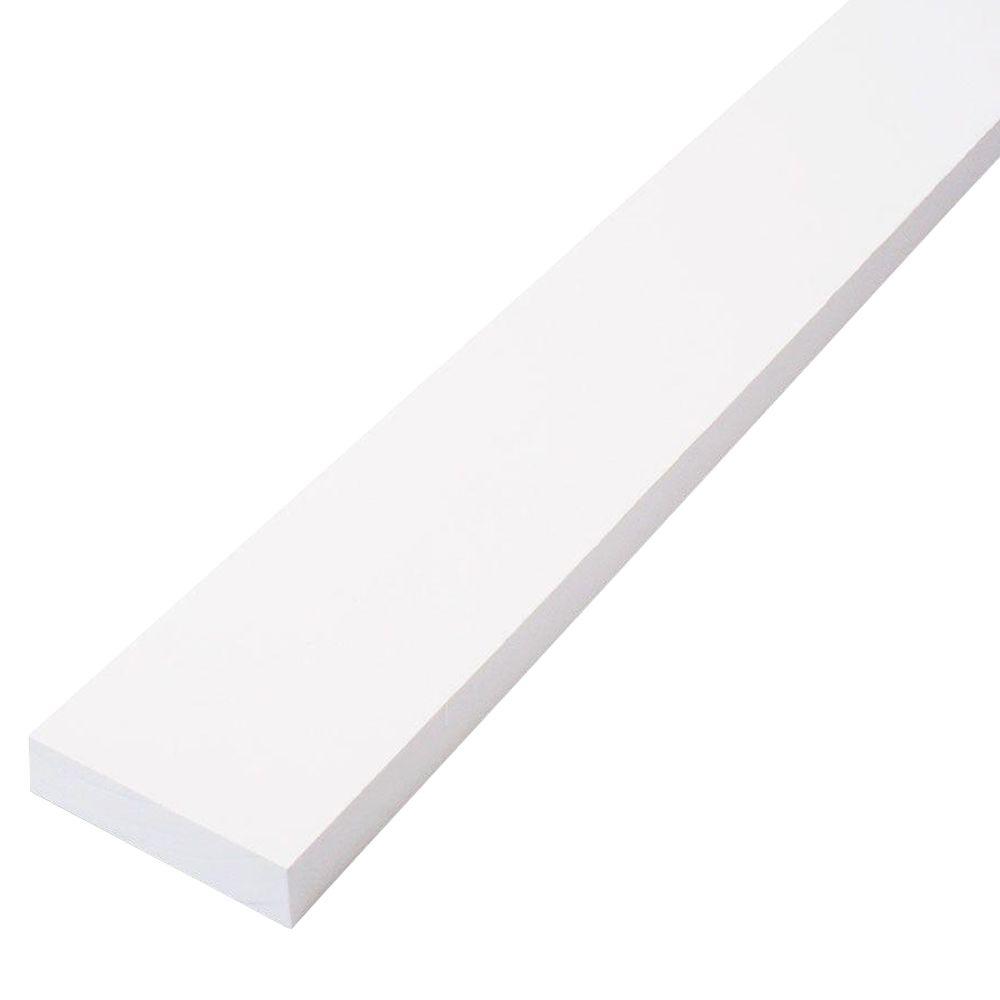
We finished our flooring off with a basic pre-primed finger joint boards that we secured using our brad nailer.


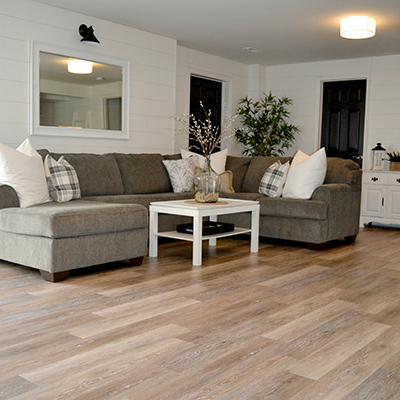
Here is a look at the final space, the flooring turned out amazing!!! The color is perfection and has the overall look and feel of real wood. PLUS it is so easy to care for!!
Wanna see the before?


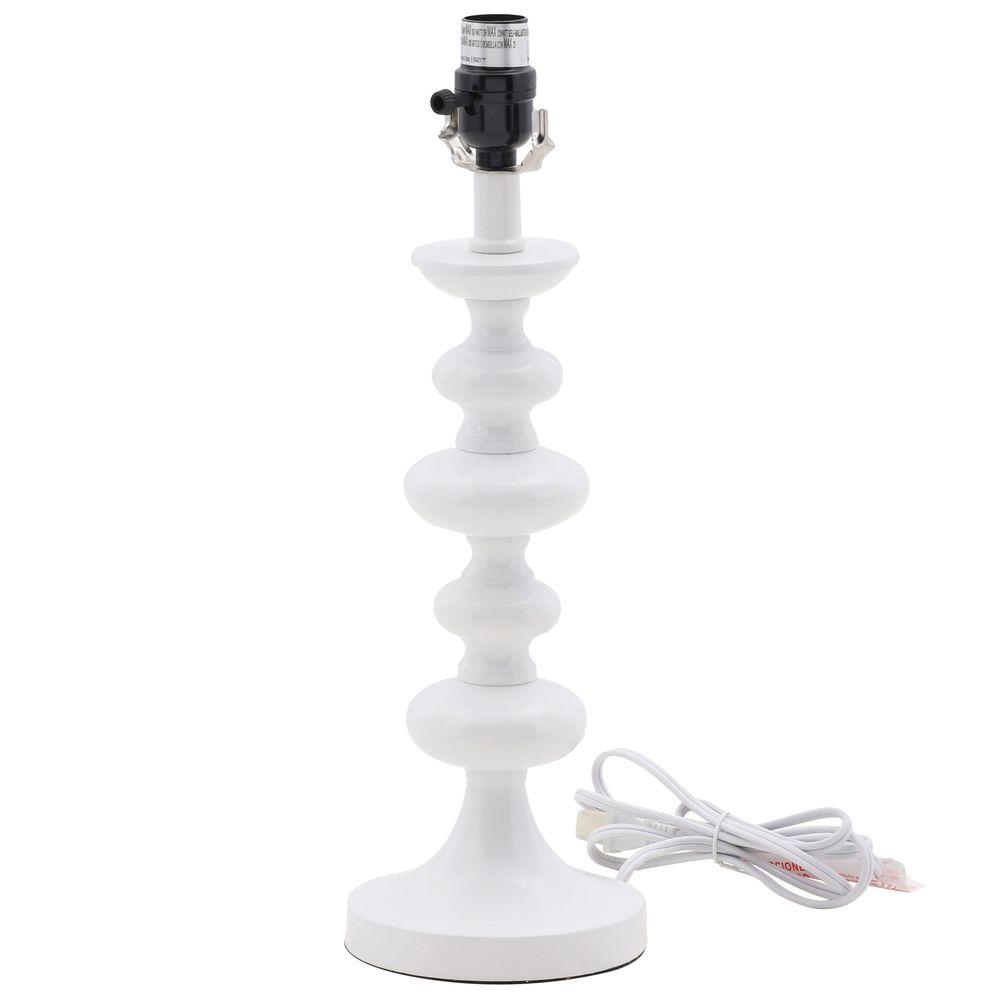
Quite a difference, huh? And here is a peek at some details from around the studio…we were able to find the darling cafe string lights, turned lamp, succulents, Behr paint for the dresser and ceiling lights all at Home Depot!!


Rebecca and Shannon have more about reflooring and redecorating their shop on their blog.
Rebecca and Shannon are the creative duo behind Petite Party Studio— a blog where design, DIY and parties collide. They live in sunny Gilbert, Arizona where they run a brick-and-mortar shop selling the latest in party decor and curated gift items. When they are not tending to their store, you can either find them chasing their kids around or dreaming up a project for their home or next event.
Browse The Home Depot’s Flooring Department for vinyl flooring, wood flooring and carpet.
Follow our Flooring, Carpet & Rugs board on Pinterest for tips, trends and projects, from wood floors to carpet installation to area rugs.
This post was created in partnership with The Home Depot. The author may have received compensation for this article and associated images or video, potentially in the form of products and/or services. All expressed opinions and experiences are the author’s own words.