DIY Outdoor Chair Building Guide: 3 Easy Steps
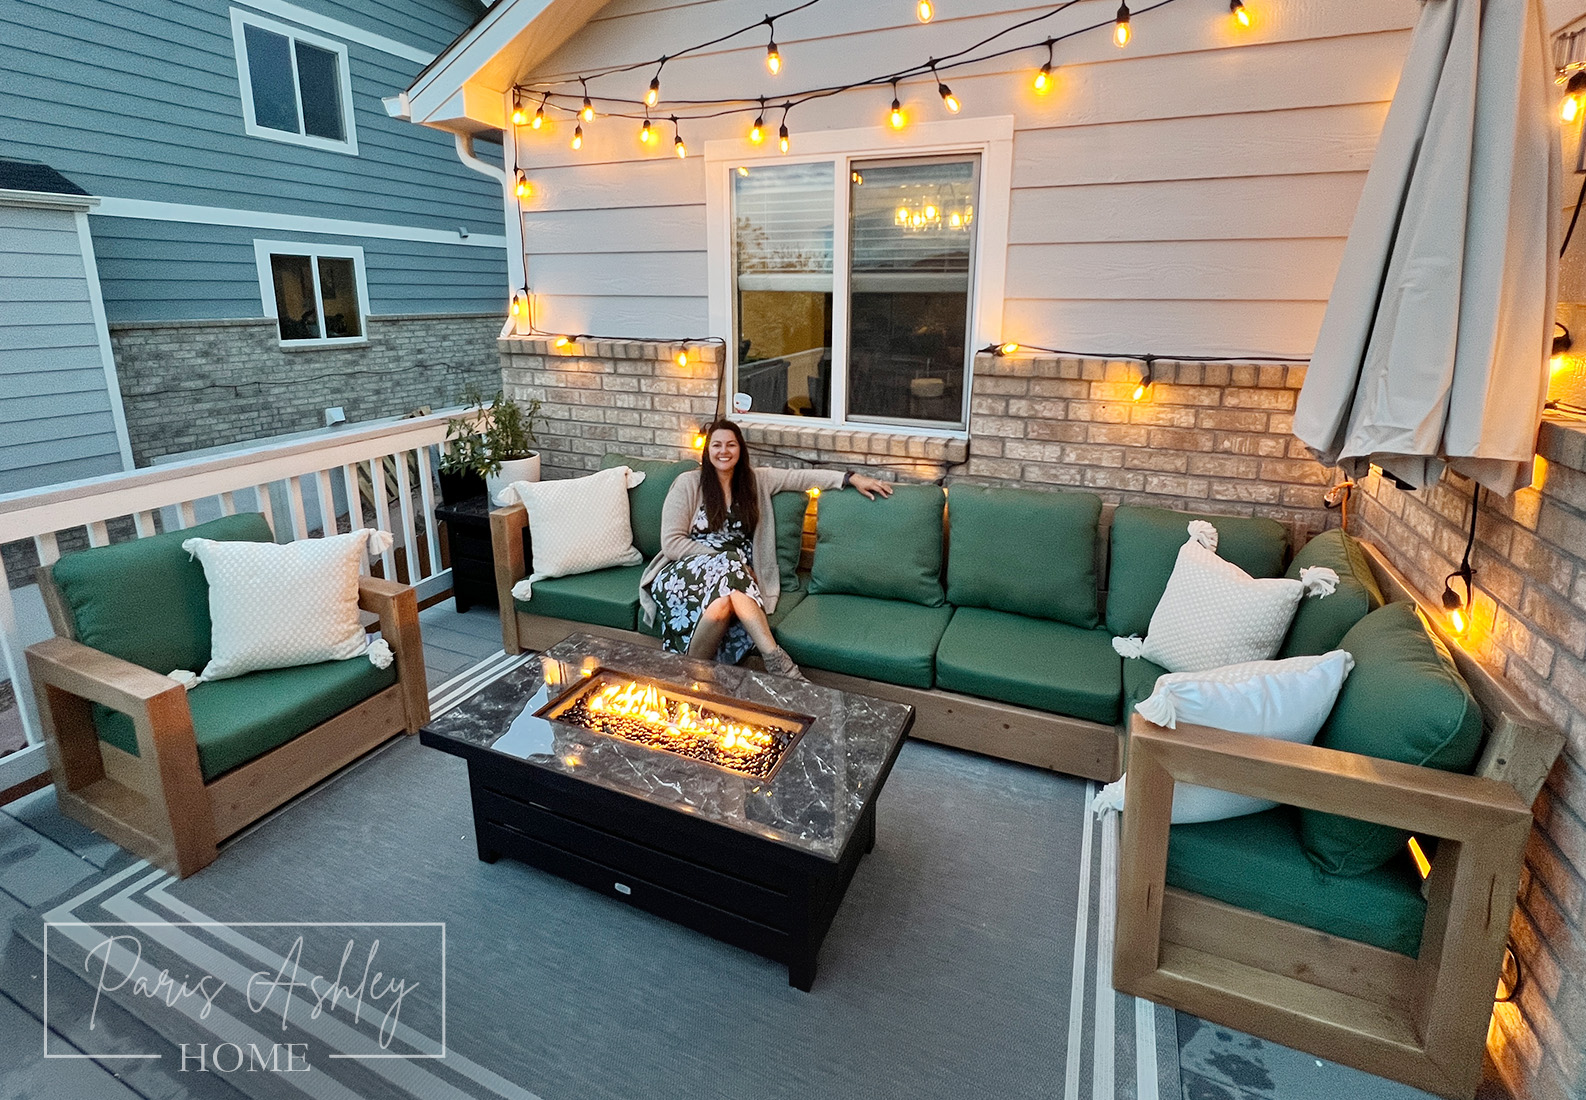 "A woman enjoying her refreshed and decorated patio")
Published June 20, 2024

Hi! I'm Paris, a working mom of 2 sweet boys and it's my passion to be able to help others in any way that I can. I am a DIY influencer and content creator, teaching others how to get creative with their space and helping them build their confidence along the way. Join me as I turn my house into my dream home.
A Note From The Home Depot
Follow along as Paris Karnes, the face behind Paris Ashley Home, shows us how to build an outdoor chair, loveseat, and couch perfect to enjoy summer nights out on the patio.
Table of Contents
1. Cutting and Assembling the Base
2. Congrats the Base is Built! Let’s Move on to the Slat Support, Slats and Back!
3. Congrats, Your Base is Finished! Let’s Install the Back!
4. CONGRATS, YOU BUILT A CHAIR!

Today we are going to build an outdoor chair! I will also tell you how to easily adjust the measurements to change the size of the chair to turn it into a loveseat or couch.
Below, I have included a cut list and placement, please refer to these when I’m going over the how-to process! I based all my cuts off the 24” x 24” Hampton Bay cushions.
After building my chair, I drafted basic renderings and perfected my cuts and plans. You can either cut all the pieces in the beginning or go phase by phase. The choice is yours!


1. Cutting and Assembling the Base

Grab your 4 x 4 boards and cut four 26” pieces and four 22” pieces on a diagonal (trapezoid), 26” and 22” is the max width of the diagonal cut.

Next, let’s assemble the outer sides of the chair, grab your 3” and 4” star head screws, wood glue and impact driver. Lay out four of your 26” diagonal cuts in a square on a flat surface. Start with one corner and add wood glue to the end of the board. If you have big enough corner clamps, you can use them here, I did not, so I just used my body weight to hold the piece in place while I added two 3” screws and one 4” screw to each side of the corners. Repeat until all corners are attached and both squares are made.

This is your opportunity to adjust the measurements if you want a loveseat or couch instead of a chair, refer to the renderings and pick your 2” x 8” cut sizes.
Once all your 2” x 8”s are cut, grab your Pocket-Hole Jig, and place four pocket holes on each end of your boards. There is usually a nicer side of the wood; I choose the side that has more imperfections to face the back of the chair (less seen) and place the pocket holes.

At this point we are ready to sand, stain & seal the base. Before we sand, use wood filler and fill any cracks in the wood or any screws that are visible. Once the wood filler is dry, use your orbital sander and sanding discs, sand all sides and ends of your boards first with 80 grit, then 120, and lastly with 220.

After you finish sanding it’s time to stain. We will start with a wood conditioner as this gives the stain the best chance for an even application without splotches. Give the wood conditioner 30 minutes to soak in before staining. The actual stain color is up to you. I used one coat of Antique White for a whitewash to reduce the yellow from the wood, then two coats of my favorite stain, Early American. I used oil-based stains, which require 24 hours to dry before applying a water-based stain. After 24 hours, we can seal our boards. I applied three coats of the Spar Urethane, sanding with a 220-grit sanding block between each coat of sealer.

We are ready to assemble the base! Reference the renderings for proper placement of the boards and support pieces. Using spare 2” x 4” blocks, place them under the 2” x 8”s for the proper base height (view image). Attach the 2” x 8”s to the 4” x 4”s using 3” star head screws and 2.5” kreg pocket screws.

Before we move to the next phase, grab your caulk gun and 100% clear silicone caulk and caulk anywhere two pieces of wood meet each other to prevent any water from getting in and to extend the life of this sectional as long as possible!
2. Congrats the Base is Built! Let’s Move on to the Slat Support, Slats and Back!

Before we start on the slat supports and slats, reference the third set of renderings, and cut your 2” x 4”s and 4” x 8”s for the backs. Add pocket holes to the 2 @ 10” - 4” x 8” boards, two on each end on the same side. Grab your two long 2” x 4”s and add two pocket holes on each end of the shorter boards, and three pocket holes on each end of the longer boards. No pocket holes are needed on the 17” - 2” x 4”s. Sand all your boards with 80, 120 and 220 grit.
Assemble the backs upside down. Use spare wood to raise the long 2 x 4” to the height of the 17” - 2 x 4”s. Use 2.5” pocket hole screws and wood glue to assemble. Once both back frames are assembled, dry fit the frames on the base of the bench.

When everything fits perfectly, evenly space out the 10” boards, roughly 3” apart. Use wood glue pocket screws and clamps to assemble the back, make sure the pocket holes are facing the backside, for a better aesthetic.

Now that the backs are built, go ahead and wood condition, stain and seal your built backs, your 2” x 2” and 1” x 4” the same way you did the base. I added silicone caulk to all the pocket holes to prevent any water damage in the future. You could use pocket hole plugs instead here, but silicone caulk is much more cost and time effective, and you’ll never be looking at the back if it’s against a wall. If your bench is sitting in the open, I would suggest using pocket hole plugs, then sanding and staining them to match.

Once your boards are sealed and dry, reference the second set of renderings I provided and cut all your slat support pieces and slats. Dry fit your pieces first and make any cut adjustments necessary. They should fit perfectly, but we are human and it’s best to double check!
Grab your 2” star head screws, countersink bit & impact driver. Pre-drill four countersink holes and screws into the slat supports. Use a slat to ensure the placement of the slat support is the perfect height for the slat to sit level with the base of the bench. Using a clamp to hold the slat support, grab your impact driver and screw in the slat supports.

Once the slat supports are installed, grab your silicone caulk and caulk all the seams as well as the screw holes.

Grab your slats, 18ga Brad Nailer and 1.5” brad nails. Evenly space them out across your chair and use three nails on each end of your slats. Again, grab your silicone caulk and caulk all the slat seams and nail holes.
Note: Using the silicone caulk is NOT necessary, but I believe it will extend the life of this outdoor chair.
3. Congrats, Your Base is Finished! Let’s Install the Back!

Grab your seat cushion, two clamps, tape measure, rubber mallet, drill, countersink bit, impact driver, 3” star head screws and your assembled and sealed back.
Place your seat cushion on the chair, grab your assembled back and put it in place. If necessary, use your rubber mallet to tap it into place, sitting just above the cushion and angled back slightly. This ended up being 8” from the bottom of the back to the top of the 4” x 4”. Grab your drill and countersink bits and drill four holes on each side. Using your impact driver and 3” screws, screw in the back to the 4” x 4”s on each side.
Lastly, caulk the screw holes. Wait 24 hours for the silicone to dry before putting your cushions on.
4. CONGRATS, YOU BUILT A CHAIR!

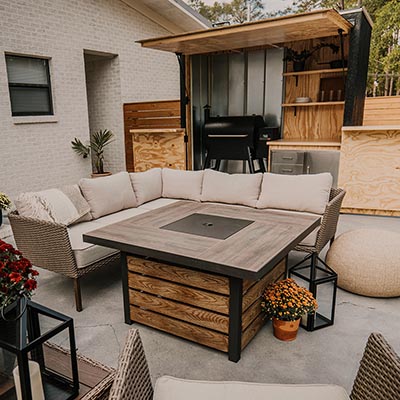
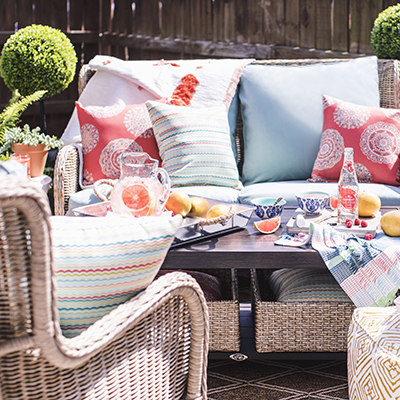
Enhance your outdoor space with cushions, pillows, and decorative items from The Home Depot to create a cozy retreat.
This post was created in partnership with The Home Depot. The author may have received compensation for this article and associated images or video, potentially in the form of products and/or services. All expressed opinions and experiences are the author’s own words.