DIY Painted Rocks
Last updated August 21, 2024

Charlotte Smith shares her chaotic and color-loving adventures in DIY and design on her blog, At Charlotte’s House. Charlotte writes about fixing up her 1850’s historic home, her five small children, and bringing flea market and vintage décor into a modern home. Her design style is fun, personal, and… sturdy! Charlotte has appeared in print and online in Better Homes and Gardens, Fairfield Magazine, Houzz, Good Housekeeping and more. Each month you can catch her on News 8’s CT Style and on WWLPs Mass Appeal. Other on-camera appearances include Rachael Ray, Flea Market Flip and the Hallmark Channel’s Home and Family show.
A Note From The Home Depot
Need an easy and fun summer craft to keep the kiddos entertained during their break from school?
Charlotte Smith from At Charlotte’s House shows you how to create some friends that are sure to make everyone smile.
Keep reading to see how she did it with help from The Home Depot!
Table of Contents
Step 1: Check out Inspiration
Step 2: Prep the Area
Step 3: Collect and Clean the Rocks
Step 4: Paint those Rocks!
Step 5: Add Accessories
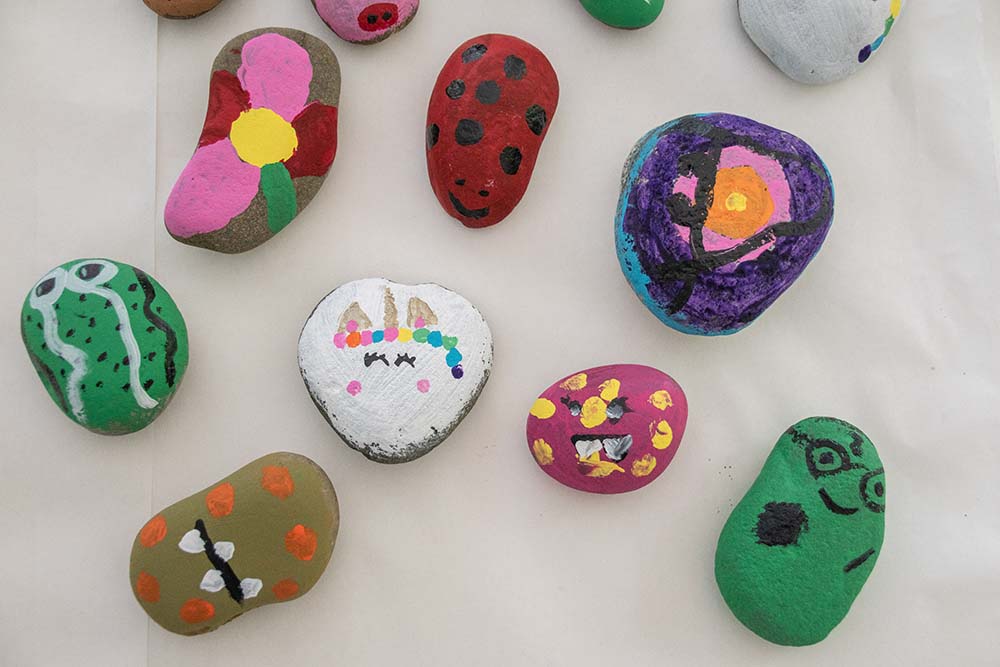
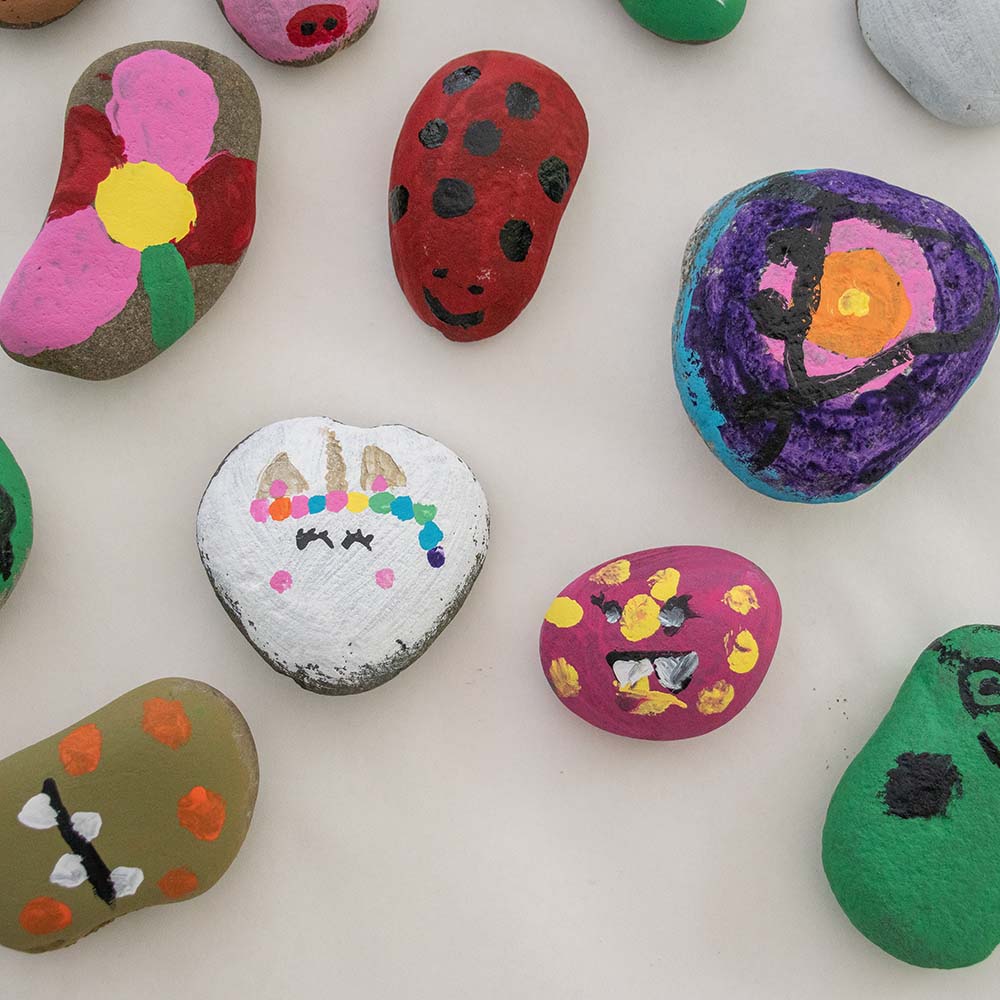
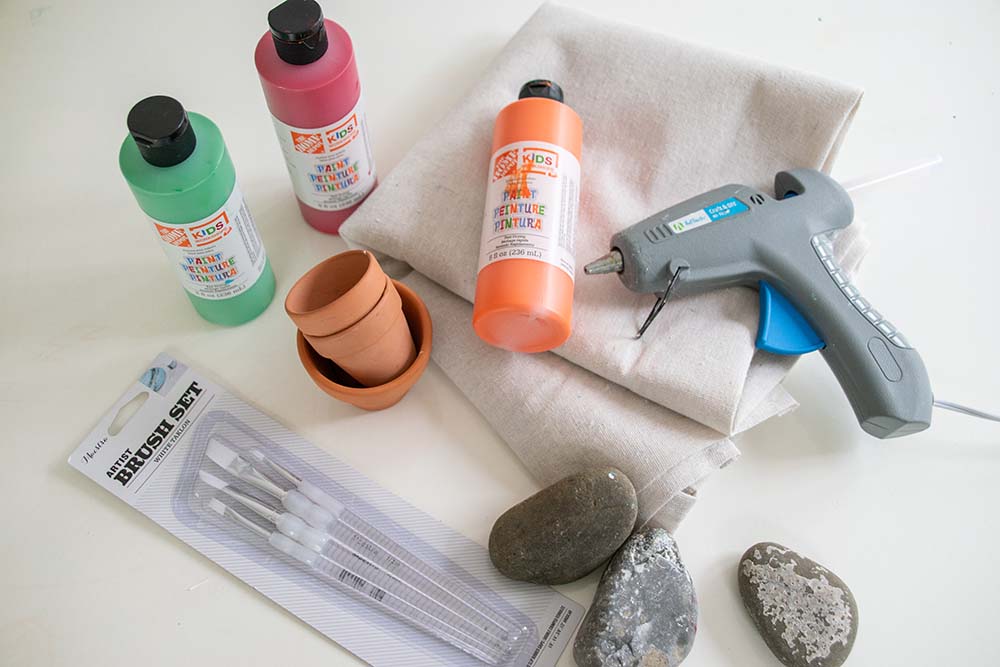
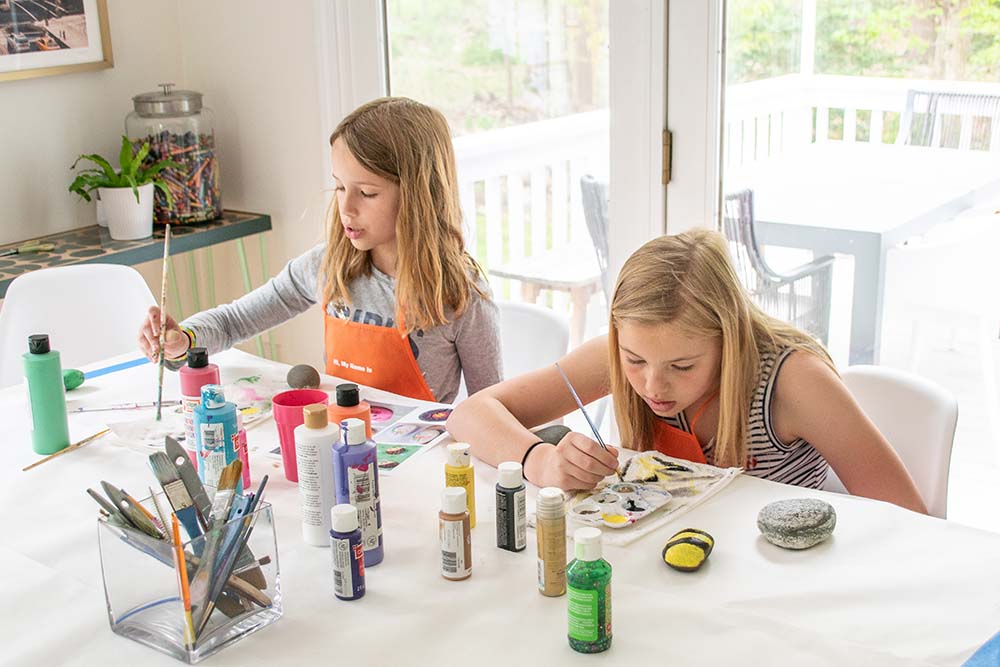
Today my kids are back at it with this super fun and easy Kids Workshop activity for the Home Depot! It all started with a trip to fetch some rocks from either side of our driveway. Don’t worry if you don’t have any rocks in our yard… just pick up asmall bag of smooth river rock from Home Depot. We have big plan to make ourselves some painted rocks! My kids were home from school for the day anhid ts was the perfect project for the three of us! The only materials you need are rocks, craft paint and paint brushes, and small terra cotta flower pots (links to everything at the end of this post!). We had a lot of fun accessorizing our rocks so I also picked up a small canvas painters drop cloth and grabbed my hot glue gun.
Step 1: Check out Inspiration
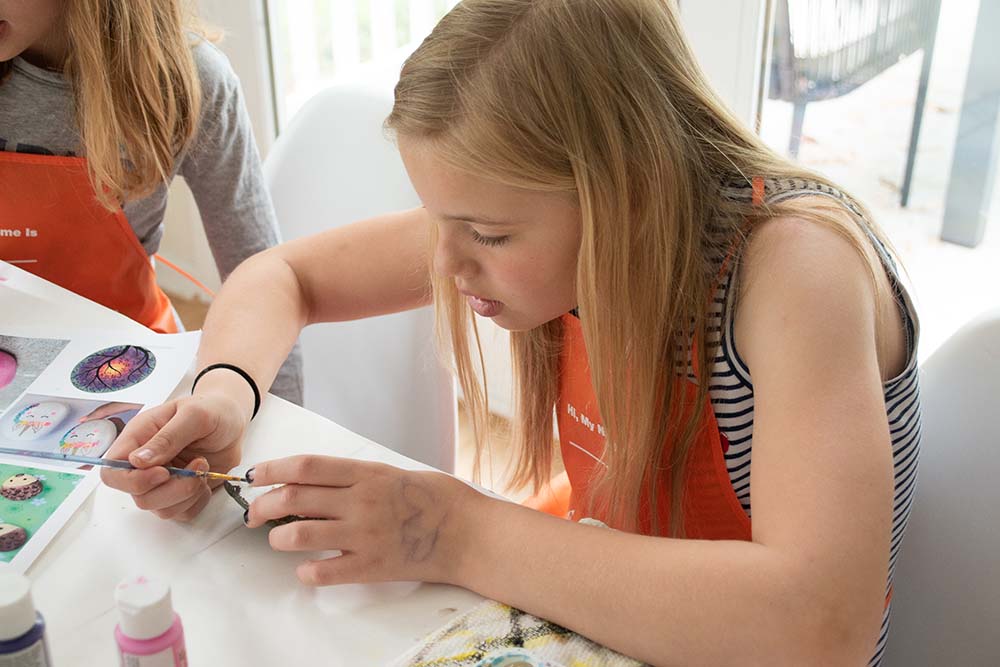
Whenever I start projects with my kids, I often let them poke around on Pinterest to get some inspiration ideas or just to get a better sense for what we’re making. We never end up copying the images we see online, but rather we use them to help us understand the project at hand! I actually love to see how my kids interpret the pictures they see and how they add their own spin!
Step 2: Prep the Area
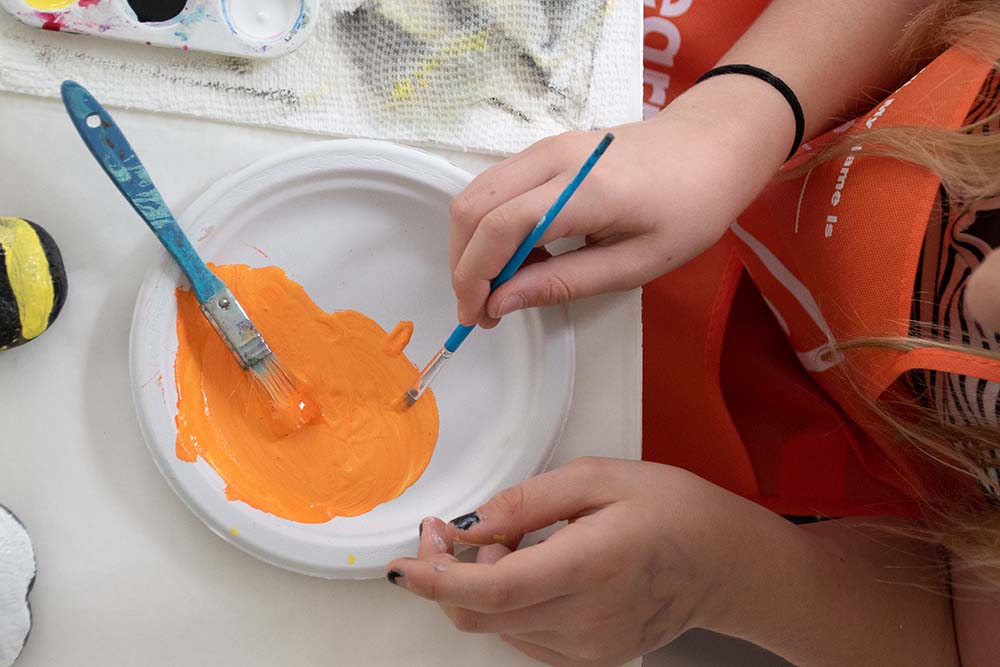
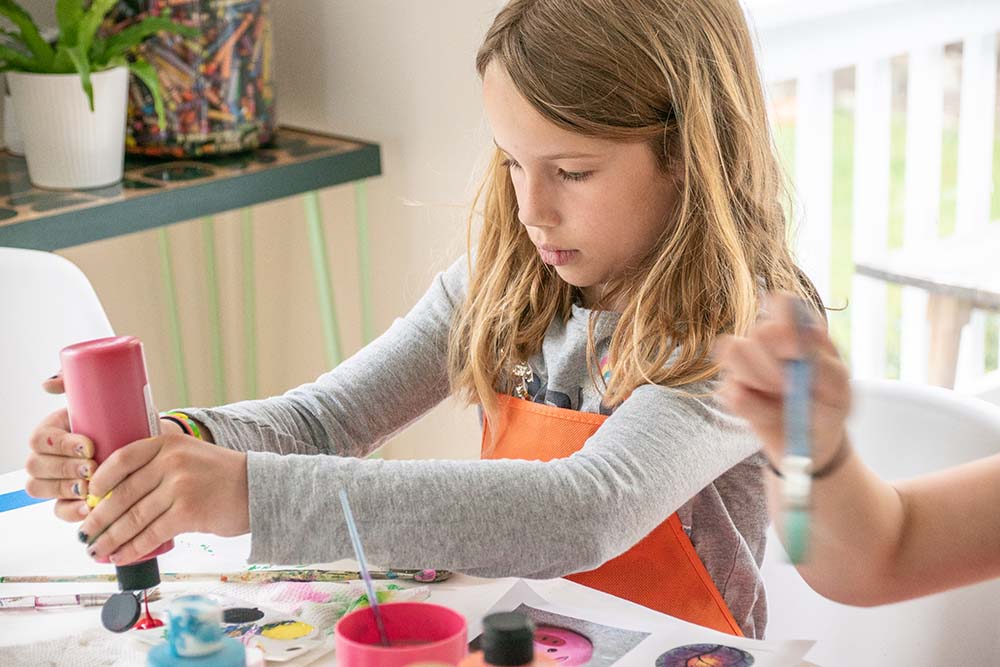
Before we can start any project with kids, we have to prep the area. This meant rolling out some paper to protect the table, picking out which paint colors they wanted and generally gathering things likepaint brushes, a cup of water and paper towels. When it came time to paint their rocks, we talked a little bit about the best way to layer the colors to create their various animals. In general, we tried to paint the body color first and then added the details after that first coat had dried.
Step 3: Collect and Clean the Rocks
Step 4: Paint those Rocks!
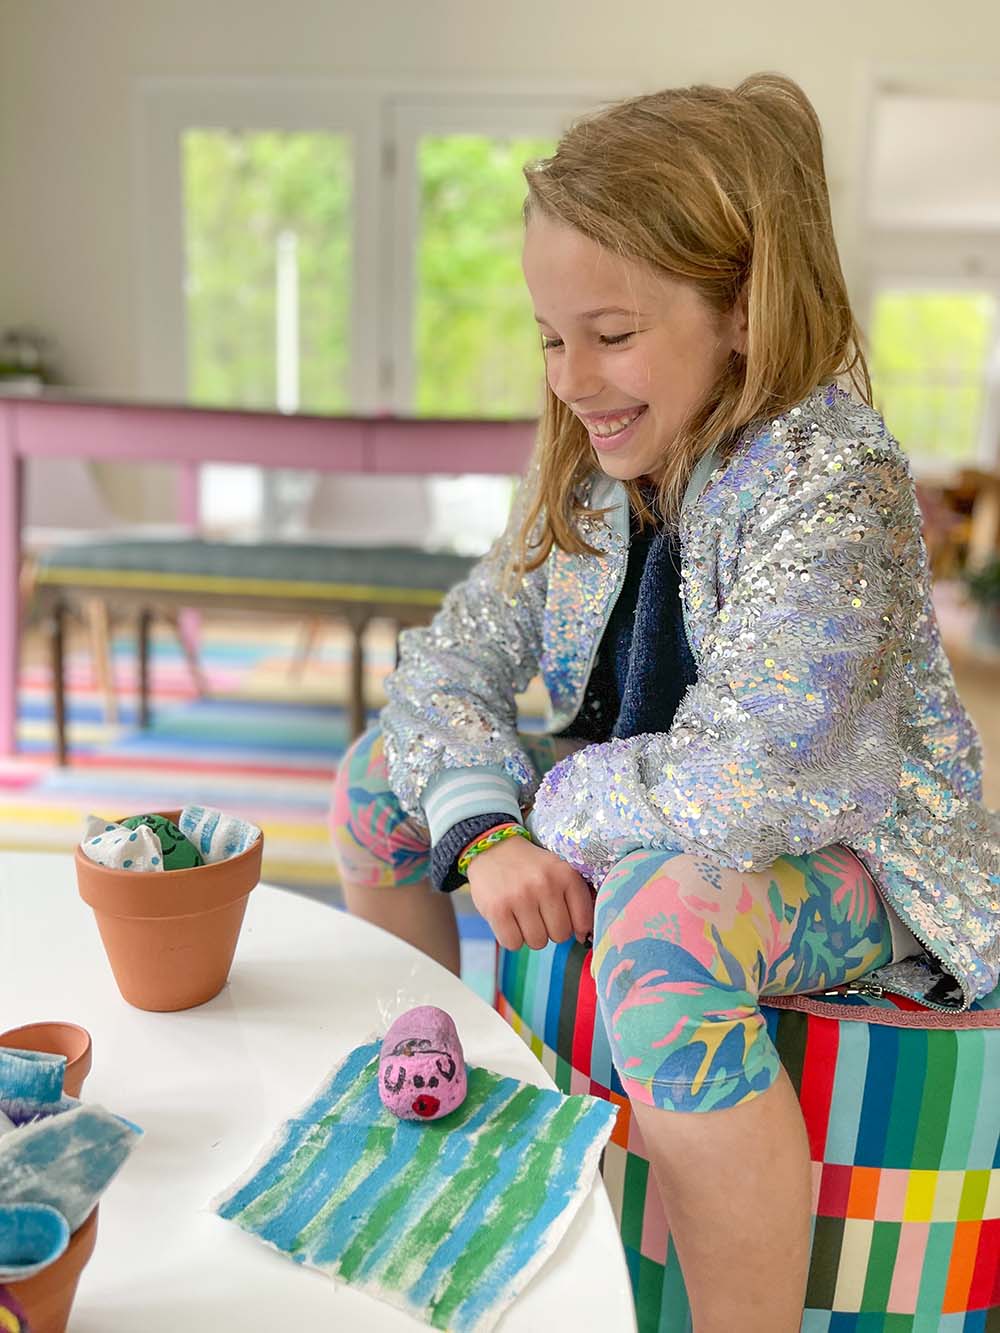
I’m sure I say this about every project I do with my kids, but my favorite part is always standing back a bit and just listening to them interact as they happily paint and create. They imagine together, they brainstorm together, they plot and plan together. We ended up with a whole collection of rocks with names and back stories by the time we were finished!
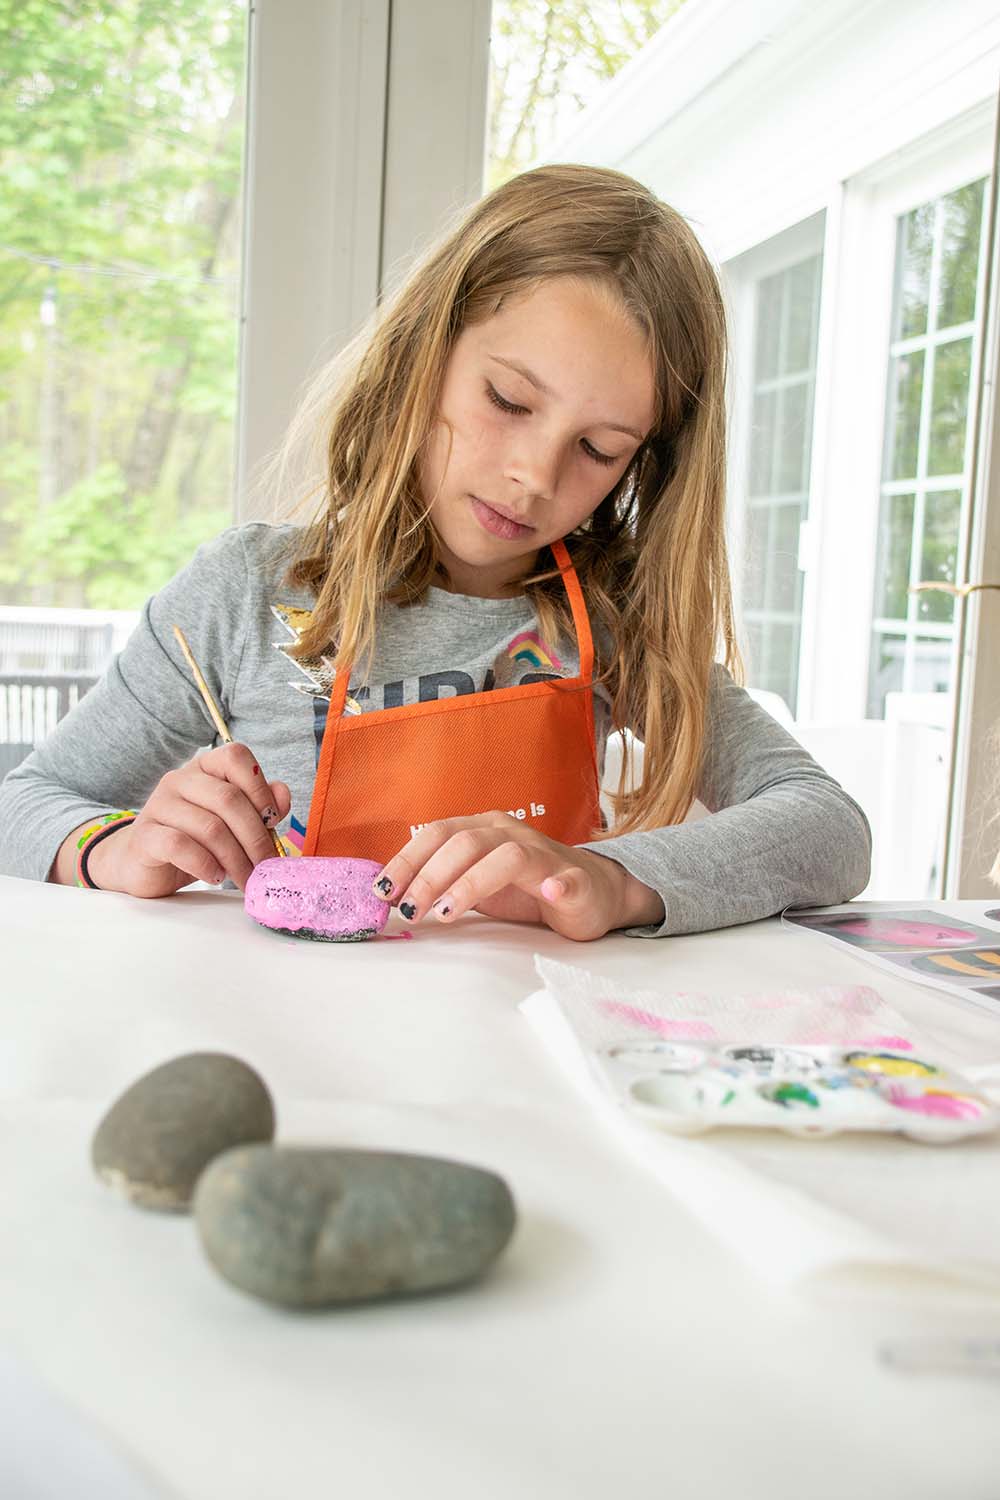
Step 5: Add Accessories
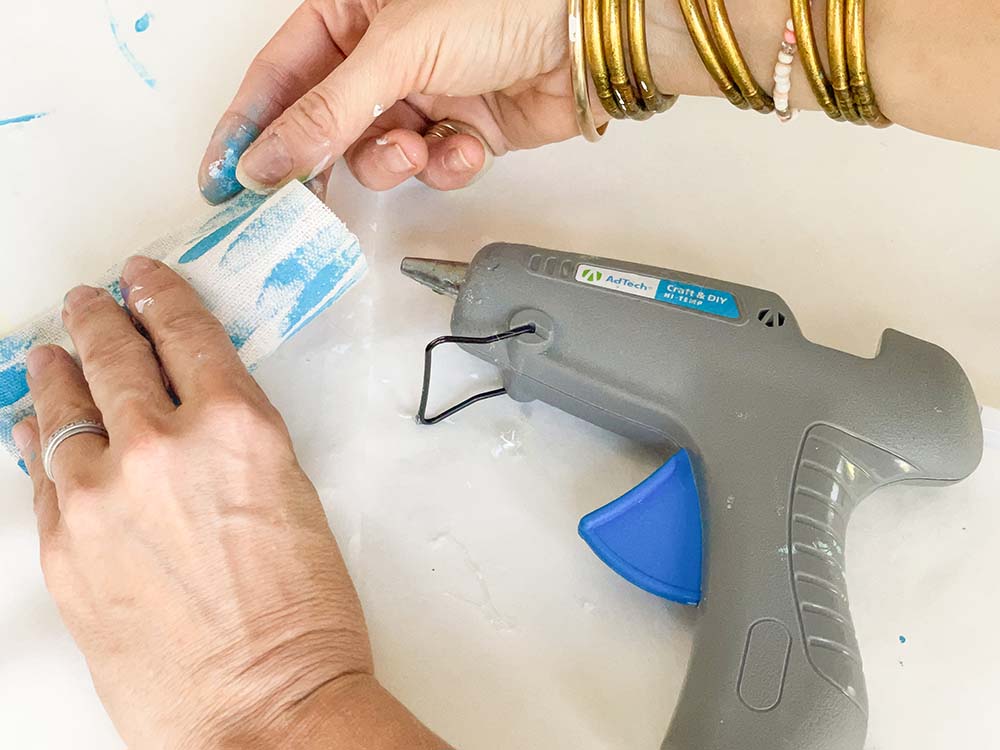
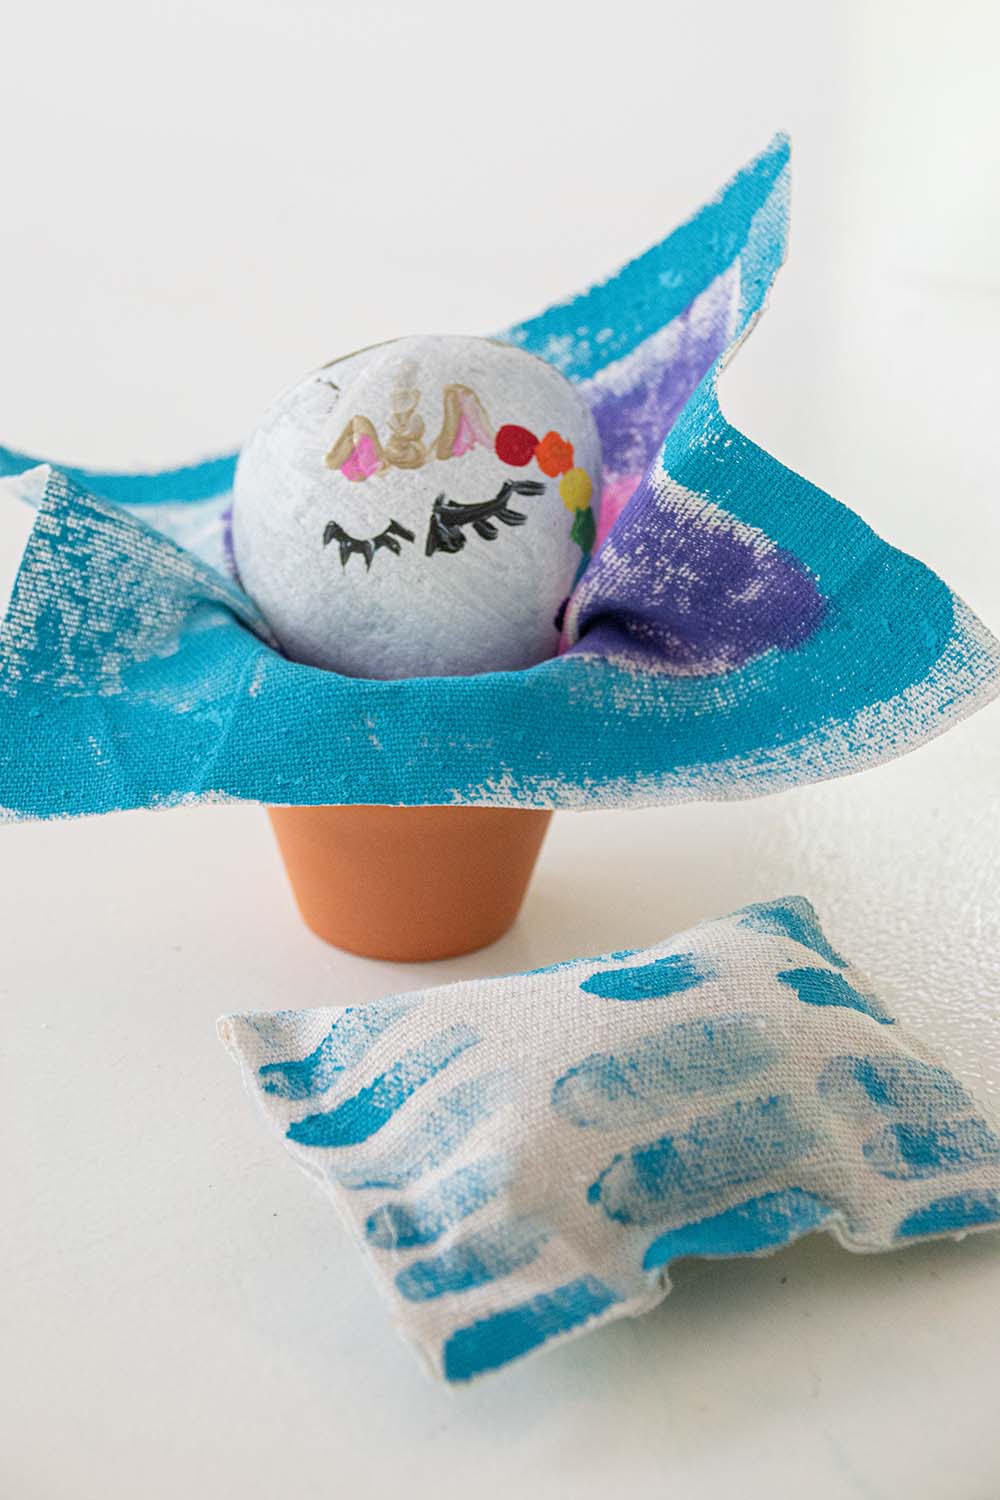
After listening to the girls as they were painting, I asked them whether they wanted to give their rocks accessories. The girls eagerly suggested pillows and blankets to make them cozy in their terra cotta pot homes. I didn’t think rocks needed to have fancy hand sewn pillows so I reached for my favorite sewing hack: the hot glue gun. (Fun fact… decades ago when I lived in a small New York City apartment, I used a hot glue gun to make a valance for my bedroom window… 28 year-old Charlotte was VERY pleased with herself.)
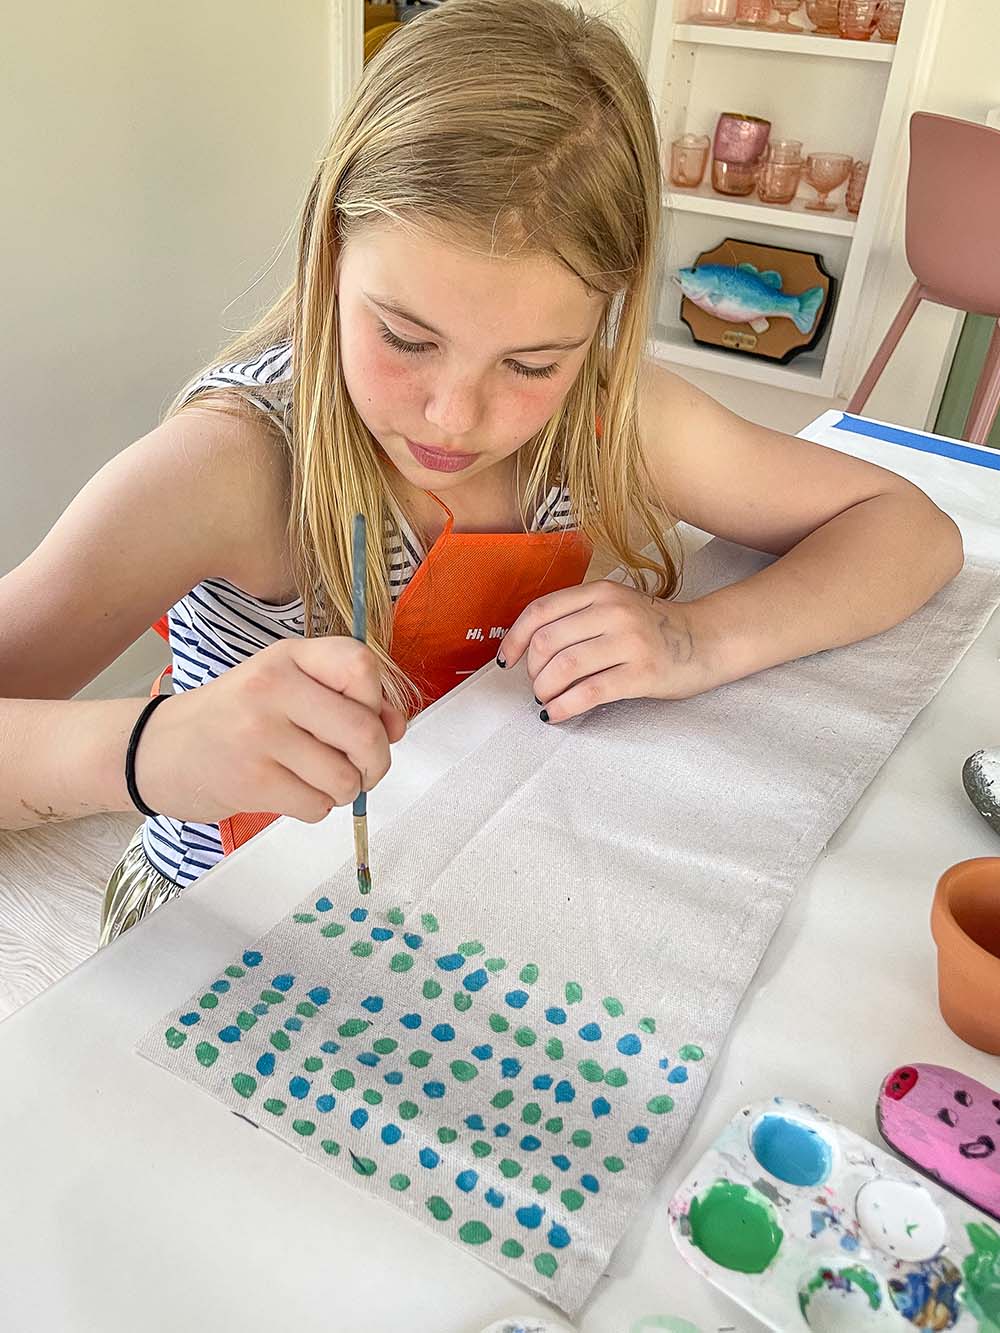
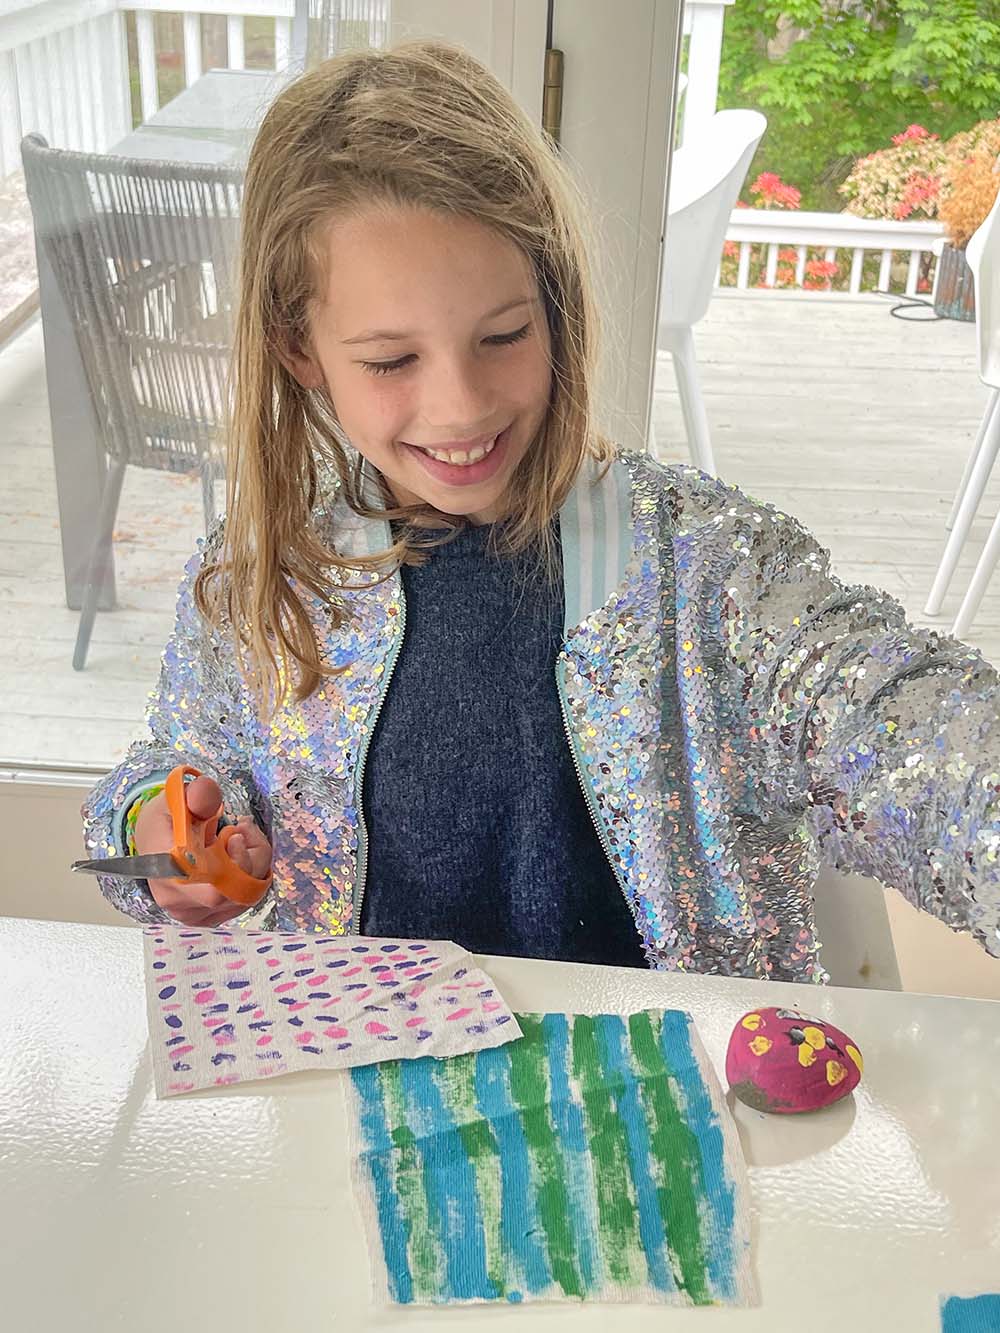
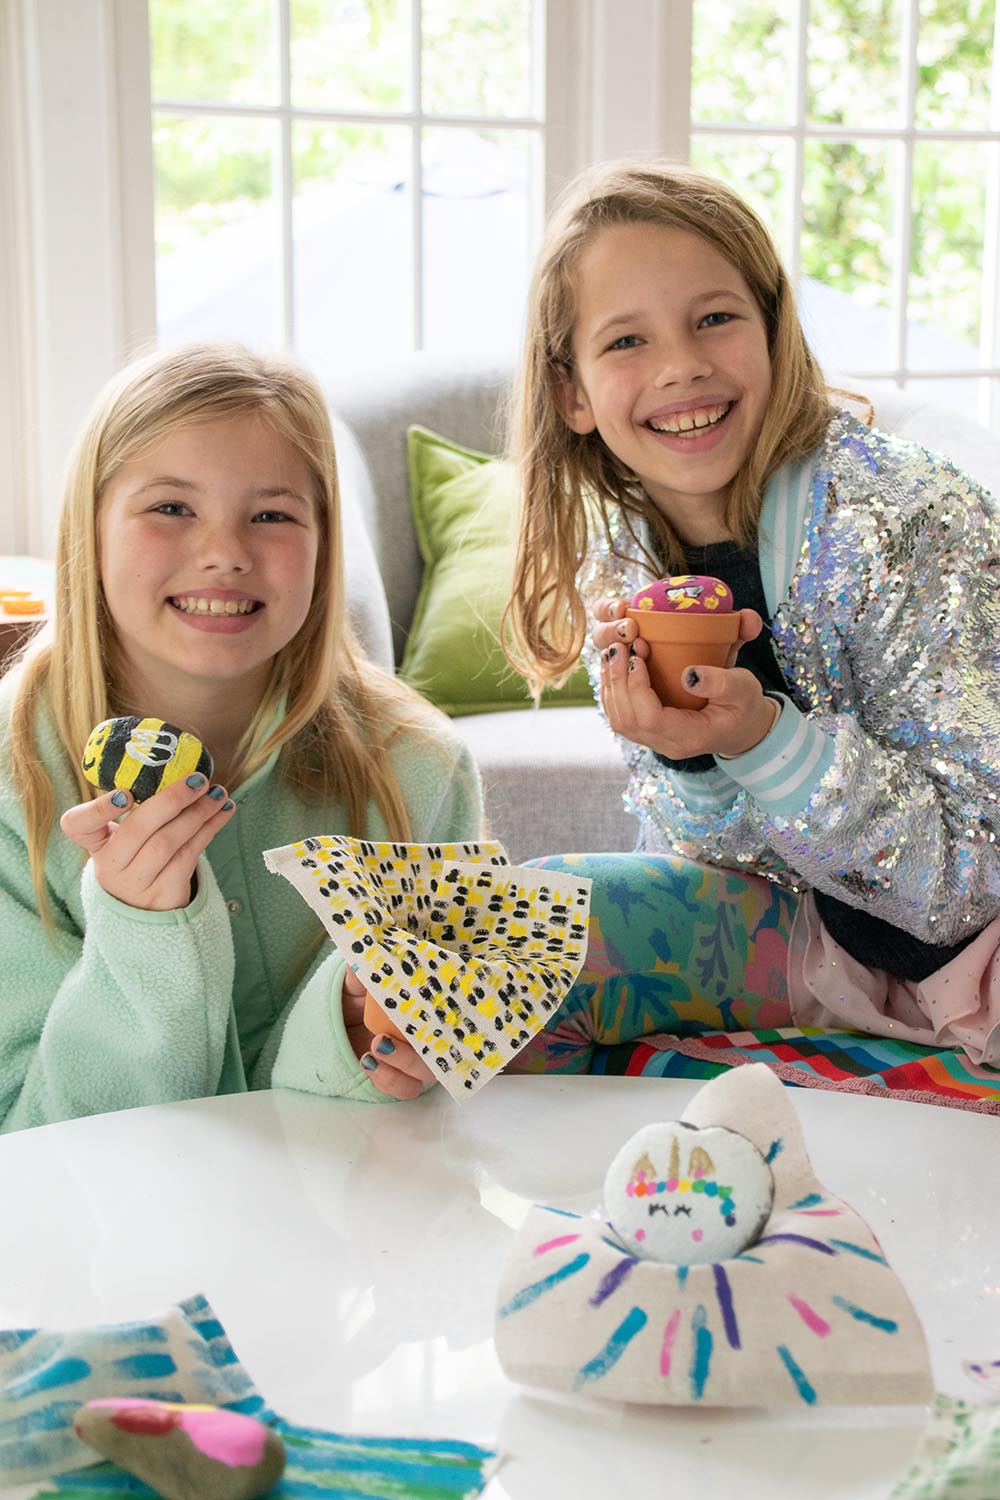
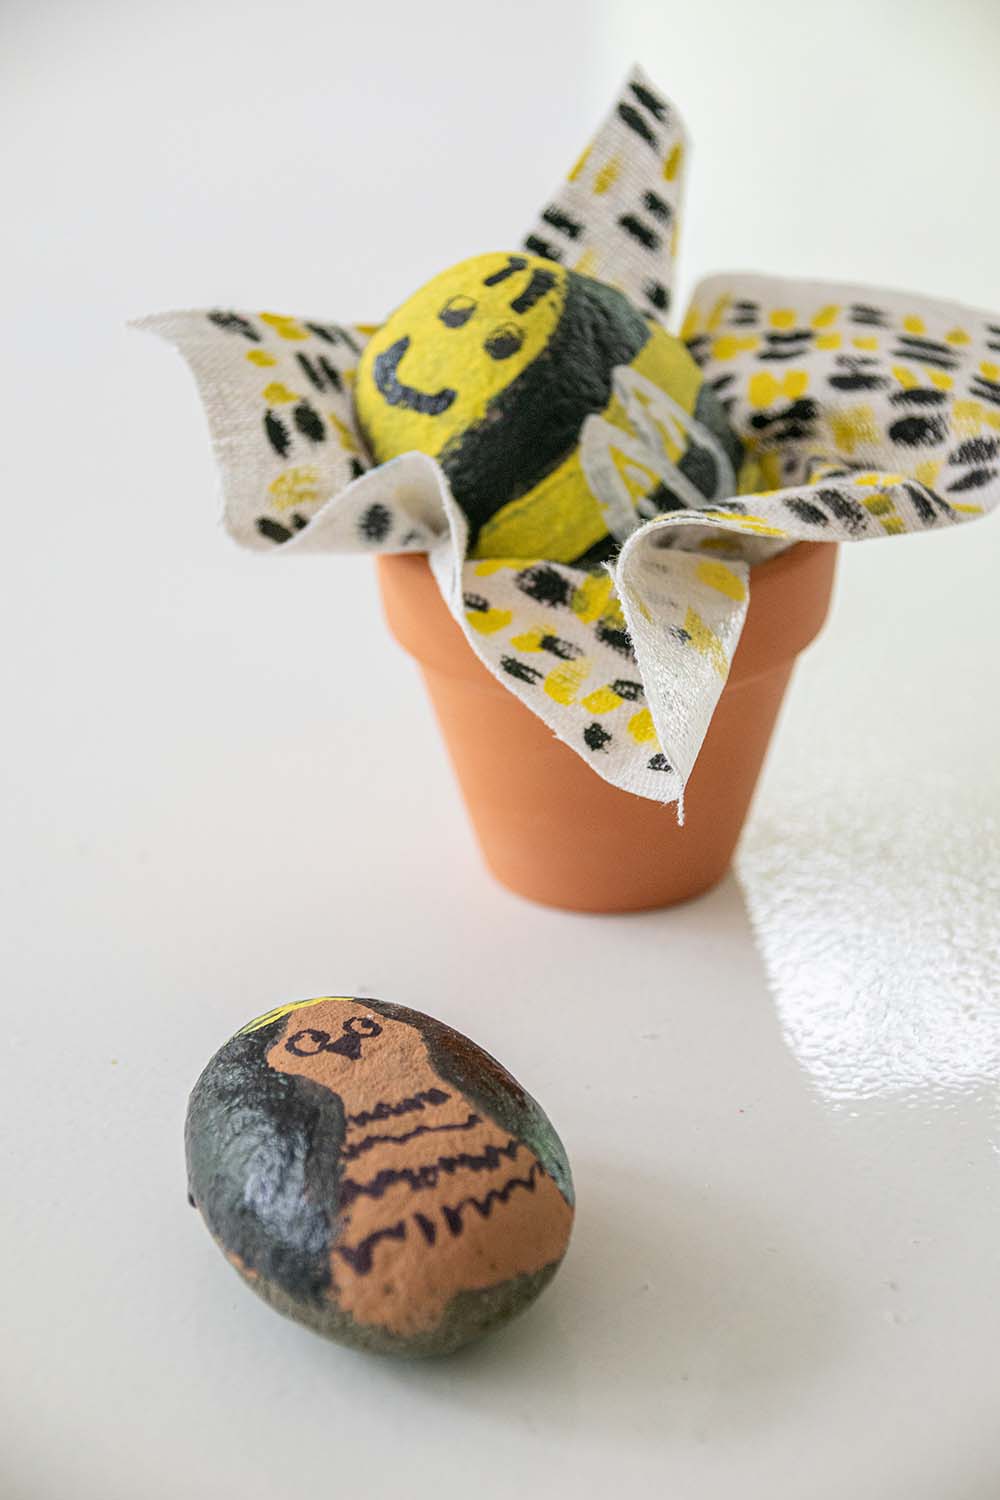
We cut a painters drop cloth into smaller pieces and used our craft paint to add patterns and designs. To make the pillows, I folded the fabric in half and glued two sides together. Then I added stuffing and glued the third side shut. The blankets were easy… all we needed to do was cut out the drop cloth and paint it however we wanted.

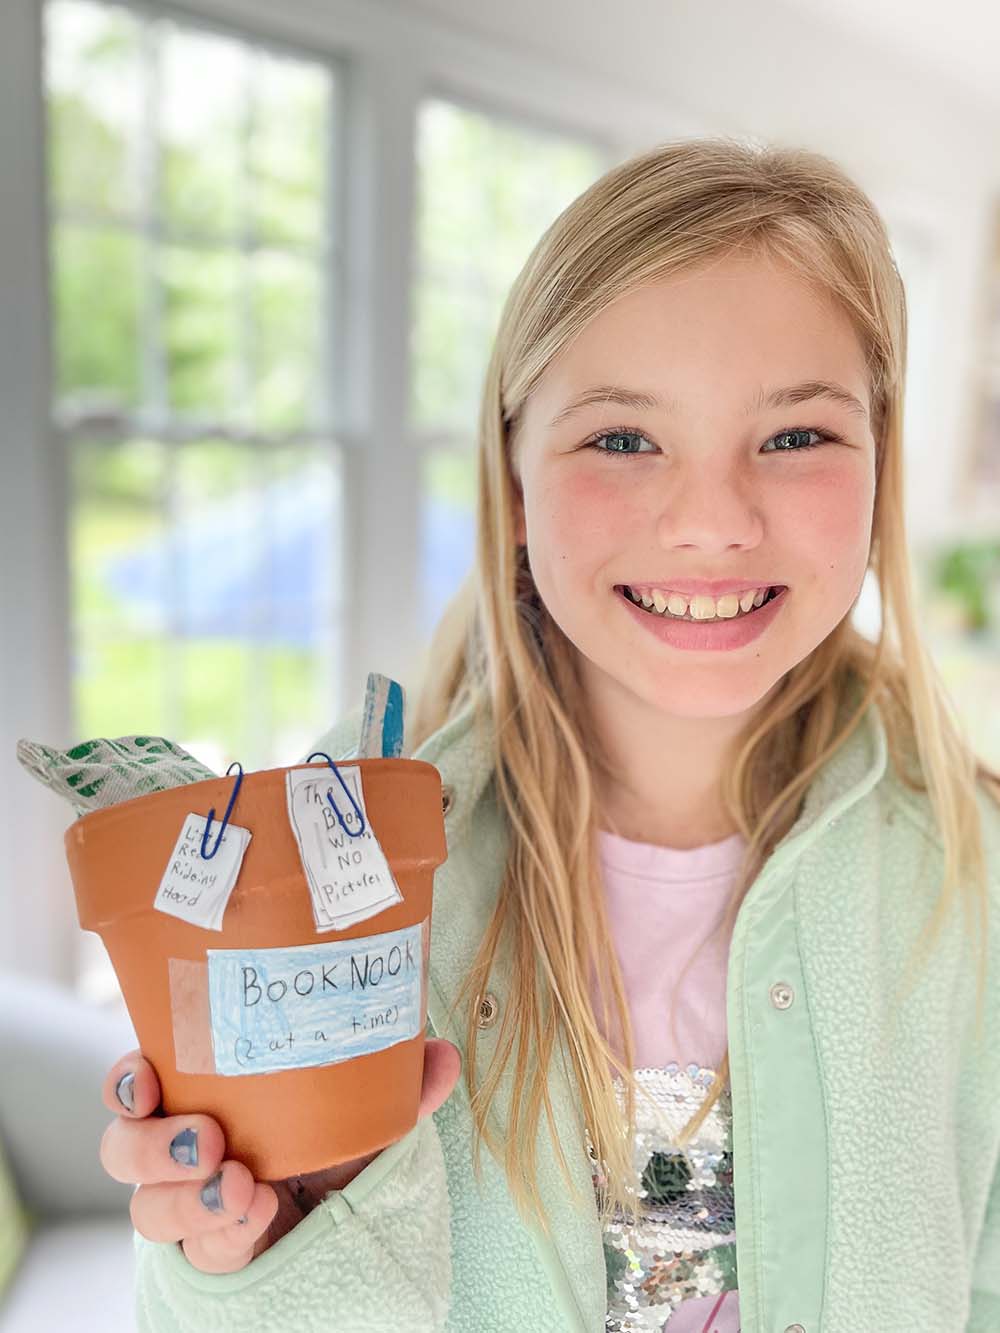
Once these lucky rocks had blankets and pillows… the girls’ imagination took over. Before I knew it, they were making little books and signs for their rocks and adding name tags and more. I was tempted to make one perfect final product for to use as an example of this project, but every time I looked at the sweet details on the ones the girls had made, I couldn’t possibly make one any better than theirs.
From the matching bee print blanket to the book nook complete with a miniature copy of “Charlotte’s Web”… I love how my kids took a simple project like this and made it their own. Ever since I was an elementary school teacher my favorite activities have been ones where I can set out the materials and the general instructions and the kids can take it from there to create whatever fantastical imaginary piece of art they want to! I can’t wait to see what your kids dream up when they make their rocks! For more kids workshop ideas, check outHomeDepot.com
For more kids products, be sure to visit HomeDepot.com/Kids.
This post was created in partnership with The Home Depot. The author may have received compensation for this article and associated images or video, potentially in the form of products and/or services. All expressed opinions and experiences are the author’s own words.


