DIY Pipe Art And Craft Storage Caddy

Last updated August 21, 2024

The Lily Pad Cottage, by blogger Kelly Rinzema, is a place for all things creative.
A Note From The Home Depot
This might be easiest tutorial for a DIY art caddy ever. It’s just three steps, and the materials are basically just galvanized pipe, paint buckets and carabiners.
The wall-mounted storage caddy is the product of the creative mind of Kelly Rinzema of The Lily Pad Cottage. She put this together for our series DIY Challenge: Pipe. We asked Kelly and several other fabulously talented crafters and bloggers to come up with ingenious DIY projects that use pipe as an ingredient. It could be just about any kind of pipe: galvanized pipe, PVC pipe or copper pipe.
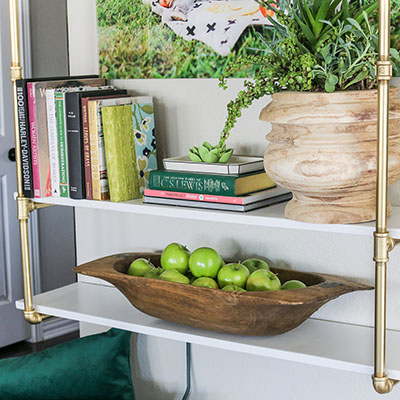
Kelly’s storage caddy has a cool industrial look to it, which looks great in a kid’s room or a craft room. The caddy is so practical, too, keeping her little boy’s crayons and markers in one place, easy to reach and easy to put back.
Just follow our step-by-step instructions to create your own DIY wall-mounted supplies caddy.
Table of Contents
DIY Pipe Art Caddy Tutorial
Step 1 – Drill Holes for the Carabiners
Step 2 – Assemble the Pipe Wall Mount
Step 3 – Attach the Pipe Mount to the Wall
DIY Pipe Art Caddy Tutorial
My three-year-old son loves to color and craft in his room. I found him this old school desk in the hope of keeping all that coloring from finding its way to the walls. The only problem was his markers and crayons kept rolling off the desk as he colored.

I knew I could make him some sort of art and craft caddy that would solve the problem and hopefully make picking up an easier task for his little fingers! His room has a fun industrial feel, so I headed to The Home Depot to see what I could find to construct this storage caddy idea I had in my head. I wanted it to hang on the wall so his desk space could be completely open, giving him more room to color.

I headed for the piping aisle and figured out I could make a cool looking industrial bar to hang his art and craft supplies up with.
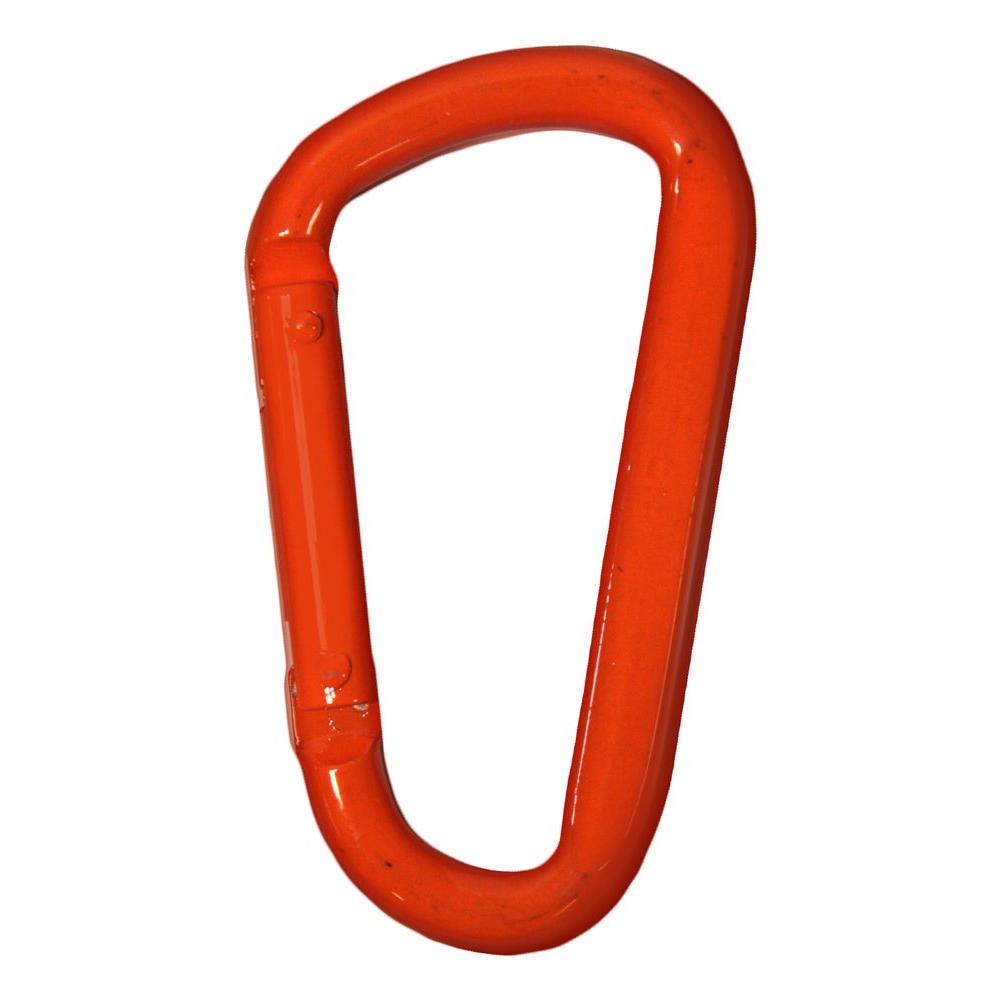
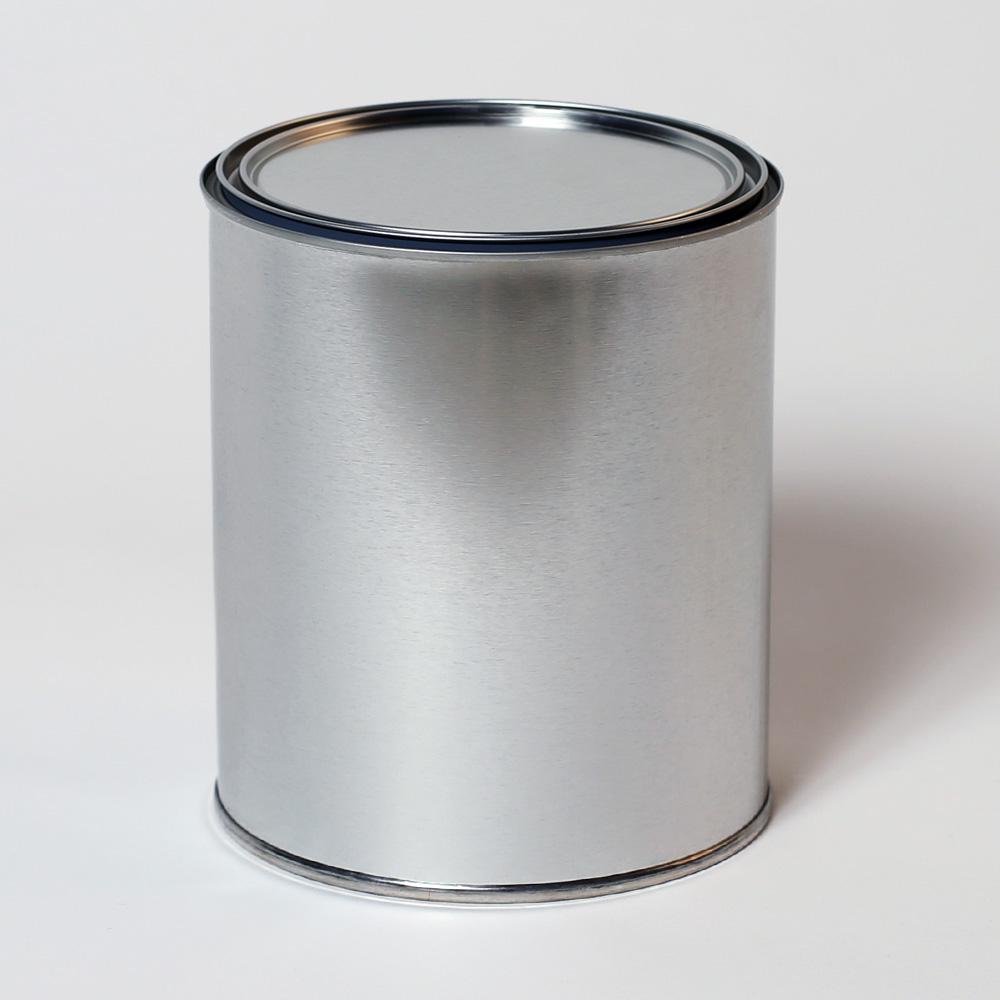
Step 1 – Drill Holes for the Carabiners
I loved the idea of using the quart size paint buckets to for craft storage, but I couldn’t quite figure out how I was going to hang them on the bar. I wandered around scratching my head for a while looking confused until a super helpful Home Depot associate named Leigh looked at my cart full of random plumbing supplies and paint buckets and asked if I needed help. I explained what I was trying to do – you know, in technical terms: “hang these bucket thingies from the pipe thingies with some sort of doohickey thingies that I can’t figure out yet”…really giving him a clear picture right?
Luckily, Leigh was totally getting my idea (despite my eloquent description) and he suggested using the carabiners. Yes! They would be easy to use and totally fit with the industrial vibe I had in mind.

I was a little worried I wouldn’t have the right size drill bit at home to make the hole in the paint bucket, so he offered to drill the holes right there for me in the store.
Problem solved!

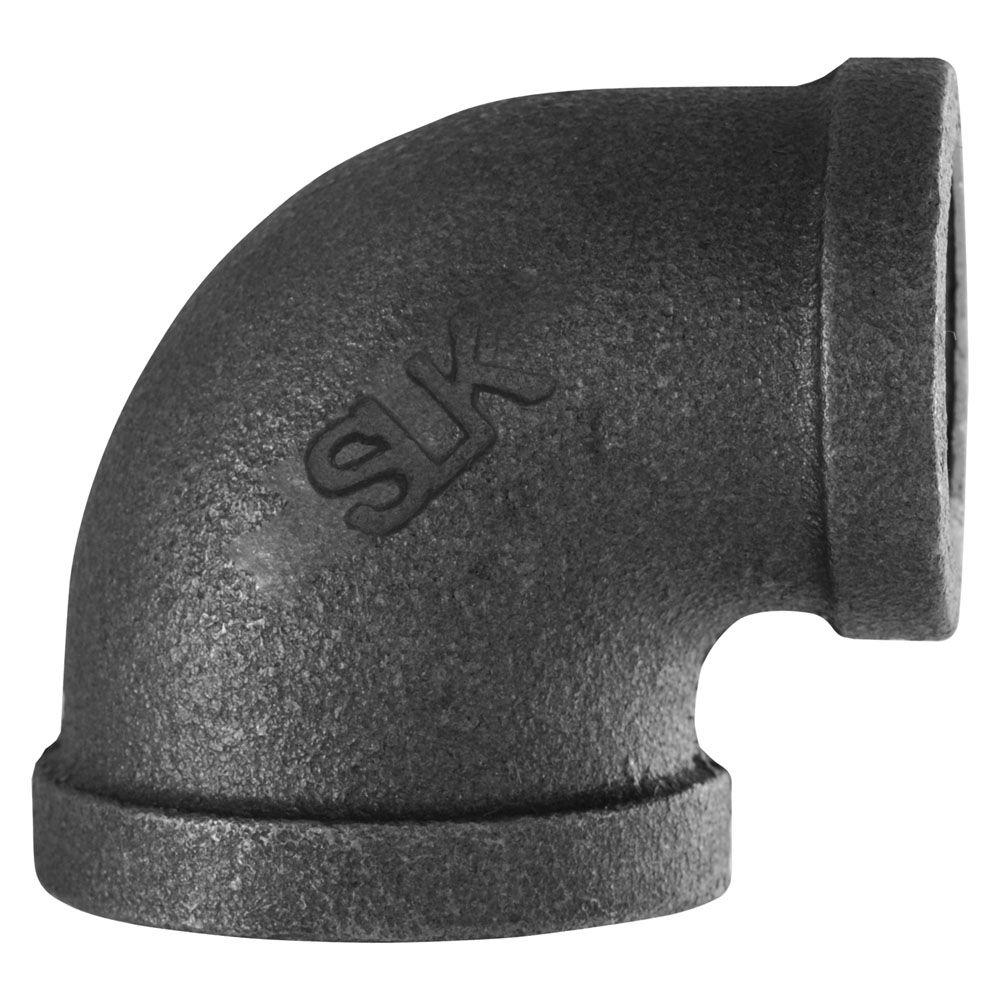
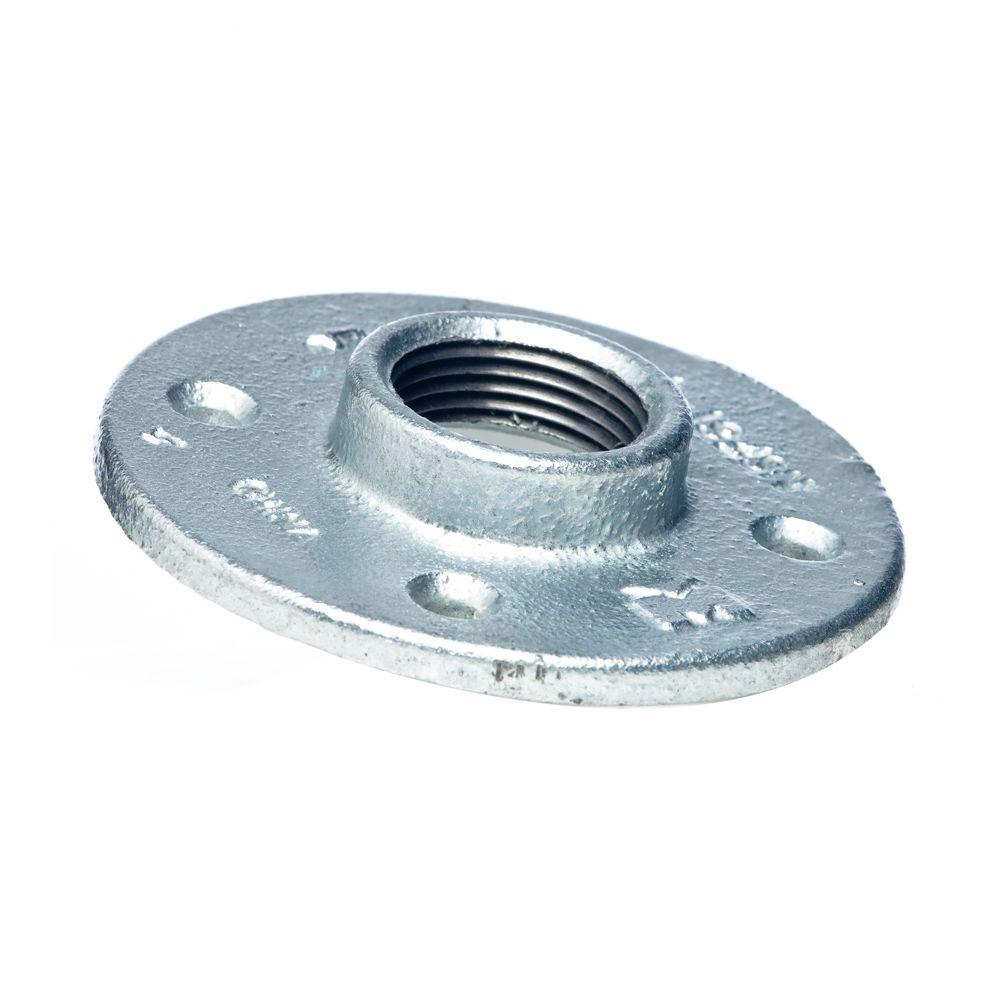
Step 2 – Assemble the Pipe Wall Mount

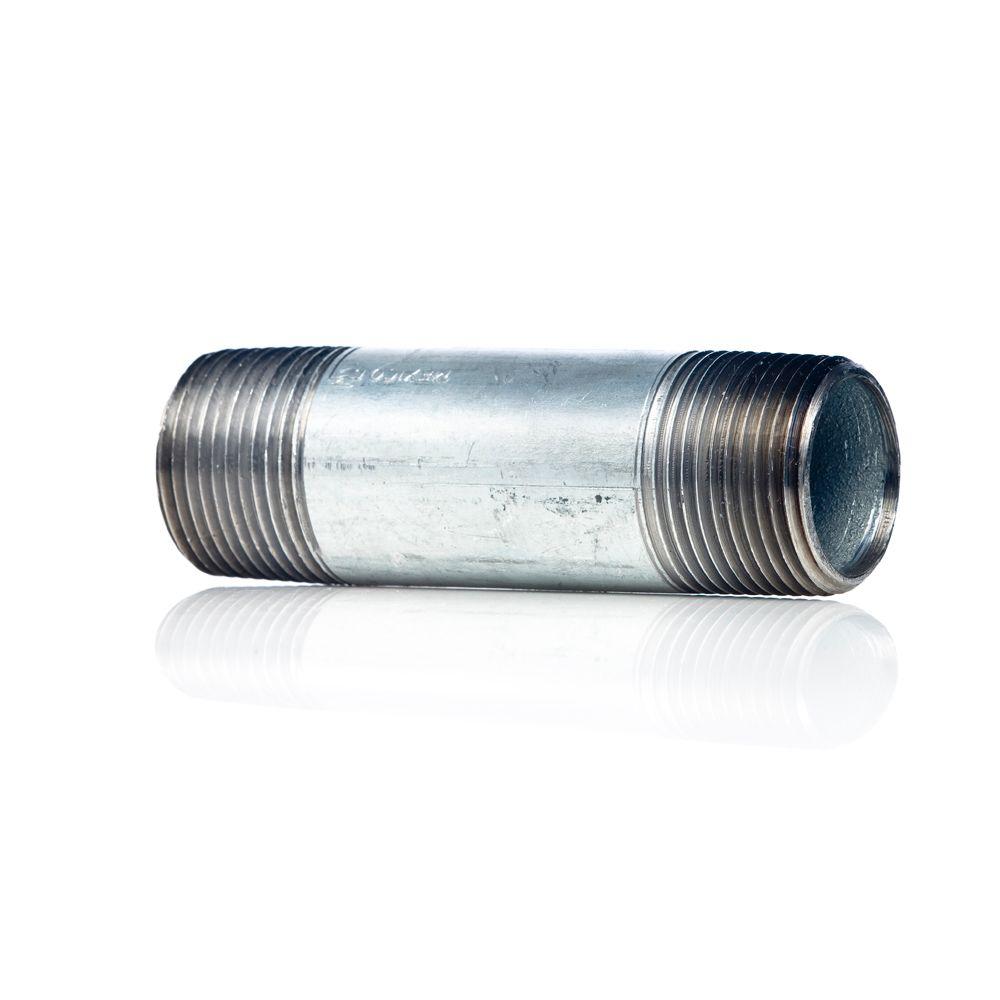
I headed home with all my supplies, excited to get started. I assembled the nipple, flange and elbow pipes.
Step 3 – Attach the Pipe Mount to the Wall

Using my drill I screwed that into the wall. I was lucky enough to hit studs, but if you are going into drywall make sure you use drywall anchors.

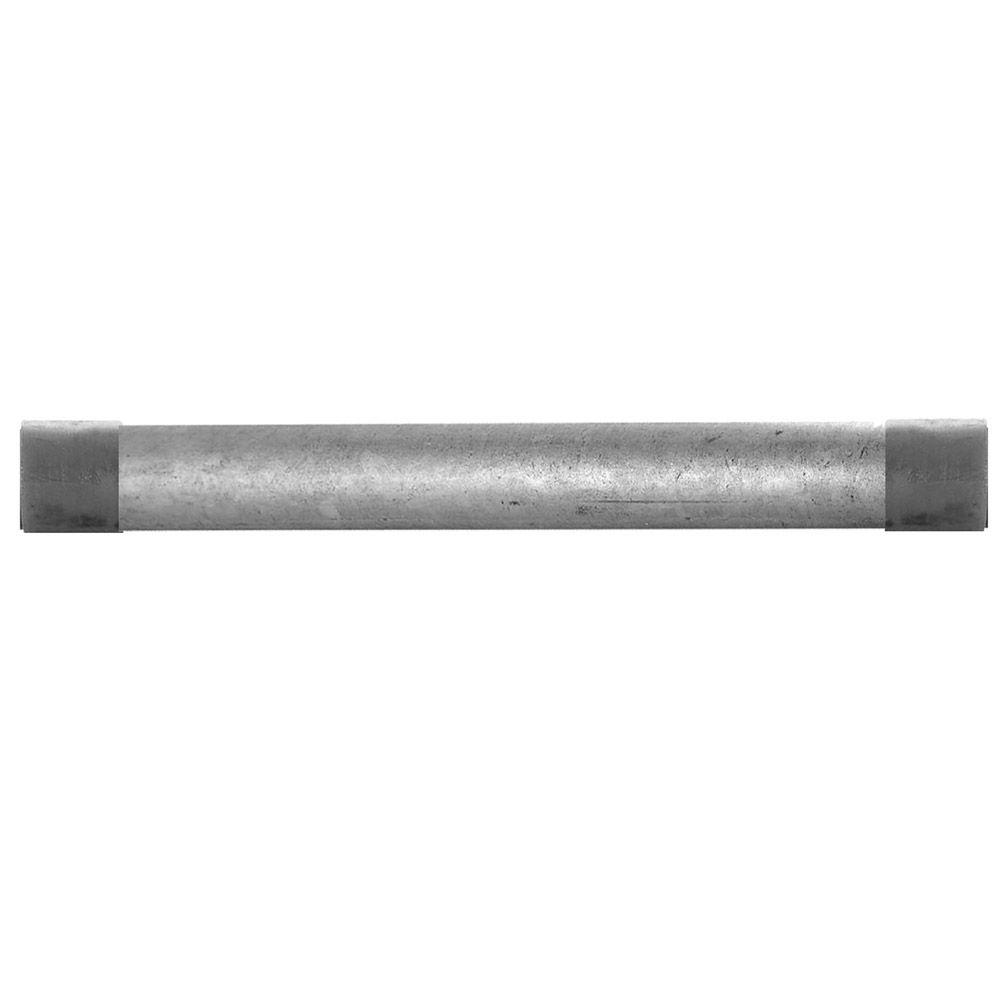
After I got the first side in, I attached the 24 in. pipe, then slid the carabiners onto it.
I then assembled the other side of the bracket and screwed the pipe in that side as well. I hit another stud, (fist bump!) and used my drill to install the other side of the pipe.
Done and done!

Fill the art and craft storage caddy with markers, crayons, scissors or whatever your favorite little artist likes to use.
You could use this concept for all sorts of fun storage ideas, this would even be great for your own personal craft space.

Bonus, my little guy loves cleaning up his art supplies now, because he doesn’t have to try to fit the crayons and markers back in the box. It’s so easy for him to grab one crayon at a time and toss them back in the storage caddy when he is done.

I’m also happy to report that the walls remain crayon free…so far!
Take a look at the rest of my little man’s nautical-themed room on my blog, or take the full home tour.
The Lily Pad Cottage is where Kelly Rinzema shares her creative ideas for DIY projects, home decorating, cooking and more. She lives near Grand Rapids, Michigan with her husband and two children.
Check out more of our DIY Challenge: Pipe series and our simple DIY projects here on The Home Depot Blog, and follow our Projects Using Pipe board on Pinterest for more fun projects using copper pipe.
Browse your nearest Home Depot store or our online Plumbing Department for supplies for your next DIY project using pipe.
This post was created in partnership with The Home Depot. The author may have received compensation for this article and associated images or video, potentially in the form of products and/or services. All expressed opinions and experiences are the author’s own words.