DIY Small Closet Makeover

Last updated August 21, 2024

Sam is a full time psychologist with a passion for making and building things in her spare time. As a full blown weekend warrior, Sam's goal has always been to share fun and attainable woodworking, DIY, how to, and home improvement projects that can be completed with a busy work schedule!
A Note From The Home Depot
Give your catch-all closet a much-needed makeover with the help from Sam Raimondi of DIY Huntress. She’ll give you everything you need to know to help turn that closet you’ve been neglecting into something you want to happily open.
Table of Contents
DIY Small Closet Makeover
Step 1
Step 2
Step 3
Step 4
Step 5
DIY Small Closet Makeover

Maximizing small closet space in your home is as easy as a weekend of work! Here’s how to upgrade your space with easy custom shelving and products for organizing from The Home Depot.
Step 1

The first step in any closet makeover is to start fresh. Remove any items from your closet including the things you store in there and all of the fixtures.
Step 2

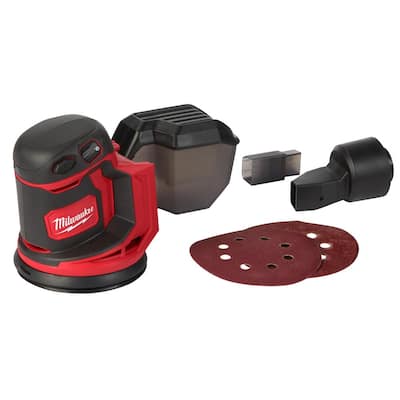
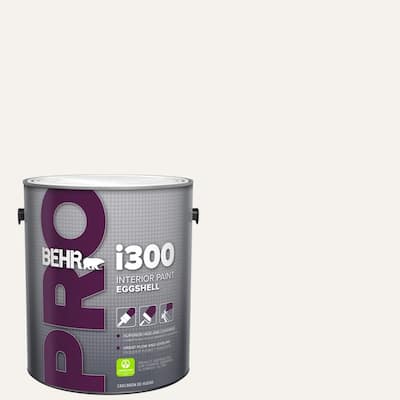
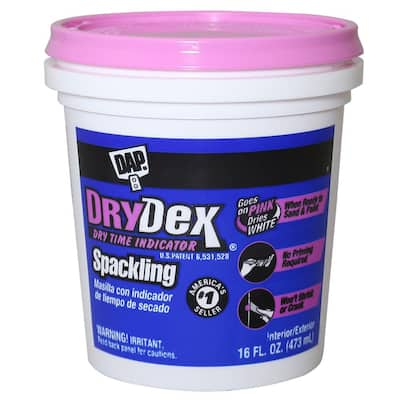
Patch and sand with a Milwaukee Sander any holes you have in your closet walls from fixtures. Once that’s done, you can give your closet a fresh coat of Behr Bit of Sugar paint (or, even spruce it up with some wallpaper).
Step 3

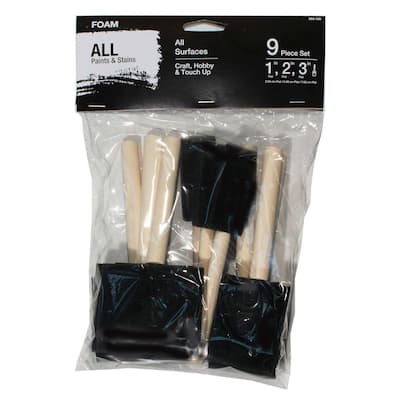
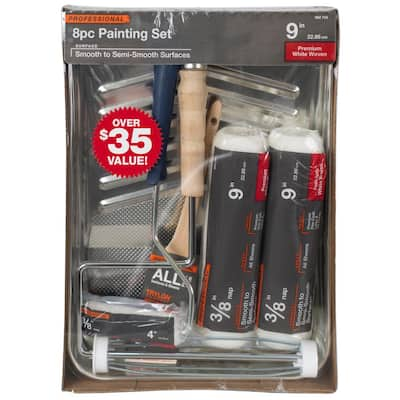
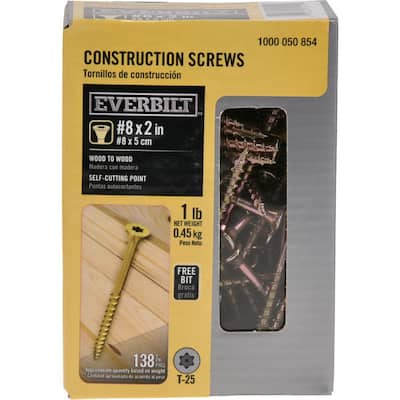
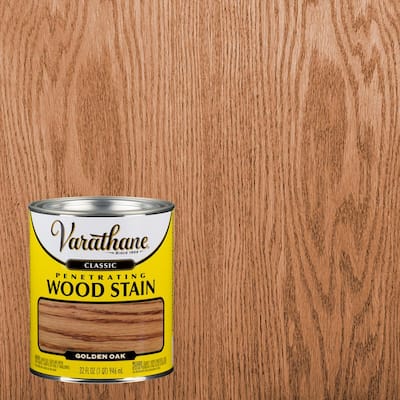
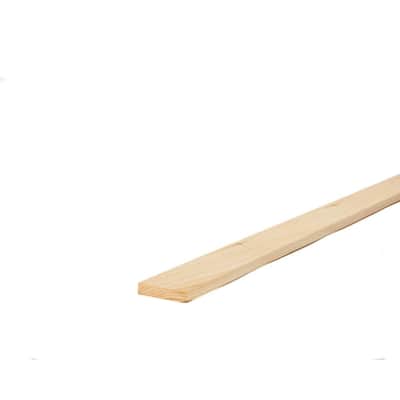
If you’re looking for a floating shelf effect, start by cutting 1”x3" boards into brackets for your new shelves. You’ll need two side pieces and one back piece. (You’ll cut and attach a front piece later). It’s really helpful to pre-stain and finish these pieces before installing.

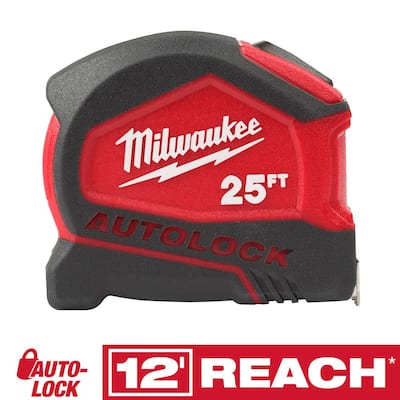
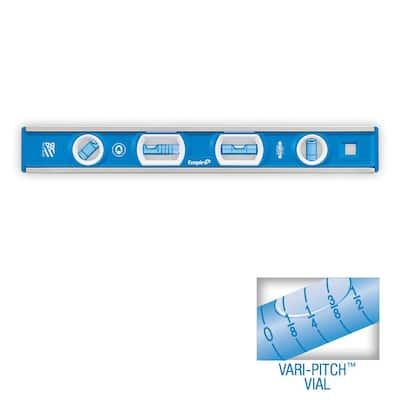
Once your brackets are cut and dry, screw your brackets into the studs in your wall or use anchors if you can’t reach the studs. Make sure to use a level to make sure the brackets (and your future shelf) are all level.
Step 4

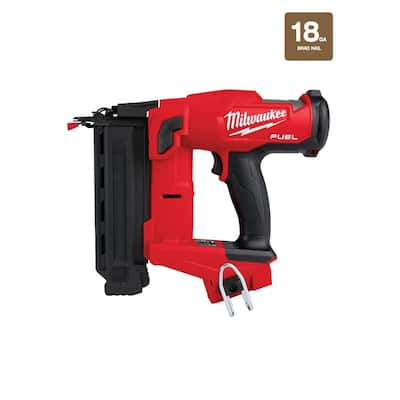
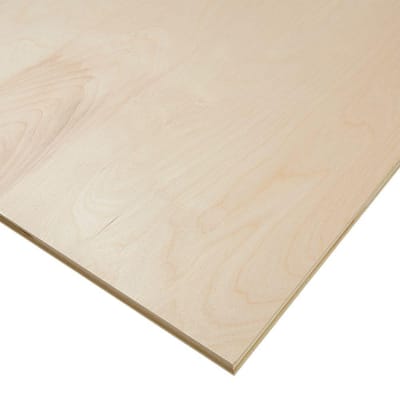
Once your brackets are installed, it’s time to install your shelving. After cutting your plywood to the dimensions you need for your shelf and finishing them, attach them to the top of the brackets with brad nails.
Step 5

The next
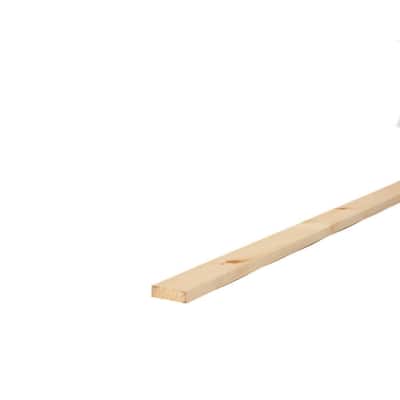
step is to install your pre-finished 1"x4" boards to the front of each shelf to hide the plywood.

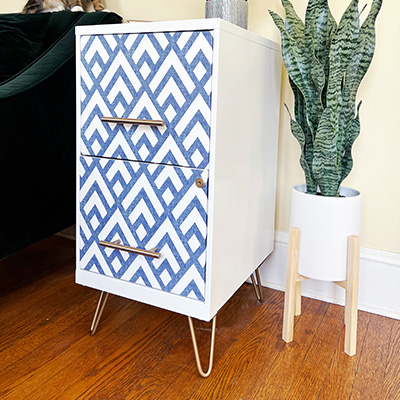
And, after one weekend of work, you have a trendy, organized closet! Looking for more easy DIY On-Trend ideas that you can complete in one weekend? Follow me for more project ideas with The Home Depot.
This post was created in partnership with The Home Depot. The author may have received compensation for this article and associated images or video, potentially in the form of products and/or services. All expressed opinions and experiences are the author’s own words.