DIY Smores Tray
Last updated August 21, 2024

Cara Newhart of Never Skip Brunch is a DIY enthusiast who lives in Houston, TX. She has a passion for empowering women to dive deep into the "masculine" world of DIY and home improvement. Her creativity has been featured in publications like PEOPLE StyleWatch, Denver Style Magazine, and she's the 2019 Home Depot Orange Tank Pitch Competition winner. Head over to her blog to see more of her chic DIY projects and tutorials.
A Note From The Home Depot
School’s out for summer and it’s finally time to get outside and enjoy some of our favorite treats! Before you get the fire going, Cara Newhart has the scoop on how you can create this stylish tray that’ll help you make everyone’s favorite, s’mores!
Table of Contents
STEP 01: Cut the Wood to Size + Sand Smooth
STEP 02: Create the Tray Base
STEP 03: Attach the Tray Sides
STEP 04: Attach the Hardware to Create Handles
STEP 05: Create Graham Cracker Grate
STEP 06: Seal with Cutting Board Oil
STEP 01: Cut the Wood to Size + Sand Smooth
- 1X6 Board: Cut two pieces 24” long
- 1x3 Board: Cut two pieces 24” long, two pieces 12 ½“ long
- 1x2 Board: Cut two pieces 11” long
You can use a miter saw to cut the wood if you want to prep the cuts before you and your little one(s) assemble the tray, OR for a power tool free option that your little ones can assist with, you can use a miter box and saw.
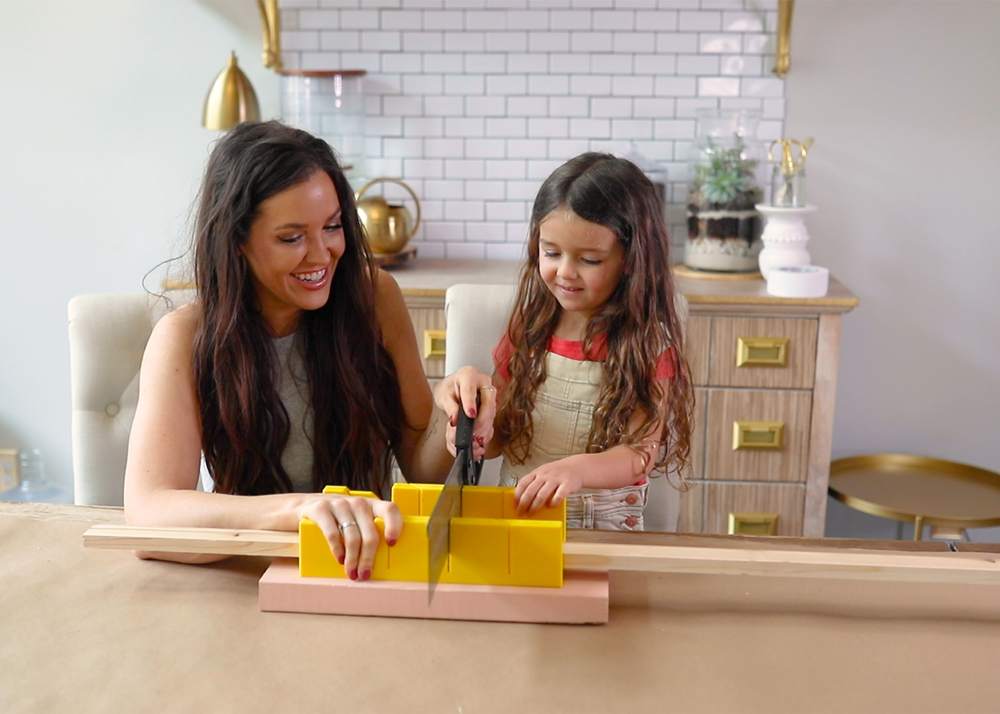
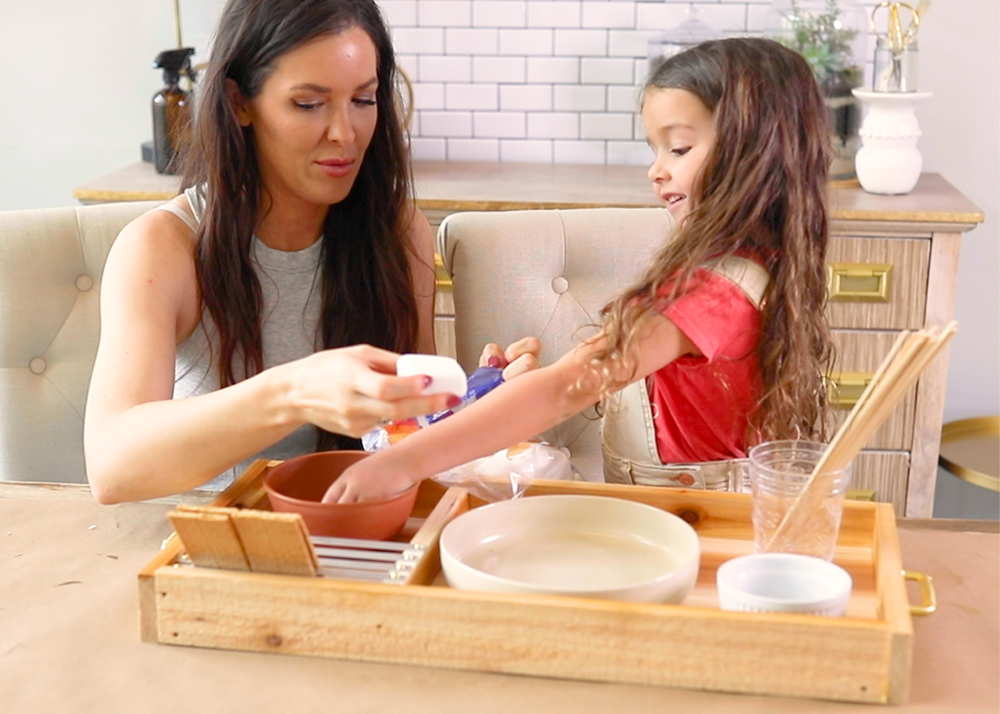
I like to let my little one cut the 1x2 boards using the miter box, and I prepped the rest of the lumber for her by cutting it to size on my miter saw.
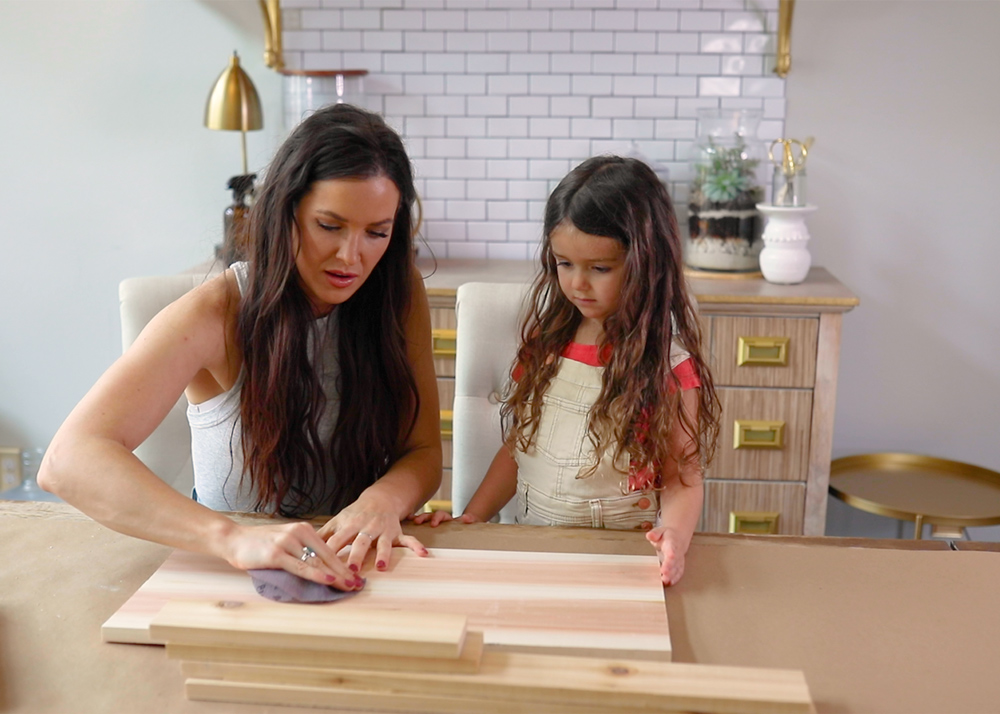
After the pieces are cut to size, sand any rough edges or rough spots with sandpaper (use 100-180 grit) this is a great activity for little ones to help with.
STEP 02: Create the Tray Base
Attach the two 24” long 1x6 cedar pieces to form a base for the tray by applying wood glue to the long edges of the boards, and securing them in place with clamps until dry.
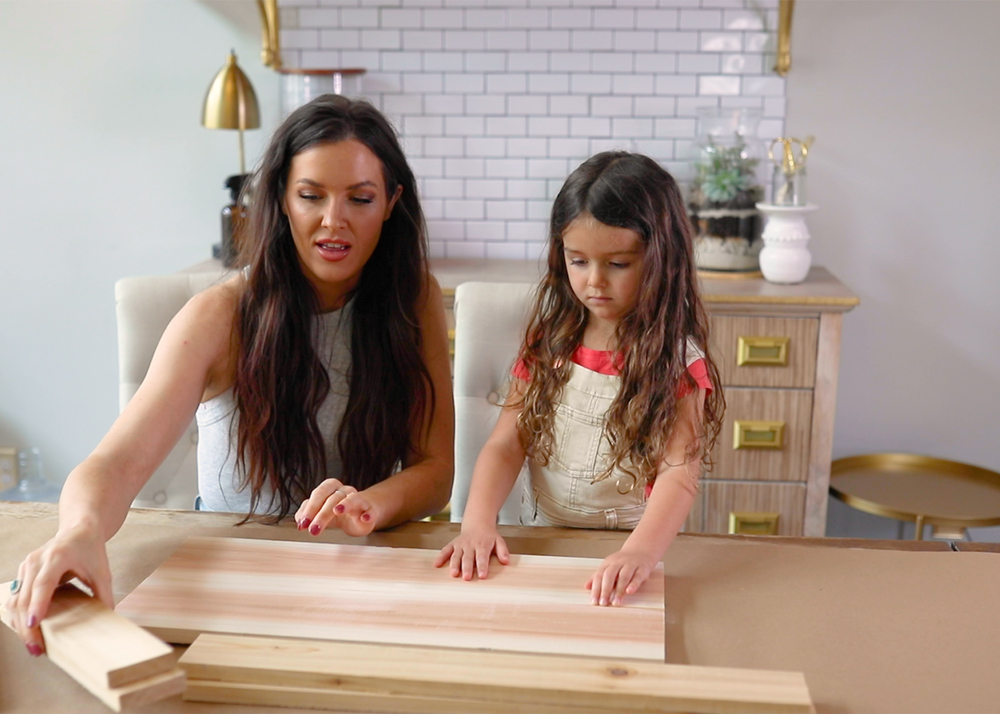
OPTIONAL: Alternatively, you could attach the two boards using pocket hole screws drilled into the bottom of the board to attach and secure the edges.
Once the tray base is dry, attach the 1x3 boards to the edges to create sides for the tray.
STEP 03: Attach the Tray Sides
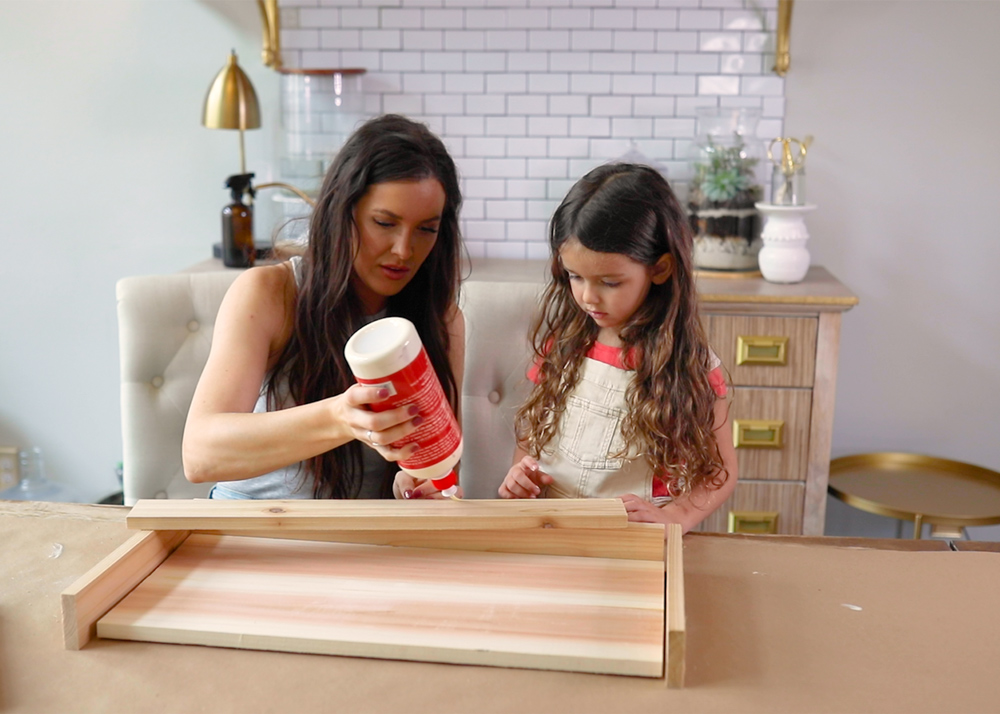
LONG SIDES: Starting with the 24” long 1x3 cedar pieces, apply glue
to the long edges of the tray base on either side and bottom fourth of the 1x3 boards. With the tray base laying flat on the table and the long edge of the 1x3 board sitting upright, press the glued edges together and clamp in place until dry. For added strength, I drove some1½”
1½”
trim screws
into the boards at each end to further secure the wood joint. I chose trim screws because they have a small head that easily sinks into the wood for a polished look.
SHORT SIDES : Once the 24” pieces are attached, attach the 12½” long 1x3 cedar pieces by applying glue to the bottom, short-side edges of the tray base on either side and bottom fourth of the 1x3 boards.
With the tray base laying flat on the table and the long edge of the 1x3 board sitting upright, press the glued edges together, lining them up so that they are flush with the base and form a box with the 24” long 1x3 pieces you have already attached. Clamp in place until dry. For added strength, I drove some 1½” trim screws into the boards at each end to further secure the wood joint.
STEP 04: Attach the Hardware to Create Handles
On the short sides of the tray, measure and mark the middle. Then align the center of the hardware handle with the mark, and mark the position of the screw holes on each side of the handle.
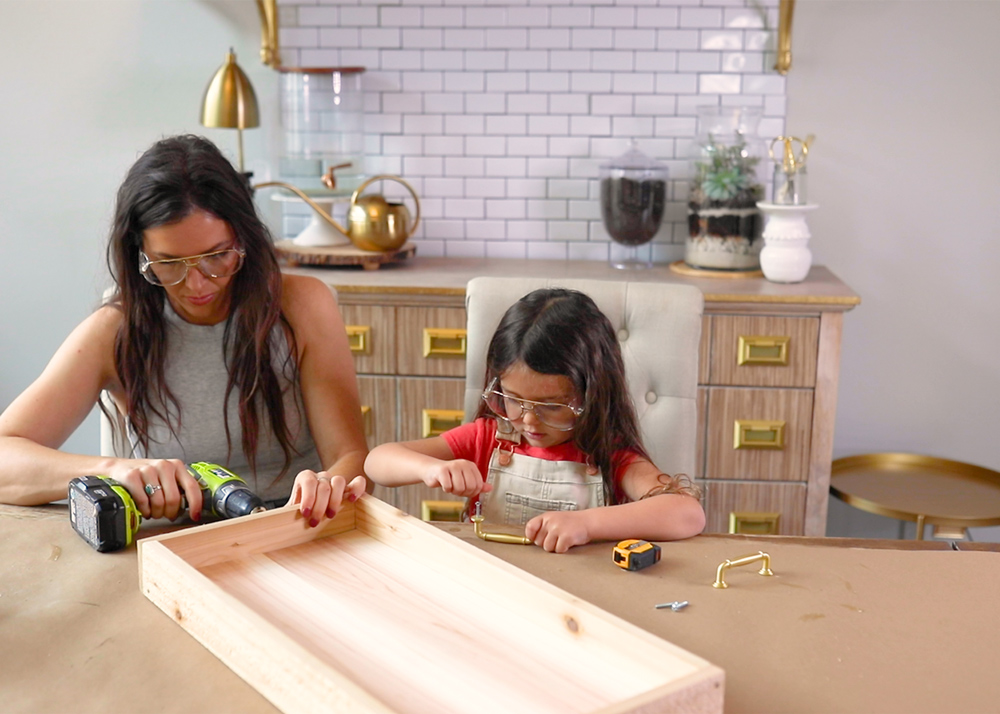
Drill holes on each mark and attach the hardware using the included screws.
STEP 05: Create Graham Cracker Grate
Using tin snips or a miter saw, cut the ½” aluminum barsinto 4-5x 8” pieces. Drill a hole in each end of each 8” piece, about ½” in.
Attach one of the 11” 1x2 pieces to the inside of one of the ends of the tray using trim screws, drilled through the tray sides and into the end. This piece should be flush with the inside edge of the 1x3 end piece.
Insert the other 11” piece into the tray, spaced 8” apart so that the outside edges of both the pieces are 8” apart. Attach the 11” piece in place using trim screws, drilled through the tray sides and into the end.
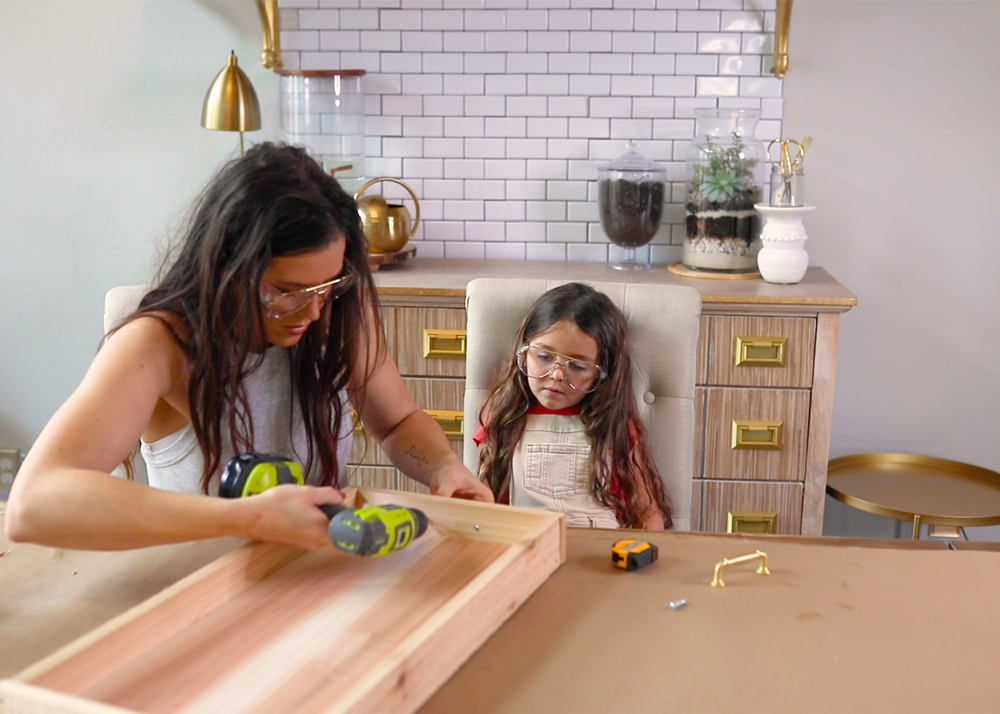
Lay the 8” aluminum bars across the two 1x2 boards, halfway across the width of the tray, spacing evenly. Attach the aluminum bars to the 1x2 boards using the small brass screws.
STEP 06: Seal with Cutting Board Oil
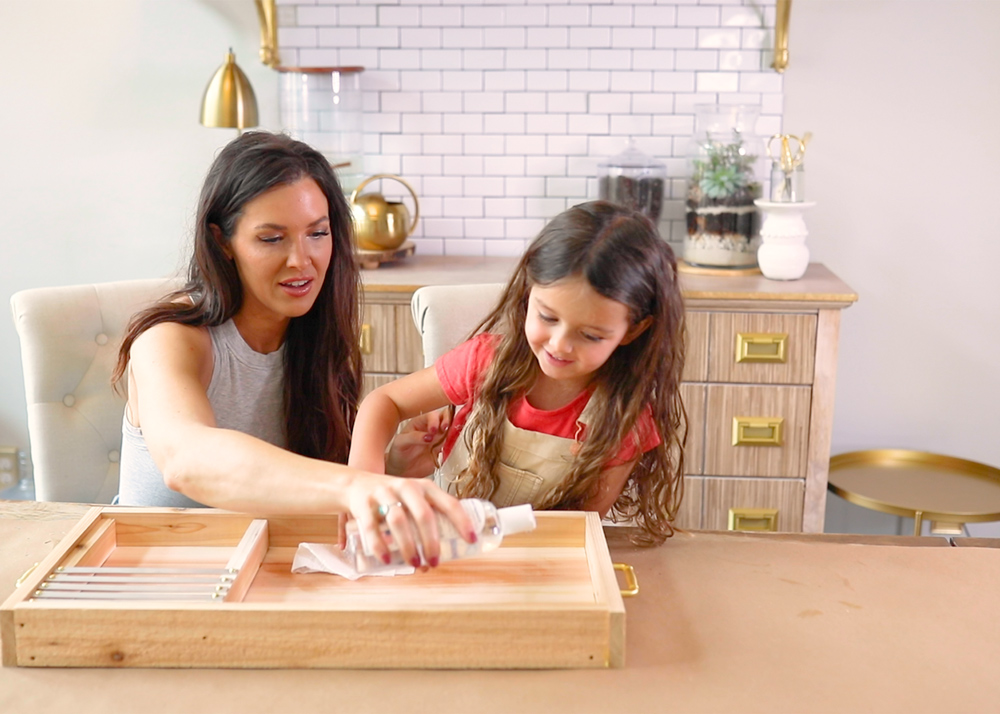
Using a microfiber cloth or paper towel, buff cutting board oil into the wood of the tray.
STEP 07: Add Bowls + Arrange
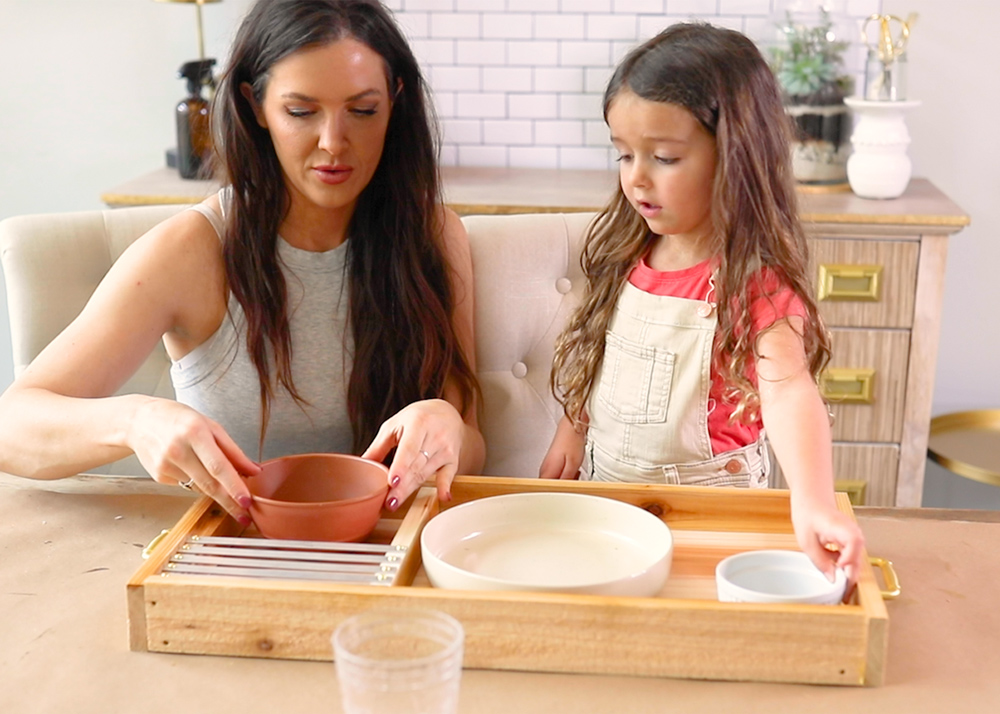
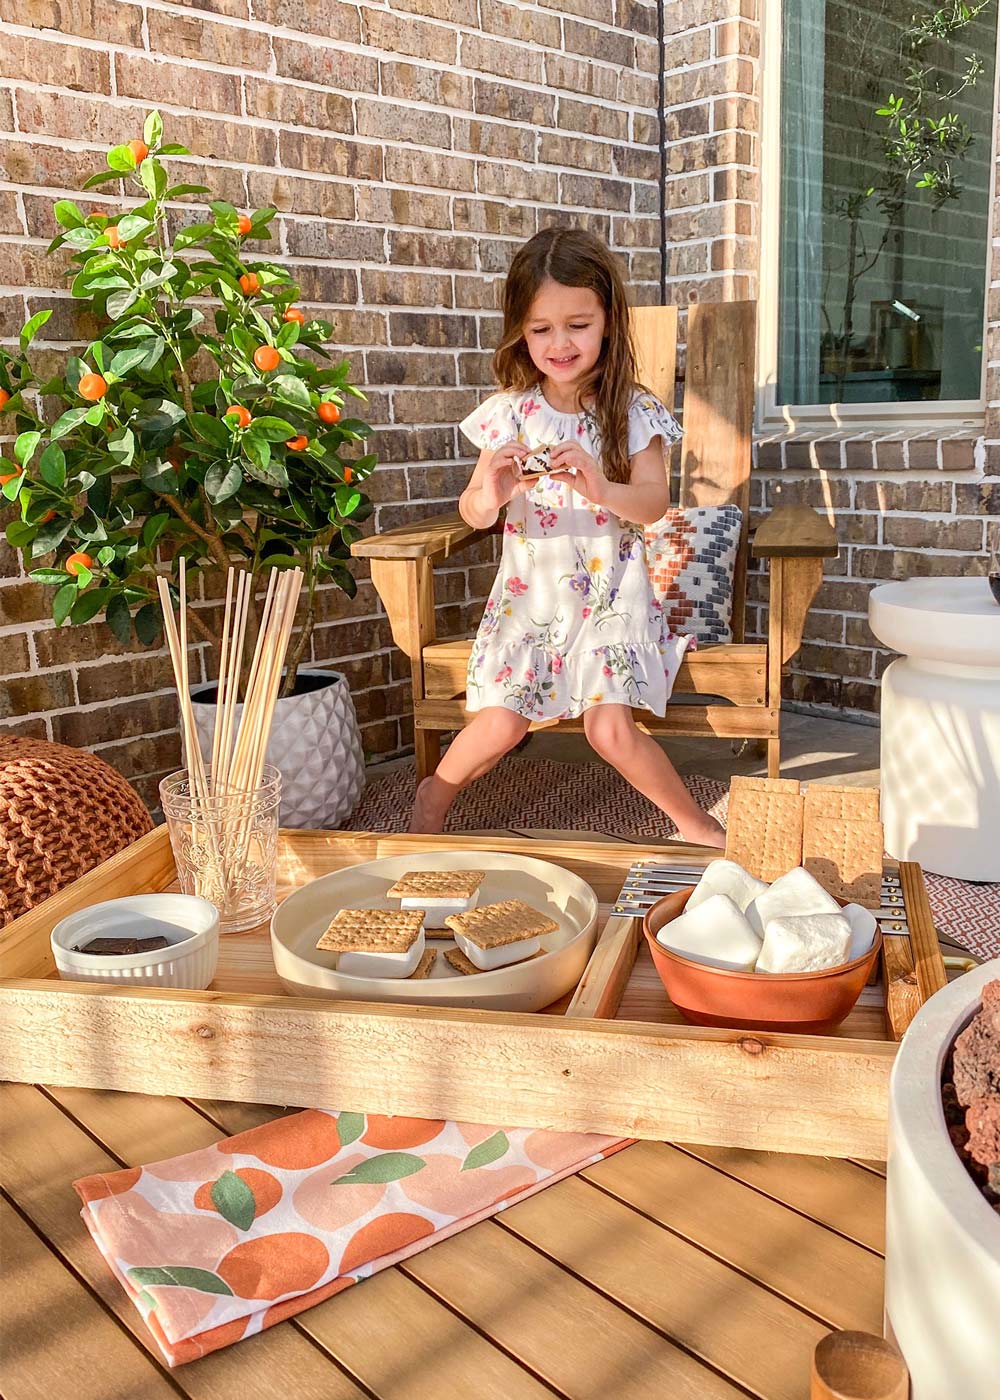
Arrange different sized thrifted bowls in the tray to hold your marshmallows, chocolate and finished s’mores. We also used a plastic cup to hold wooden skewers for roasting our marshmallows.
STEP 08: Fill with S’more Snack Supplies & Enjoy!
Add the marshmallows, chocolate, graham crackers and skewers to your tray and you’re all set to go outside and make s’mores together around the fire-pit.
Full Tools and Materials List
1x2 Cedar Board
1x3 Cedar Board
1x6 Cedar Board
1 ½” Trim Screws
2X - ½ in. x 36 in. Aluminum Flat Bar
3X — #6 x 1/2 in. Phillips Round Head Brass Wood Screw (4-Pack)
Cutting Board Oil
Wood Glue
2x Drawer Hardware
2x Clamps
A variety of Thrifted bowls + a cup
Miter Box + Saw OR Miter Saw
Optional: Tin Snips
Drill
Bits: Phillips Head Screwdriving Bit, Star bit,
3/16 or ¼” drill bit
Microfiber Cloth or Paper Towel
This post was created in partnership with The Home Depot. The author may have received compensation for this article and associated images or video, potentially in the form of products and/or services. All expressed opinions and experiences are the author’s own words.


