DIY Stacking Blocks Game

Last updated August 21, 2024

A performing songwriter by trade, Jen Woodhouse has released three albums, toured the world, and has licensed her music to national television shows, commercials, and films, including Keeping Up with the Kardashians, MTV’s The Real World and Road Rules, Starbucks, United Way, and more. Most recently, Jen has added ‘DIY Blogger’ to her eclectic resume. A musician, military wife, and mother to two young children, Jen authors The House of Wood as her creative outlet for all things DIY and design, where she documents her adventures in woodworking, furniture and interior design, and home decor. Jen’s work has been featured on Elle Decor, House Beautiful, Good Housekeeping, Country Living, and Apartment Therapy. Jen is a TV spokesperson for Hometalk, the largest home and garden community on the web and has worked with such brands as The Home Depot, RYOBI Tools, Minwax, Kreg, General Electric, among others. In addition to designing and drawing up plans with in-depth tutorials on her blog, Jen is a charismatic and engaging speaker. She was invited to speak at the Haven Conference in Atlanta, Georgia last year. This year, she will be returning as a speaker at the Haven Conference, as well as the Snap Conference in Salt Lake City, Utah.
A Note From The Home Depot
Towering Timbers, a DIY oversized block stacking game, is perfect for entertaining guests during barbecues and friends on game day. Jen Woodhouse of The House of Wood designed this DIY giant outdoor block stacking game– Towering Timbers–and accompanying storage crate to make it easy to bring along for tailgating.
All you’ll need are a few studs, common hardware and some simple tools that you can rent at The Home Depot. You can customize it with your favorite team colors or a cool design.
Table of Contents
Towering Timbers, an Outdoor Block Stacking Game DIY
Cut List
Step 1: Cut the Game Pieces
Step 2: Sand the Game Pieces
Step 3: Build the Storage Box
Step 4: Attach the Handles

Towering Timbers, an Outdoor Block Stacking Game DIY
Towering Timbers, an oversized block stacking game, is a great way to entertain family and friends while tailgating or barbecuing on game day. Yard games are a must at every tailgate. This oversized outdoor game is sturdy enough to take a beating and easy to travel with, and you only need a few simple materials and tools to make it.
Cut List
Stacking Box Cuts:
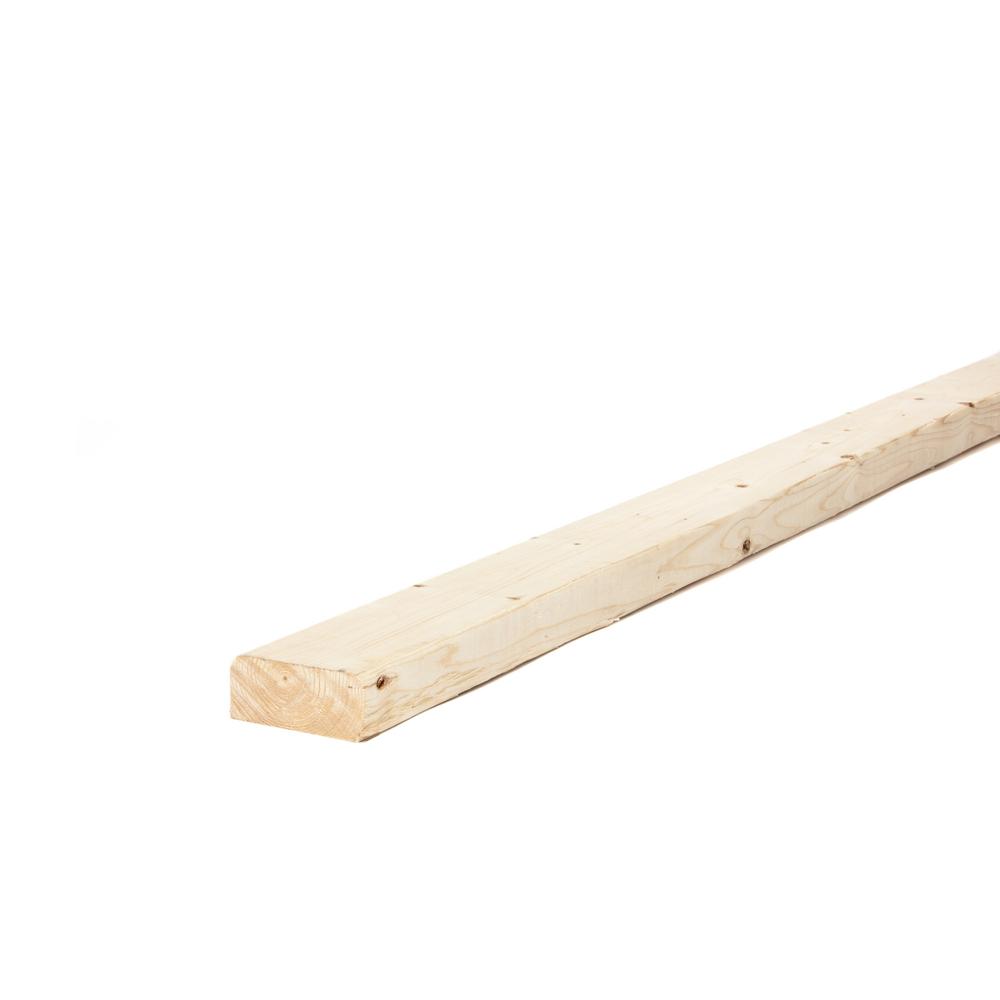
- (54) 2 x 4 x 10 ½ in.
Storage Box Cuts:
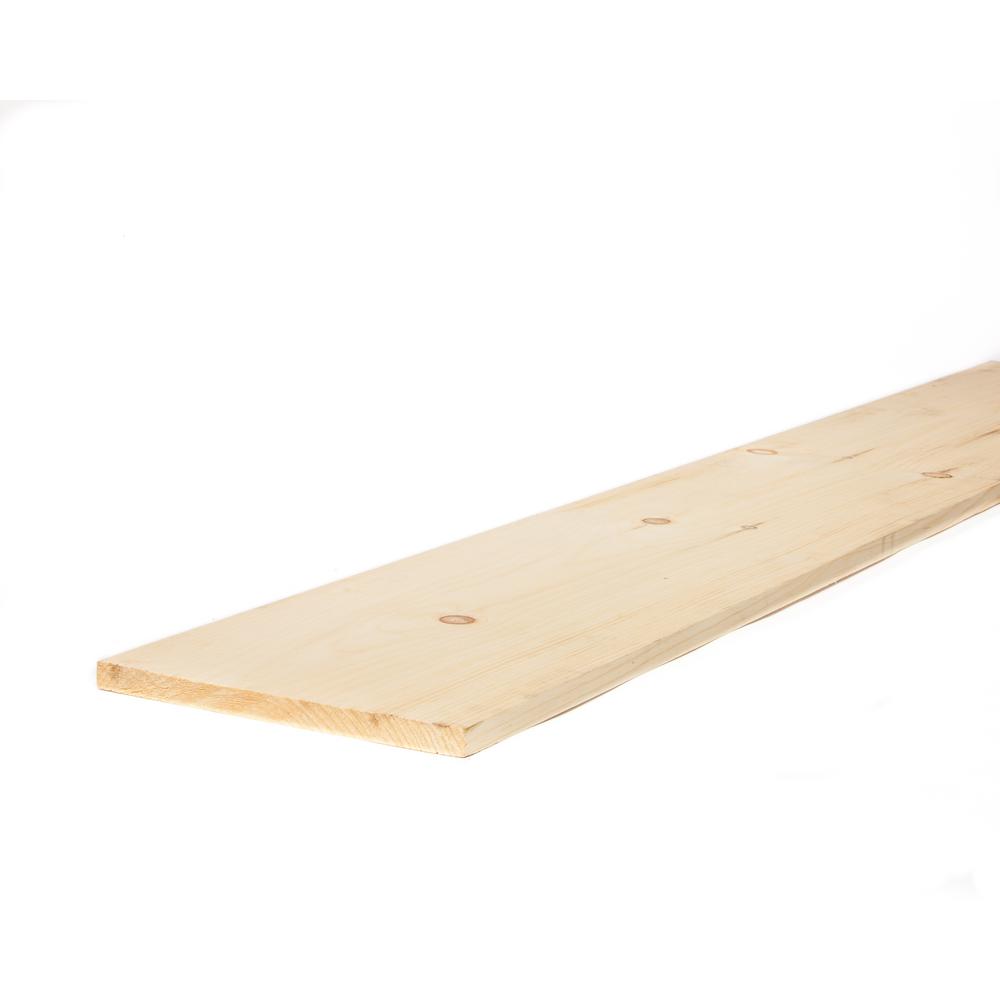
- (2) 1 x 12 x 22 ½ in. (Long Sides)
- (2) 1 x 12 x 13 ¾ in. (Short Sides)
- (1) 1 x 12 x 21 in. (Bottom)
- (1) 1 x 3 x 21 in. (Bottom)

Step 1: Cut the Game Pieces
Measure, mark, and cut the 2 x 4s to 10 ½ in. long. You should be able to cut 9 pieces out of each 8-ft. stud. You’ll need 54 pieces total.
Pro tip: Set up a stop block like I did here to make the repetitive cutting more efficient. With the stop block clamped in place, you won’t have to measure every board each time, but you should check the stop block periodically to ensure that it didn’t move and your measurements are still accurate.


Step 2: Sand the Game Pieces
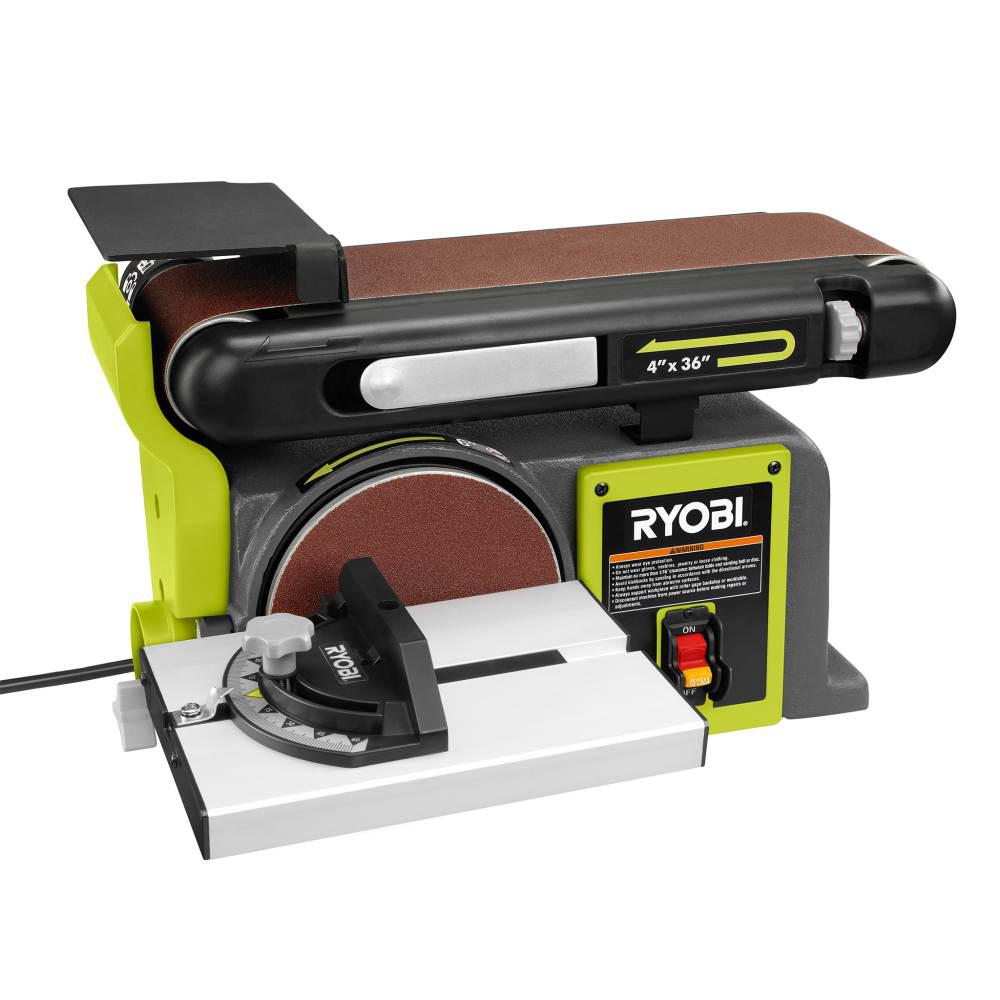
I used a bench sander to make sanding quick and easy. Sand off all the splinters and rough edges. Be sure to wear protective gloves just in case your hand slips – the sanding belt is fast and can hurt if you’re not careful. You can then hand-sand the pieces with a 220-grit sandpaper, but I found that the bench sander made the game pieces smooth enough to handle and they slid easily when stacking.


Step 3: Build the Storage Box
Using the cut list above, measure, mark, and cut the storage box pieces to length. I was impressed that this RYOBI cordless sliding miter saw handled the wider boards with ease.
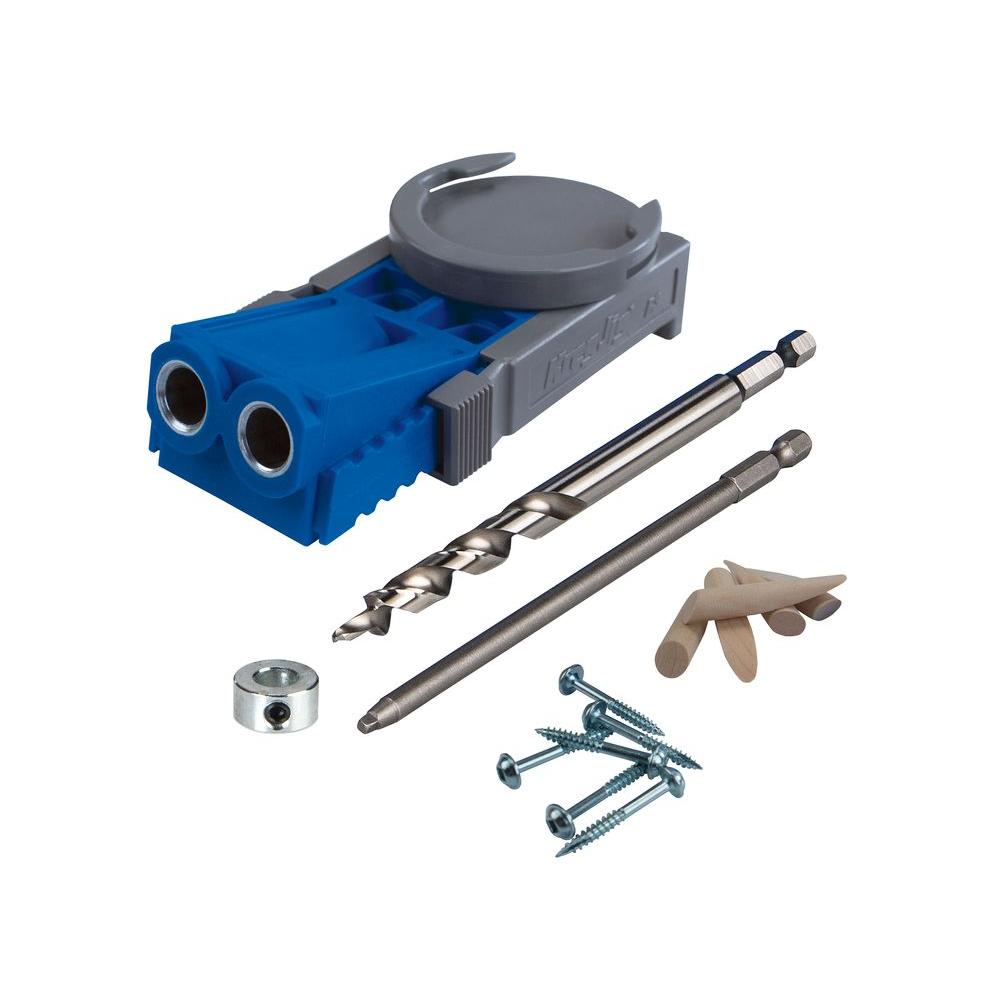
If you’re using pocket hole joinery, drill ¾-in. pocket holes into the bottom 1×12 and edge-join it with the 1 x 3 board with 1 ¼-in. pocket screws. These two boards will be the bottom of the box. Next, drill ¾-in. pocket holes into the ends of the two 1 x 12 short sides. Construct the box with 1 ¼-in. pocket screws.
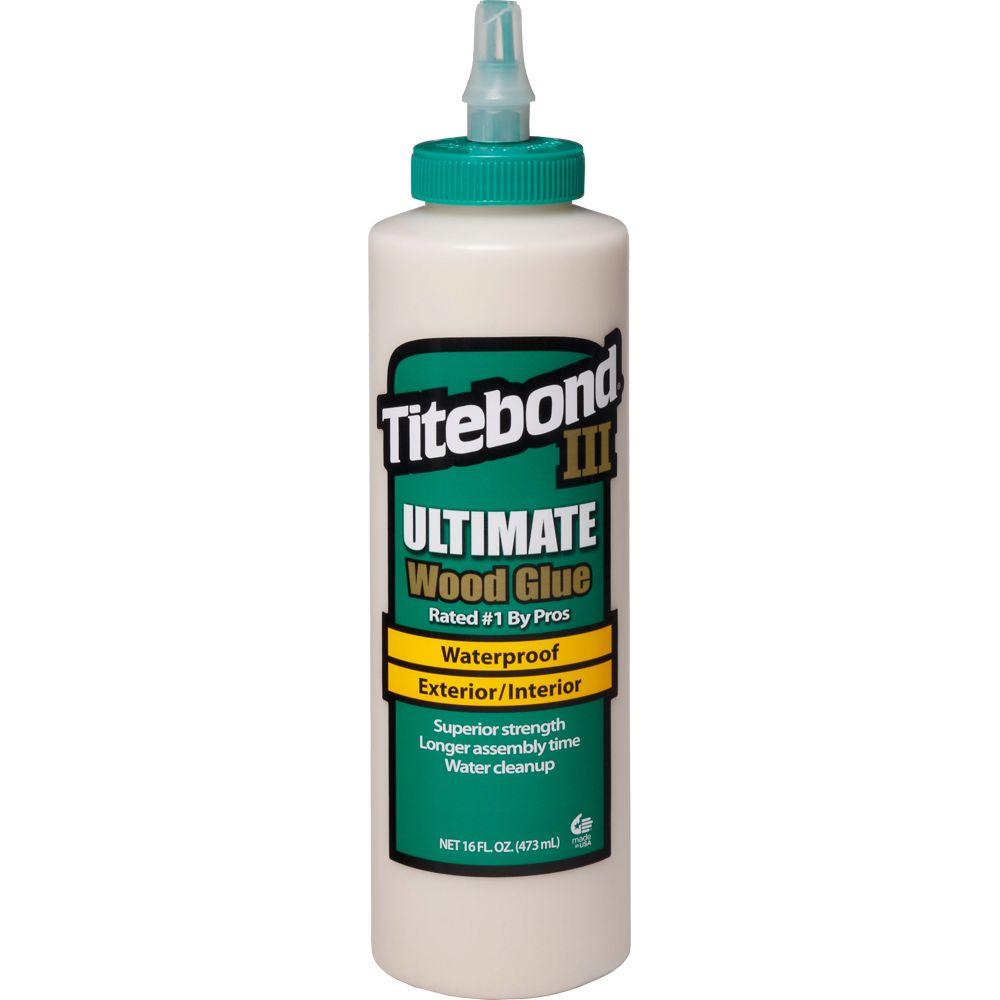
If you’re not using pocket hole joinery, you can edge-join the two bottom boards with just wood glue. Clamp and allow the glue to dry overnight, making sure that the boards are flat and aligned. Then, pre-drill pilot holes and use 1 ¼-inch wood screws to construct the box.

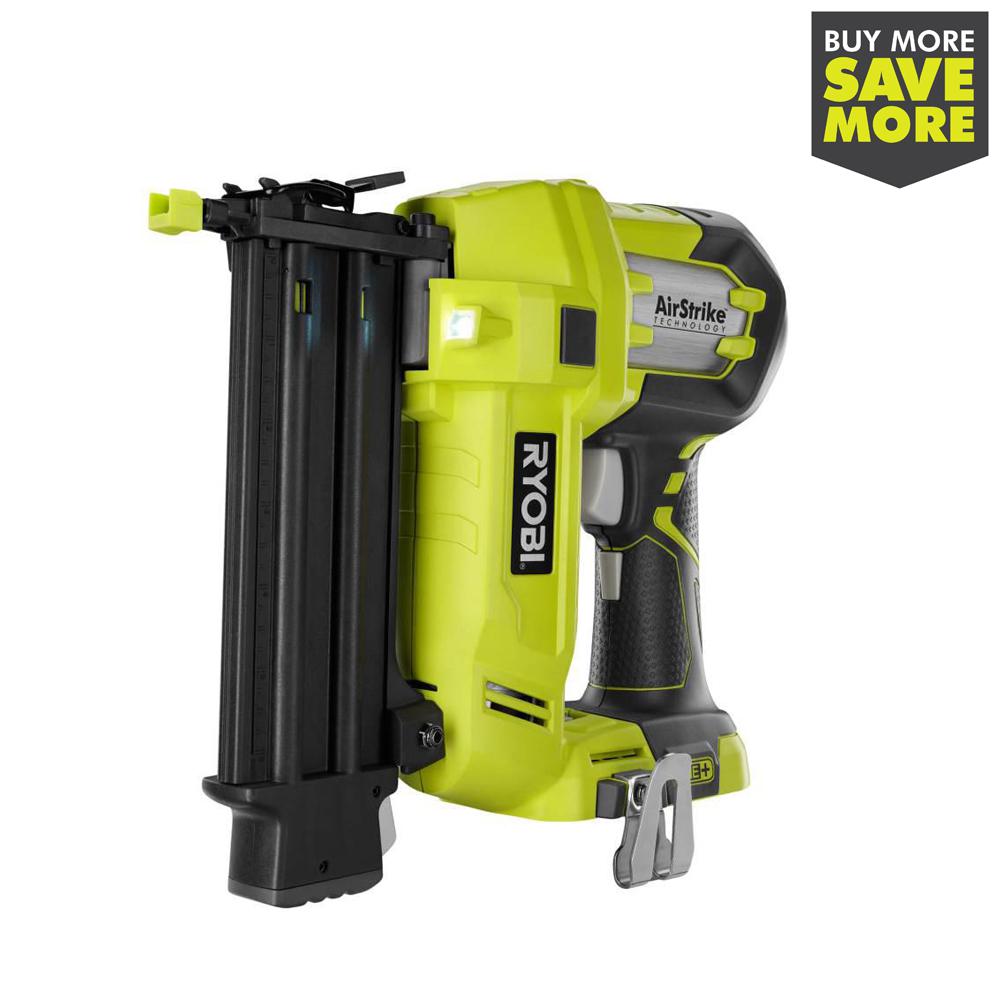
I used my router to carve The Home Depot logo on the long sides of the box and then I attached them to the short sides and bottom with 1 ¼-inch brad nails and wood glue. I recommend that you always use wood glue when joining with nails. You can also join the sides with 1 ¼-in. pocket screws or wood screws, if you’d like.


Step 4: Attach the Handles
I picked up a couple of these storage chest handles from the hardware aisle. Find the midpoint on the short sides and mark it. Pre-drill pilot holes and attach the handles to the sides of the box with the included screws.

Pro tip: It’s helpful to have at least two drills so you don’t have to switch out drill and driver bits quite so often. I’m using the RYOBI hammer drill and impact driver.

Sand, paint and/or stain, and finish as desired. Be sure to use an exterior-grade finish to protect your game from the outdoor elements.

This box not only stores your game pieces neatly, but it can double as a flat surface to play your block stacking game on!


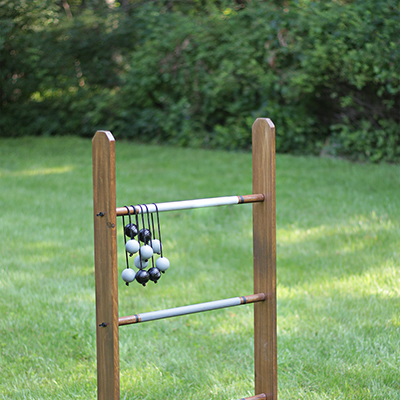
Check out other tailgating and outdoor game ideas, like a DIY Ladder Golf Game. Or, shop ladder golf game equipment online in our Lawn and Backyard Games section.
This post was created in partnership with The Home Depot. The author may have received compensation for this article and associated images or video, potentially in the form of products and/or services. All expressed opinions and experiences are the author’s own words.