DIY Standing Mirror Cabinet

Last updated August 21, 2024

Ben Uyeda is a designer, lecturer, and entrepreneur focusing on the field of affordable and sustainable design. Ben is the co-founder and design director of FreeGreen.com, as well as a visiting Lecturer at Northeastern University.
A Note From The Home Depot
This DIY standing mirror cabinet is a great way to expand closet storage space in a small apartment or loft.
Ben Uyeda of HomeMade Modern created this cabinet using plywood, paint, copper pipe and a full-length mirror. Follow along with his step-by-step tutorial to build your own standing mirror cabinet.
Table of Contents
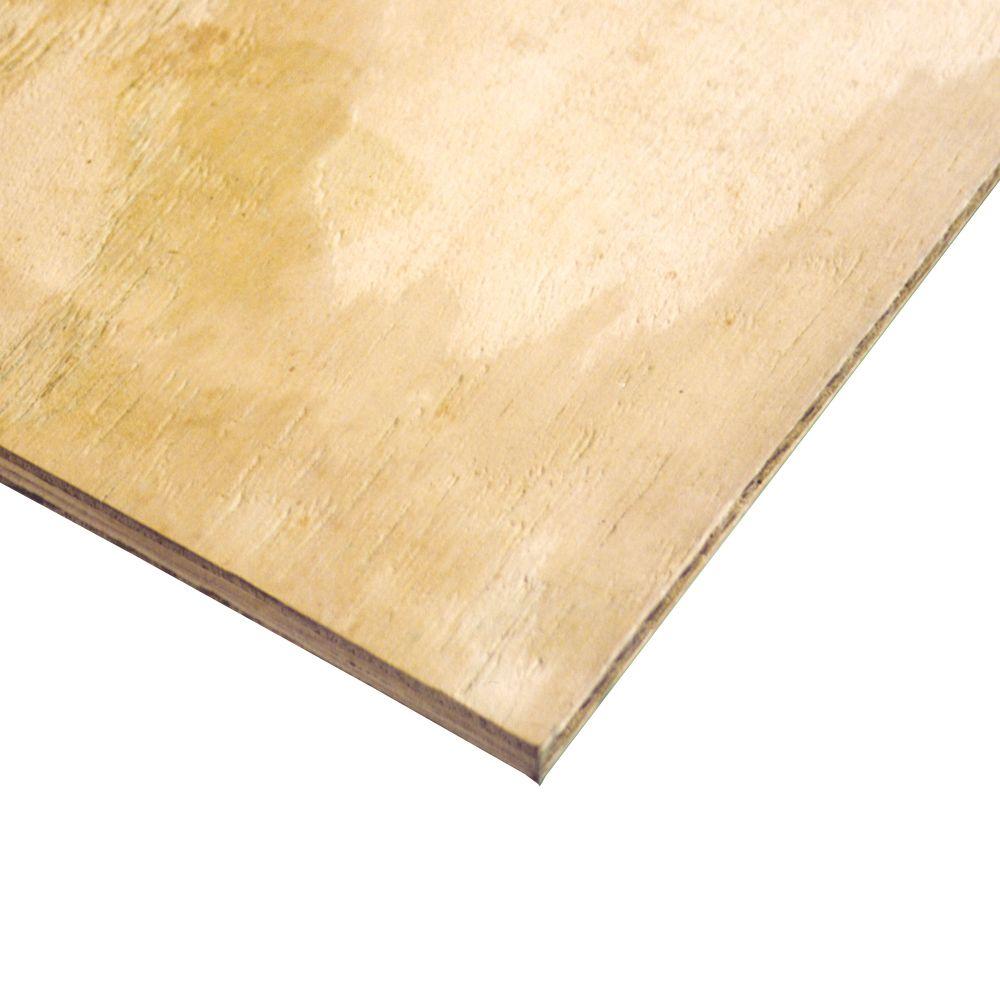
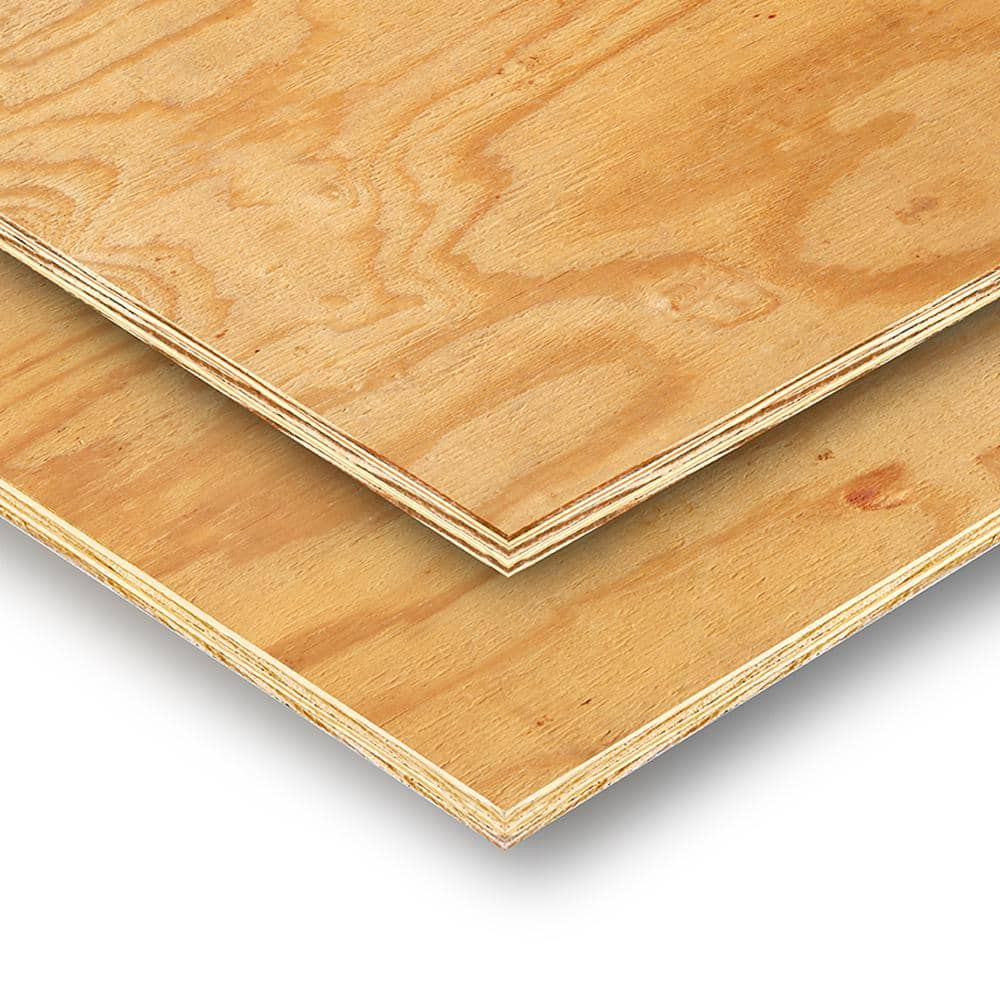
Step 1: Cut the Plywood
Step 2: Cut the 2 x 4s
Step 3: Drill ⅝-In. Holes in the Plywood Shelves
Step 4: Sand the Plywood
Step 5: Paint the Plywood
Step 6: Assemble the Shelf
I wanted a full length mirror for my loft but didn’t want to use up wall space for just a single function. I designed this mirrored cabinet out of plywood, 2 x 4s, and copper pipe. It is a simple design that is pretty easy to make. I painted the inside of the door with chalkboard paint so that I could leave reminders and notes to myself.
Step 1: Cut the Plywood


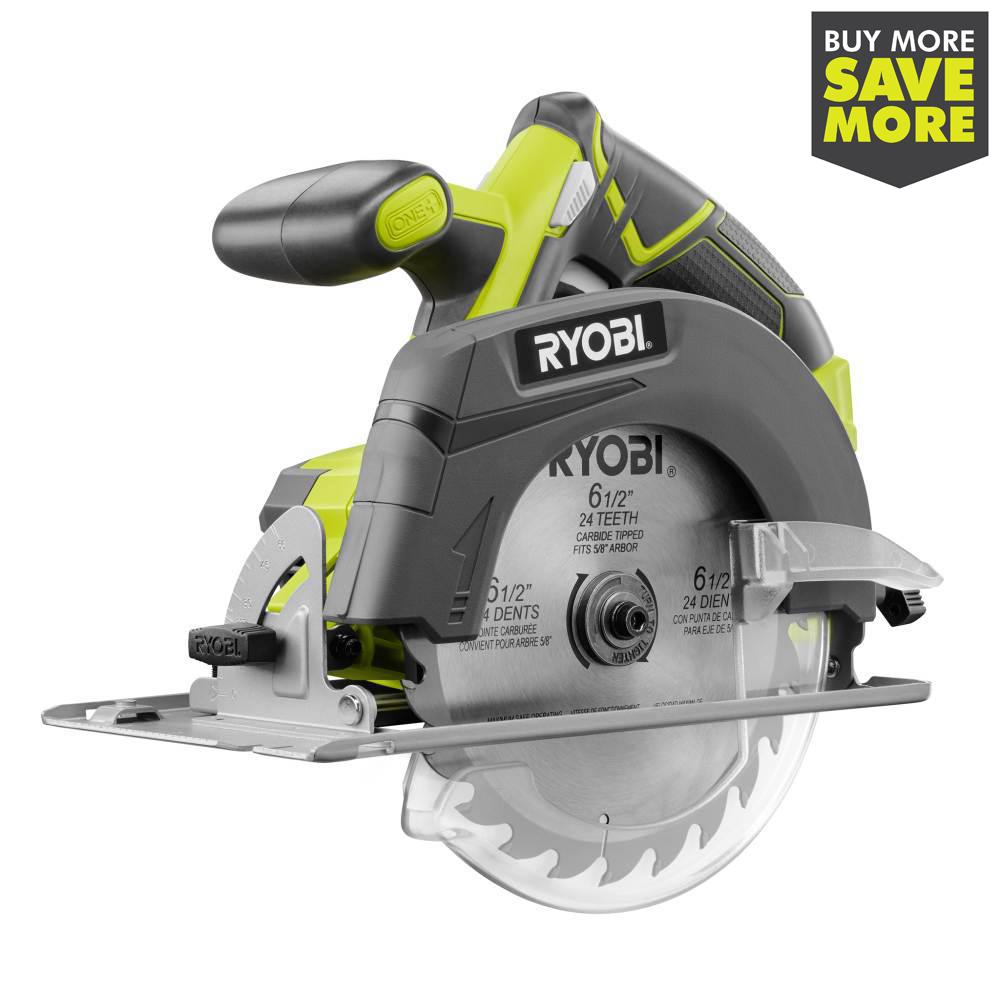
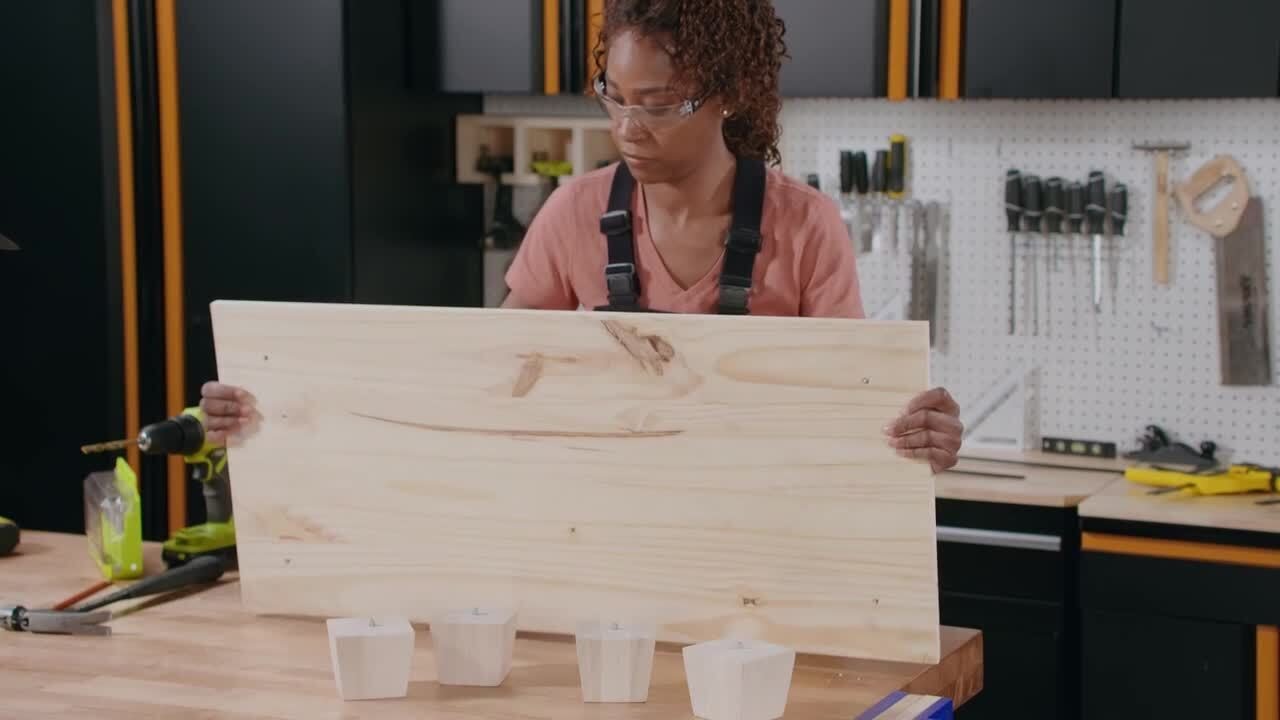
I used circular saw for all of the cutting in this project. I clamped a straight piece of plywood to use as a guide for my circular saw to follow. I placed heavy weights on the plywood to keep the pieces from sliding as I cut them.

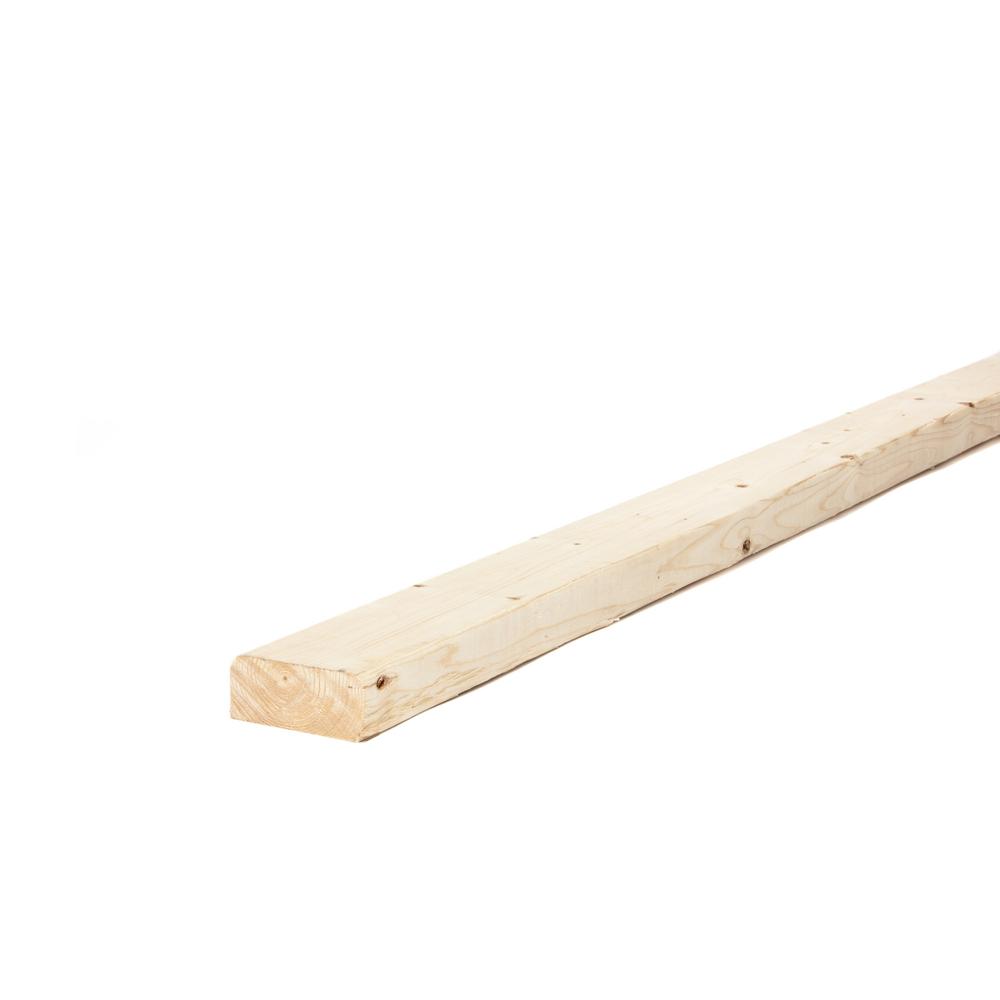
Step 2: Cut the 2 x 4s

I used the shelf pieces that I cut out of plywood to measure the lengths of the 2 x 4s. I cut the 2 x 4s to length with my circular saw.
Step 3: Drill ⅝-In. Holes in the Plywood Shelves

I stacked up 3 of the shelf pieces and drilled ⅝-in. diameter holes through them. This hole accommodates the ½-in. copper pipe, which will be used for the hinge on the mirrored door.

Step 4: Sand the Plywood

I used a sanding sponge to smooth down the rough cut edges of the plywood pieces.
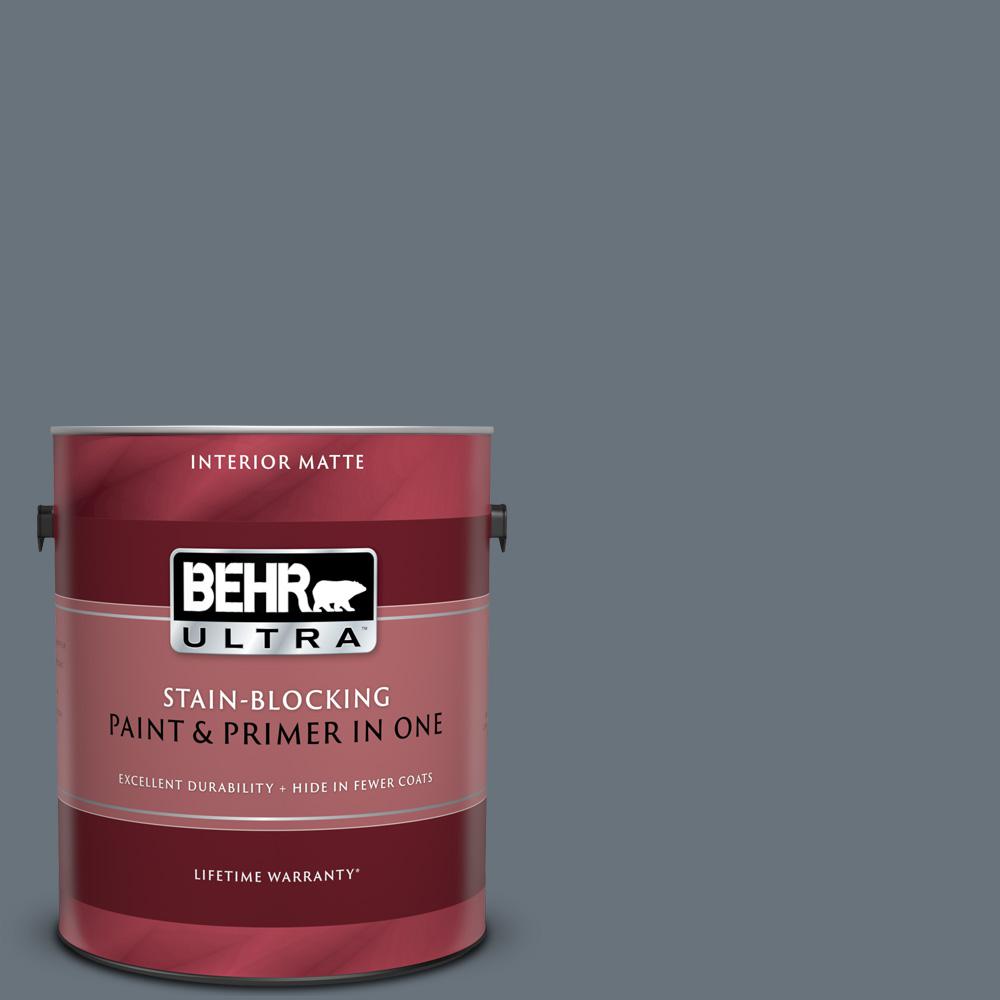
Step 5: Paint the Plywood


I used BEHR interior matte paint to paint the ¾-in. thick plywood pieces. I could have waited until the cabinet was done, but I prefer painting the pieces and then touching up the paint after assembling.
I painted the back side of the ½-in. thick piece of plywood with chalkboard paint.
Step 6: Assemble the Shelf


I used finish screws to fasten the plywood shelves to the 2 x 4 support pieces. I then screwed through the outside panels and into the 2 x 4s and plywood shelves with 2-in. finish screws.
Step 7: Cut and Install Copper Pipes


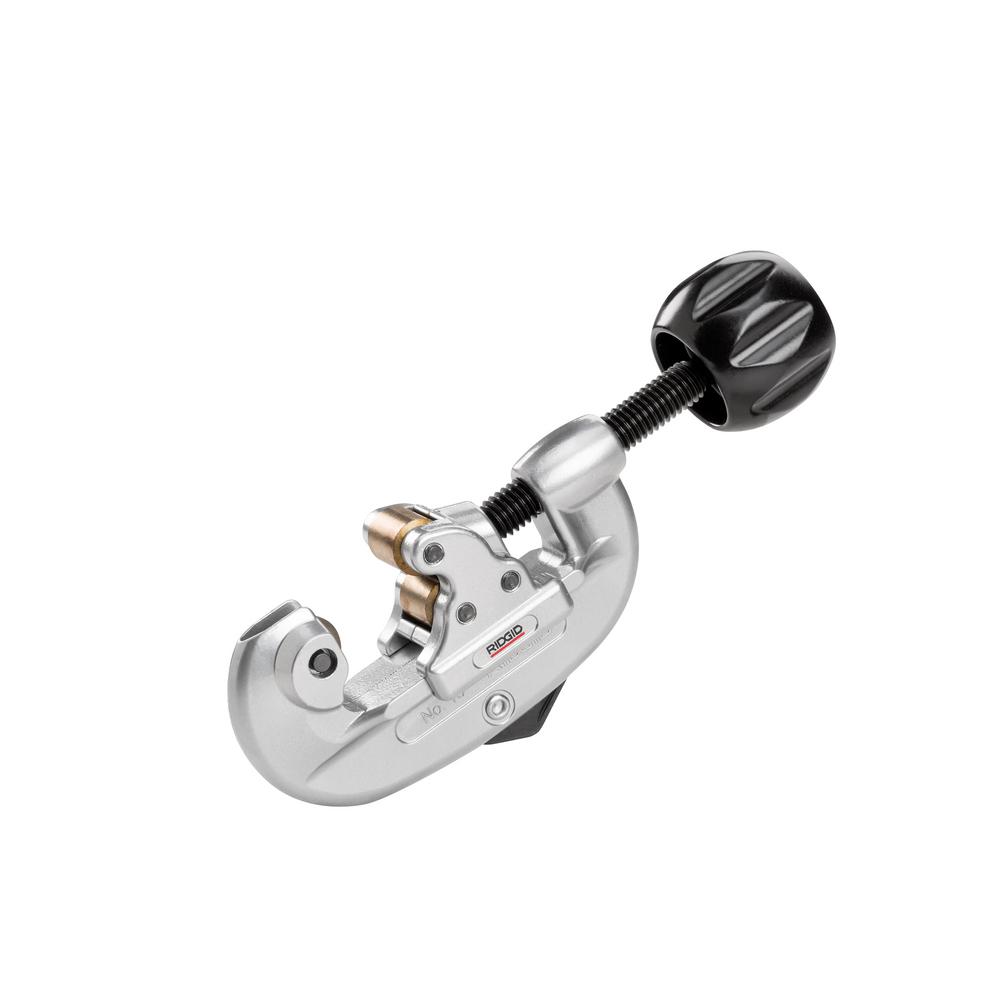
I used a tubing cutter to cut the copper pipe.

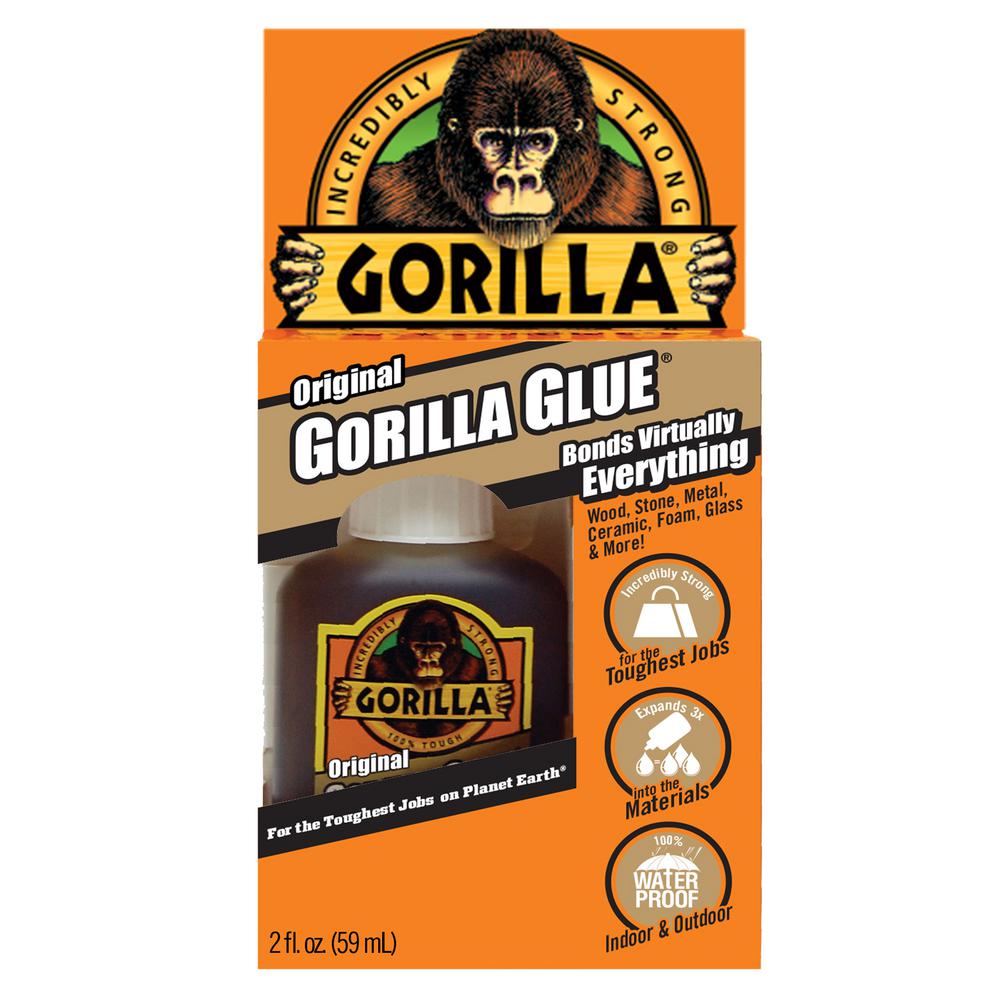
I inserted it through the holes and then used Gorilla Glue to glue the pipes together.
Gorilla Glue works best when the pipes are slightly damp. I used a paper towel to wet the pipes with water.
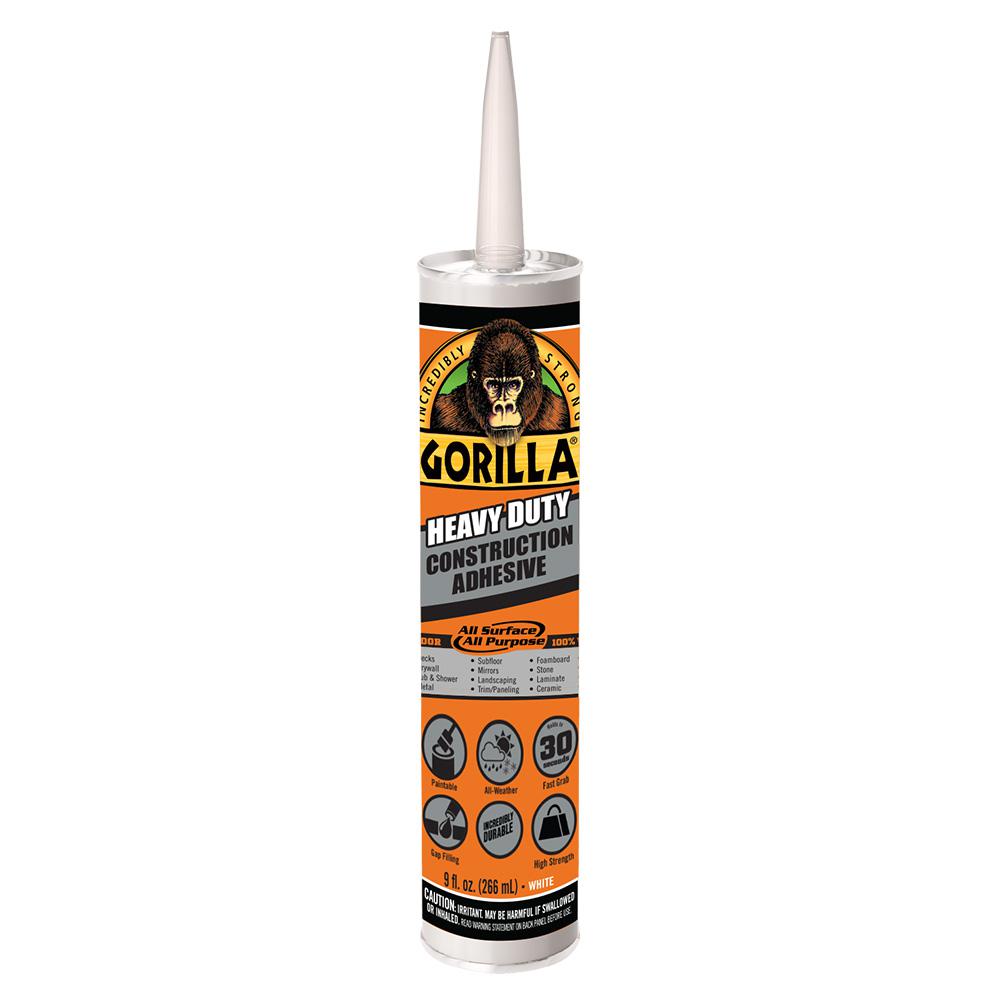
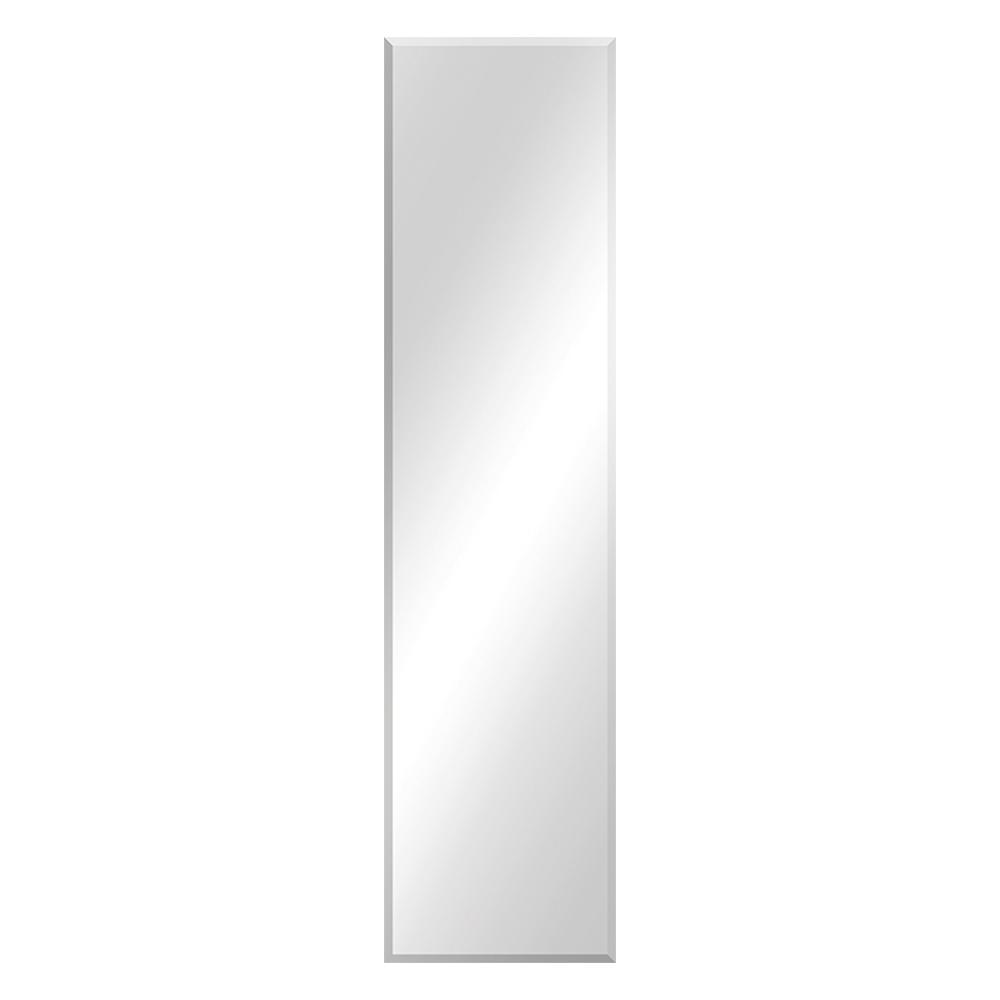
Step 8: Glue the Mirror to the ½-In. Plywood


I used Gorilla Construction Adhesive to glue the mirror to the ½-in. plywood. Then I used a scrap piece of lumber to press the glass to the plywood while the adhesive cured.
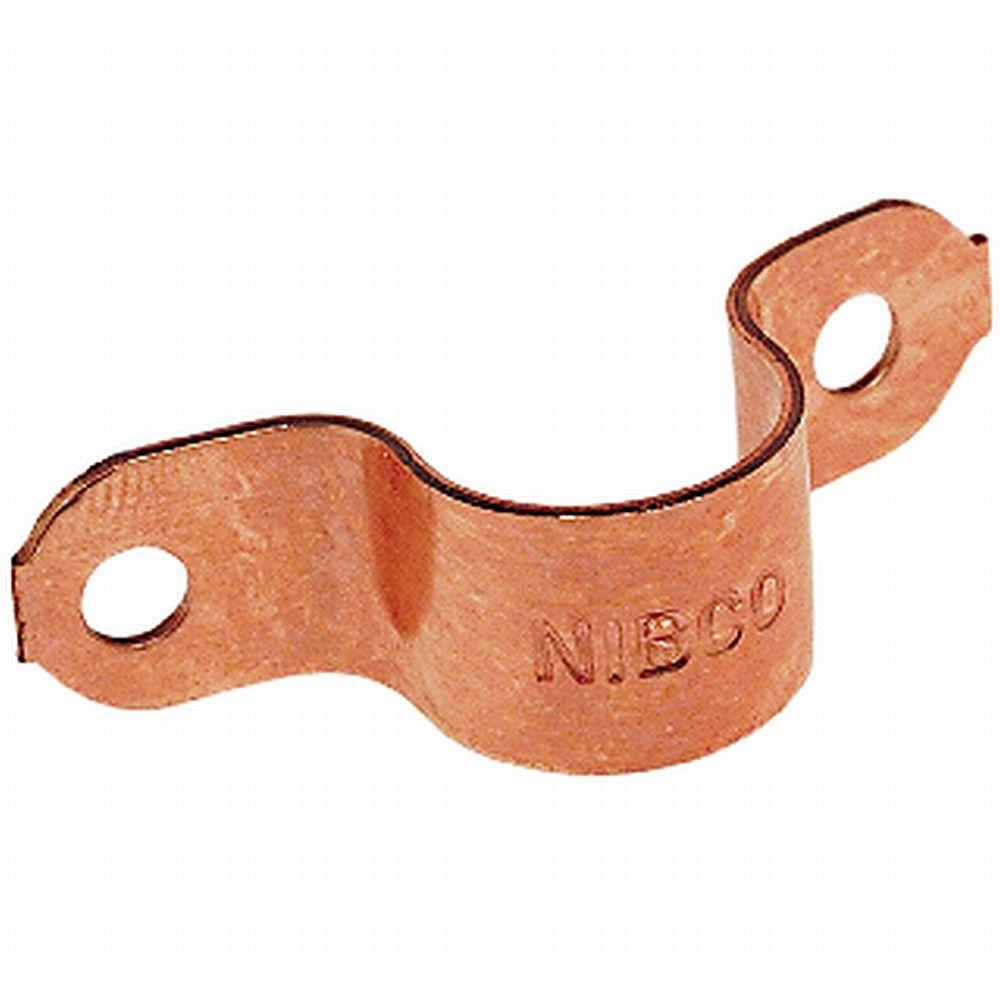
Step 9: Attach Mirror to the Copper Pipes


I placed the mirror on some paper towels so it wouldn’t scratch. Then I used pipe straps and ½-in. screws to attach the ½-in. plywood to the copper pipes.
Step 10: Add a Handle


I bent a copper pipe strap and then screwed it to the ½-in. plywood to use as a handle.
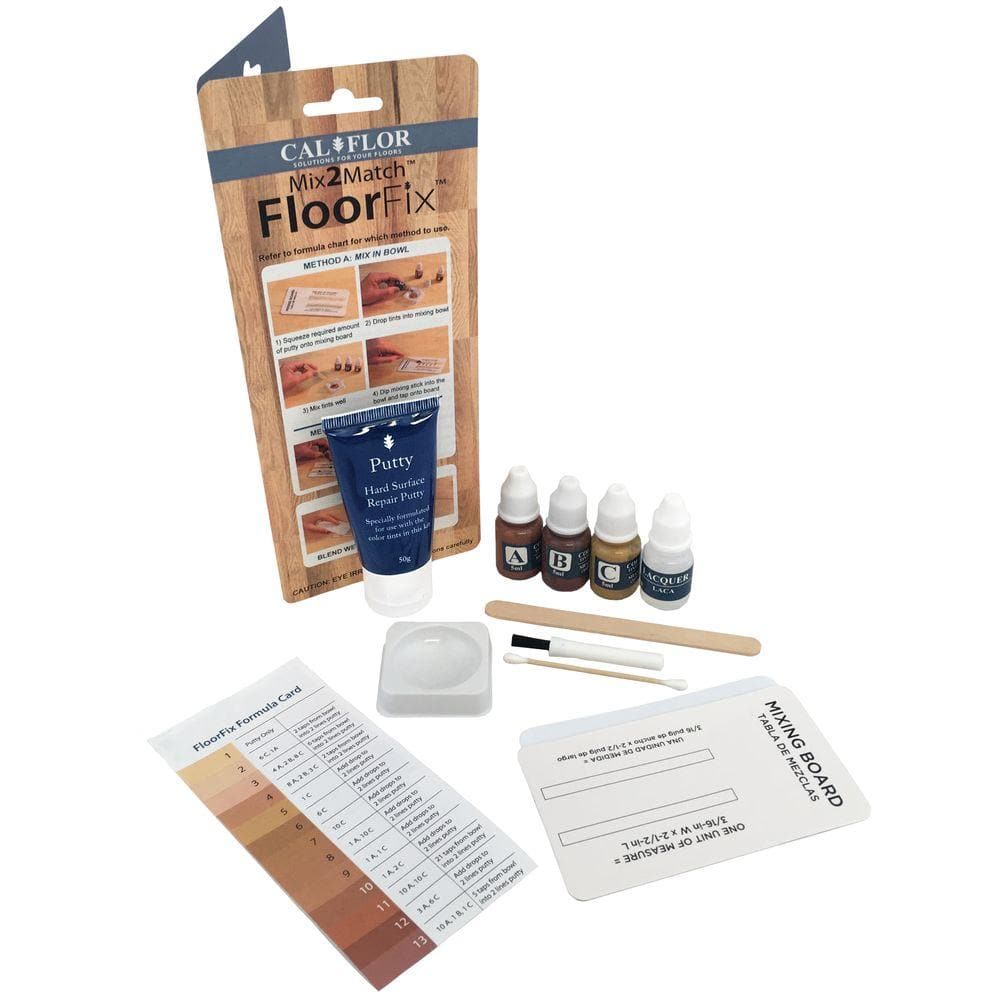
Step 11: Putty the Screw Holes and Sand the Plywood


We used wood putty to fill the up the holes left by the screws. Once the putty had dried we sanded it flush to the plywood and then touched up the paint.
Step 12: Add Hooks

I pre-drilled some holes in the ½-in. plywood and then screwed in some hooks to use to hang belts and ties.
Step 13: Screw the Standing Mirror Cabinet to the Wall

I used 3-in. screws to screw through the 2 x 4s and into the wall. This keeps the cabinet from tipping over.
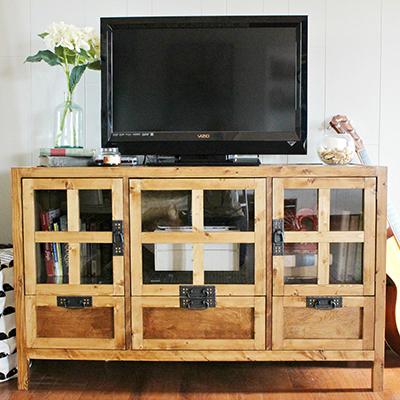
The Completed Standing Mirror Cabinet


Browse our copper pipe and fittings, appearance board and casters to build this copper pipe project.
Follow our Projects Using Pipe board on Pinterest for more pipe fitting projects and ideas.
This post was created in partnership with The Home Depot. The author may have received compensation for this article and associated images or video, potentially in the form of products and/or services. All expressed opinions and experiences are the author’s own words.