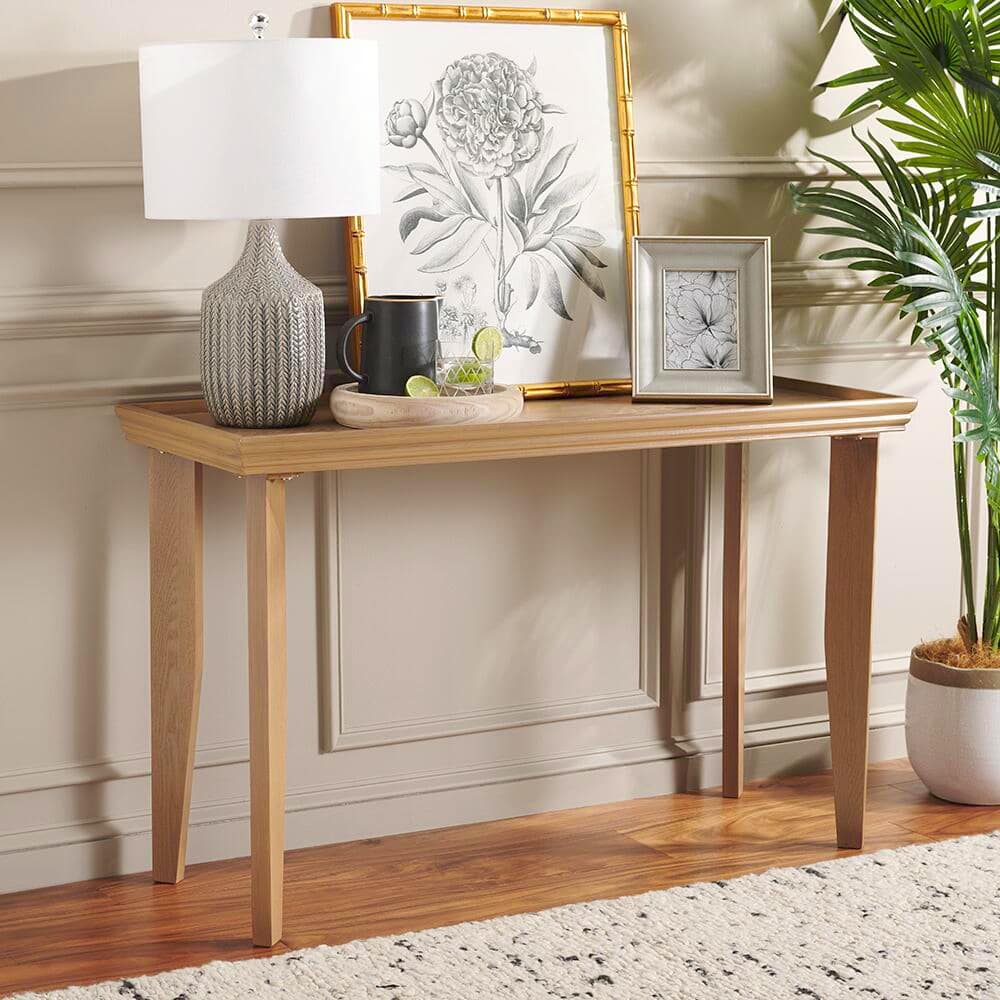
How to Build a DIY Waterfall Console Table
Last updated August 21, 2024

Demetrius, the Founder and Creative Director at *AT HOME WITH SAVVY**.* Demetrius is an interior designer, photographer, avid baker + home cook, tastemaker and visual story teller. His blog and page is a fusion of all of all his passions; interior design, food, entertaining and photography.
A Note From The Home Depot
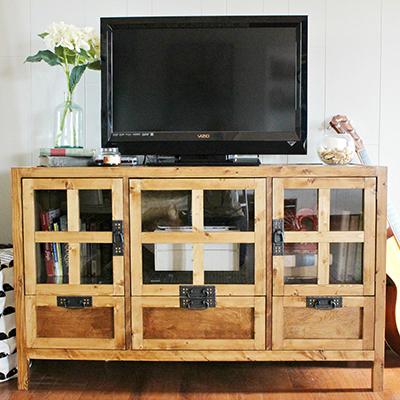
Searching for that perfect table to fit within your space? You can make it yourself! Read below to see how Demetrius Robinson of At Home with Savvymade this Waterfall Console Table for his home office space.
Table of Contents
Materials
Tools
Instructions
This table is made up of only two legs, and one surface that are glued together at the mitered joints. Quite simple, but the toughest part is ensuring that you’ve made clean mitered cuts, that’ll ensure the joints line up properly. Although I mentioned the need for clean and nearly perfect cuts, this is a DIY project that won’t be perfect. If your cuts are less than perfect, we can certainly fix that using wood filler.
Materials

- Wood - I purchased 8ft boards that were 12” deep and 2” thick
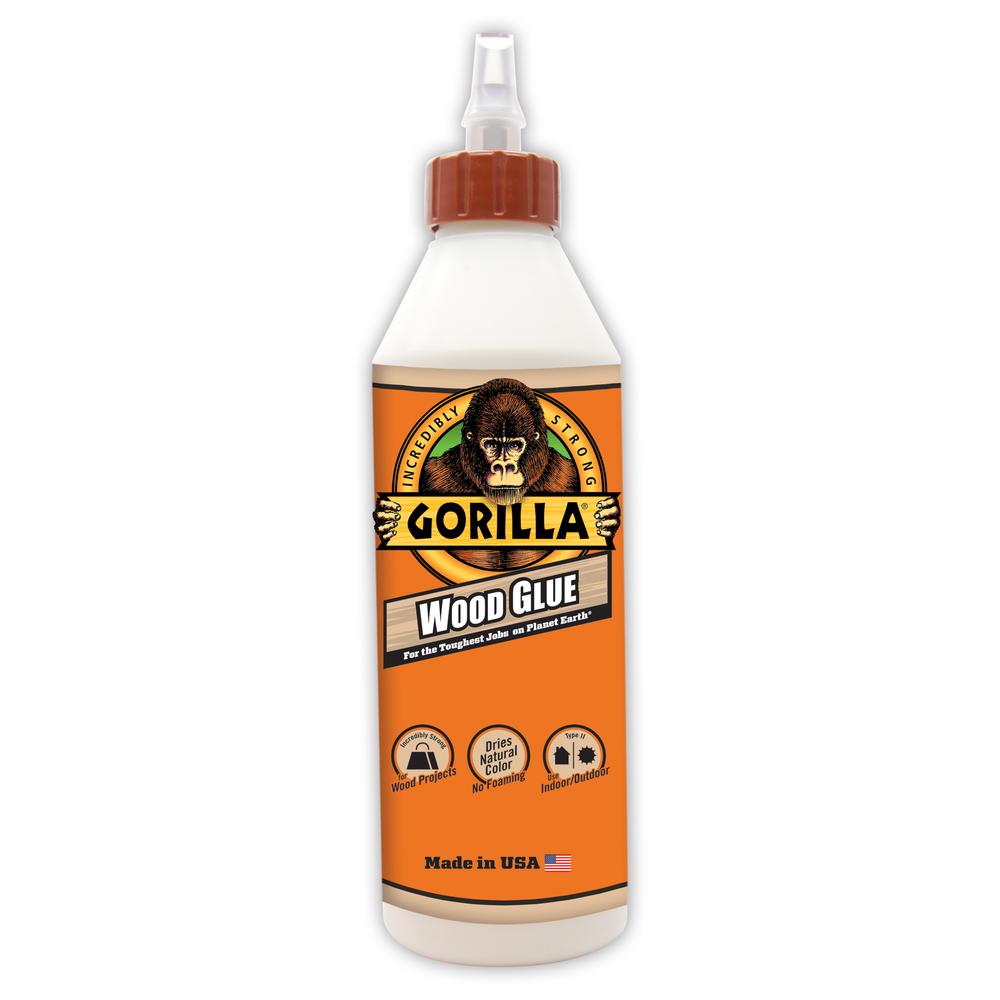
- Wood Glue
- Wood Filler(Natural Color)
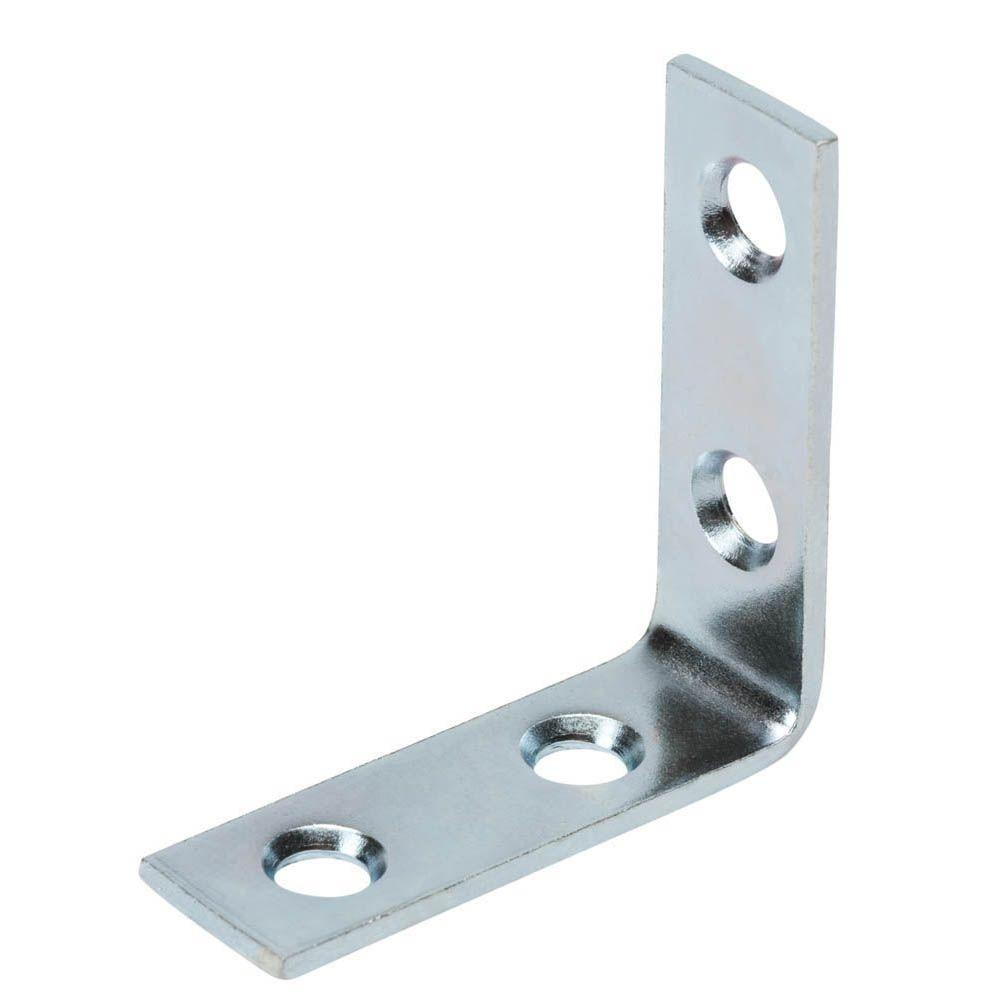
- Corner Braces (L-Brackets)
- Screws
- Stain of choice - I used Ebony Stain)
- Rag/cloth to apply stain.
- Polyurethane
Tools
The overall dimension of my table is 36” W x 30” H x 11” D. I was able to buy one 8’ board to build this table, depending on the size table you’re looking to create, you may need more wood than I purchased.
Instructions
Sand all sides of the wood board (except the bottom of the legs).
Measure and mark your cuts using your miter saw. I used this one 8’ board get the three pieces I needed, I simply cut out my top piece from the center of the board and after the two cuts I had (1) 36” top piece and (2) 30” legs.
Make your cuts with a miter saw (don’t forget your safety gear).
Dry fit your pieces to ensure that the mitered joints match up nicely
Apply wood glue to one joint and press the two pieces up against one another.
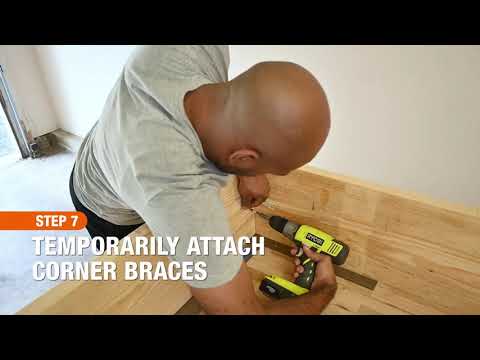
Then attach your Corner brace to the underside of the table. I found it easiest to do this with the wood boards laying on its side.
Use your rafter square to ensure that your corner is as a complete 90-degree angle, if it isn’t, adjust your corner bracket.
Repeat step 5-7 on the other side.
While your table is resting on its side, add your trigger clamps to press the joints together even more while the table dries.

Allow your table to dry for at least 8 hours, ideally 24 hours.
After the glue has dried, remove the trigger clamps and corner braces and stand your table upright.
Now you’ll want to check your mitered joints and sand down any corners as needed.
Use your wood filler to fill in the gaps in the mitered and let dry completely.
Sand down the dried wood filler until its level with the boards for a very clean look. (Remove excess dust with a dry rag).

Place pieces of scrap wood underneath your table to add space between the table and the floor.
Now apply your stain however you’d like. I’ve found that using a rag works best, in my opinion.
Allow stain to dry.

(optional) Apply a layer of polyurethane to protect the table.
Style it up however you’d like.


Although this blog post highlights a console table, these instructions could be used to make a coffee table, or any size console you’d like. If you need a table with more depth, simply glue two boards together, but you’ll need a table saw or circular saw, instead of the Miter Saw. Have some fun and get creative with yours.

This post was created in partnership with The Home Depot. The author may have received compensation for this article and associated images or video, potentially in the form of products and/or services. All expressed opinions and experiences are the author’s own words.