DIY Wooden House Candle Holders
Last updated August 21, 2024

Ashleigh is a YouTube content creator whose journey began in September 2017.
She started this creative outlet to express her love for all things DIY, including furniture refinishing and home decorating. Ashleigh is originally from Columbia, SC, currently living in Georgia with her husband, two baby girls, and two dogs. She enjoys being able to share her creativity to inspire others to create budget-friendly DIY's while incorporating her fun and easy to follow step-by-step instructions. You can see more of her work over on her YT channel Ashleigh Lauren and Instagram @_ashleighlaurn.
A Note From The Home Depot
Attention all minimalists - these adorable DIY Wooden House Candle Holders are for you!
Ashleigh Lauren
creates some gorgeous and simplistic decor for your holiday home using items from your local Home Depot.
Table of Contents
DIY Wooden House Candle Holders
Supplies
Tools
Steps
DIY Wooden House Candle Holders
Steps
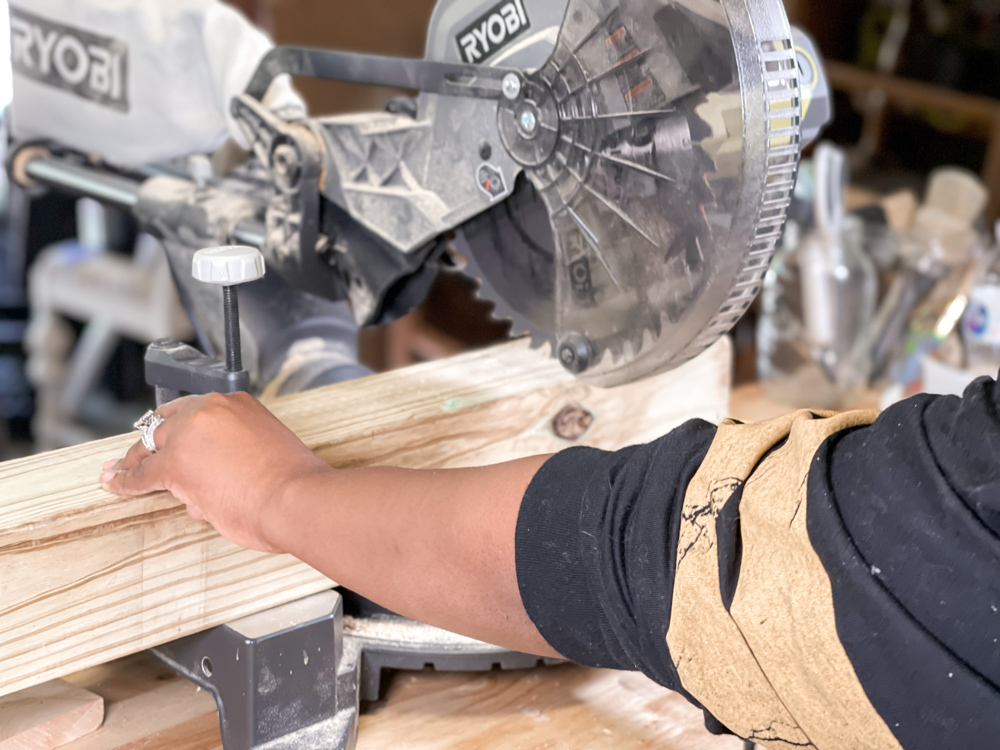
I'm so excited to share this quick DIY. These houses are perfect for decorating for the Holidays. To start, you will need a 4x4 piece of wood. I chose a 6ft piece which is a good length to use to create many different houses. I then took my 4x4 and cut it down to different heights. I had tall, medium, and short sizes.
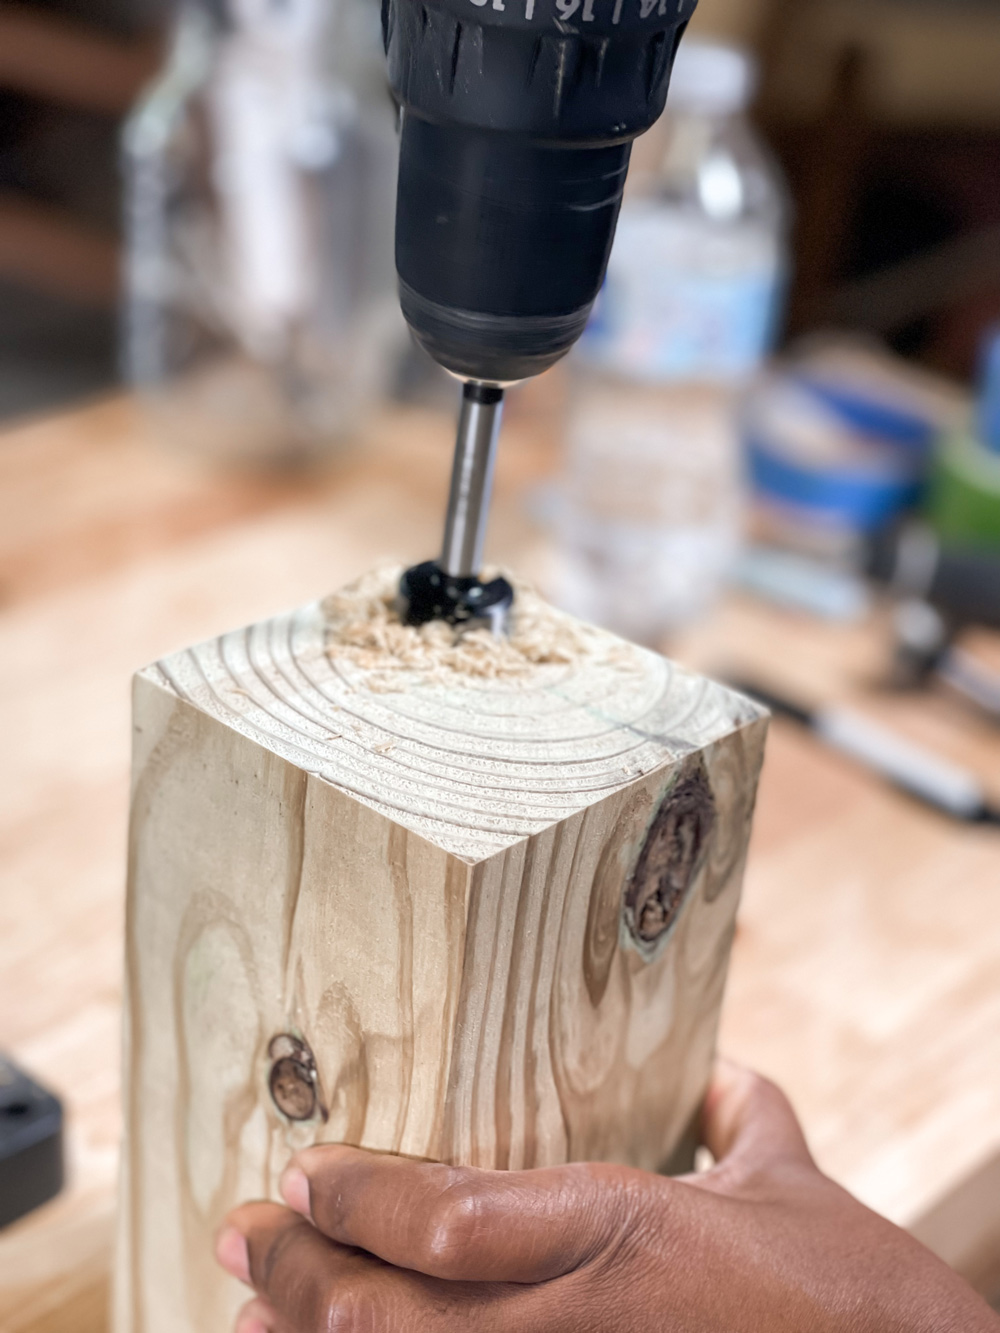
Next, I took my copper couplings, and I used the coupling as a template to see where I would drill the hole that would house them. After I traced around the coupling using a pen, I took my forester bit and created the hole at the top.
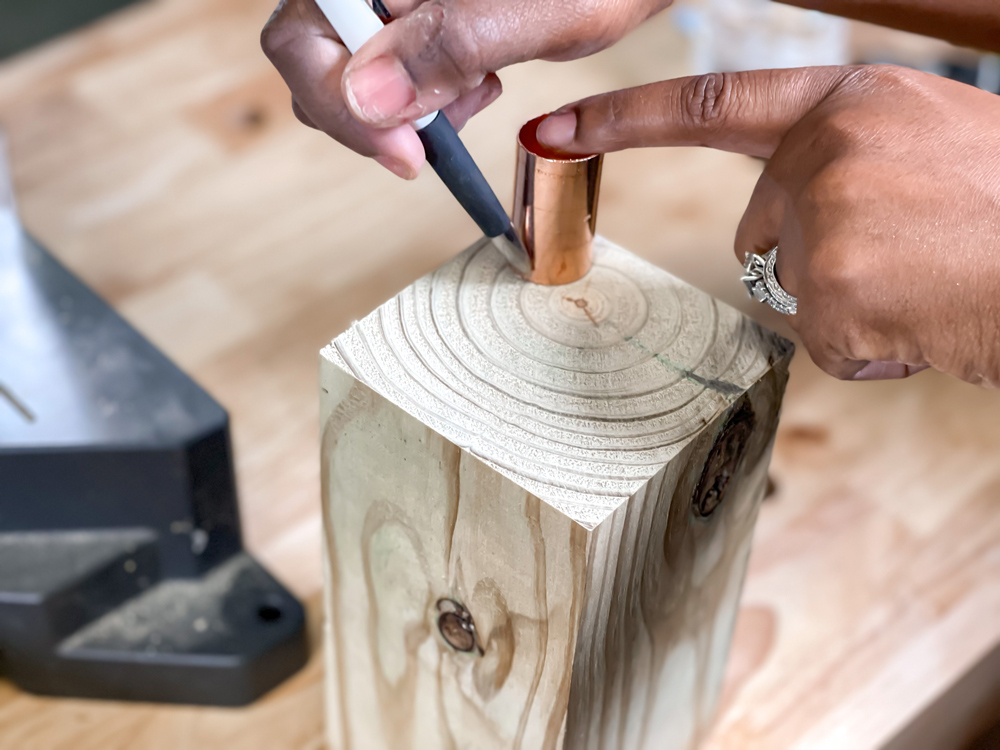
I carefully drilled my holes using a 1 in forstner bit. Make sure you have on safety goggles to protect your eyes. You can also opt to use wood clamps to clamp your piece down to drill the holes, as well. You want to create your holes before you cut the roof of the house. Drilling the holes first is much safer than doing so after you cut the rooftop.
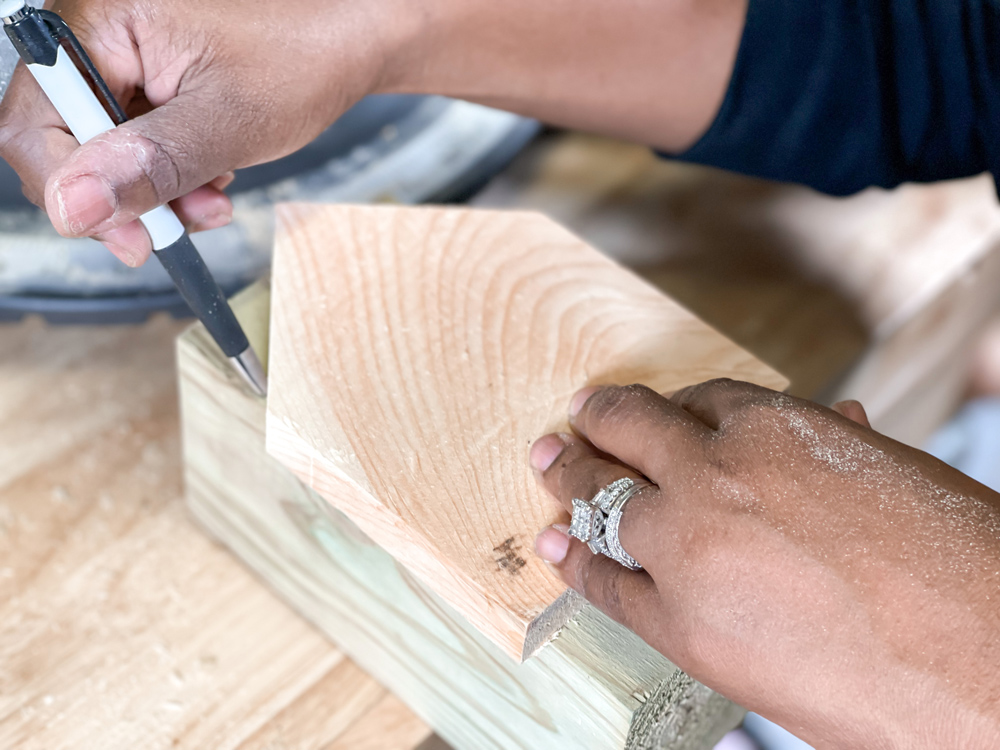
After I created the holes on the top, it's now time to cut the wood. I used my miter to cut the roofs. You can use a straight edge, speed square, or a house template to draw out each roof. I chose to use a template. I placed it on top of my woodblock and drew the top of my roof.
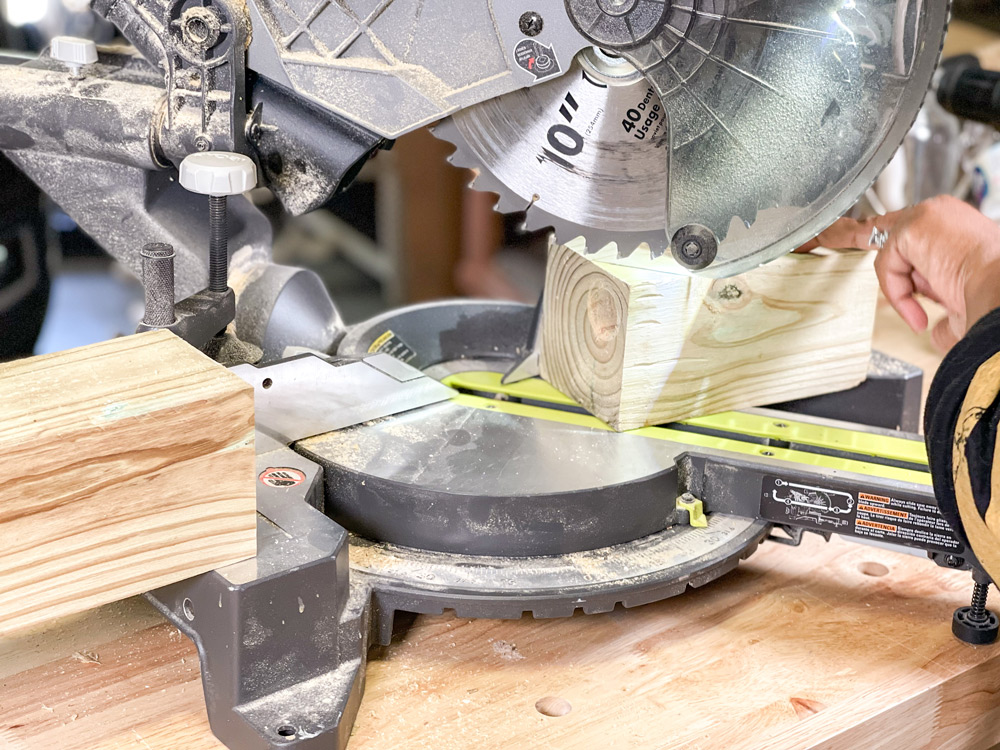
Next, I turned my miter to a 45-degree angle and cut out the areas I marked at the top. You can create various size rooftops. They don't have to be perfect 45-degree angles, nor do they have to be straight rooftops. Have fun and create traditional or unique shaped roofs.
Once I got each rooftop done, I sanded down each one using 220 grit.
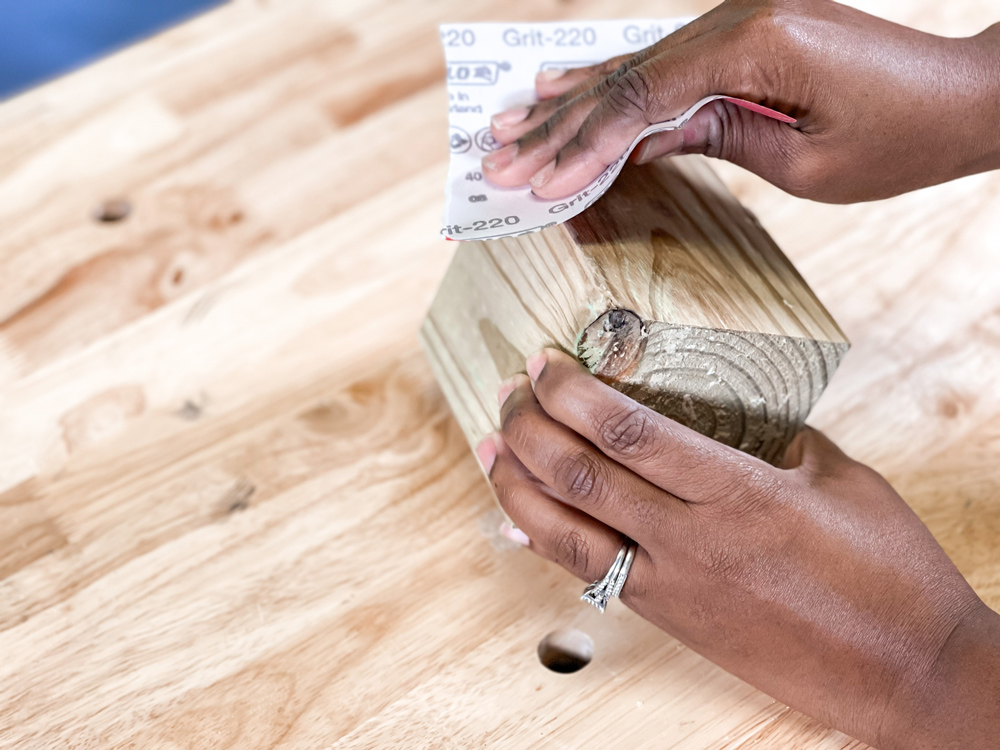
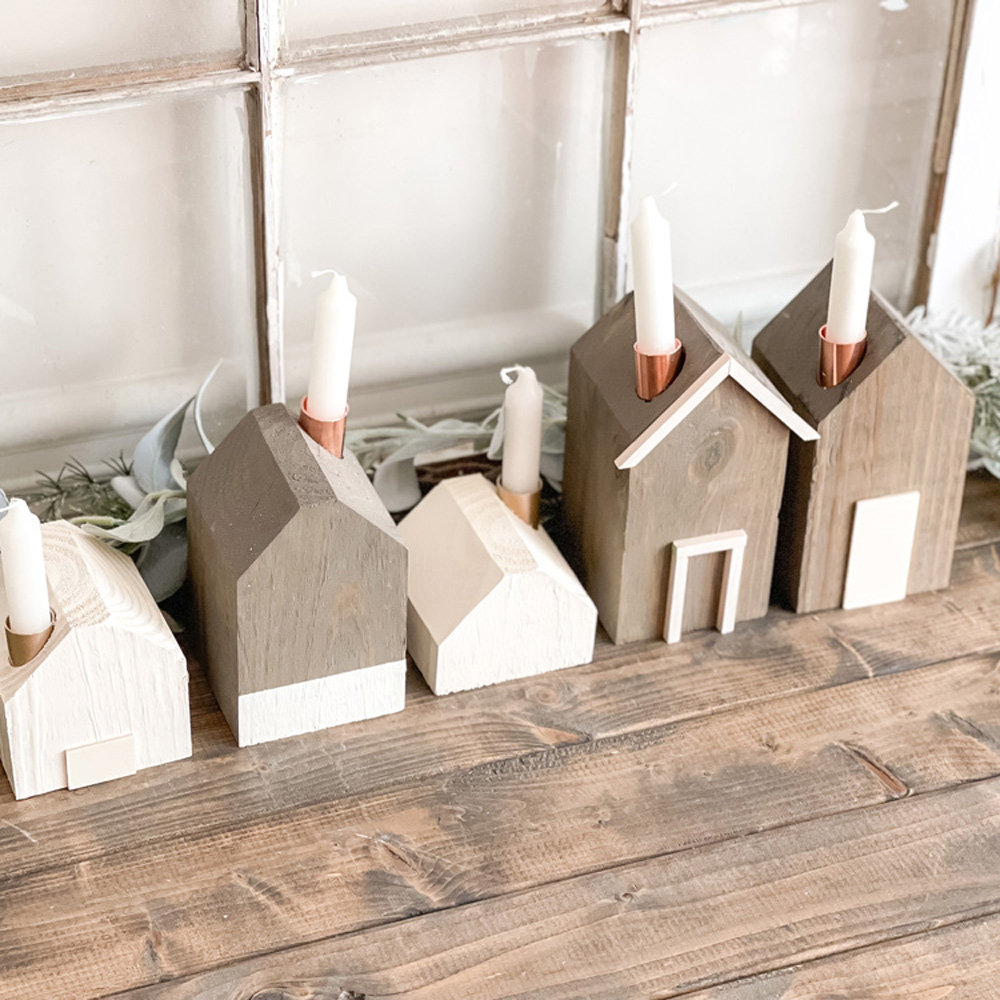
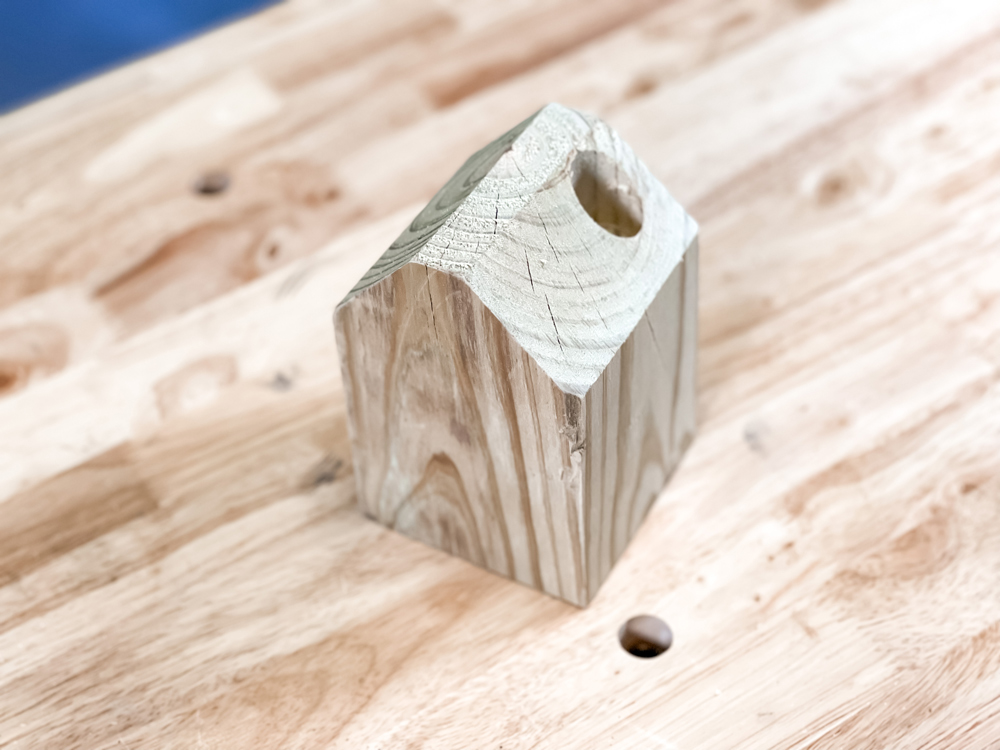
Here is what your house should look like so far.
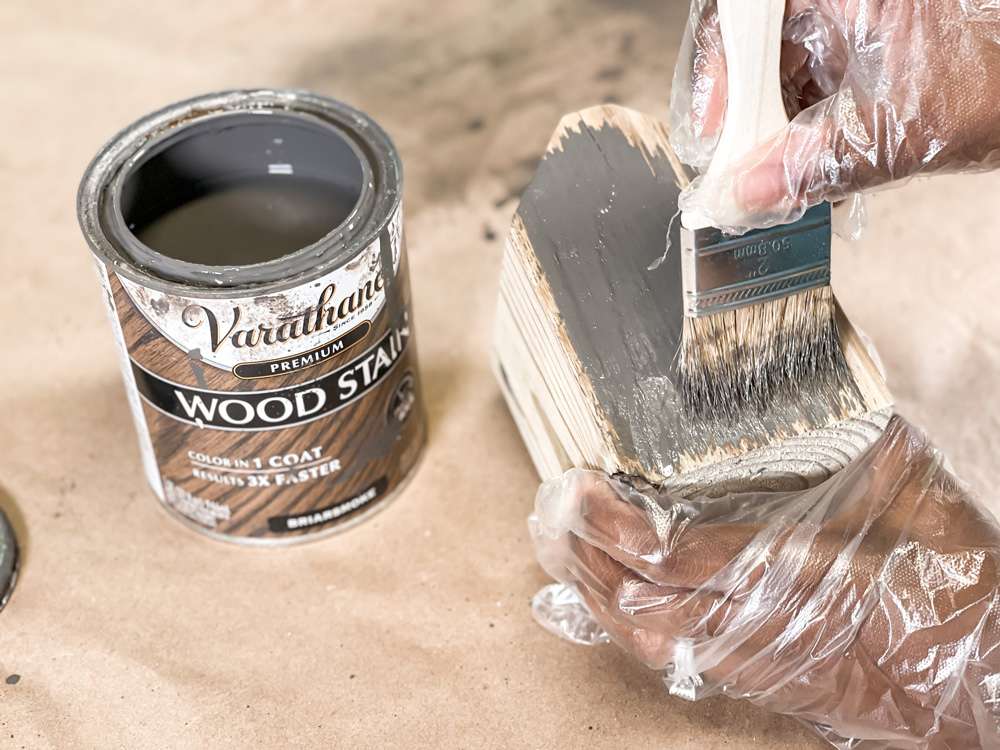
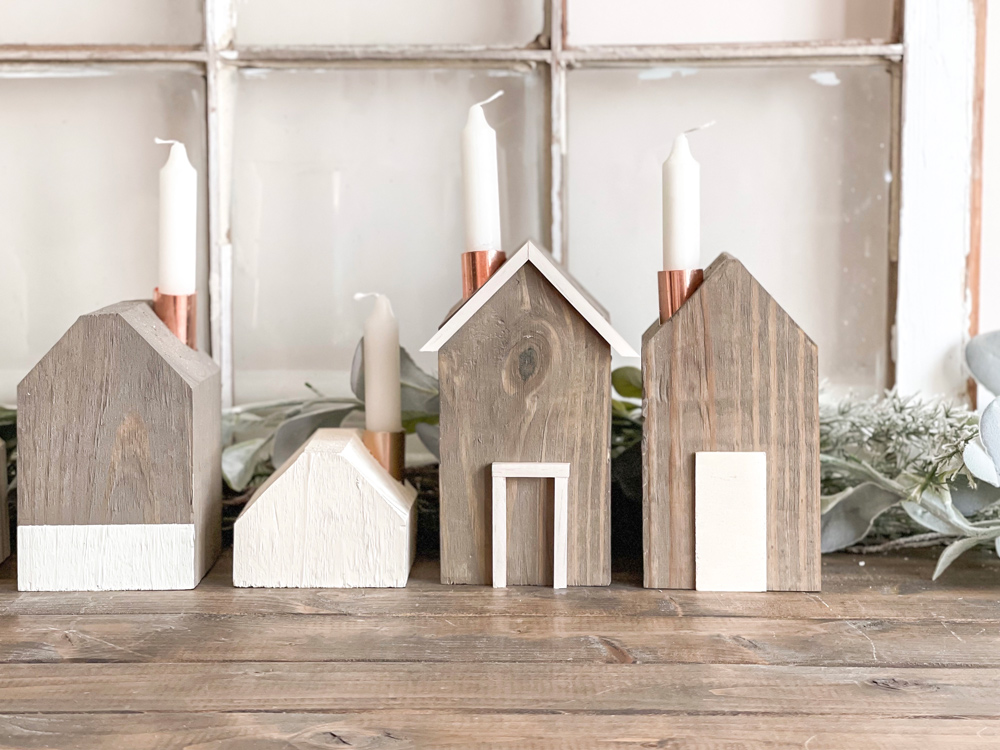
Now here comes the fun part, decorating each house! I chose to stain some and paint some. I used the stain Briarsmoke, one of my favorite stains, and Heirloom White to paint.
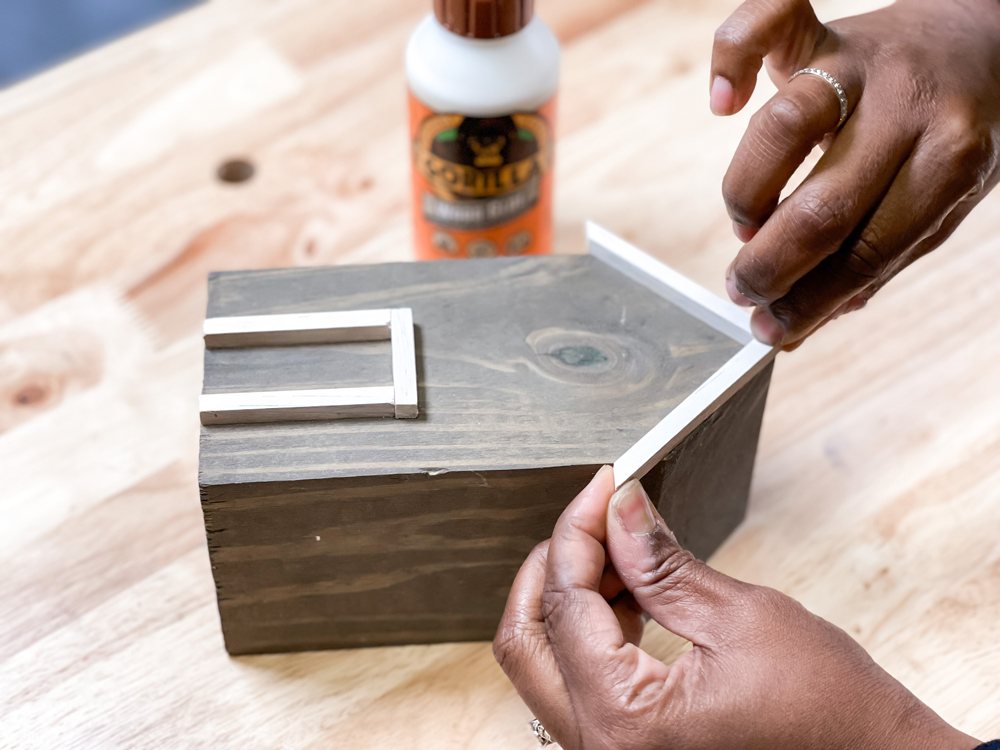
To step these up a little bit. You can also opt to add doors, windows, stencils, or
decoupage paper, to name a few options. I added a few doors to my houses using plywood, and I also took a piece of trim and cut it down to size to fit my roof and frame out a door.
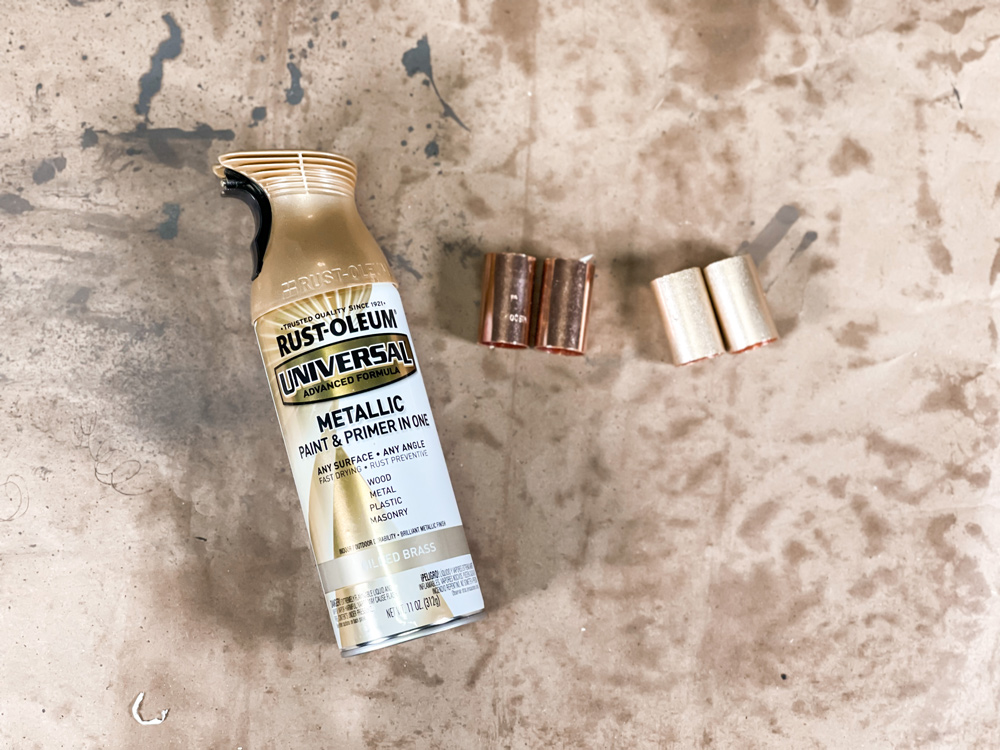
Another cool thing you can do is change the color of your couplings. I chose to spray some of my couplings, one of my absolute favorite spray metallics called gilded brass by Rustoleum.
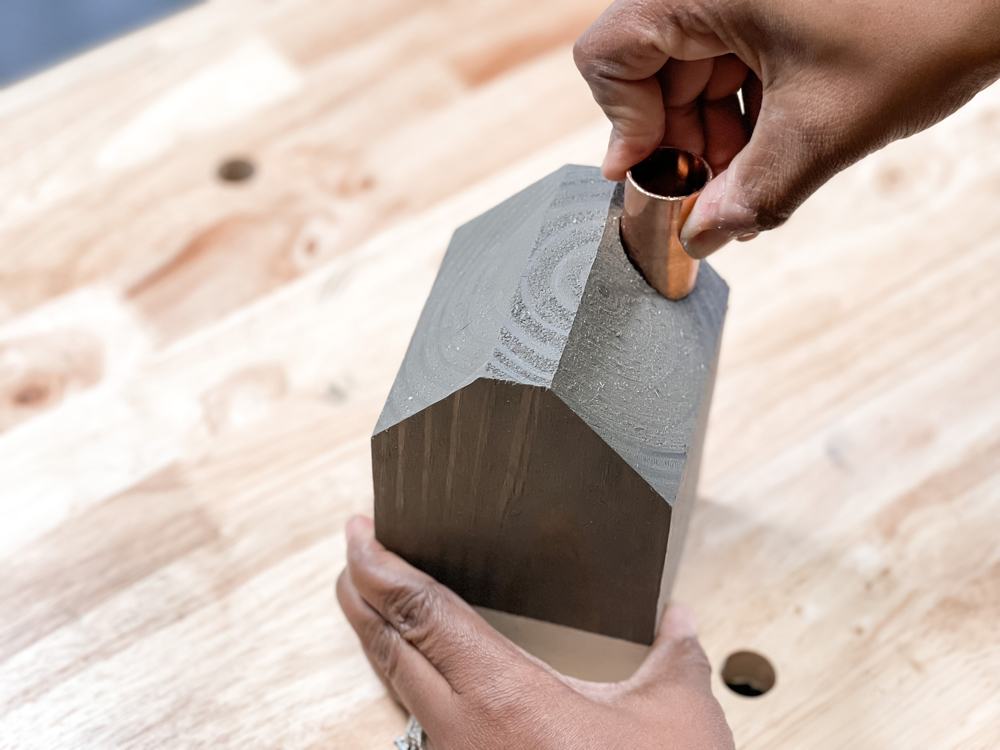
The final thing to do is seal each house with the finish of your choice and add the couplings and candles to the top.
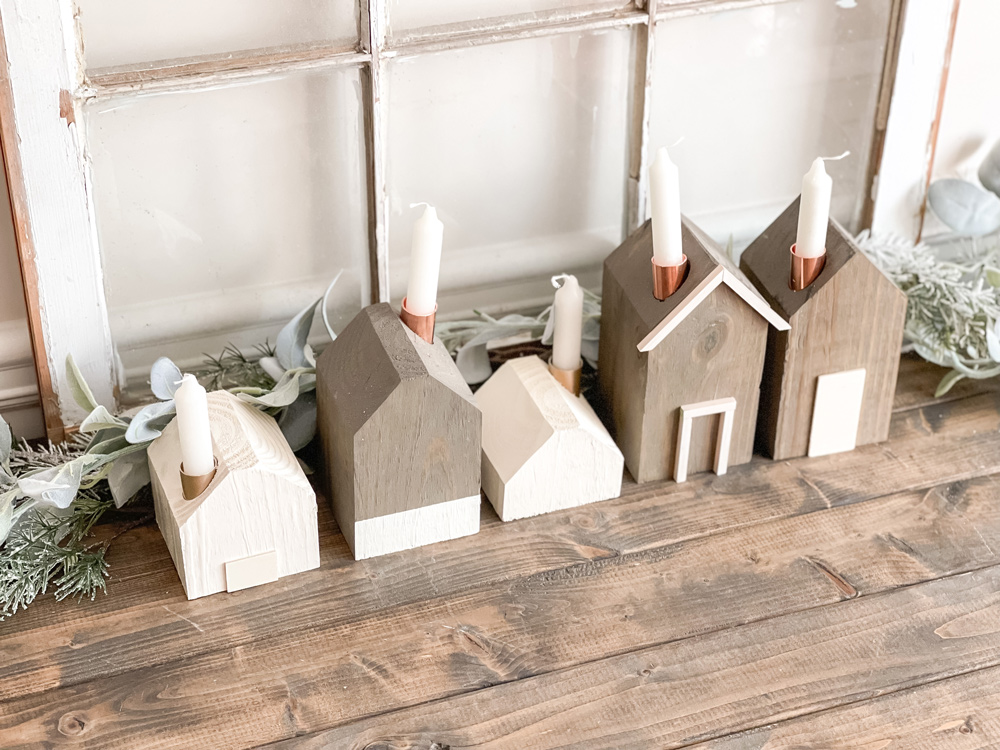
And that is it! After you finish decorating each house, to your liking, you will have a pretty cool wooden house village to put on display. These would be the perfect addition to the fireplace, or even using them as centerpieces. I love how these turned out, and there are so many fun ways to cut and decorate these houses. Have fun, and don't forget to tag me if you create some of these quick and easy candle holder houses.
This post was created in partnership with The Home Depot. The author may have received compensation for this article and associated images or video, potentially in the form of products and/or services. All expressed opinions and experiences are the author’s own words.


