Faux Farmhouse Flooring Makeover

Last updated August 21, 2024

Holly Lauritzen from Our Faux Farmhouse loves anything and everything to do with farmhouse style. She and her husband have been working through the years on DIY projects around the home to curate the perfect, modern-day farmhouse with a little help from The Home Depot. You can read more about their family's journey and renovation experiences here on her blog.
A Note From The Home Depot
Holly Lauritzen of Our Faux Farmhouse was looking for a flooring option to protect her master bedroom floor from spills and pet stains. She found the perfect solution that she and her husband Brad were able to install as an easy weekend project!
Read on to see how Holly transformed her space by taking her floors from carpet to an elevated hardwood look using Lifeproof Sheet Vinyl.
Table of Contents
Step 1: Remove Carpet
Step 2: Measure and Cut Sheet Vinyl
Step 3: Ensure Pattern Alignment
Step 4: Apply Adhesive and Install Sheet Vinyl
Step 5: Remove Air Bubbles
Finished Product

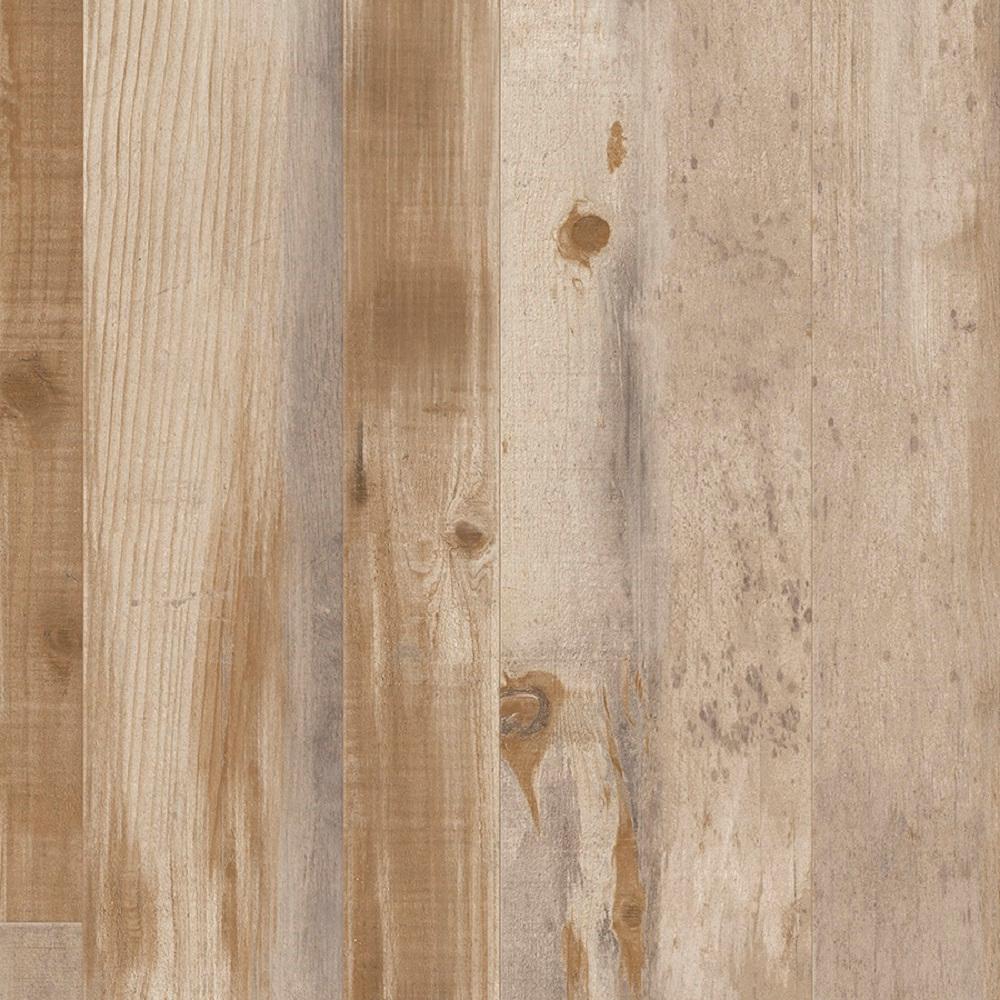
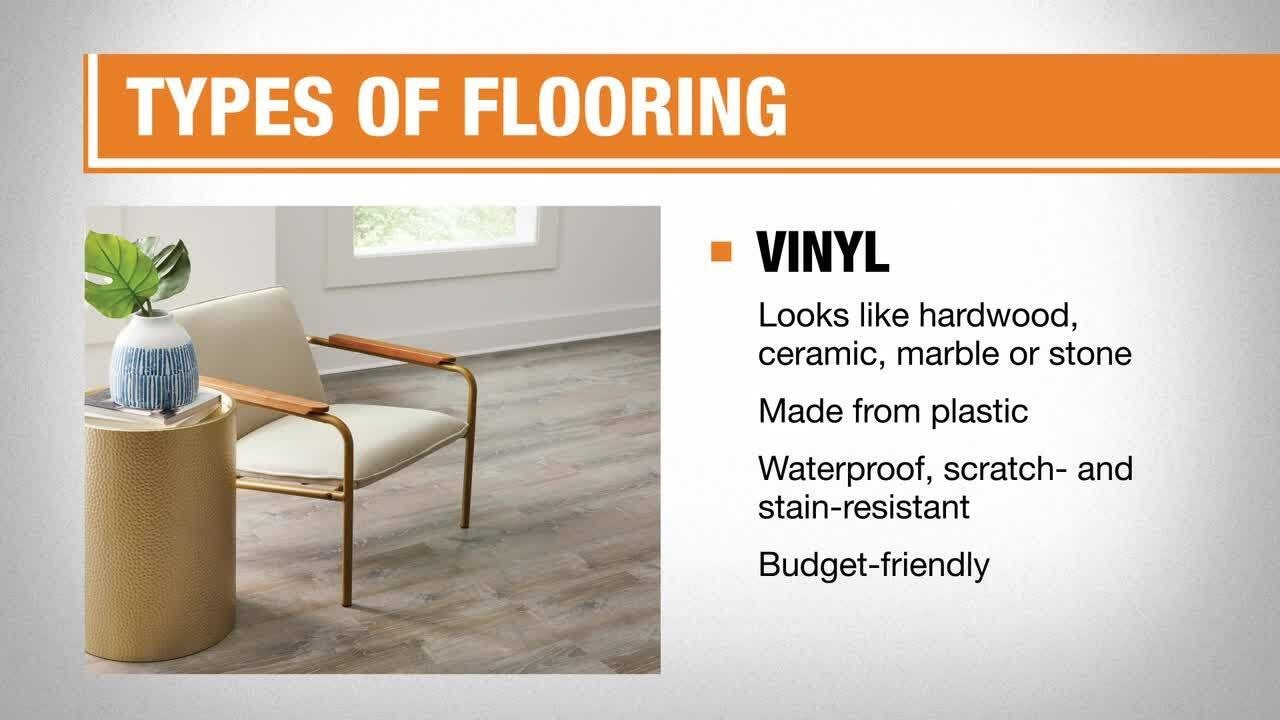
We’ve done a few fun things to our “spec” home Master Bedroom: designer paint, a feature wall, DIY furniture and a sliding barn door. One of the things we chose not to upgrade during the build process was the flooring, and it was something we’d been wanting to change, but hadn’t found the right product yet. We did a lot of research on vinyl flooring and were pleased to find Lifeproof Sheet Vinyl at The Home Depot. It was the right price point and the color selection was exactly what we were wanting. We chose the color Restored Rosewood and were so glad to see they made a natural looking wood choice that fit the style of our bedroom.
Although we originally had carpet in our bedroom, we knew we would soon want to switch out the flooring to a) better fit our style and b) to safeguard against a puppy stains and natural wear and tear with little ones. We loved the fact this sheet vinyl flooring is stain, scuff and scratch-resistant and super easy to clean. That’s our kind of flooring!
Step 1: Remove Carpet

The first thing we did was remove the carpet and got it all cleaned up! It’s important to clean the concrete (or wooden sub-flooring) as well as you can before applying the adhesive. That means you’ll need to remove all tack strips (if you removed carpet like we did) and scrape up any existing concrete splatters or other bumps in the ground.

Sweep it all up and you’re ready to lay the vinyl.
Step 2: Measure and Cut Sheet Vinyl

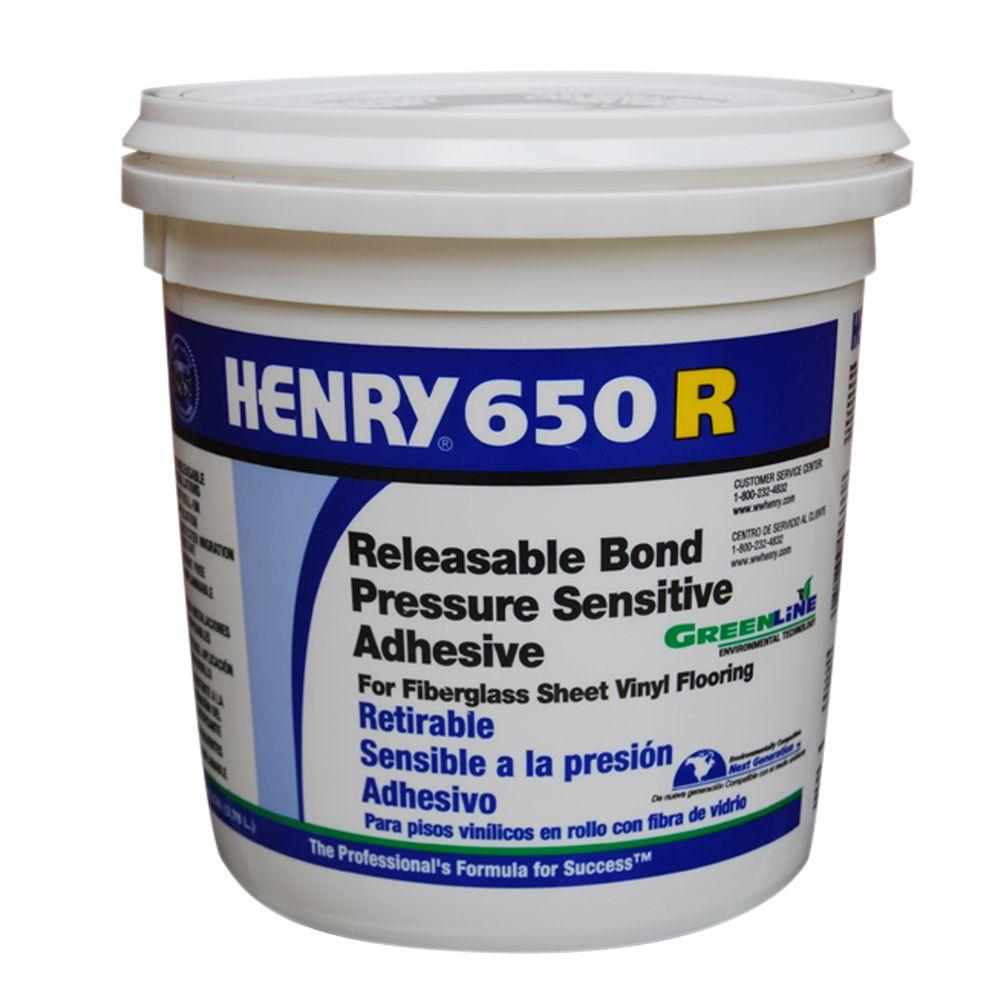
When you purchase the flooring it comes with a helpful installation guide that tells you exactly what type of adhesive and tools you’ll need. First, you’ll cut the vinyl for the exact space you need. This can easily be done with a simple utility knife.
Step 3: Ensure Pattern Alignment

Unless your room is perfectly square or rectangular and less than 12 ft. Wide (since that’s the width it comes), there will naturally be seams when laying this type of sheet vinyl. Be aware of your pattern and try your best to line it up with the existing pattern. Since this wood has a textured appearance, it is VERY forgiving in that regard.
Step 4: Apply Adhesive and Install Sheet Vinyl

Then you’ll apply the adhesive in a thin layer using a u-shaped trowel, in two foot sections at a time. You’ll spread the adhesive, then roll out the vinyl over top every two feet. Glue, Roll, Repeat.
Step 5: Remove Air Bubbles

You’ll want to keep a close eye on air bubbles as you go. These will occur and are to be expected. Once you find one, simply use this rolling tool to guide the air out towards the edges.
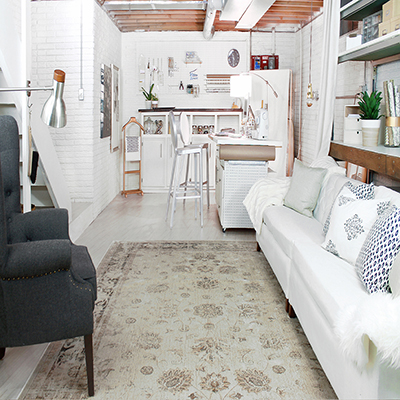
Finished Product

If you would have told us that THIS was sheet vinyl we would have never believed you! In fact, we were skeptical of the even the words ‘sheet vinyl’ but boy, were we wrong! And we’re glad we were, because this is our favorite flooring in the whole house. It is the most heavily detailed, textured sheet vinyl we have ever seen.

It completes our master bedroom, and although we took the carpet out, we added SO MUCH WARMTH with the character of this ‘Restored Rosewood’ selection by Lifeproof. It completely enhances the space and was a total home run when taking into account cost, ease of install and maintenance.
This post was created in partnership with The Home Depot. The author may have received compensation for this article and associated images or video, potentially in the form of products and/or services. All expressed opinions and experiences are the author’s own words.