File Cabinet Makeover

Last updated August 21, 2024

Andrew Boza & Dennis Setteducati or Crafty Lumberjacks, are New York-based DIY and crafting experts who are sure to add some fun to your projects with their unique and creative projects.
These former actors turned their crafting dreams to reality and now specialize in DIY projects, decorating inspiration, and the occasional vegan treat.
A Note From The Home Depot
Looking to add a pop of color to your home? Crafty Lumberjacks has your back. This DIY File Cabinet Makeover is easy to do and we recommend it for you!
Table of Contents
File Cabinet Makeover
1. Remove Hardware and Clean
2. Spray Paint
3. Cut and Apply Peel and Stick Wallpaper
4. Drill on Hairpin Legs
5. Attach New Drawer Pulls
File Cabinet Makeover
Work from home in style by giving your old, dusty and plain metal file cabinet a glamorous makeover. Create a one of a kind and unique piece of furniture that matches your aesthetic with a quick trip to The Home Depot. This is a great project for beginners or experienced DIYers. You’ll be amazed how dramatic this transformation is by just adding new hardware and peel and stick wallpaper.


1. Remove Hardware and Clean
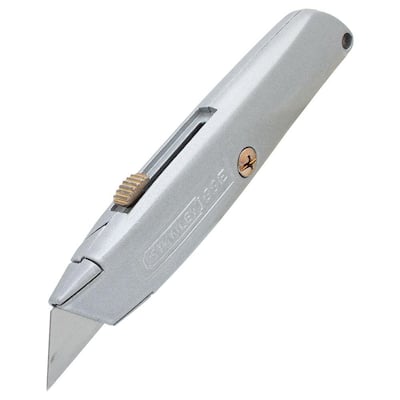
Generally speaking, you want to start by wiping down the file cabinet so that you are working with a clean blank canvas. Use a drill to remove cabinet handle drawer pullsand clean off any dirt or debris with a wet rag.


2. Spray Paint
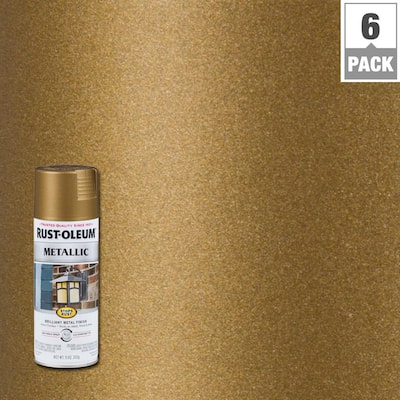
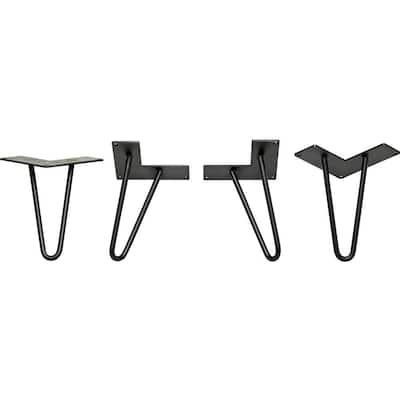
Elevating the file cabinet off the ground with hairpin legs will help take away that classic office look from the file cabinet. Work outside or in a well-ventilated area and place the hairpin legsupside down on a tarp or a scrap piece of cardboard. Using an even side-to-side motion, spray the legs until completely coated. Be sure to check as you spray making sure that you’re getting all angles for full coverage. Let dry overnight. Tip: For a high end and cohesive look, match the spray paint color to the new hardware. If some hardware can not be removed (like a lock), protect the file cabinet by using painters tape and a plastic covering.


3. Cut and Apply Peel and Stick Wallpaper
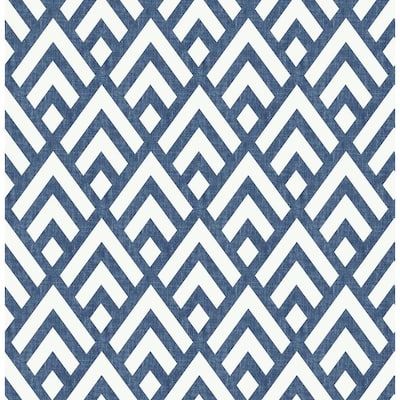
Measure the front of the file cabinet and cut down a piece of the peel and stick wallpaper a bit larger to cover the drawer front panels. Working from the top down in small sections, remove the backing from the peel and stick wallpaper and apply to the drawer front. Use your hand or a smoothing tool while applying, being sure to remove as many air bubbles as possible. Once completely covered, use a razor blade or scissors to cut off excess wallpaper leaving a quarter of an inch from each edge. Fold down the pieces on the sides of the drawer for the cleanest look. Tip: This is a great step to do with a friend. The more helping hands the better!


4. Drill on Hairpin Legs
Turn the file cabinet upside down and place it on a rug or soft surface so the top of the file cabinet does not get damaged. Line up the hairpin legs to each bottom corner and mark where each leg should go. Pre-drill holes for the screws and then screw each leg in place. Flip the file cabinet right side up, make sure the legs are level and admire your work.


5. Attach New Drawer Pulls
Poke a small hole in the peel and stick wallpaper where the previous hardware used to be and screw the new drawer pulls in place. Tip: If the screws are too long, use the screws from the original drawer for a snug fit. If your old drawer pulls are in good condition, save money by spray painting them the same color as the hairpin pin legs for a cohesive look.

6. Display
Add your new file cabinet to your home or home office. There are so many ways to embellish file cabinets with peel and stick wallpaper and accessories. Have fun with your design and get colorful and creative!


This post was created in partnership with The Home Depot. The author may have received compensation for this article and associated images or video, potentially in the form of products and/or services. All expressed opinions and experiences are the author’s own words.