Floating Deck Ideas

Last updated August 21, 2024

Caitlin is a designer, DIYer and styler. She's a desert dweller who loves the thrill of the thrift, abstract art, and her three fur babies.
A Note From The Home Depot
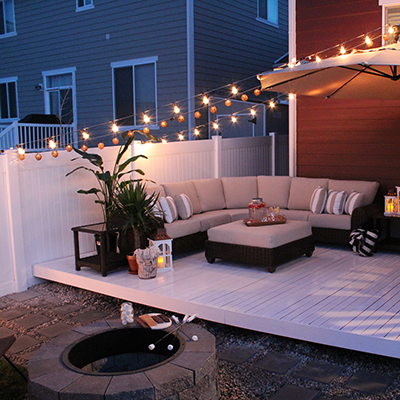
A floating deck, or freestanding deck, can add visual appeal to your backyard as well as increasing the space available for outdoor dining, entertaining or just relaxing outside. Caitlin Ketcham of the blog Desert Domicile included a beautiful floating deck in her amazing total backyard makeover, part of our Patio Style Challenge. Caitlin handled the backyard design, and The Home Depot helped with the bigger projects, including this floating deck.
As you’ll see, this is not a small DIY project, but it’s doable for anyone with moderate DIY skills who wants to tackle it. Caitlin describes all the steps involved below.
Table of Contents
Lumber Needed (Buy a Shorter or Longer Length Based on Your Dimensions)
Step 1 – Determine Deck Size
Step 2 – Mark Off Area for Deck
Step 3 – Measure and Mark Footer Posts
Step 4 – Cut Posts
Step 5 – Dig Post Holes

I read somewhere that “the act of taking a step up gives you the illusion of being in a different place.” I wanted to create a different place in our yard but because of our low fence walls and our HOA’s rules against having anything go above the fence walls, I knew that the different place would have to be low to the ground.
I fell in love with the floating deck Kristin Jackson of The Hunted Interior revealed in her Patio Style Challenge last year. Her deck felt like a different place in her yard, and I thought it was a great solution for our yard too! With Kristin’s inspiration, I drew up some plans for my own deck.
Here’s how it was built.
Lumber Needed (Buy a Shorter or Longer Length Based on Your Dimensions)
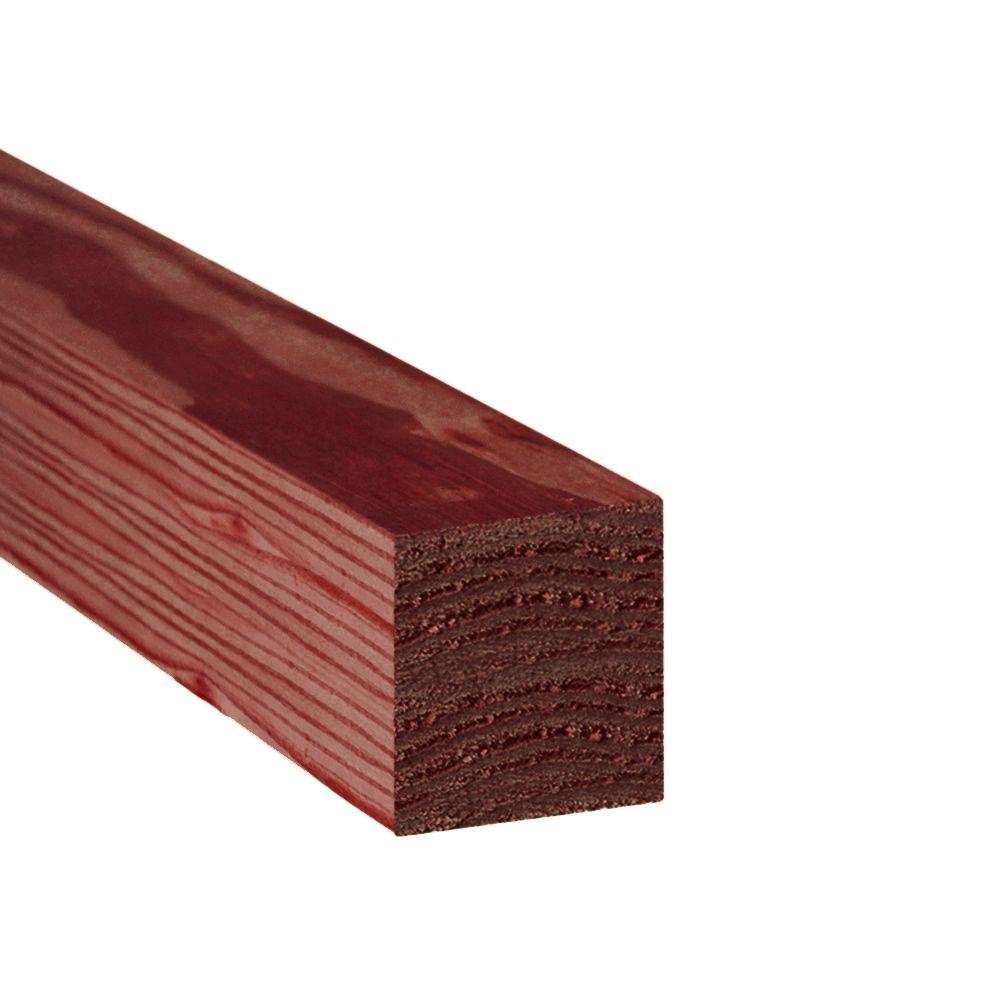
- (8) 4 x 4 x 8 pieces of pressure treated lumber (for footer posts)
- (25) 2 x 6 x 10 pieces of pressure treated lumber (for interior frame)
- (4) 2 x 10 x 16 pieces of pressure treated lumber (for exterior frame)
- (23) 2 x 6 x 16 pieces of decking boards (for deck top)

Step 1 – Determine Deck Size
Determine how large you want your floating deck to be. Measure out the space in your yard or sketch out the design of your deck, making notations regarding it’s length, depth, width, and interior framework.
I wanted our deck to have enough space for a dining set and lounge chairs, so I landed on a size of 10 ft. wide by 18 ft. long.

Step 2 – Mark Off Area for Deck
Measure out the size of your deck in your yard.
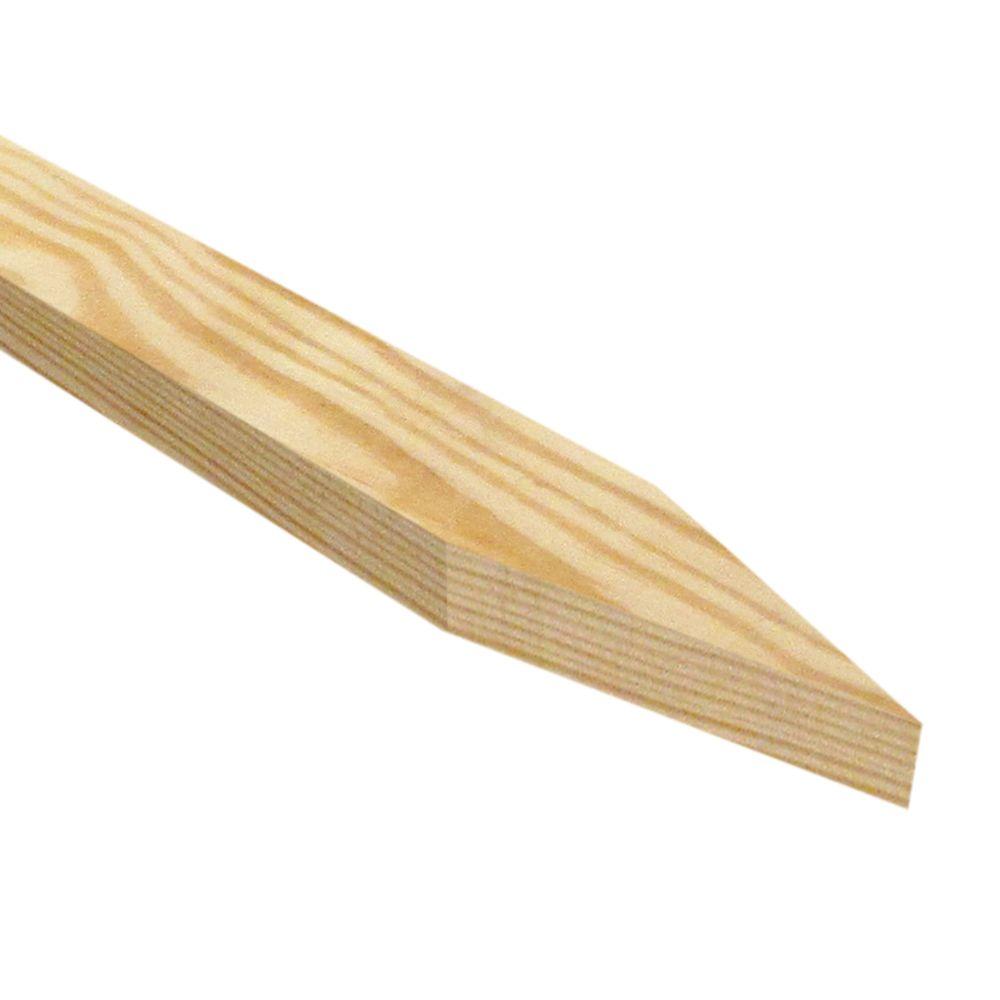
Use stakes and string to mark off the dimensions of your future deck.
Create a level line to lay your floating deck’s foundation along.

Step 3 – Measure and Mark Footer Posts
To figure out the height of your posts, add 2 ft. to the height you want your deck to be off the ground. This is assuming you have a level lot! Mark that height on your 4 x 4 posts. Our posts ended up being 38-in. high.

Step 4 – Cut Posts
Use a compound miter saw to cut your posts down to the desired size. (Wear safety goggles ear protection.) My contractors cut our posts down to 38-in. so the top of our deck ended up being 14-in. off the ground.

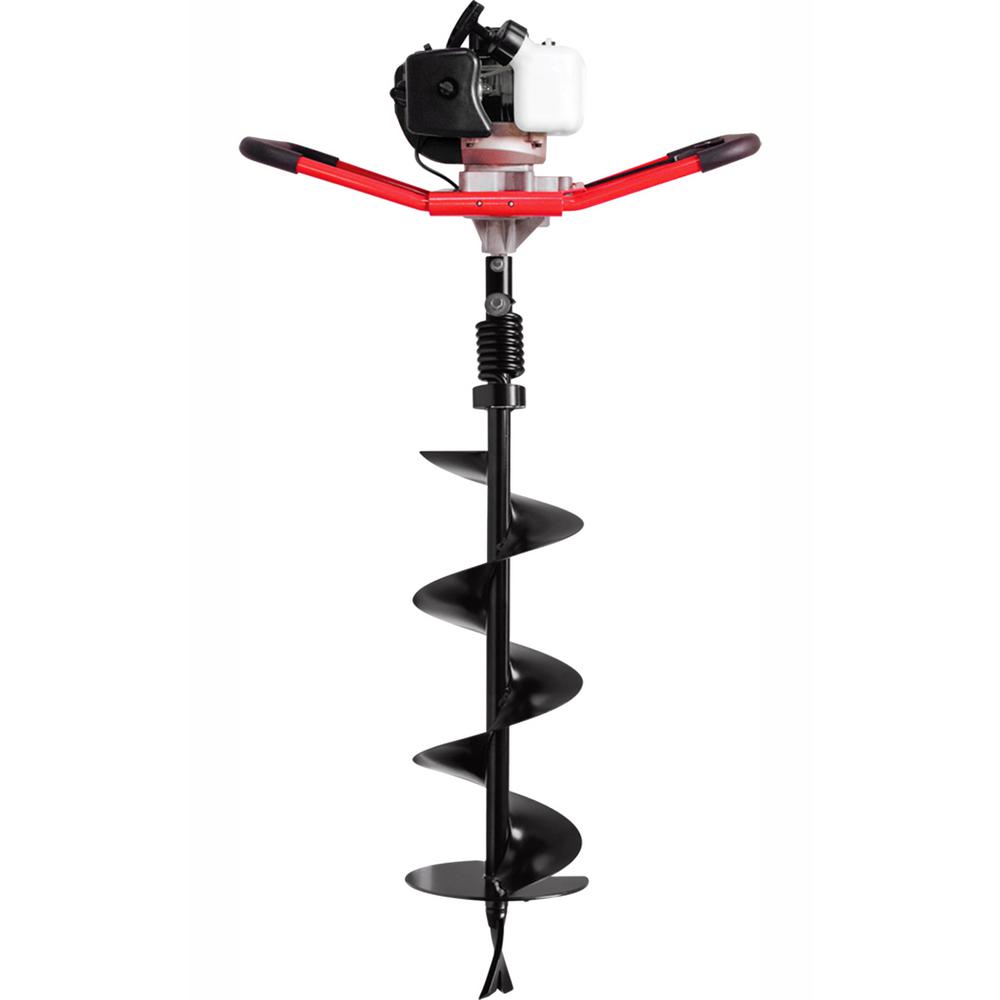
Step 5 – Dig Post Holes
Use post hole diggers or a rented auger from The Home Depot to dig your post holes. You see a two-man auger in the photo above, but you can also rent a one-man auger from many Home Depot stores.

Dig each hole 8 in. wide by 18-in. deep. Space each hole 6 to 8-ft. apart, depending on the size of your deck.

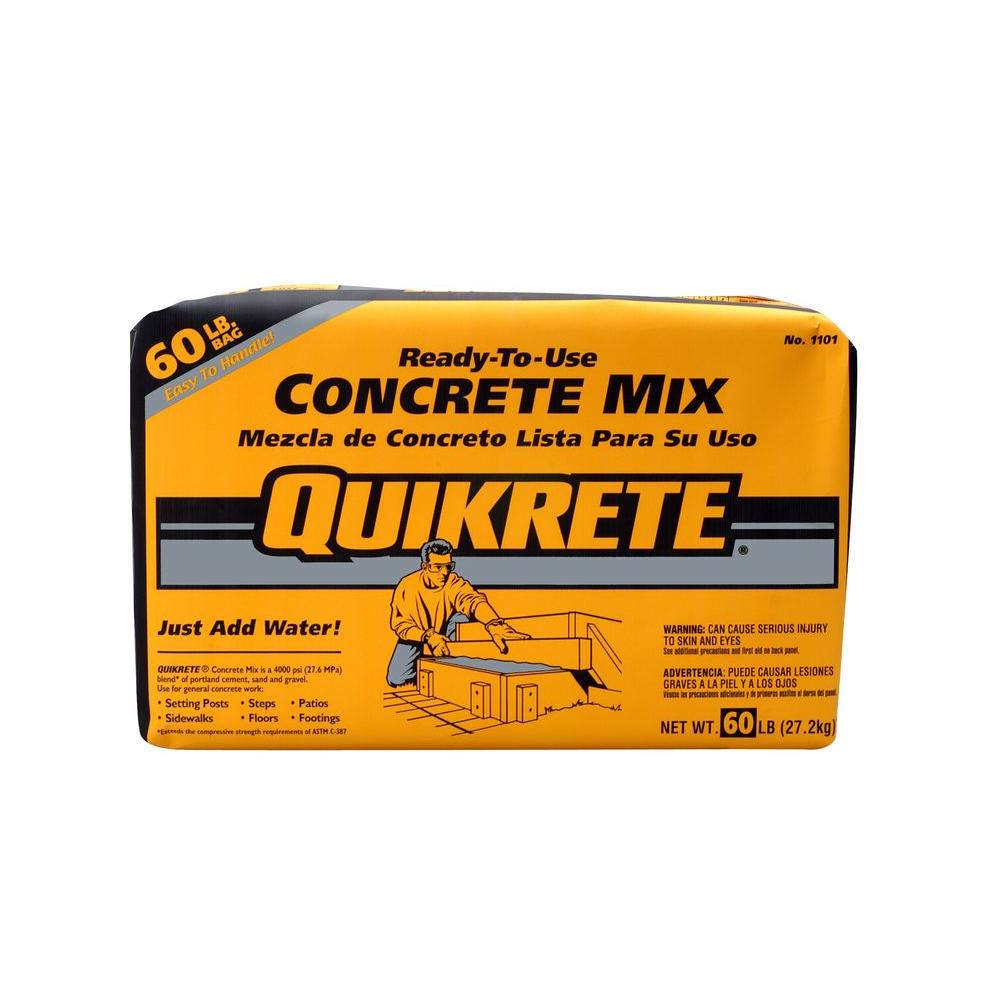
Step 6 – Mix Concrete
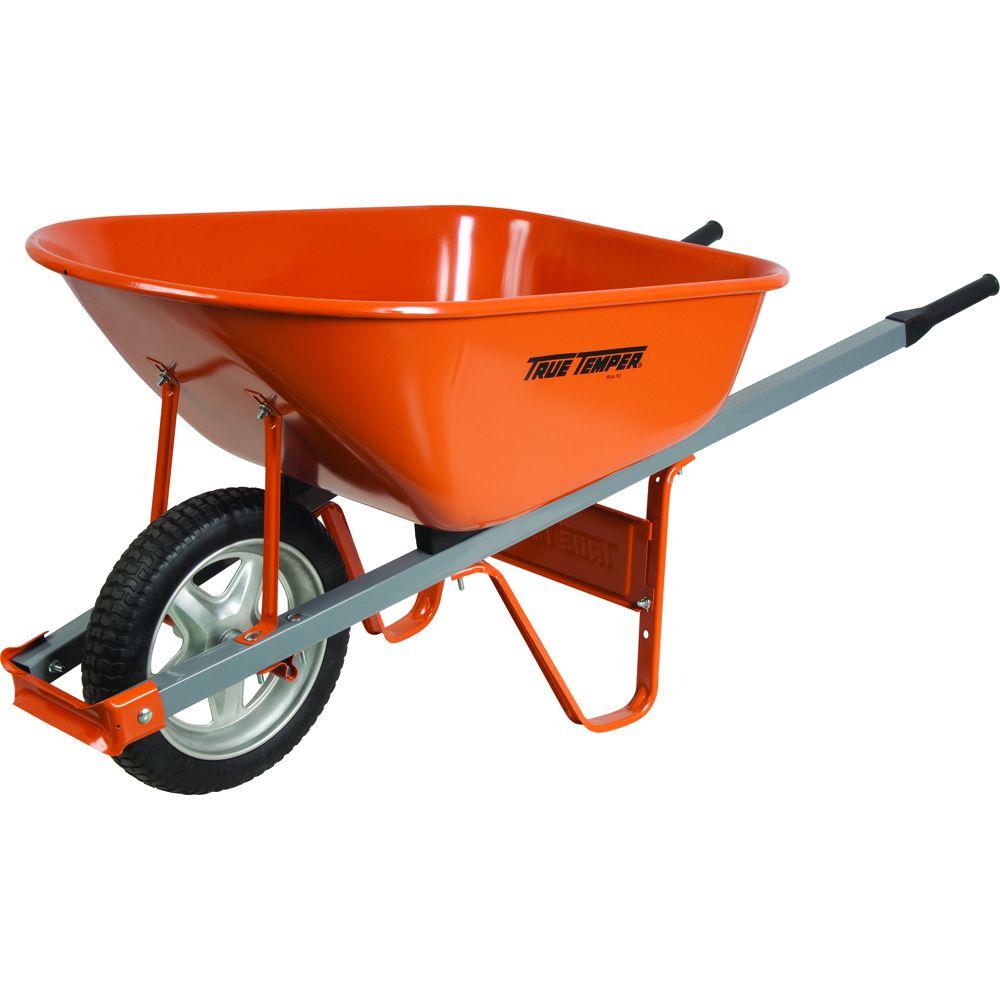
You’ll need to mix 1 to 2 bags of concrete per post hole. Mix the bags of concrete in a wheelbarrow until it’s chunky and wet.

Step 7 – Set 4 x 4 Posts
Work on setting one 4 x 4 post at a time. Place the 4 x 4 post in the hole, making sure it’s level and plumb.

Shovel the concrete mixture around the post, and repeat this process until all of your posts are set in concrete.
Let everything set up for at least 24 hours.

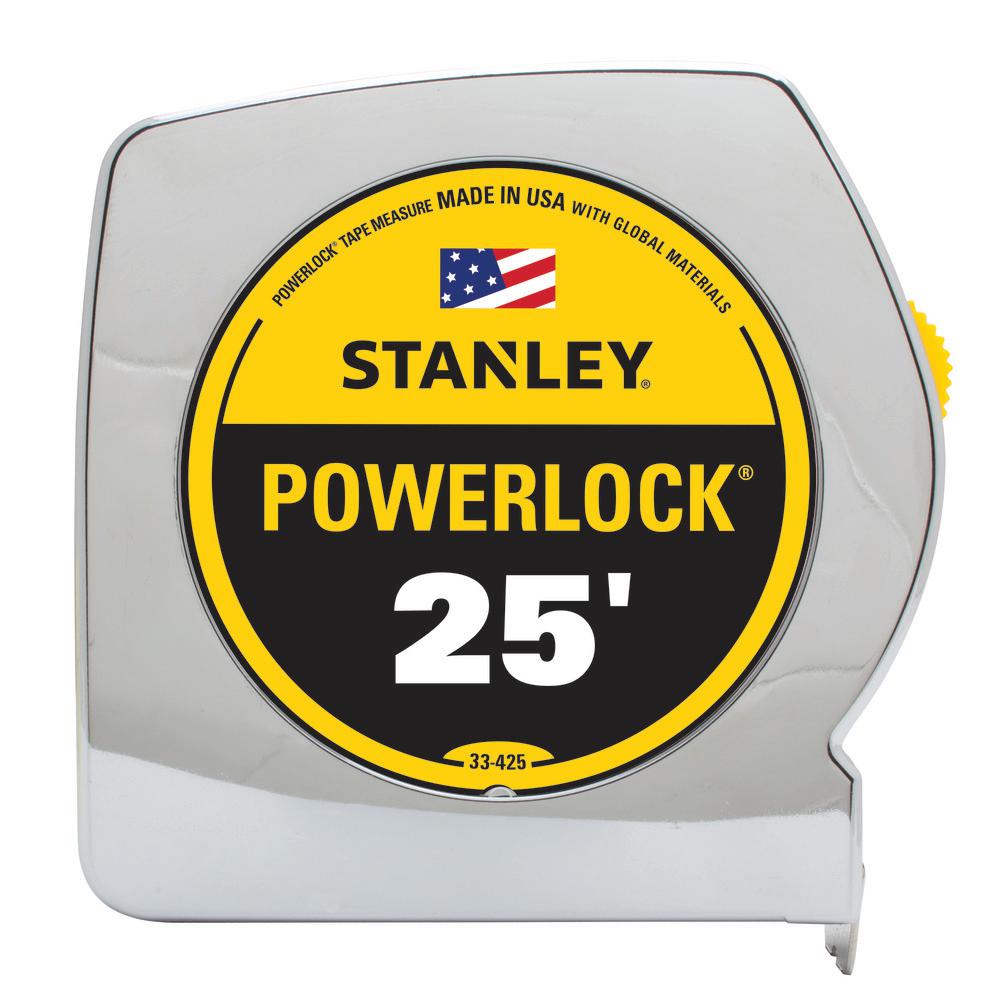
Step 8 – Measure and Mark Main 2 x 6 Floor Joists
While your concrete is drying, use a measuring tape and pencil to measure and mark your 2 x 6 pieces of pressure treated lumber.
You want each board to be roughly 2 in. less than your desired floating deck’s width. Our boards ended up being 117 in. long.

Step 9 – Cut Main Floor Joists
Grab your safety goggles and ear protection and get ready to cut your floor joist boards. Use a compound miter saw to cut each 2 x 10 piece of pressure treated lumber down to the desired length you figured out in the previous step.

Step 10 – Attach Main Floor Joists
After your concrete has had at least 24 hours to dry, use a drill and decking screws to screw a 2 x 10 to either side of a 4 x 4 footer post.

Continue attaching your 2 x 10’s until all of your 4 x 4 posts have a floor joist attached to them.
Make sure they’re level!

Step 11 – Measure and Mark 2 x 10 Exterior Perimeter Boards
Use your floating deck’s length and width as a guide to determine if you need to make any cuts to your 2 x 10 pieces of pressure treated lumber.
Note: When joining two boards along the same side, cut them on a 45-degree complementary angle for a cleaner look.

Step 12 – Cut Exterior 2 x 10 Perimeter Boards
Put your safety goggles and ear protection on, and use a compound miter saw to cut your 2 x 10 boards down to size.

Step 13 – Assemble Perimeter of Frame
Use a drill and decking screws to screw the perimeter 2 x 10 pieces of pressure treated lumber to the main 2 x 10 joists. Continue attaching your 2 x 10’s until your frame is finished.


Step 14 – Cut 4 x 4 Footer Posts Flush With Deck Frame
Goggles and ear protection on! It’s time to cut your footer posts flush with the floating deck’s frame so the decking boards can lay across it. Use a reciprocating saw to do this.

Step 15 – Measure and Mark Interior Supports
Use a measuring tape and pencil to measure and mark your desired dimensions on your 2 x 6 pieces of pressure treated lumber. Each 2 x 6 should fit just inside the frame. Ours ended up being 117-in. long.

Step 16 – Cut Interior Supports
Use a compound miter saw to cut your 2 x 6’s down to your desired lengths. (Don’t forget the safety goggles and ear protection.)

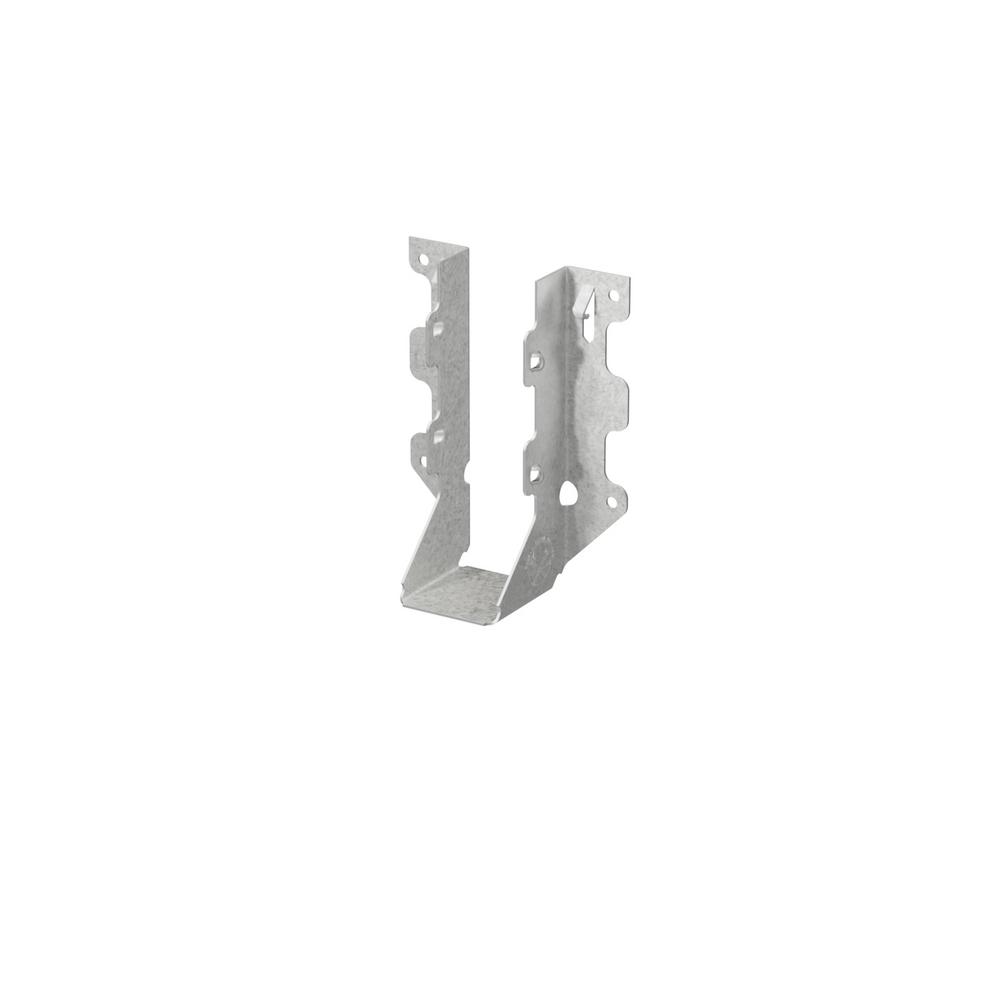
Step 17 – Attach Joist Brackets
Use a drill and decking screws to attach joist hangers to the interior of your floating deck’s frame.

Attach each joist hanger at 16-in. on center for strong support under foot.

Step 18 – Lay Interior Supports Into Brackets
After all of your joists are attached, start laying your pre-cut 2 x 6 interior boards into the joists. Attach the boards with a deck screw through the joist bracket.

Step 19 – Measure and Mark Decking Boards
Use a measuring tape and pencil to measure and mark your desired dimensions on your 2 x 6 decking boards.

Step 20 – Cut Decking Boards
Put your safety goggles on and ear protection on so you can use a compound miter saw to cut your 2 x 6’s down to your desired lengths.

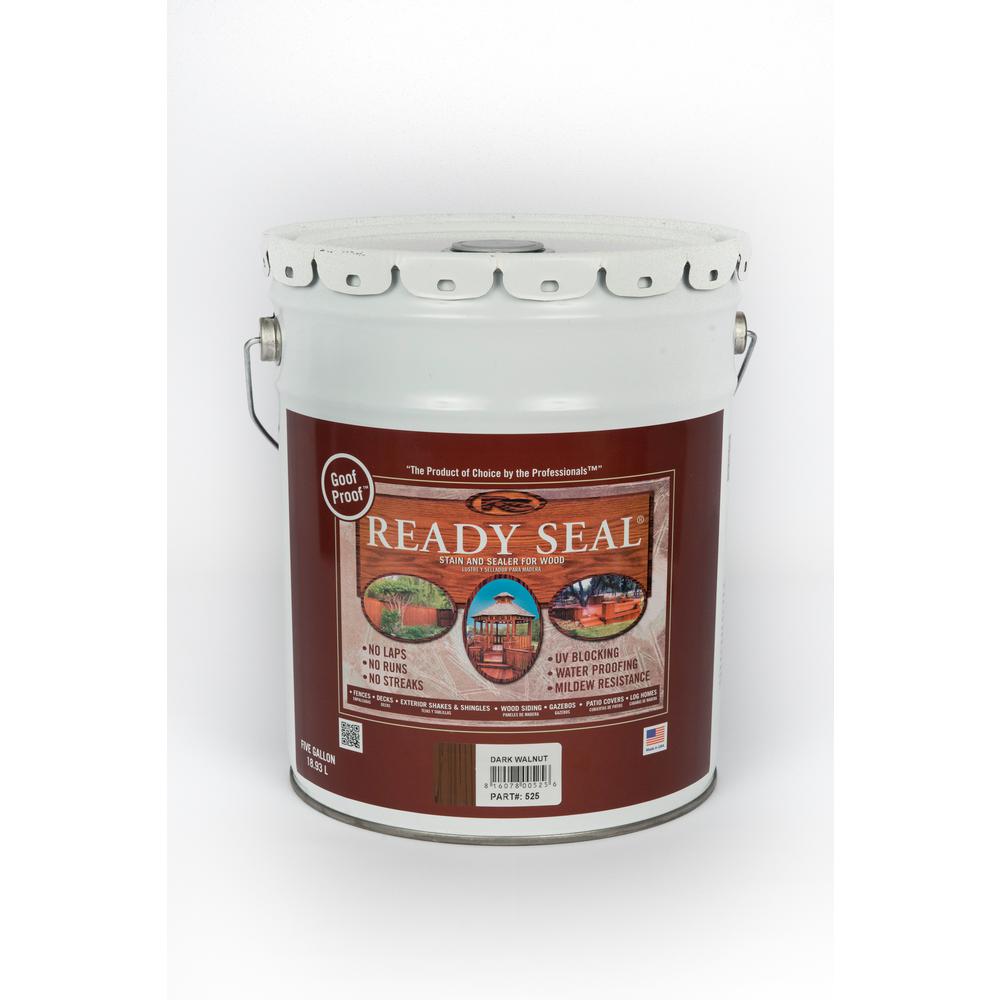
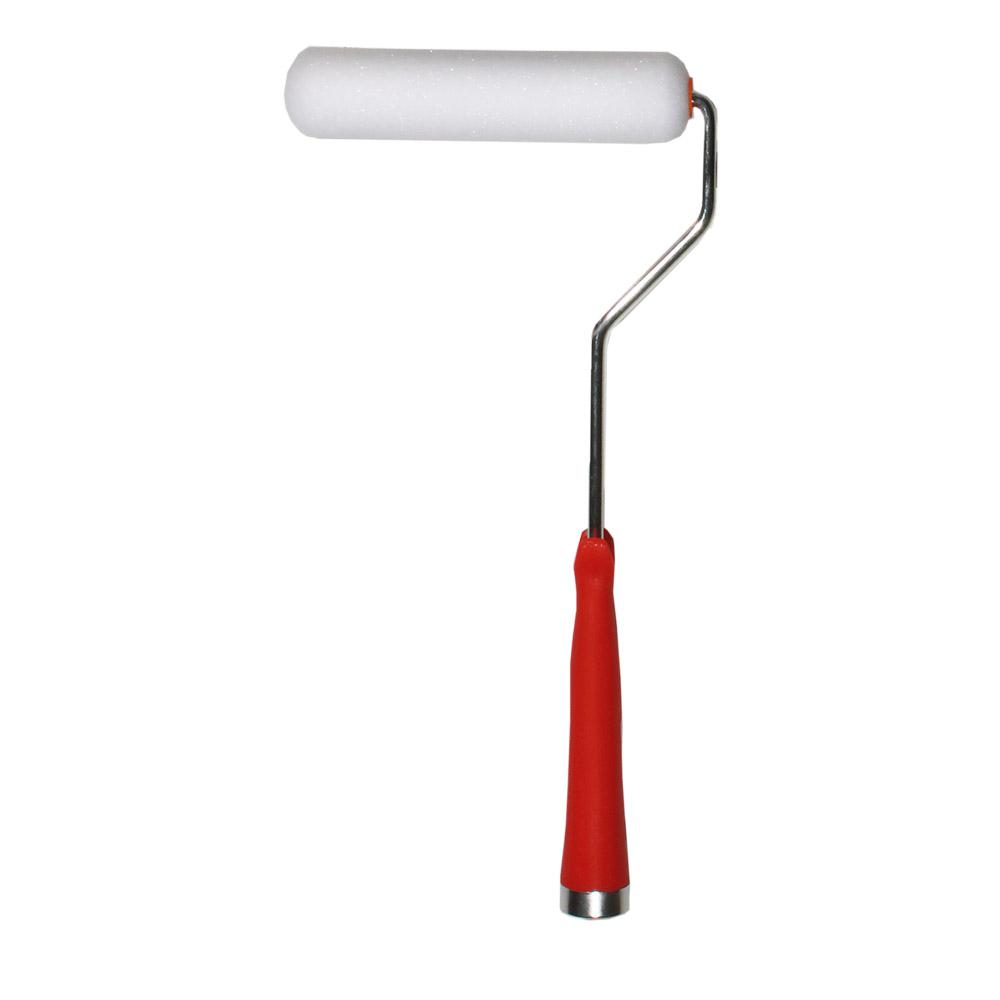
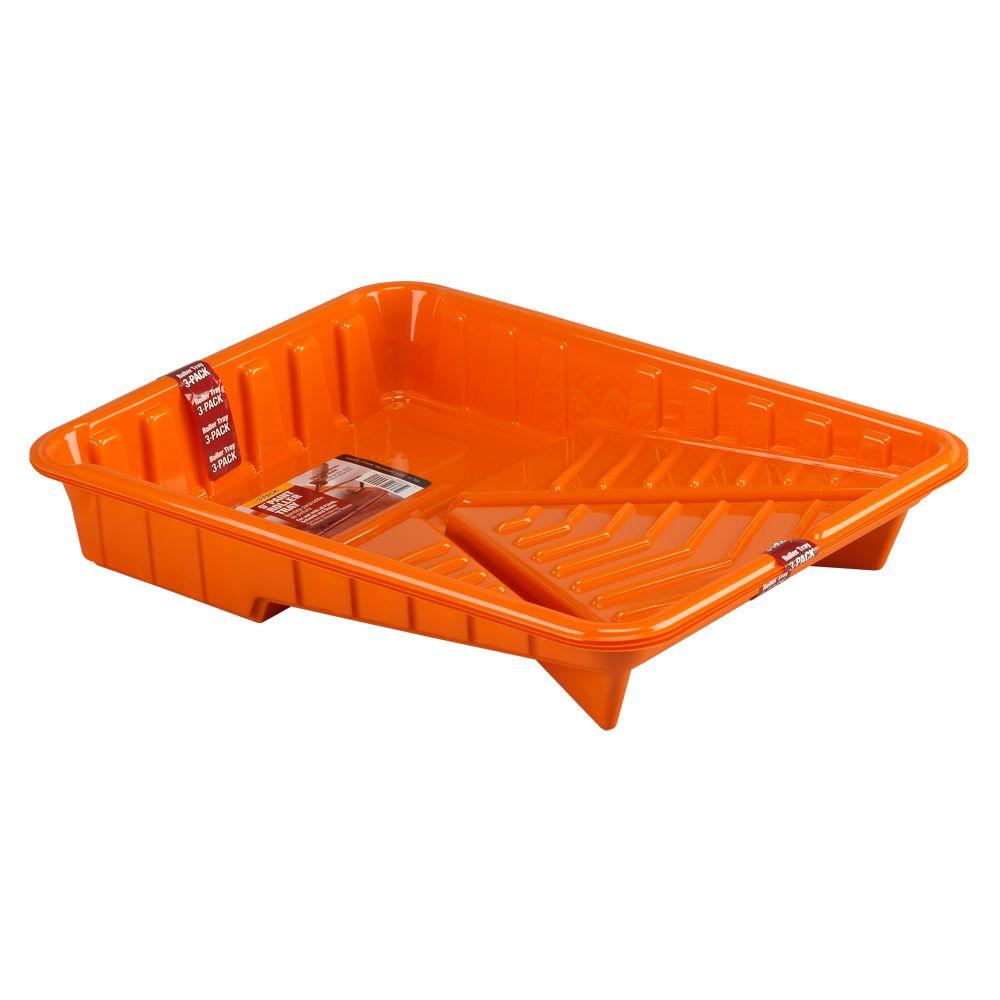
Step 21 – Stain and Seal Decking
After all of your wood has been cut down to size, line a paint tray with a paint tray liner, pour some exterior stain into the lined tray, grab your foam paint roller and start staining.
Use a rag to wipe off any excess stain as you go and don’t forget to stain the ends of the boards!
Repeat the staining process until the boards are stained to your desired darkness. Set each board aside to dry according to the time listed on your stain can/bucket.
Note: The stain I chose had a built-in sealer so there was no need to seal the boards any further. If your stain doesn’t have a sealer built in it, seal your boards after the stain has dried.

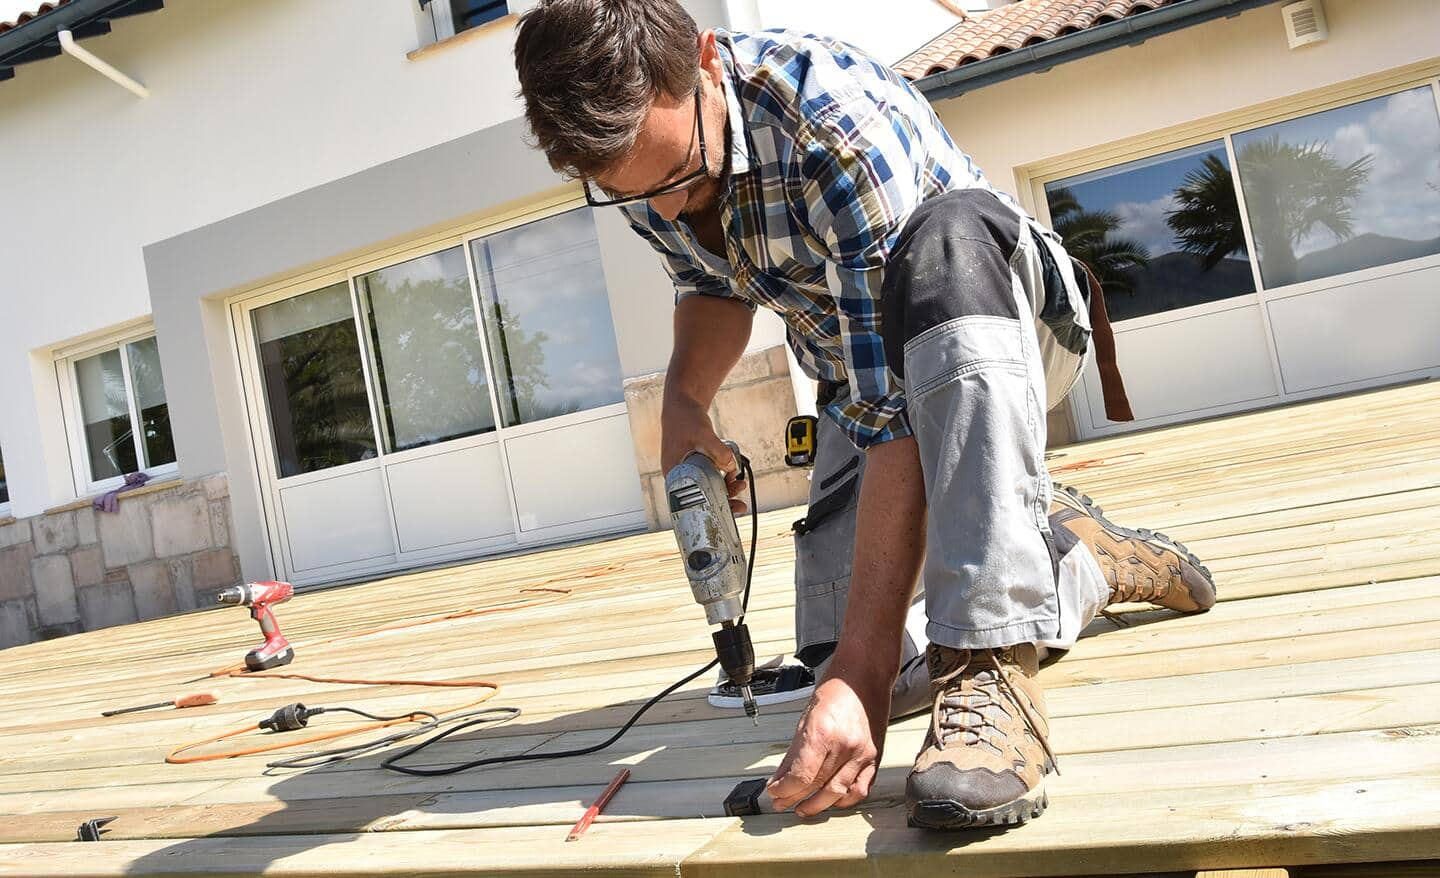
Step 22 – Attach Decking to Frame
Use a drill and decking screws to attach the decking boards to the deck frame. Start with a full length board at the most visible spot.

Work perpendicular to the deck’s main joists and interior supports, and don’t forget to stagger the seams!

Step 23 – Pop Chalk Line on Ends
After all of your decking boards have been attached, use a chalk reel to mark the end of your deck. Pop it so it leaves a cut line on your decking boards.
Repeat this process for the other end of your deck.

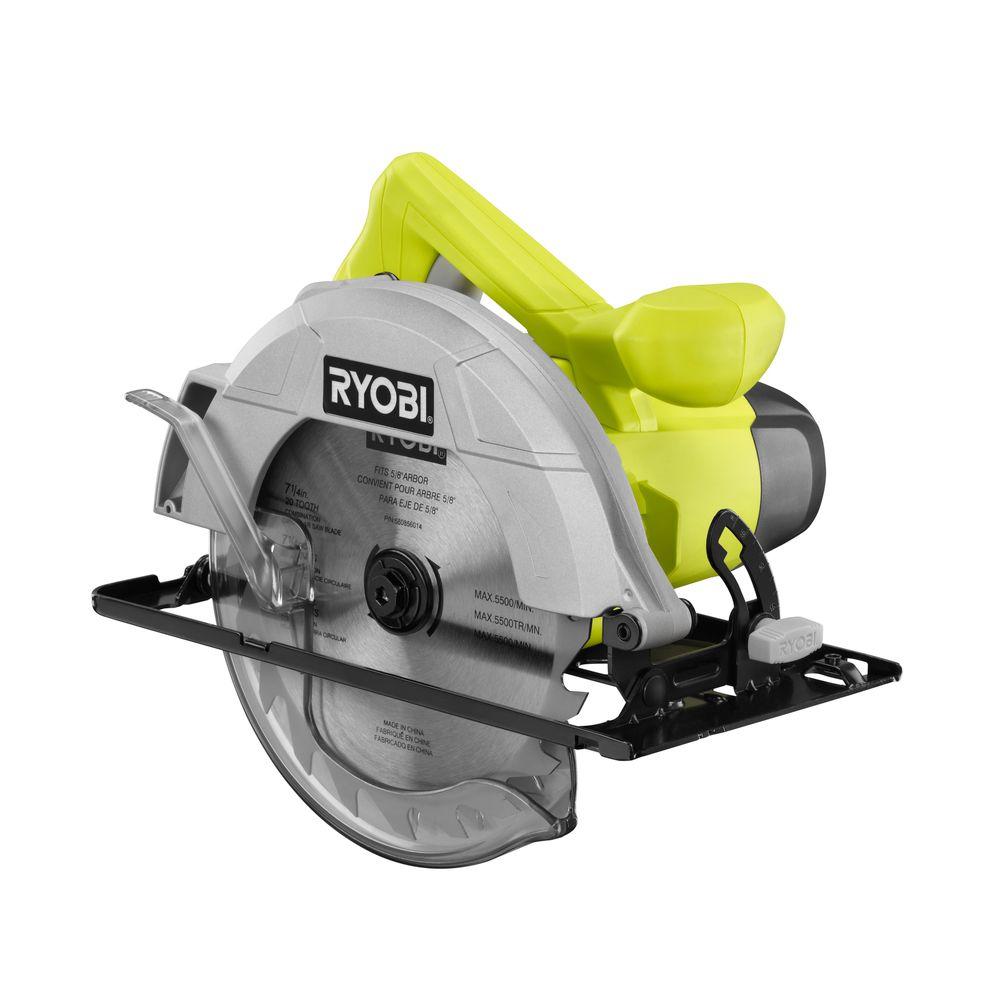
Step 24 – Cut Ends off Deck
Use a circular saw to cut along the chalk line for a nice clean cut across all the ends of the boards.

We couldn’t be happier with our new floating deck!
This post was created in partnership with The Home Depot. The author may have received compensation for this article and associated images or video, potentially in the form of products and/or services. All expressed opinions and experiences are the author’s own words.